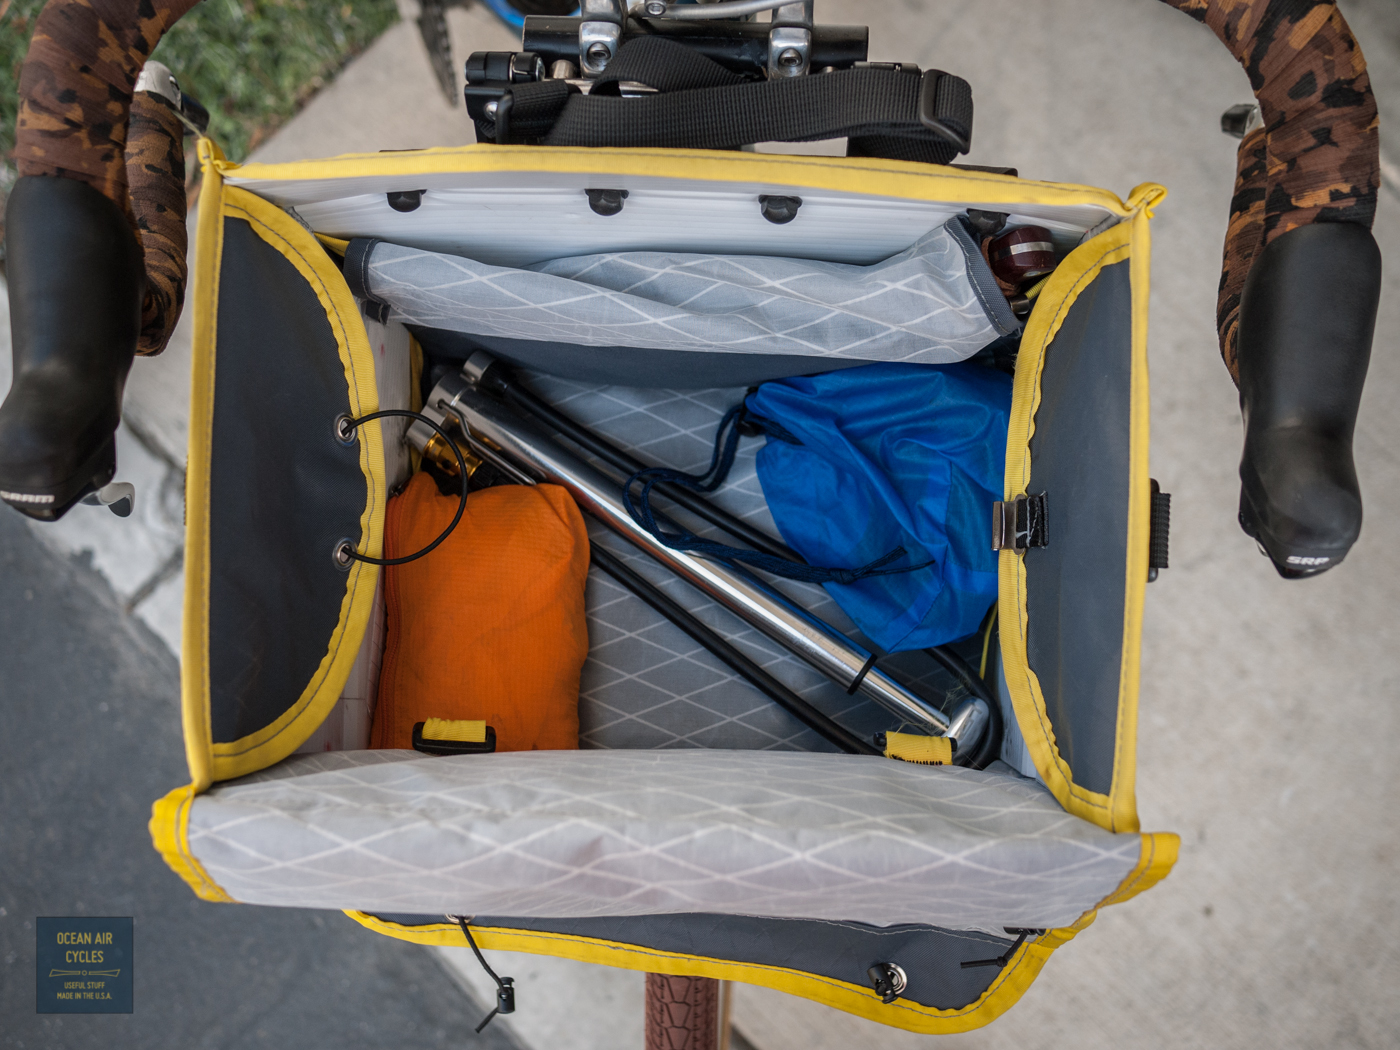
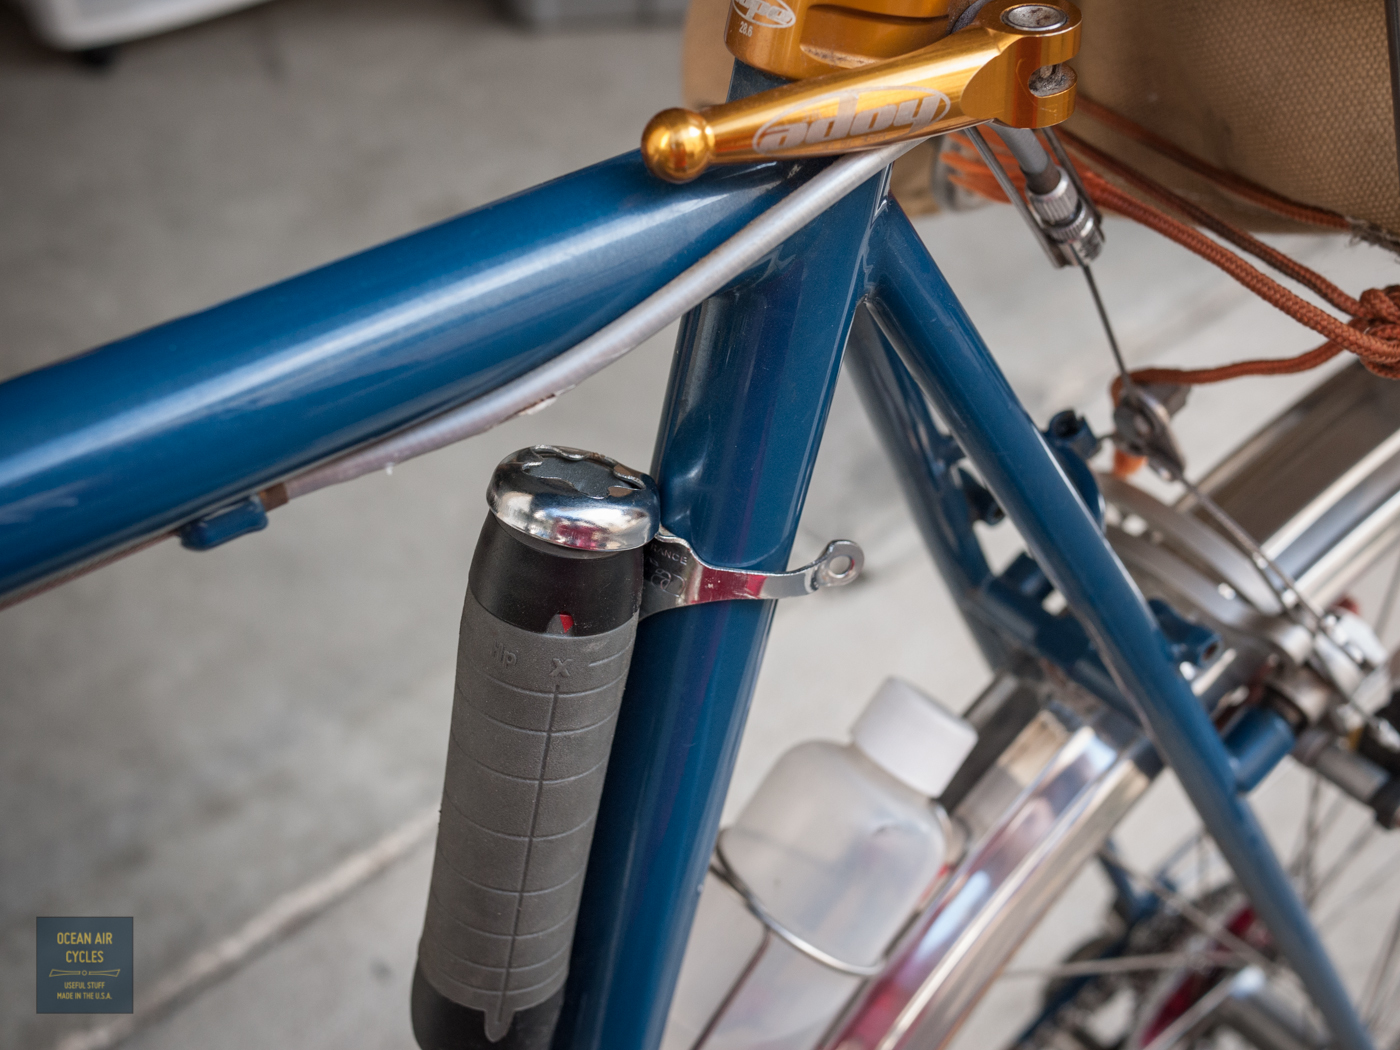
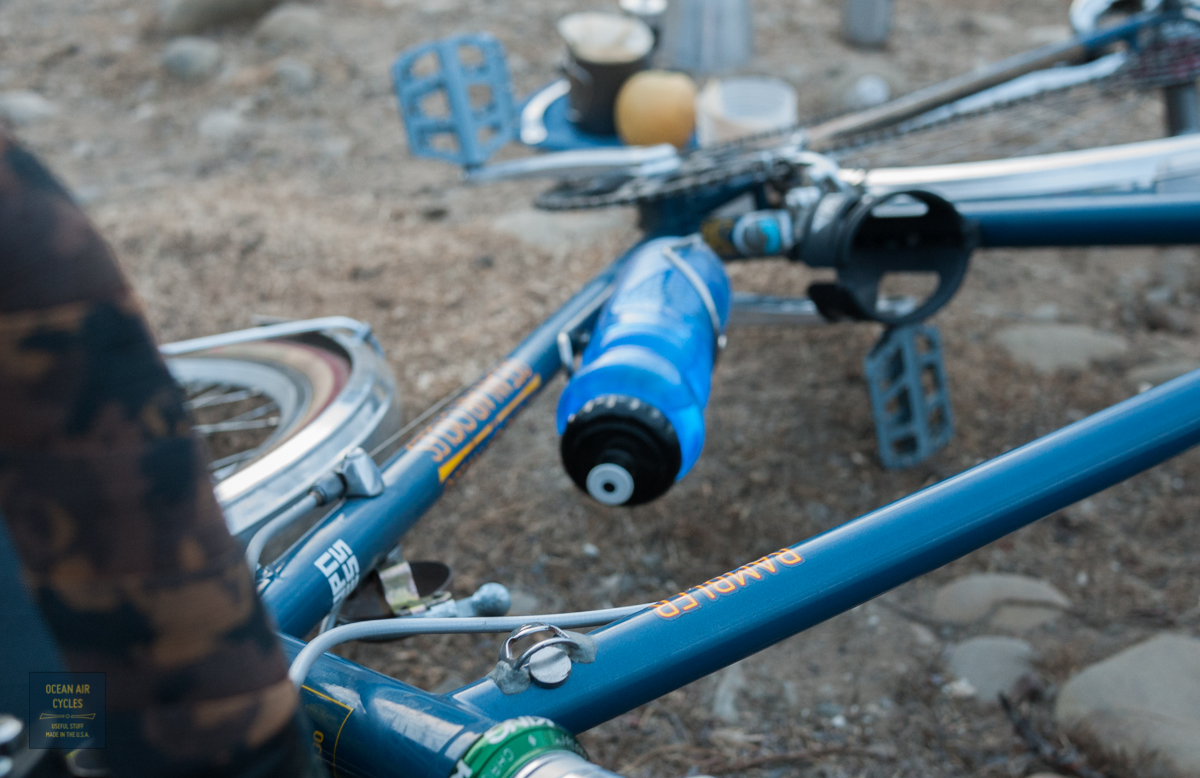
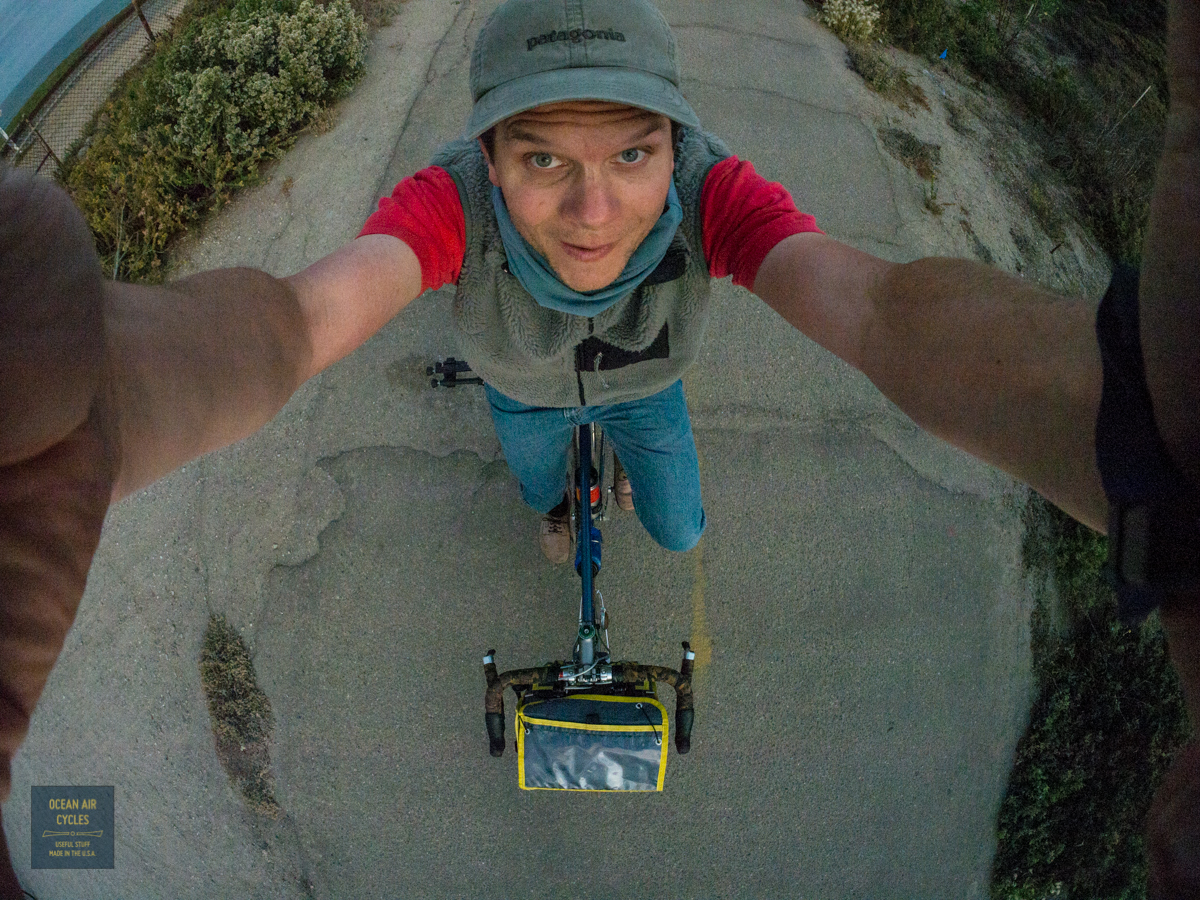
it is time to address how to carry your pump on the Rambler. The air pump for fixing flats can be a contentious issue. Not quite as volatile as saddles an handlebars, but there are still strong feelings with regard to mini or full frame options as well as the now common CO2 cartridges. Personally I have never fallen in love with the full frame pumps, and tend towards the hybrid mini pump with a hose. These get me an acceptable inflation speed and are easy to use with close to zero chance of tearing off a valve stem.

With my bias towards this pump as well as frame bags, the long narrow bag often seen under my top tube, I decided to omit a frame pump nub on the Rambler. The nub will rapidly wear a hole in most frame bag materials. That said there are still a couple of ways to get a frame pump on your Rambler. The first is between your rear axle quick release and the seat tube weld cluster.
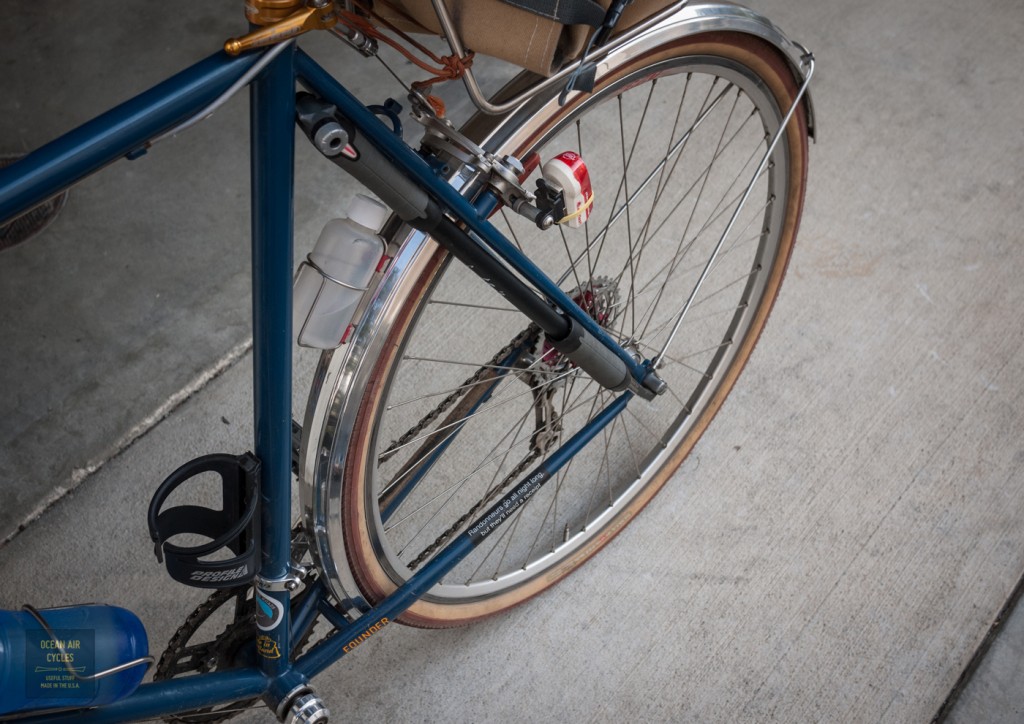
I have used this method in the past with great success, on and off-road. In general I would strongly recommend a velcro strap between around the pump and seat stay as a secondary bit of insurance that it does not self deploy. The other options involve old-fashioned clamp on bits. Either the once ubiquitous "umbrella holder"


Or one of the clamp on pegs sold by Zefal. On the 650b models there is also generally sufficient room to mount the pump on the rear side of the seat tube.
The
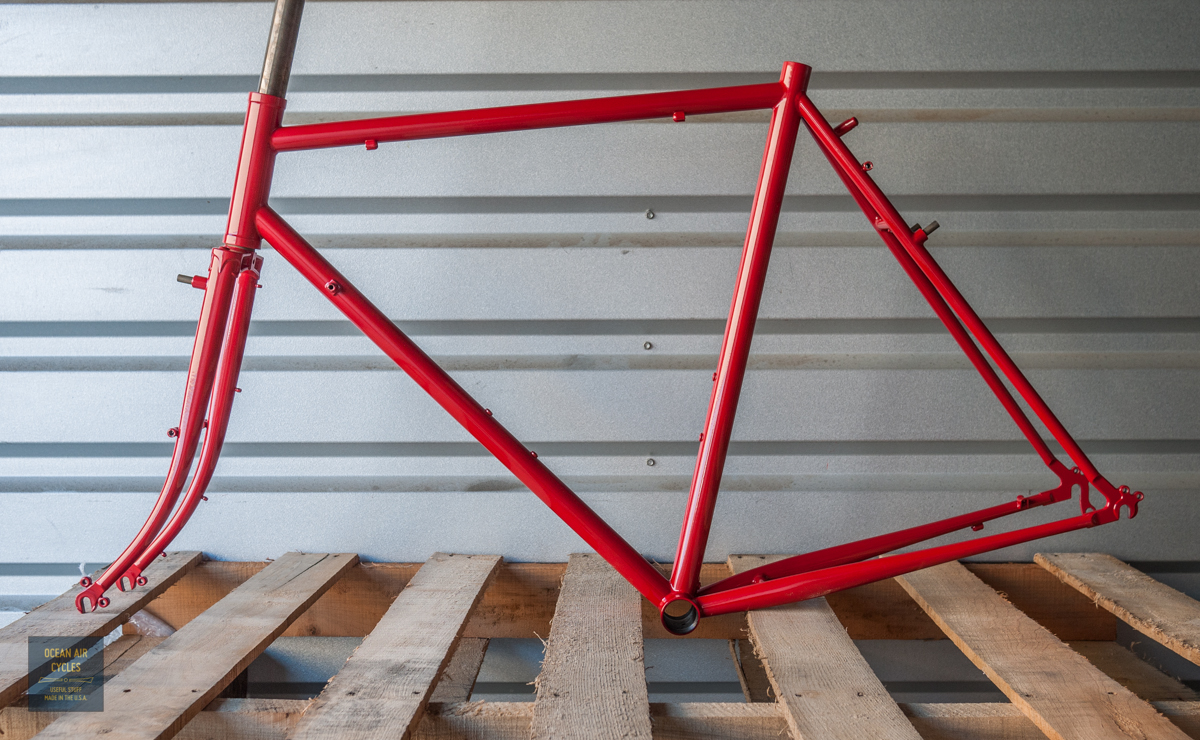
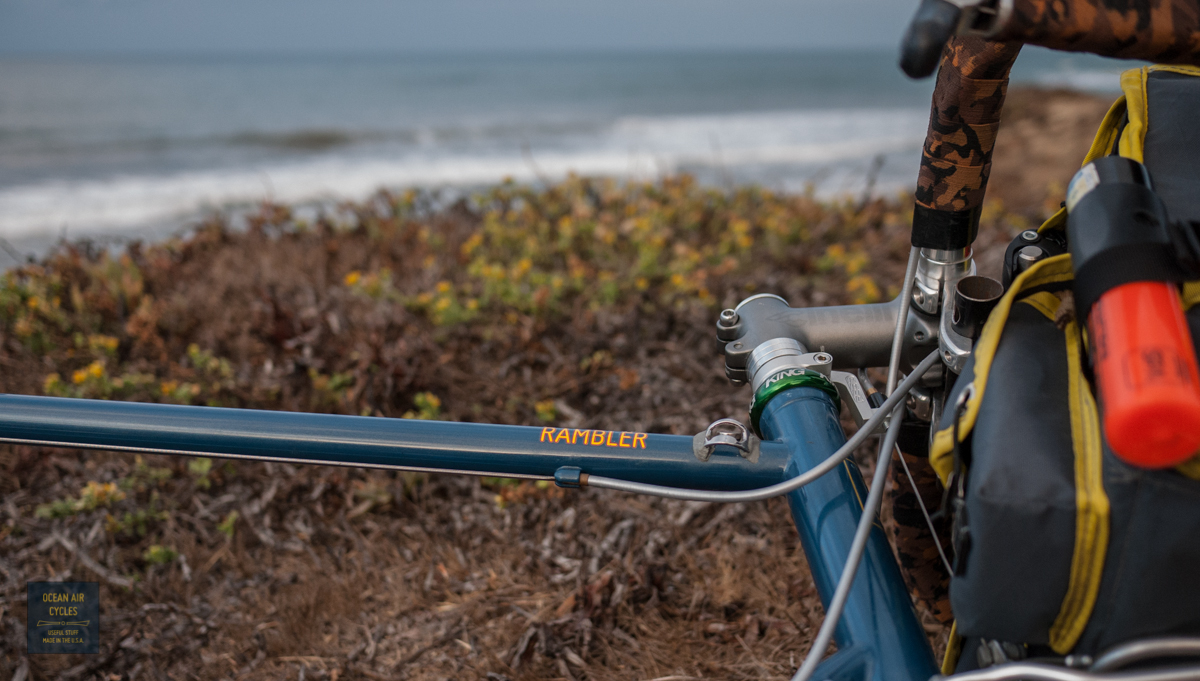
Rambler has a great deal of subtlety in the design that may go unnoticed at first glance. From time to time I will call these details out to better explain some of the thought and detail that went into making these frame-sets as good as they could possibly be.
In the
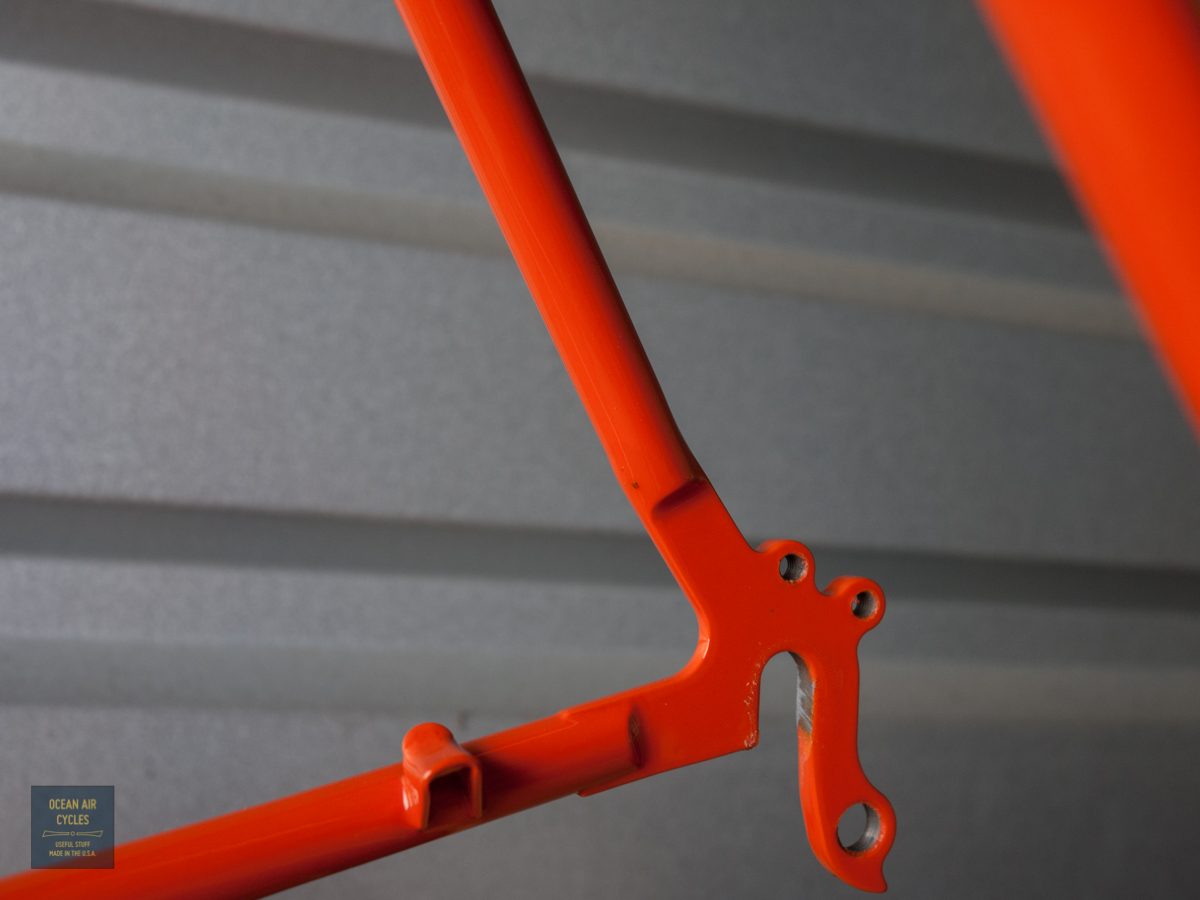
previous post I mentioned the added benefit of using dual crown rack mounting points for added stiffness and safety. This design feature adds a secondary challenge learned from previous attempts at this design by other makers. As the front rack swings through its arc of rotation around the steering axis there is the potential for a collision between the rack and frame tubes. With some designs this can occur both at the mounting bolts as well as at the down tube below the shifters. A collision at these points often leads to a dent in this highly stressed region of the bike, and dents here often lead to fracture or buckling of the tubes, not good at all. There is a clear analogy to this and standing on an empty soda can. The can is quite strong until you make a small dent in the side, at which point the can generally collapses under the load.
The
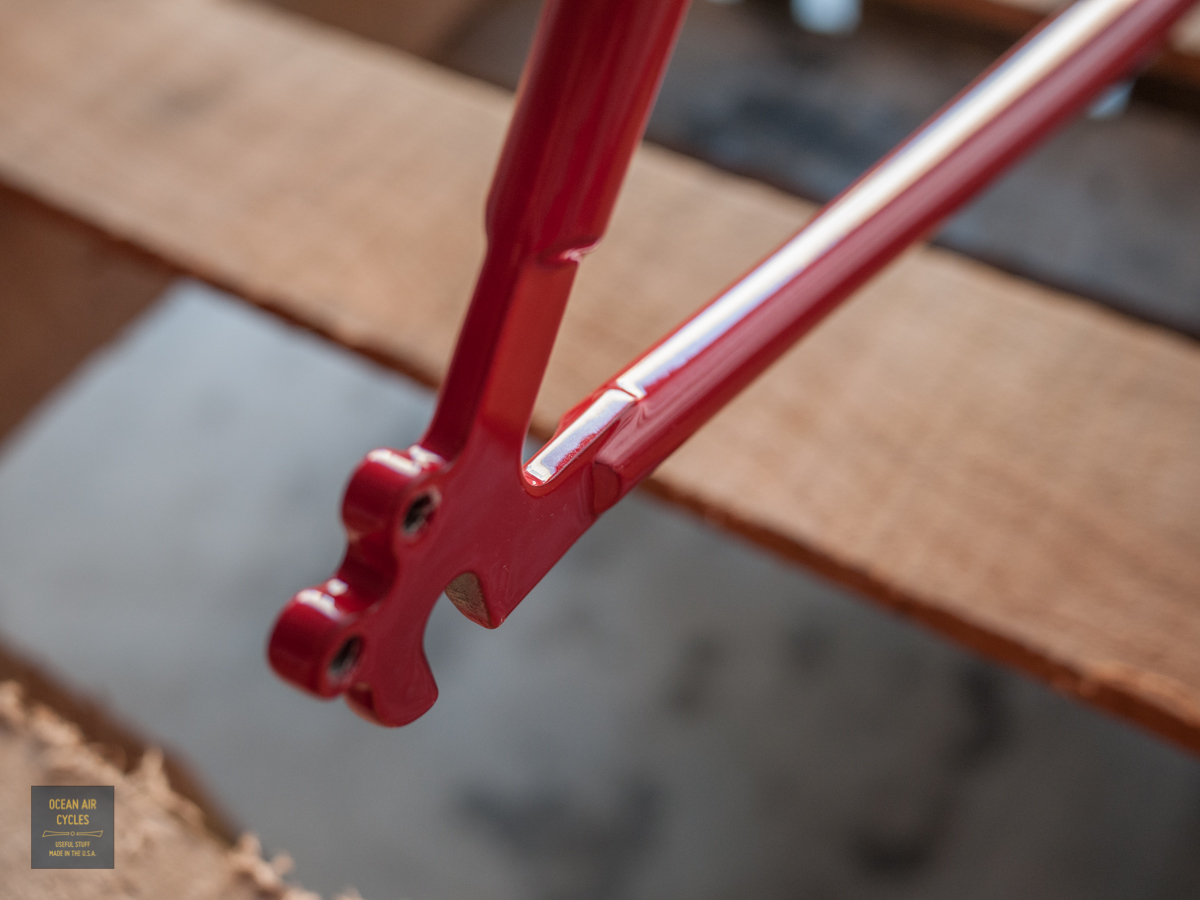
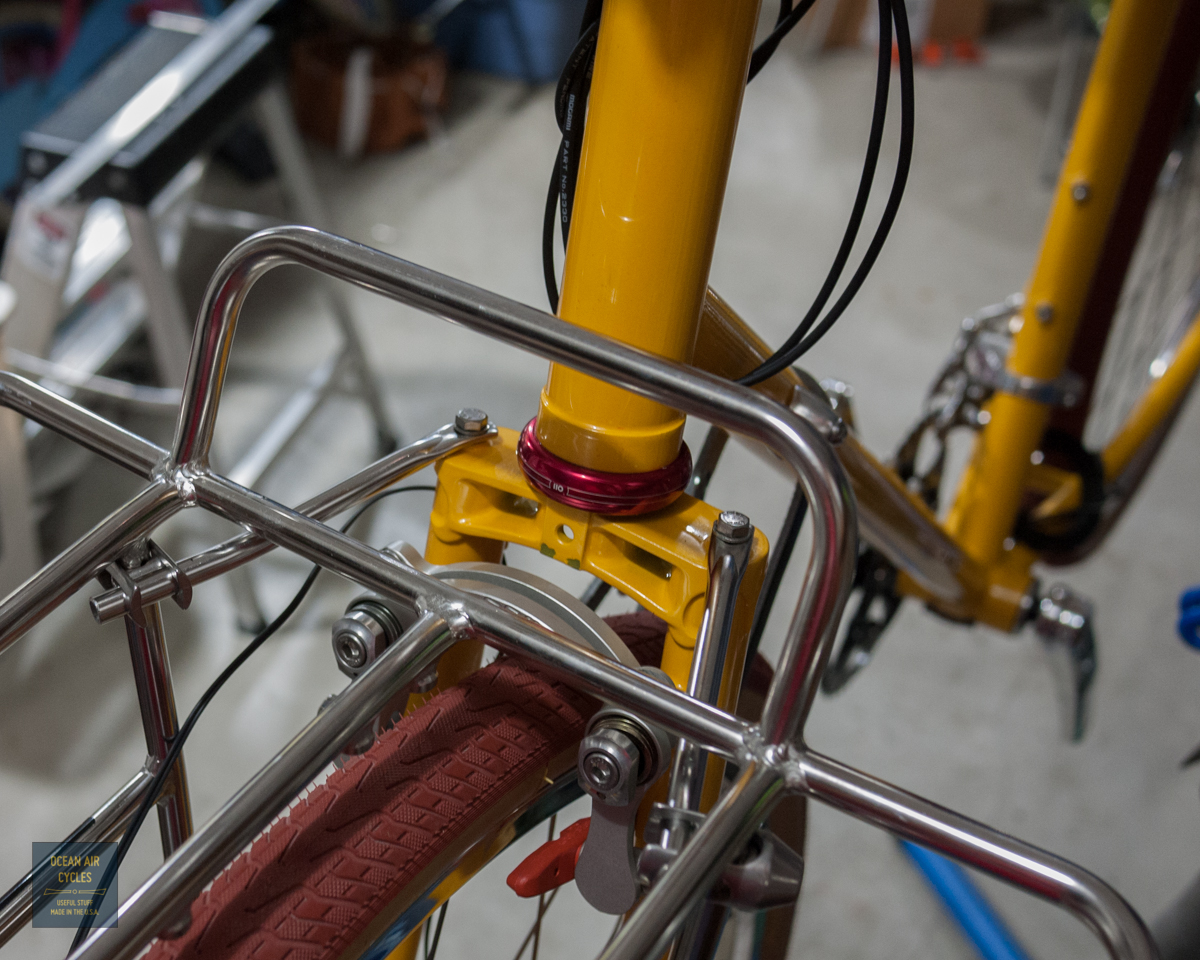
Rambler design addresses this at both locations. The angle and spacing of the head and down tubes is such that there is a generous margin for the rack mounting bolts to clear, without degrading the aesthetic of the bike.
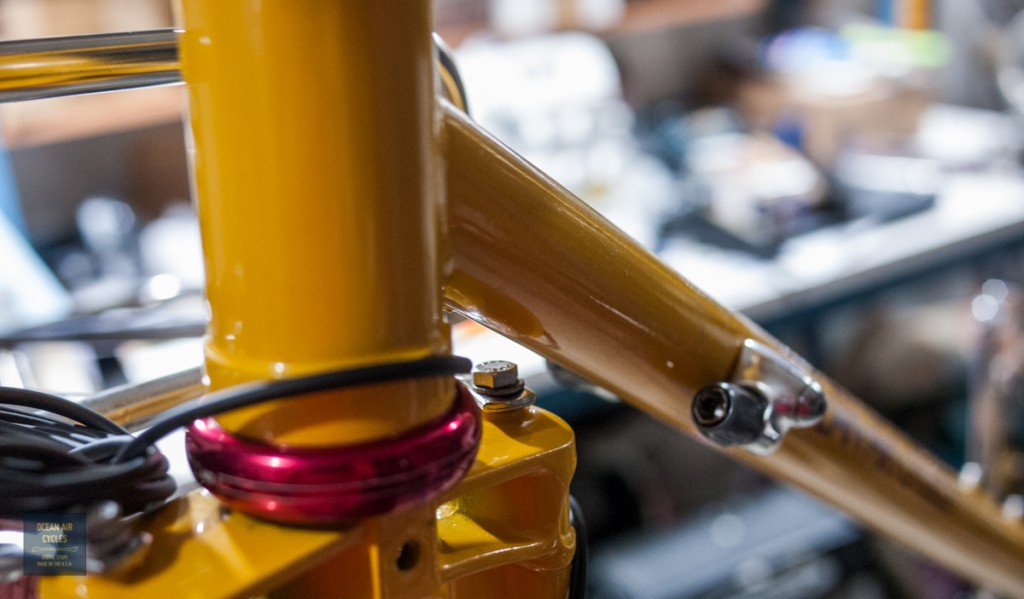
We addressed the second collision point, the rack and down tube with the position of the shift lever boss and tube butt location. By moving the boss down from its traditional location a little more than a cm, the rack will hit the boss before it hits the tube. While any hard collision here is not great, the boss will distribute the point load of the rack tube over a greater area and reduce the chance of a dent.


Details like this are part of what sets the
Rambler apart, building in safety and longevity for the frame. Our pointing them out will help you to be a more educated consumer in the market place. Adding integrated features like rack mounts, lighting wire guides and fender mounting points all come together to help build a better complete bike, a bicycle that can act as real transportation and not just a hanger for a bunch of clip on accessories. The trick is in getting the details right, and we did with the
Rambler.
Earlier we had talked about fitting the
Porteur racks at the front dropout, and today we will be showing how to get this done up at the top.
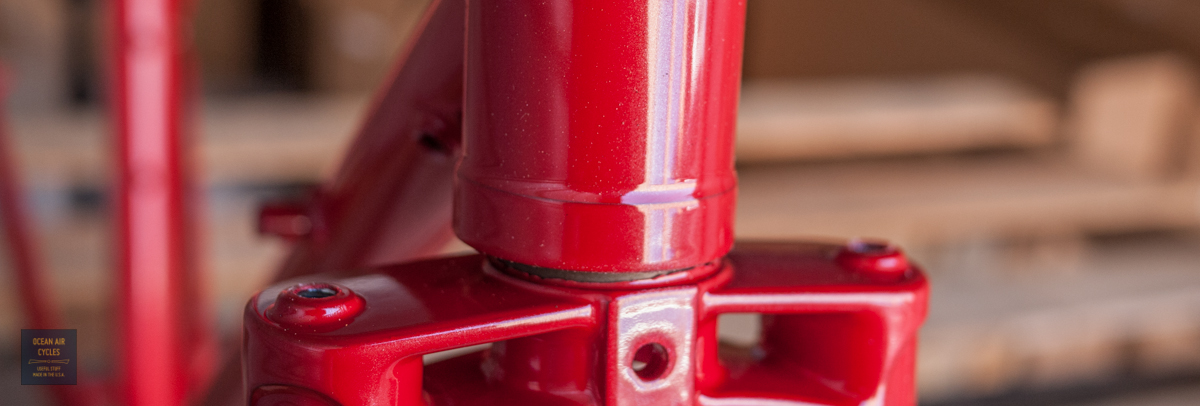
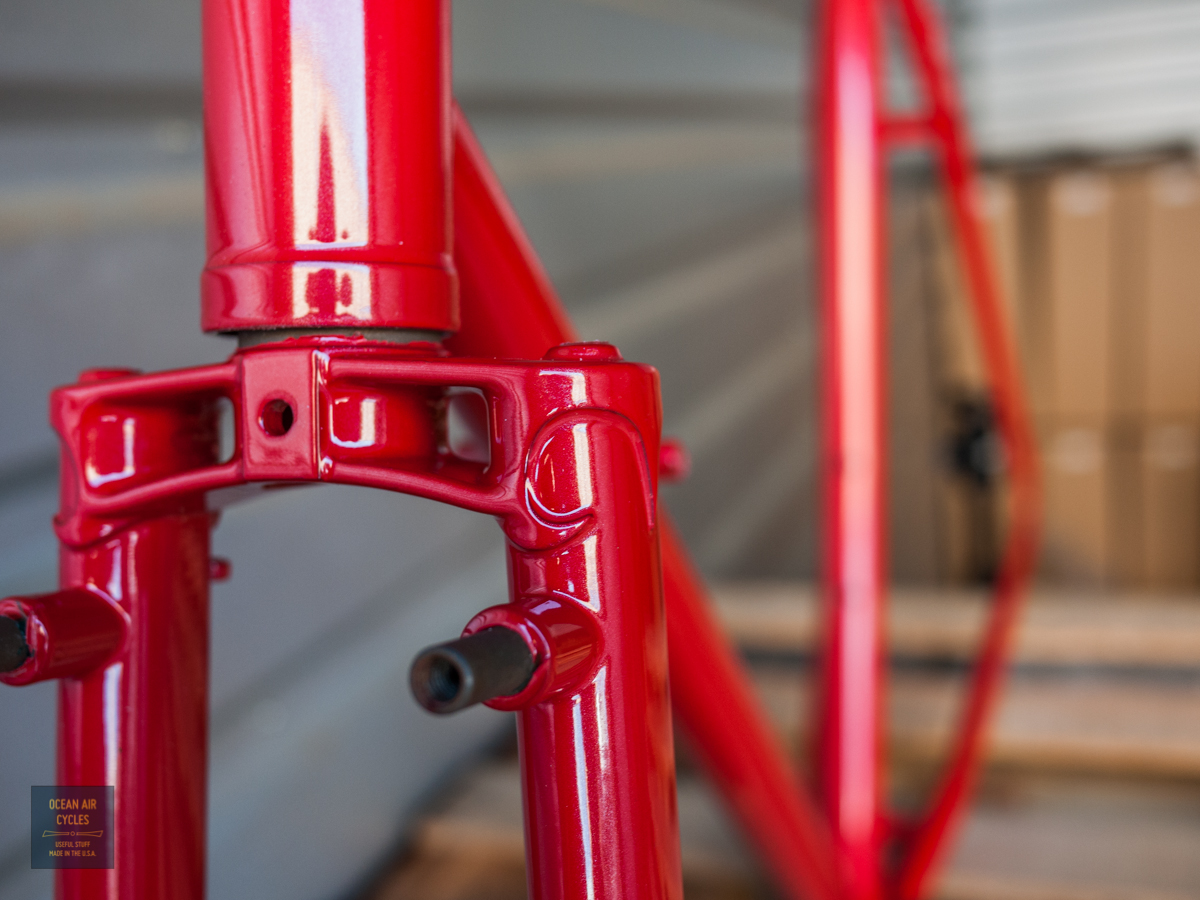
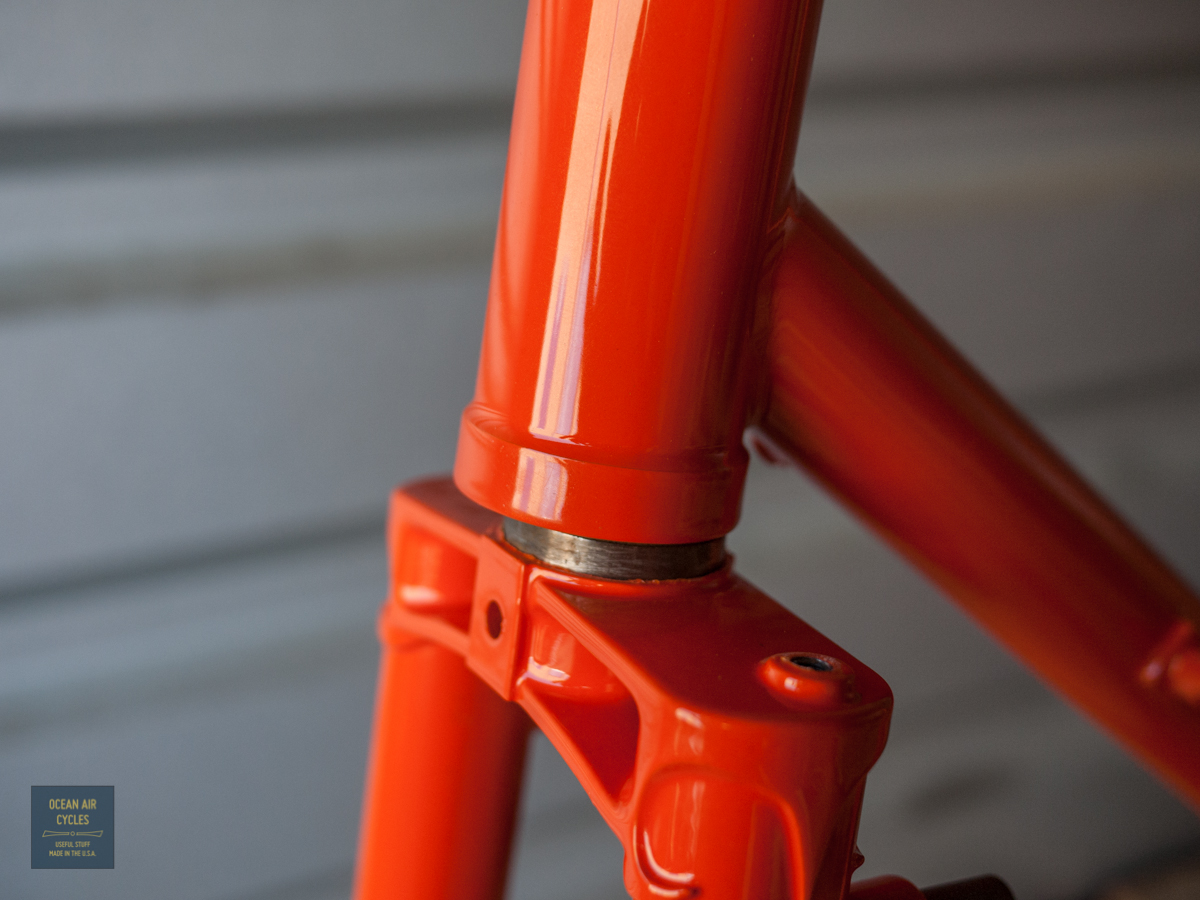
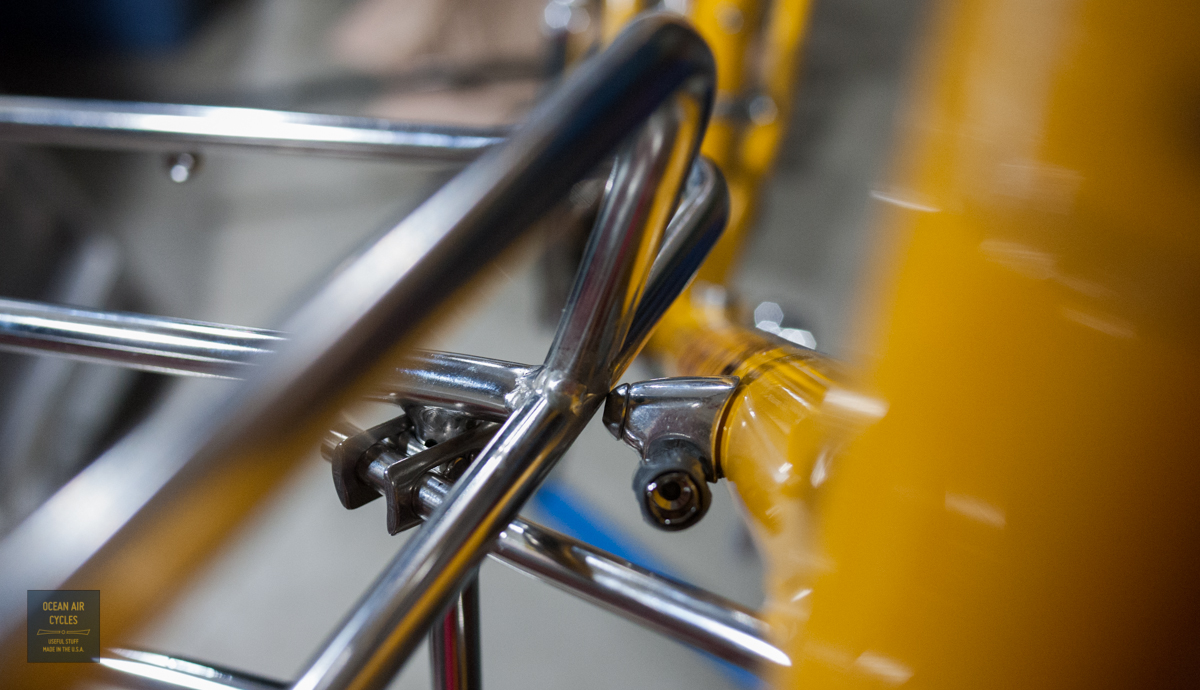
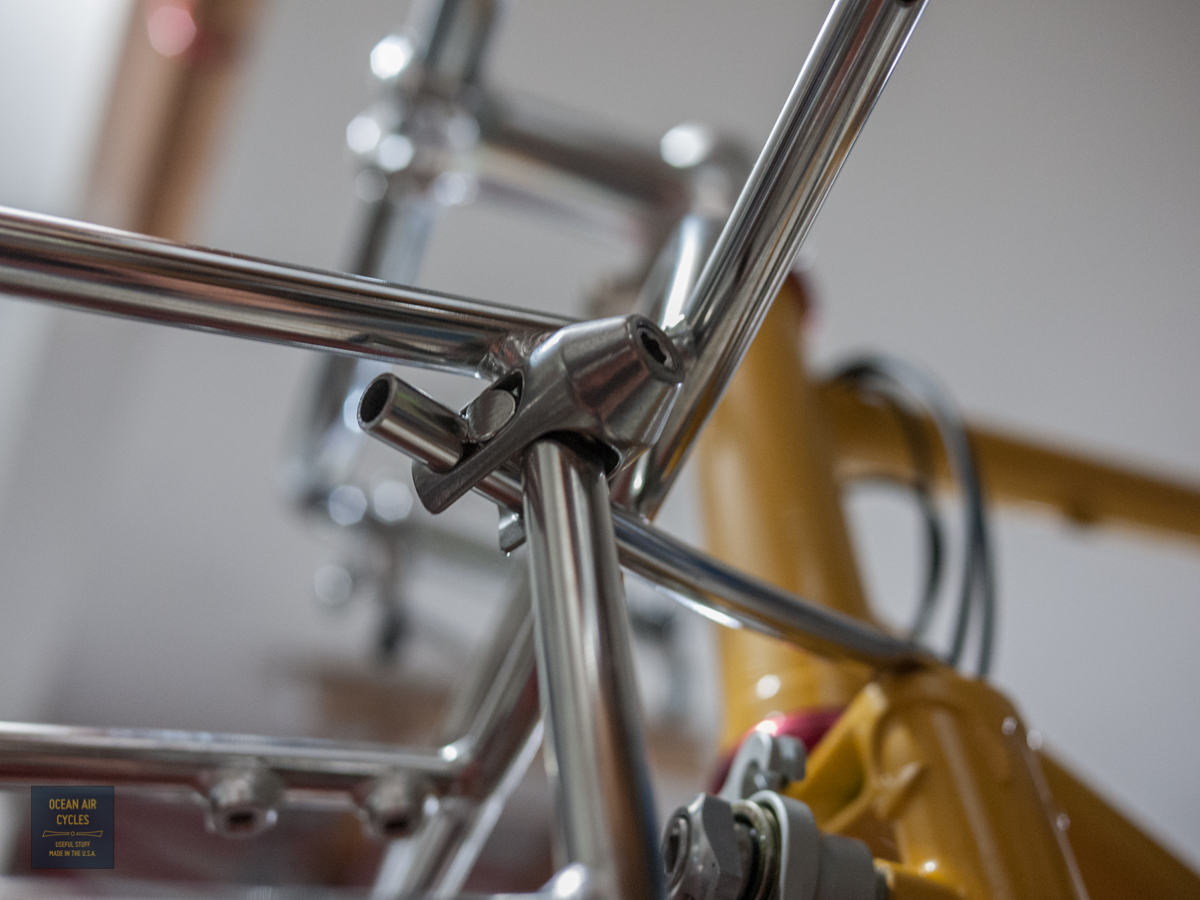
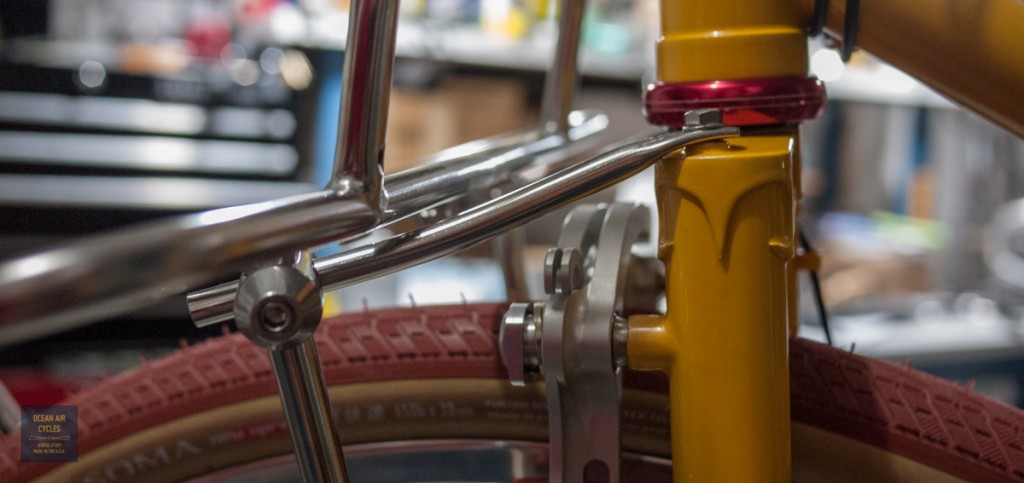
This is another area that we feel the current racks on the market fall a bit short. Most of the commonly available racks, VO, Soma etc, are designed to work with a single tang connected to the center of the crown. This works, but not as well as it could. It leaves the rack a bit wiggly, and leaves only one chance for loose hardware to become a really big problem. We designed the Rambler with dual mounts at the crown. This provides engineering redundancy in the mounting as well as greatly added stiffness. The fork crowns with this mount are open to all, this is not something we invented, but hope that will become widely adopted. The downside to this is that the current racks on the market need a bit of adaptation to integrate with the improved mounting.
Our first solutions involved the addition of struts welded in place. This has worked very well and if you have access to somebody with the metal fabrication skills needed to make this work I would recommend going this route.
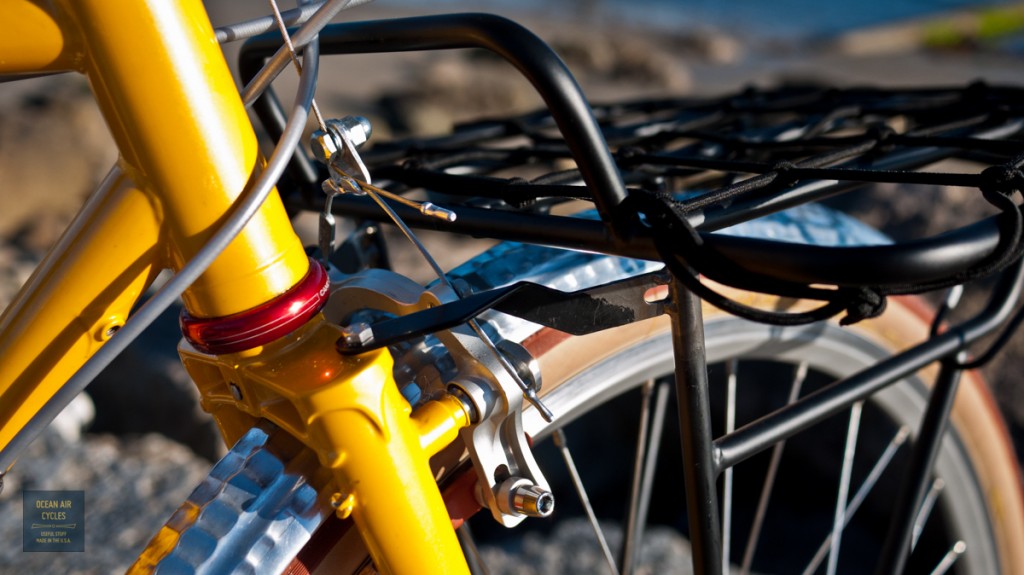
We realize that not everybody putting a Rambler together at their home workshop or even having their local bike shop buildup their Rambler has the resources to do this. While searching for a suitable hardware, nuts and bolts, solution we were turned on to the
hardware kit sold by Surly for their rear rack. This has proven to work quite well, the struts included in the kit only need a bit of bending and trimming, and it all bolts right up.


Like al bolted hardware on a bicycle this will need to be checked regularly, but in practice has proven to be quite robust, and will work with all of the commonly available racks on the market.
Our long-term goals include the development of our own racks as well as partnering with existing producers to help their future racks work with this system that is both safer and more stable.

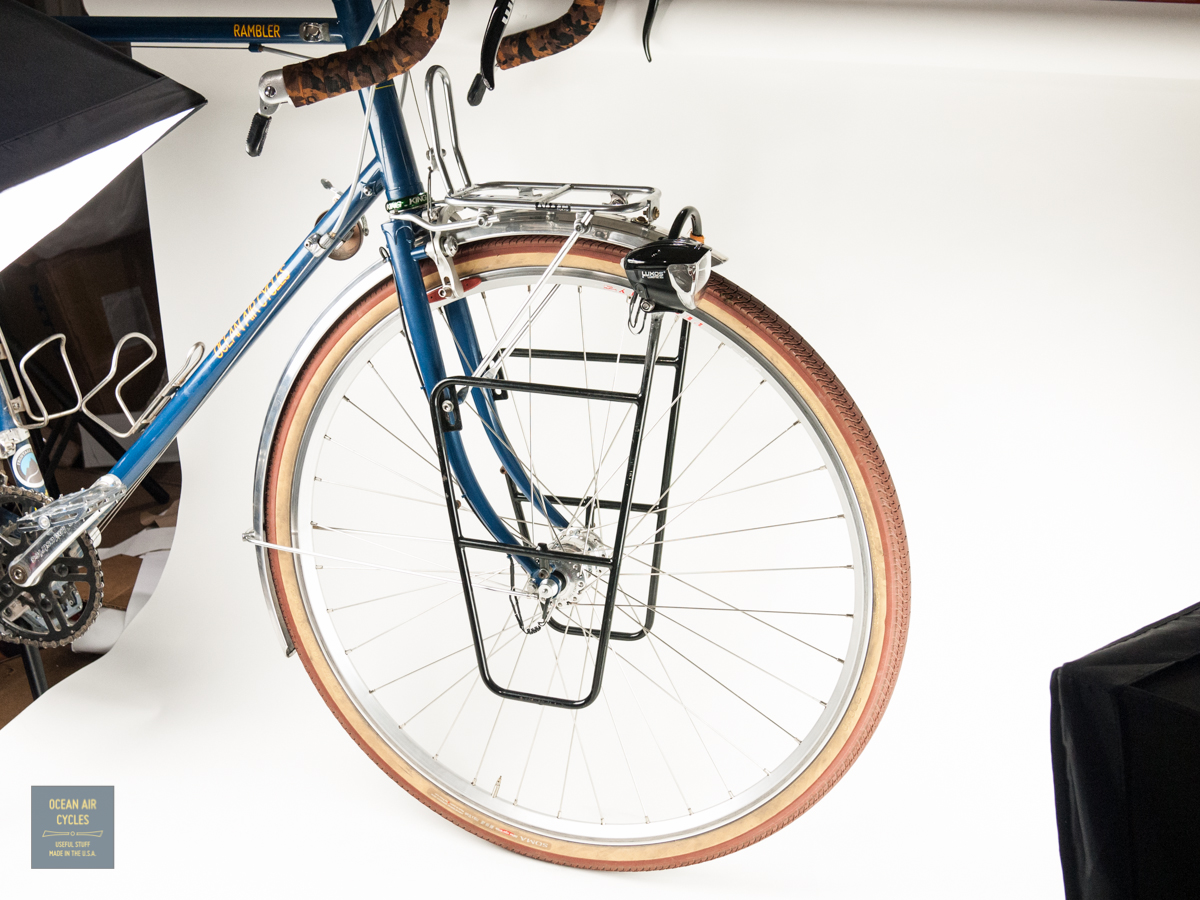
Continuing our series on getting a proper rack(s) onto your
Rambler, today we will tackle an easy one. The
Bruce Gordon Lowrider Rack with the upper mounting point in the vertical configuration will bolt right up. It fits both the 700c and 650b Ramblers from the current batch onward with no modification needed. These are hands down the best deal going for a strong and light set of front pannier racks. I added the custom light mount, but for a nominal fee Bruce generally will add some custom details.
In the coming week I will be tackling a couple of Mark's rack, the upper silver one, installations and document the process.
Back in the spring when we visited with Merry Sales (Soma Fabrications) the conversation turned towards some projects that we would like to see come to fruition and possibly collaborate a bit on. They have been good to me as a wholesale account for the parts I need on complete bikes, and their expertise and sourcing relationships in Japan and Taiwan run deep. They see value in the fat tired road bikes, as well as the French inspired bicycle geometries, as do we. Things went well and our first project is coming to fruition.
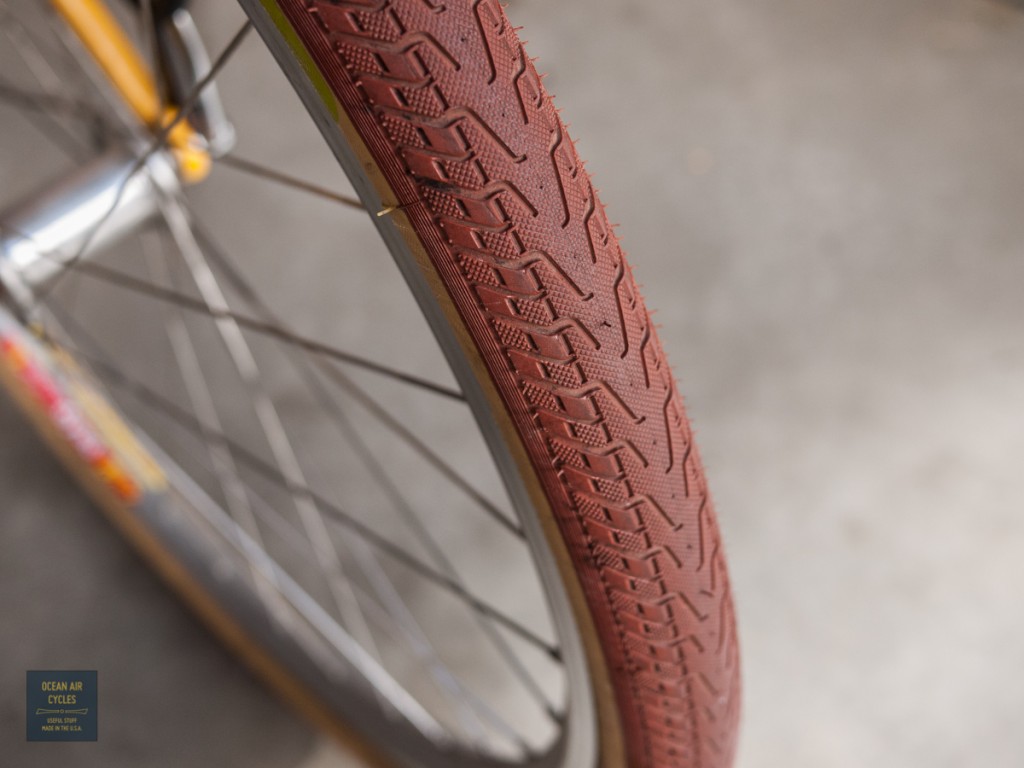
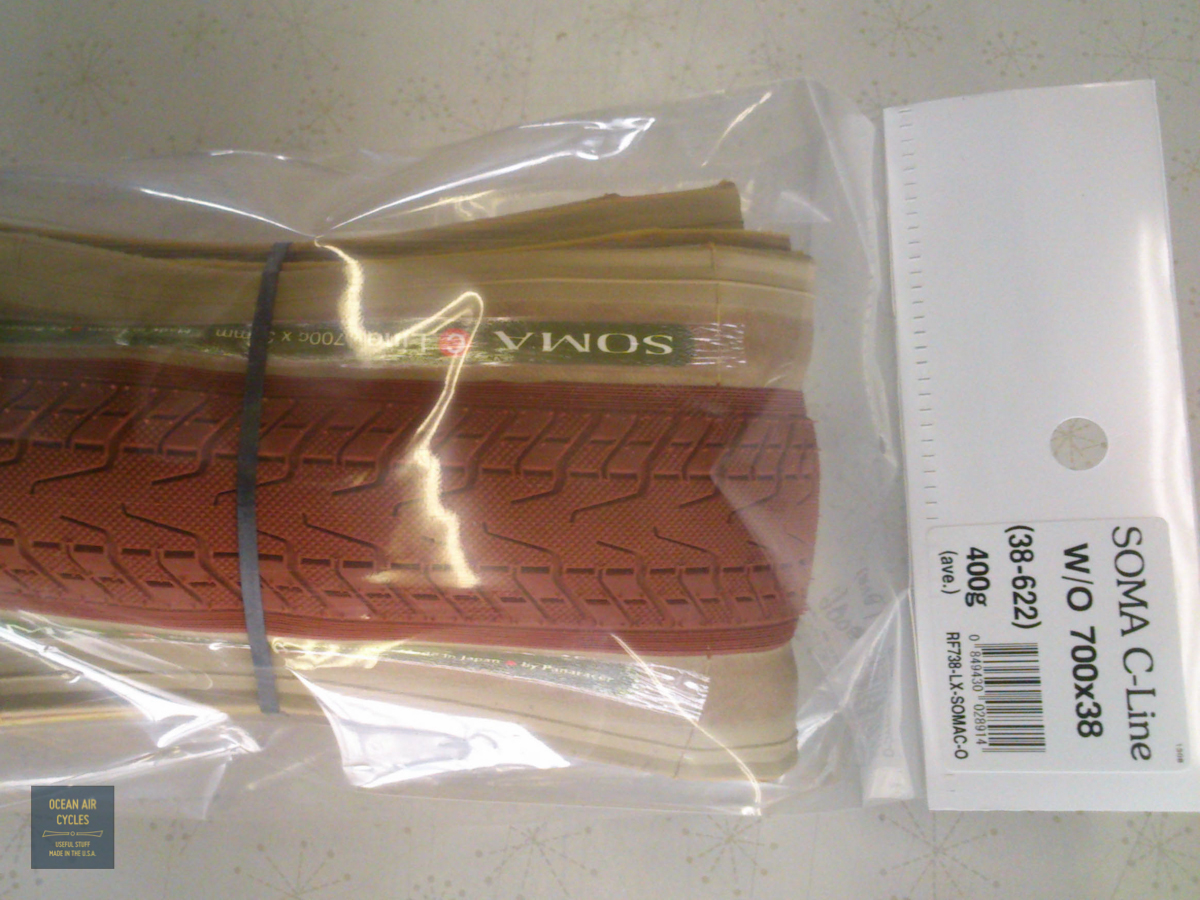
There has been a bit of a hole in the market for a well made, light weight and wide 700c tire. I have been happy with their New Express 700x37, but having ridden both the NE and B-Line versions of this tire in the 650b size I knew that there could be more. Starting with everything good about the well-regarded Panaracer Pasela and New Express tires, the inquiry was made about the status of their 700x3xxmm molds. Apparently it had worn beyond use, they were in the process of making new molds and we were given a bit of a clean slate. Taking notes from the B-Line we asked for the tread width and pattern of the 35mm Pasela, the casing of the 37mm, No extra protective lining, a folding bead, and since we were going this far we asked for color options on such a relatively small run of tires. Panaracer said yes, and the wheels were rolling. I kept checking and persisting, then an email showed up confirming that the tires were done and shipping soon. Continuing to push for info, I requested photos. A bit of time passed, then this gift hit my inbox last week.

Coming in at 400g exceeded all my hopes. At that weight we got everything we asked for. This is in the same weight league as the well-regarded 650bx42 Grand Bois Hetre. Combine this with the favorable rolling resistance data that the 700x35 Panaracer Pasela received in the Spring 2013 issue of Bicycle quarterly and I am convinced we hit it out of the park with this one. This tire meets and exceeds everything that was good about the tire they reviewed and takes it a step further.
With delivery slated for early November I set up a
Pre-Sale on out store front, the tires start at $49 each, buy two or more and you will qualify for free shipping.
I think this is just the start of some good projects with us and Merry. They deserve a huge thanks for backing projects like this, as well as Panaracer for their willingness to make tires in runs of hundreds when they generally do thousands of a model.
As part of the program here at Ocean Air Cycles I have been working on sourcing components and materials for complete builds. Often times the materials or parts we are used to as cyclists end up being tied up by distributors who have exclusive import deals and will not work with us as a bicycle producer or based the fact that we do not have a physical retail presence. As an aside we may never have a "retail" presence that certain suppliers define as a retail bike shop, and thus we have been developing alternate sources or products that may be familiar in the Rando or touring bike market, i.e. berthoud, Schmidt, and B&M are just a few.
The entire supply chain for high end dynamo powered lighting systems in the USA ends up being funneled through
Peter White. I am sure he is a great guy, I bought a fine set of wheels from him years ago, and those of you who have worked with him have your own opinions I am sure. Aside from all of the great information on lighting and wheel building, he is also the importer and distributor. Without the ability to get things wholesale, I started the search for alternates to many of the products offered. Some are much harder to get than others. We are still looking for a reliable source on the metric electrical connectors out favorite lights and hubs use. I was able to source lights from Europe earlier in the year but that is getting harder.
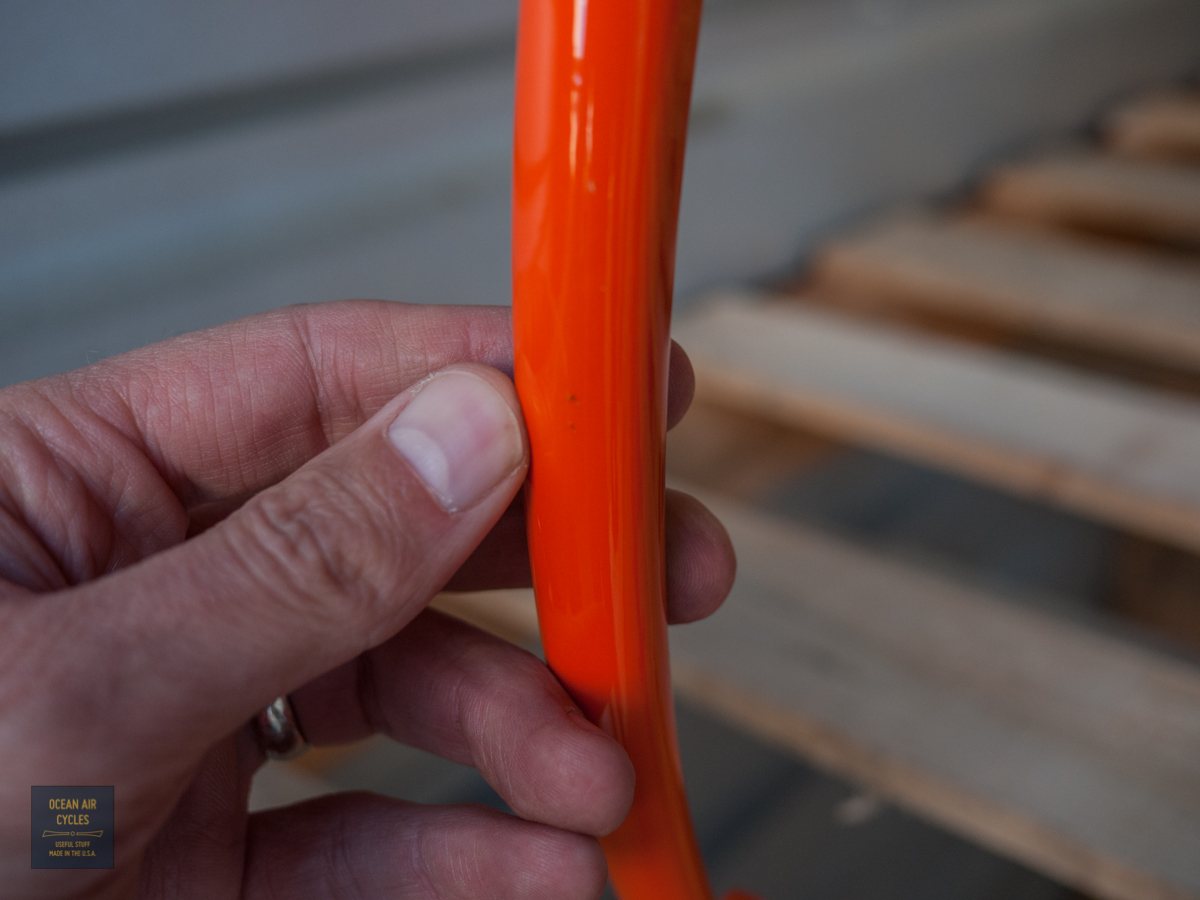
When setting up the Lighting systems on the bikes, there is quite often a need for longer or better wire to make the long run to the tail light. After a long search and testing a few different options out we have been having good luck with a coaxial microphone cable.
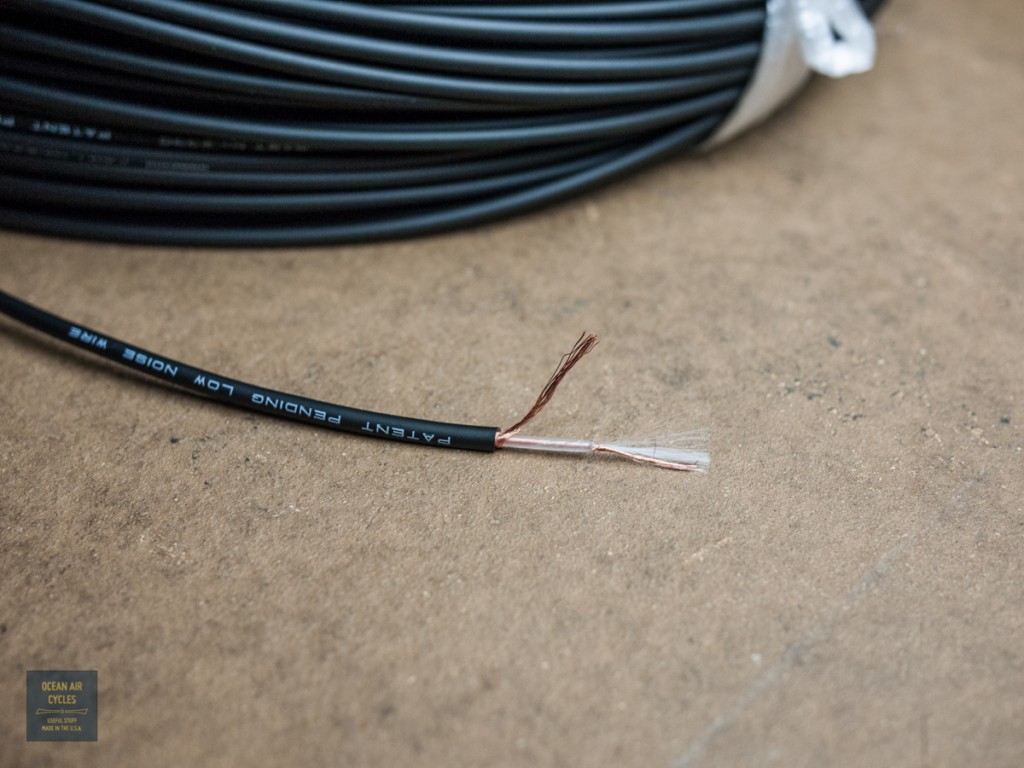 Setting up the ends is a bit more work with careful trimming, stripping and shrink wrapping. In my opinion the results are worth it. The cable itself is easier to run, the flexibility helps in fishing it through the frame. The outer diameter is 3mm and fits perfectly though the guide eyelets on out Rambler forks. The resilient outer casing will help reduce the chance of nick or breaks and possible short circuits.
The best part of the source? Pricing is well under Schmidt branded wire coming from Europe. In the next couple of weeks we will add shrink wrap kits to our offerings.
Special Offer: For the first 25 customers we are selling the wire in a 9 foot length (enough to do most bikes front and rear) for $0.25 plus shipping. I am limiting this to one per customer, and once all 25 are gone pricing will go to $0.32 a foot
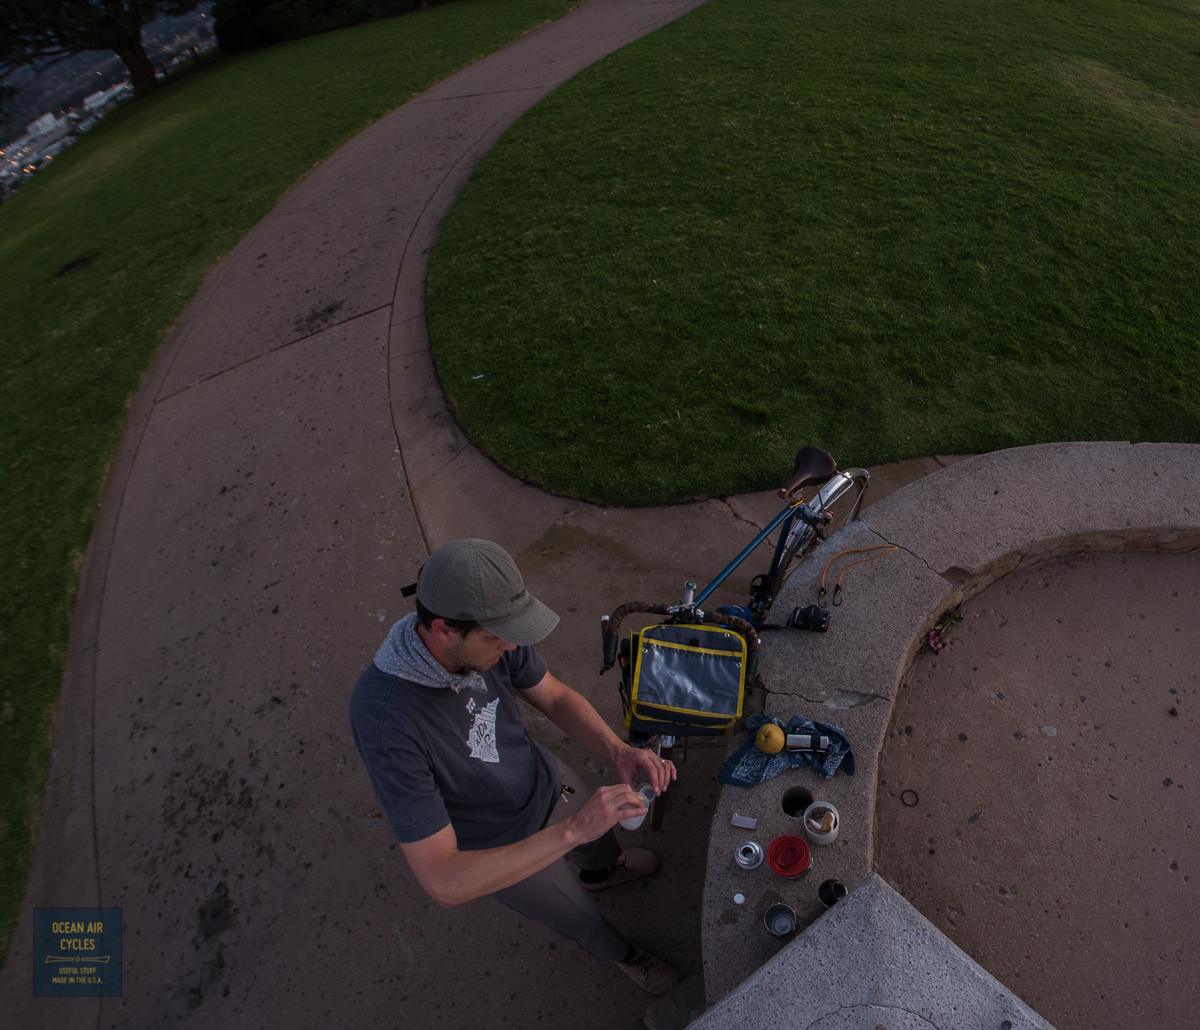
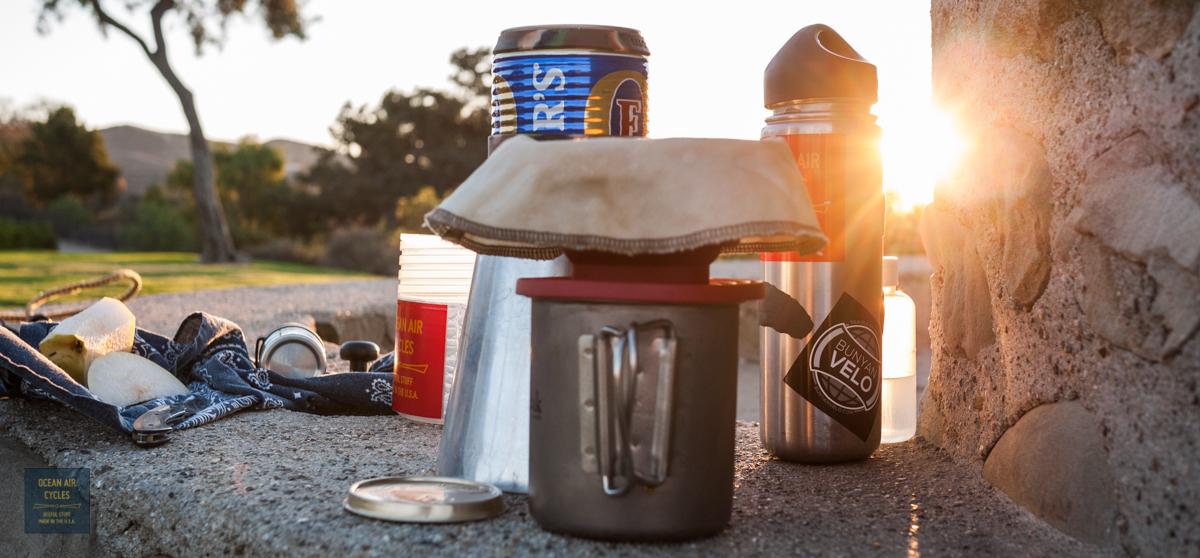
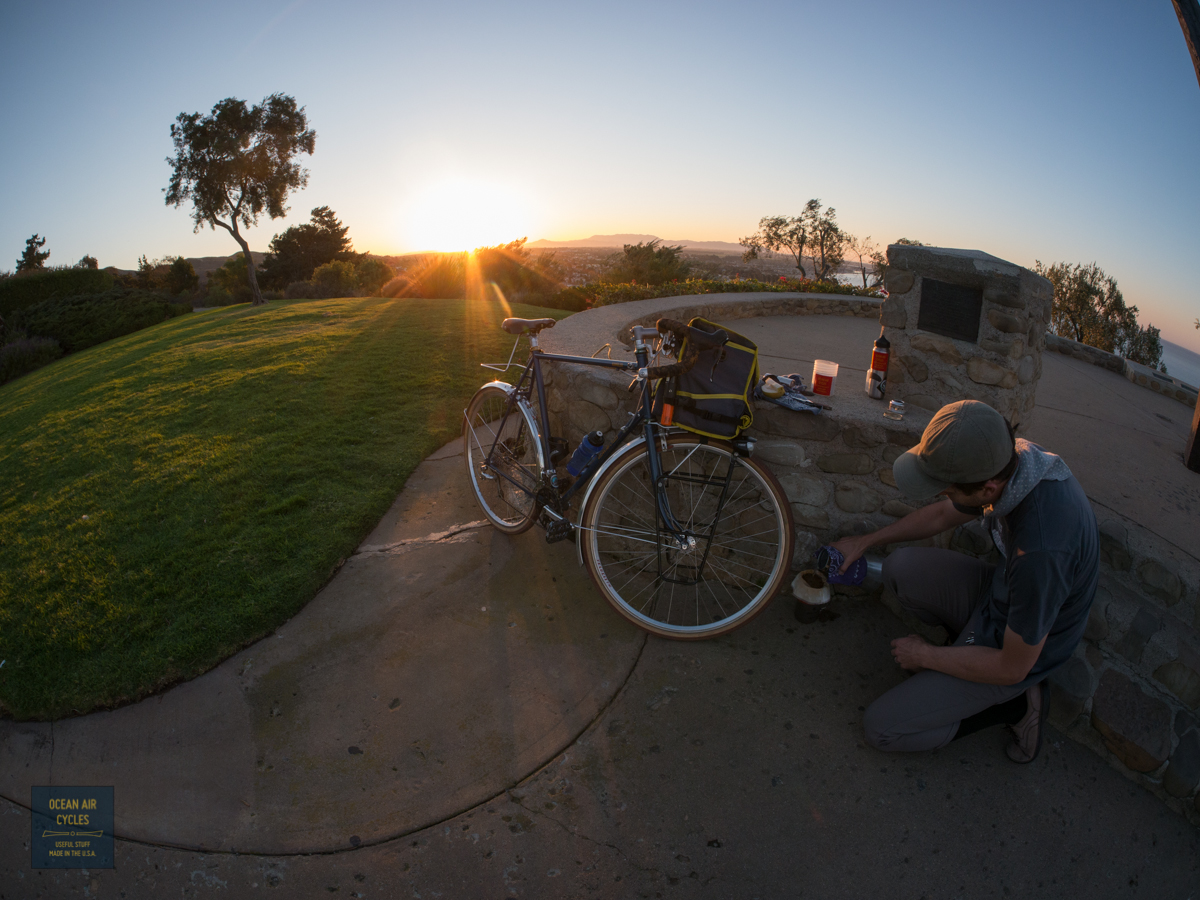
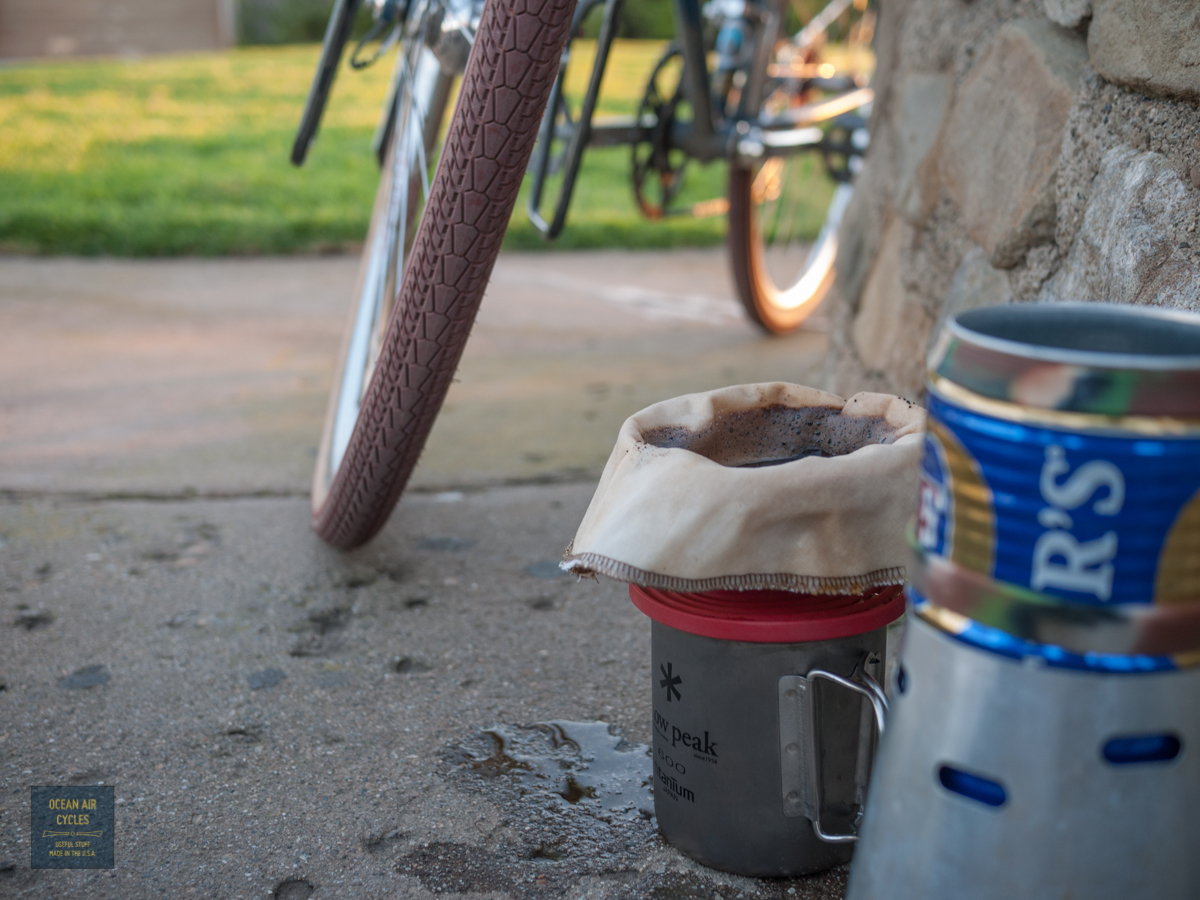
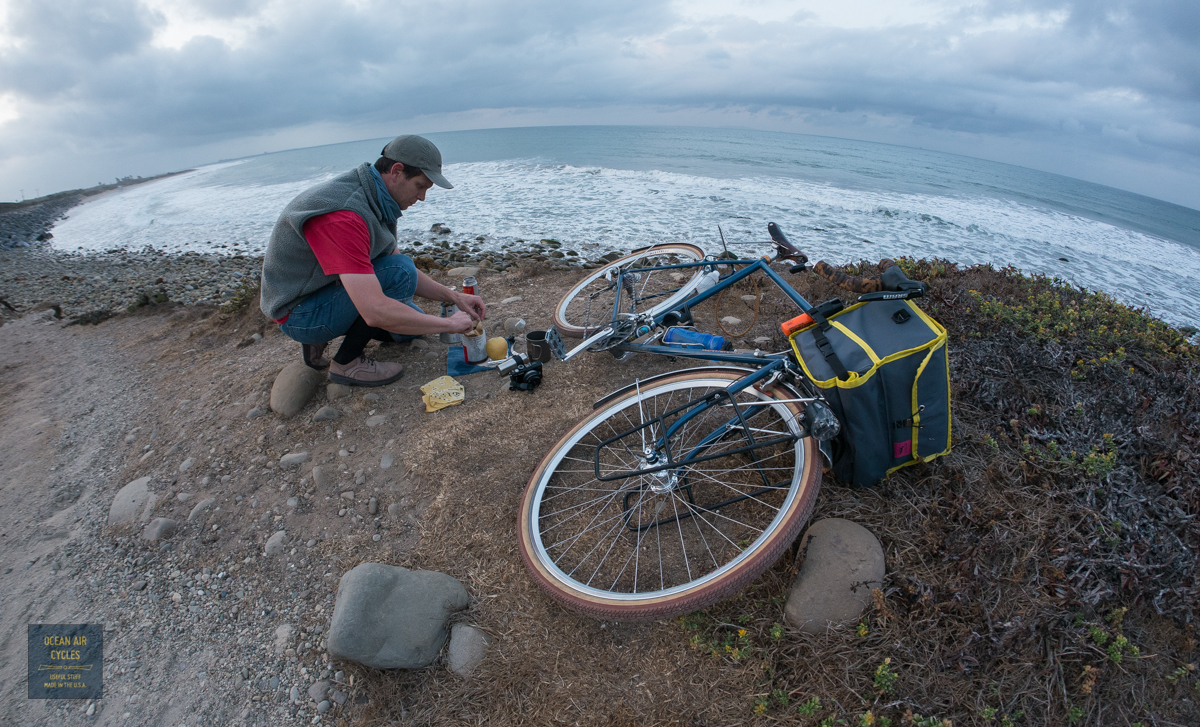
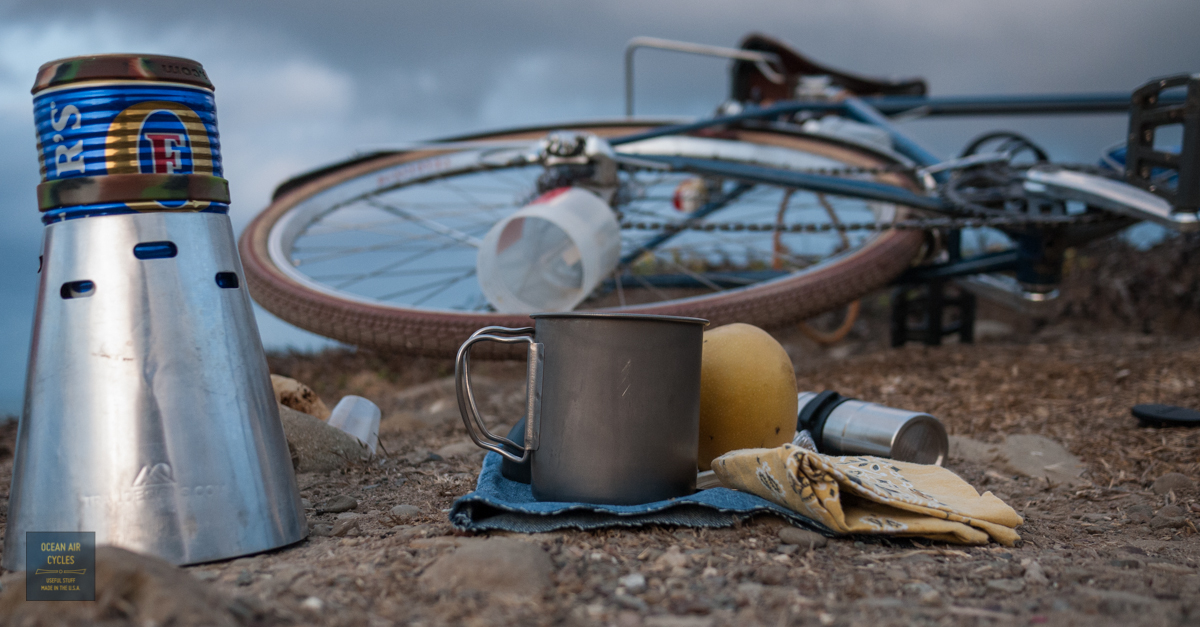
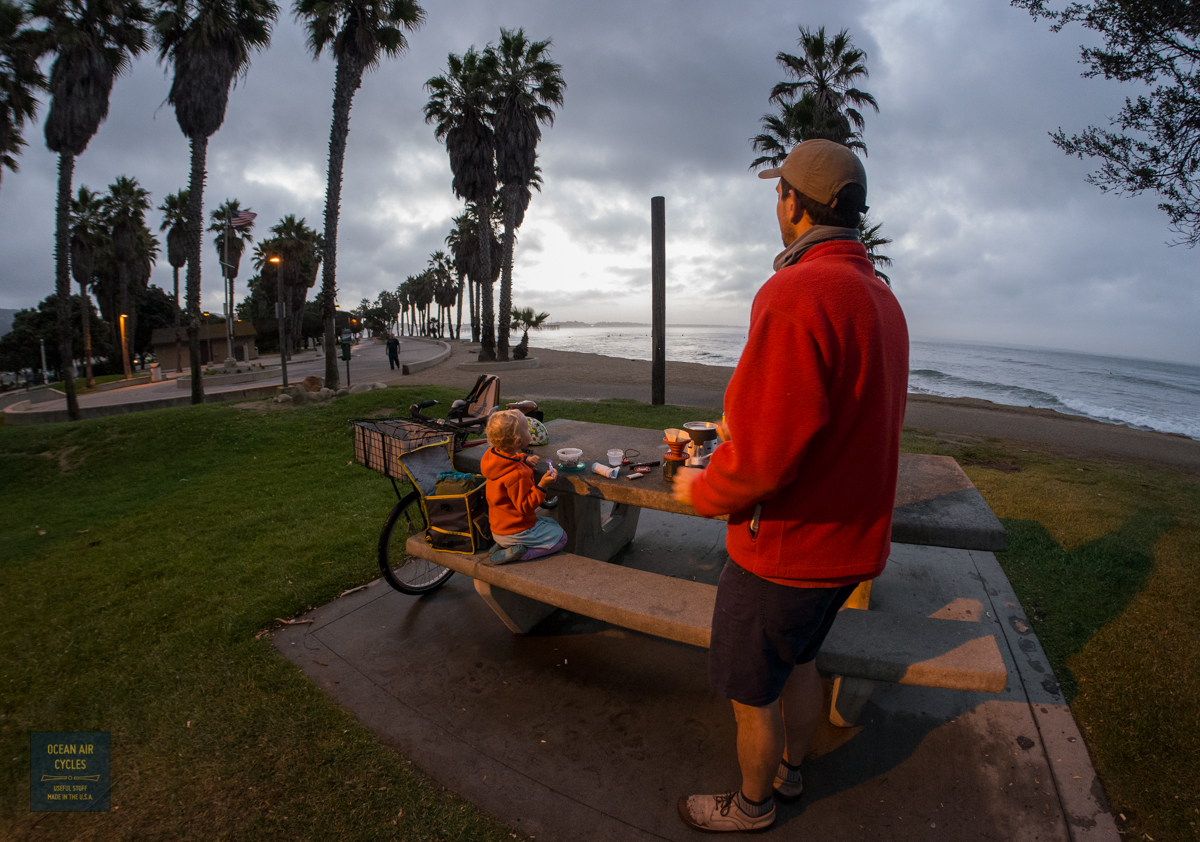
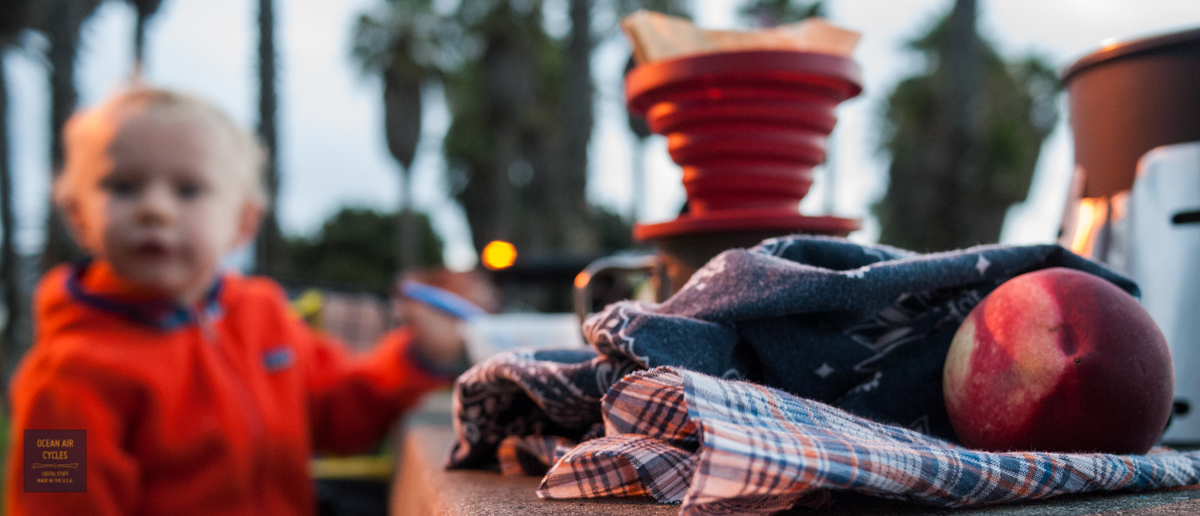
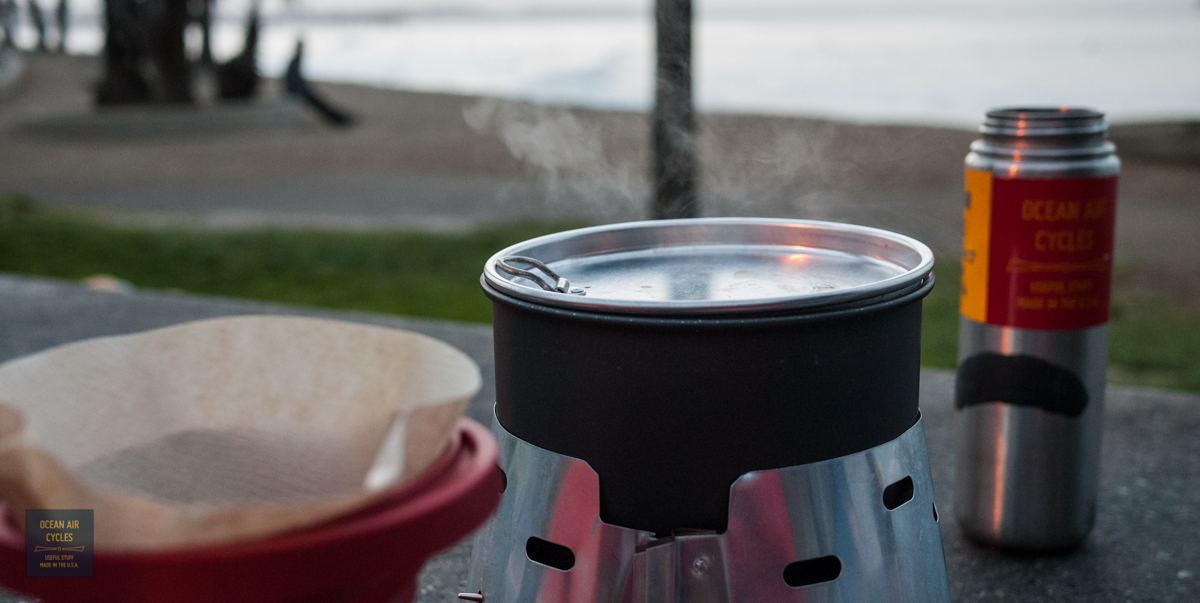
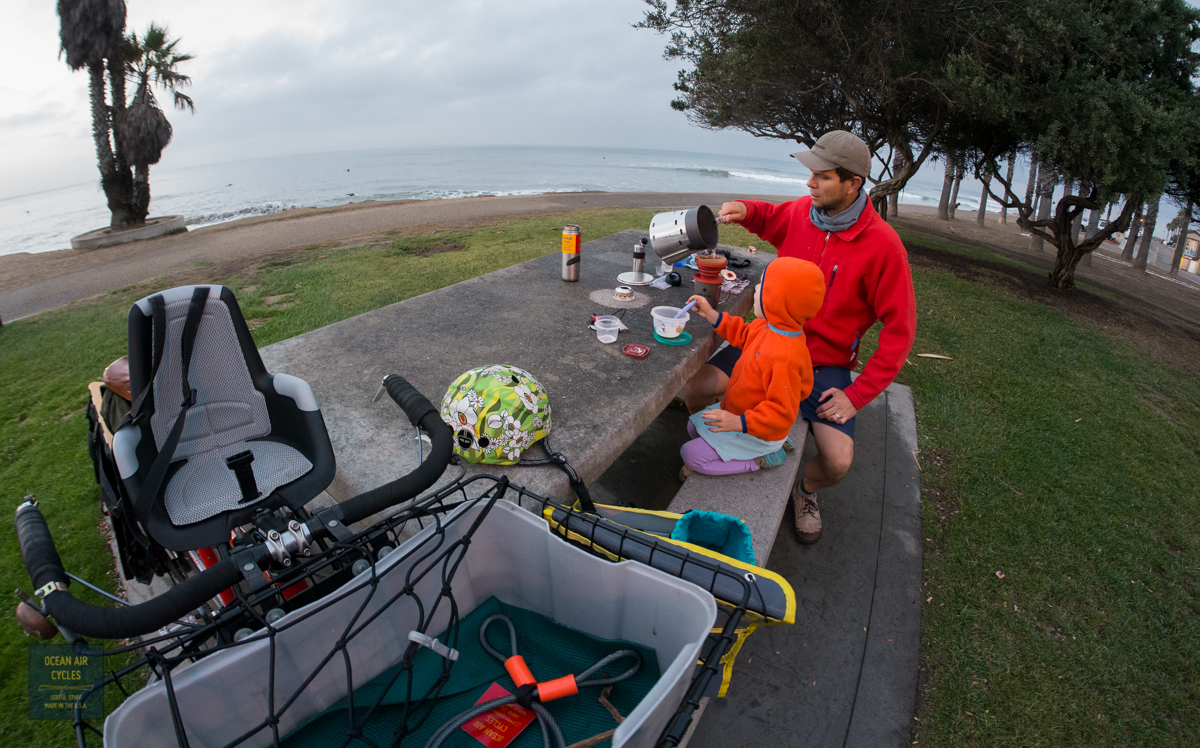
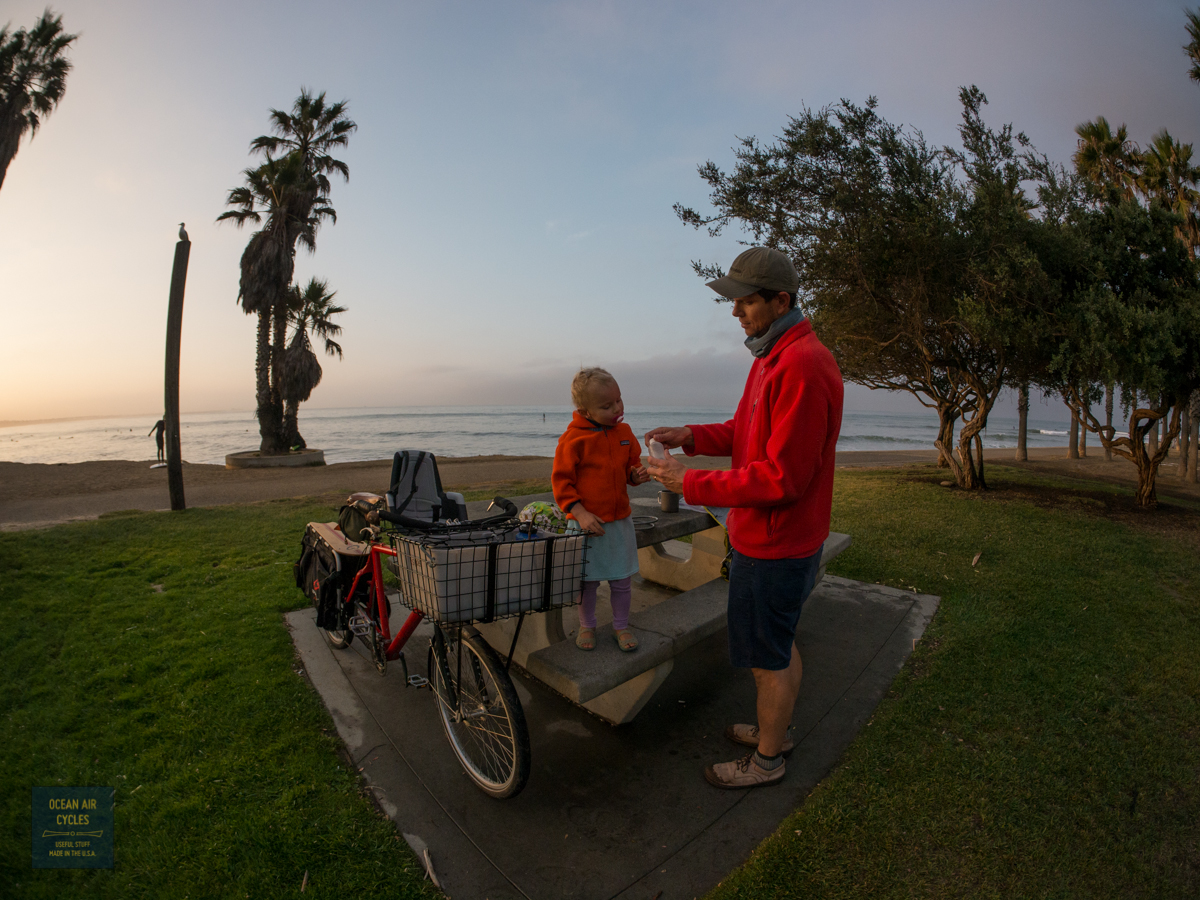
I was working through the normal Wednesday morning routine where I sneak out early, coffee and camera gear packed, and head out into the predawn to brew up a cup outside. This morning a few minutes before leaving, the best Plan B ever kicked in. Out 3 year old decided she was going to wake up with daddy at 5:15, and 34week pregnant mommy was not so stoked, as she figured I was already gone. I headed upstairs, grabbed the munchikin, cereal fixins and moved all the gear over to the Xtracycle. Then in a flash, we were off to set up "camp" under the glow of the sodium lights.


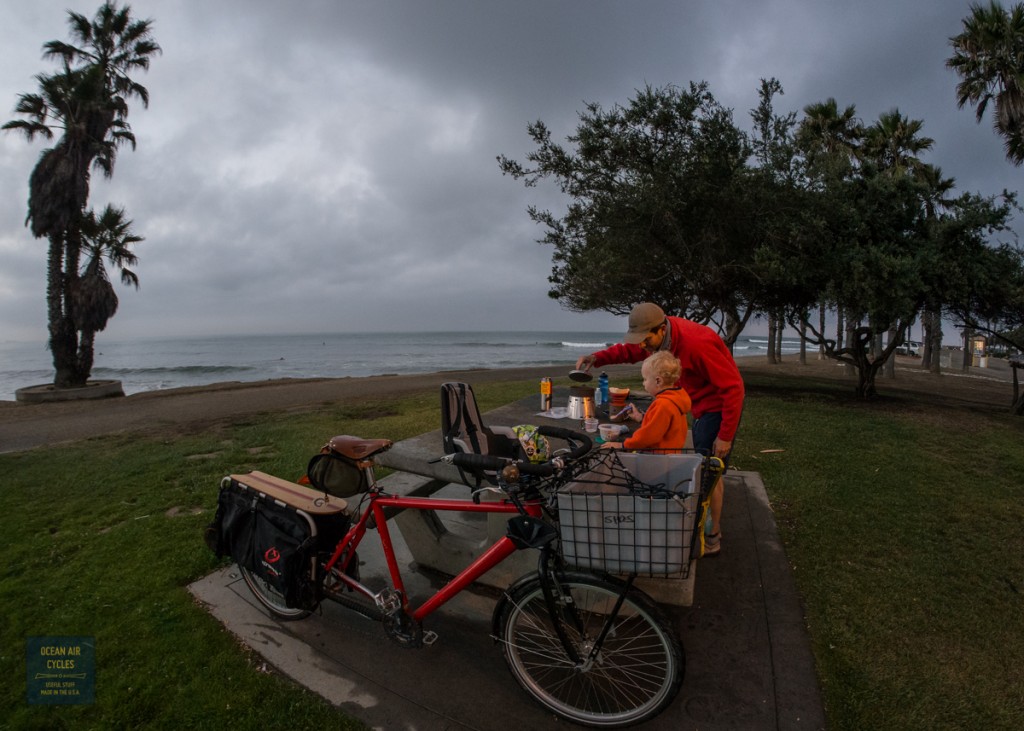


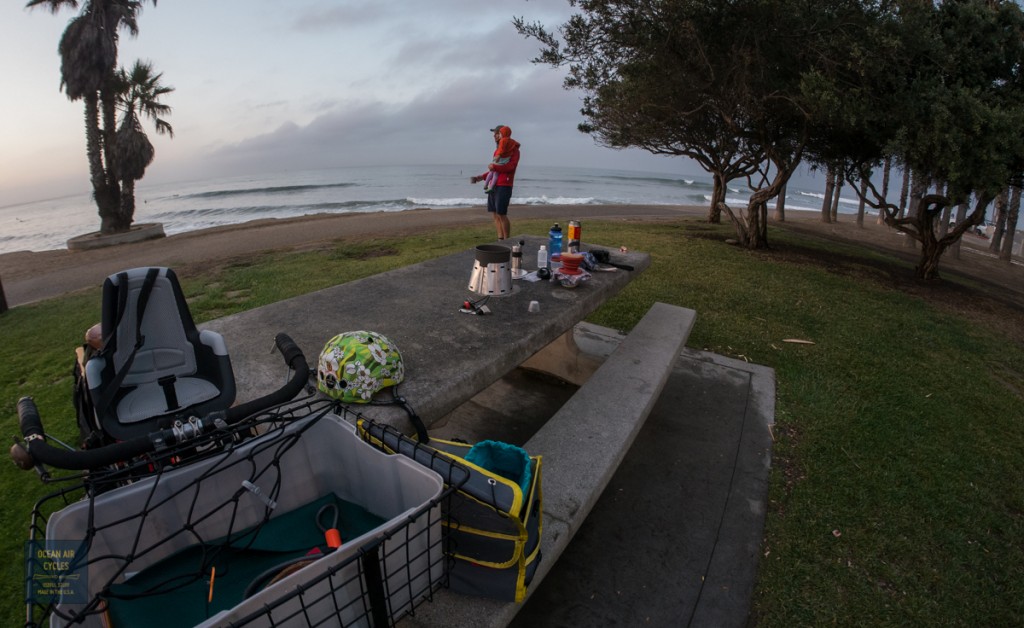
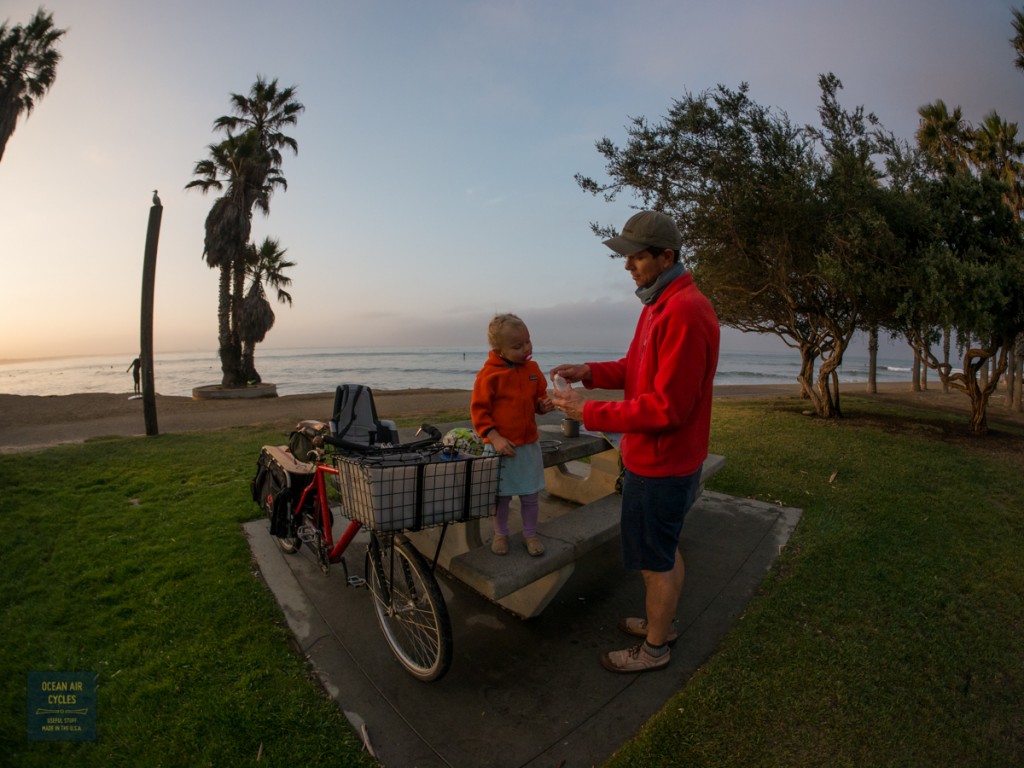
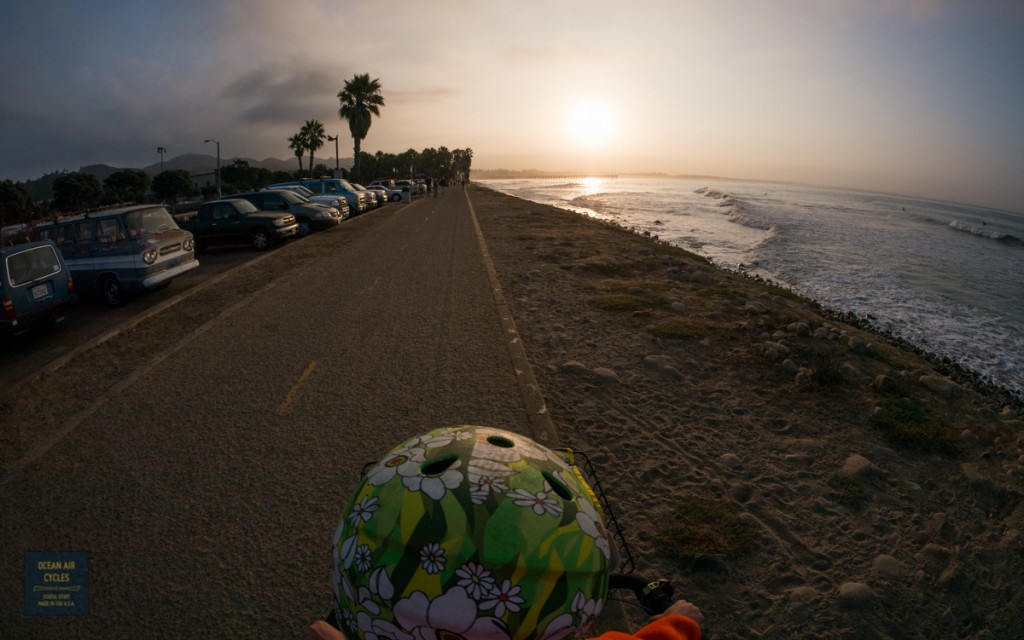
Mommy was able to grab an extra hour or so of rest, and we had a blast. I am pretty sure this is going to happen again, maybe even planned ahead, is that is possible with kids.