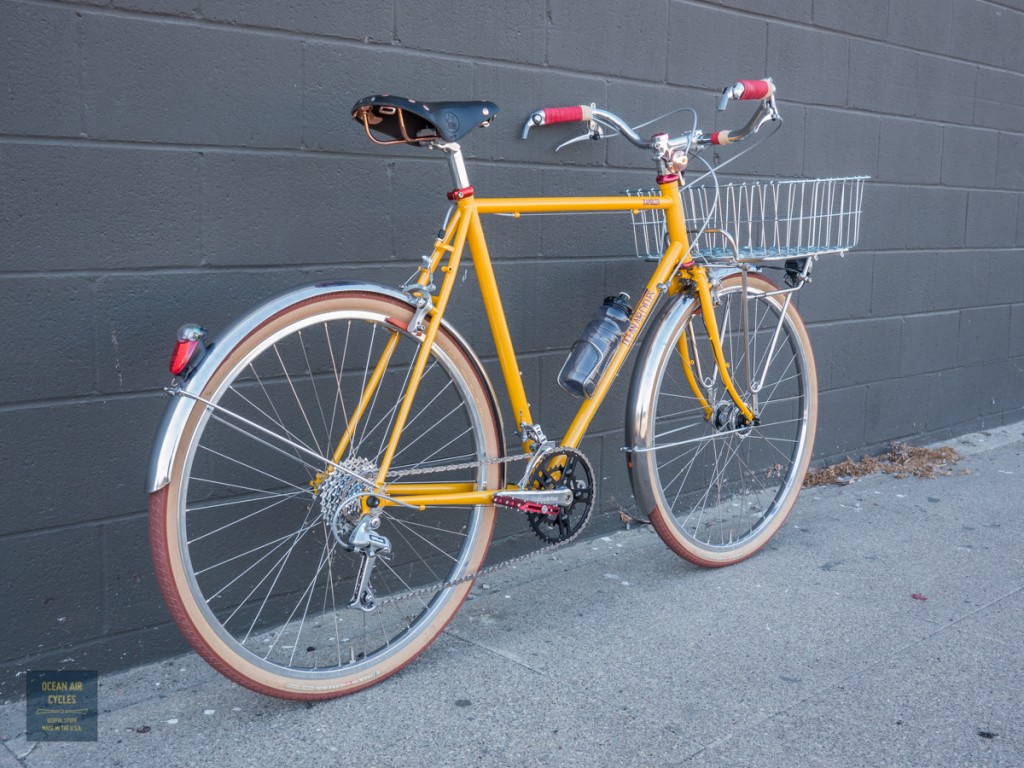
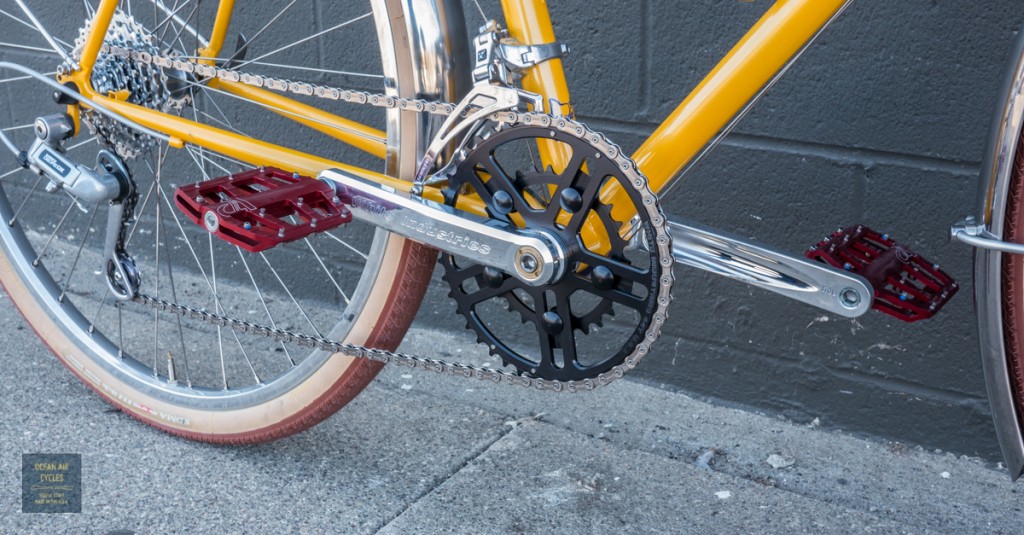
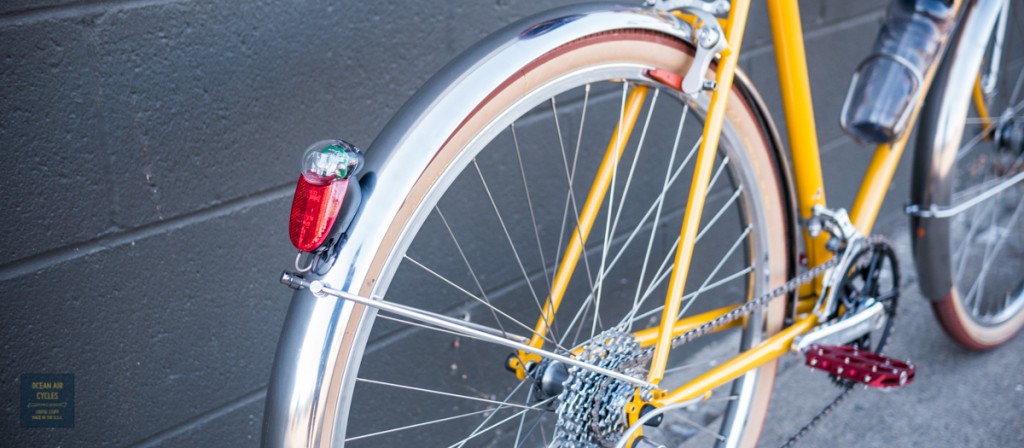
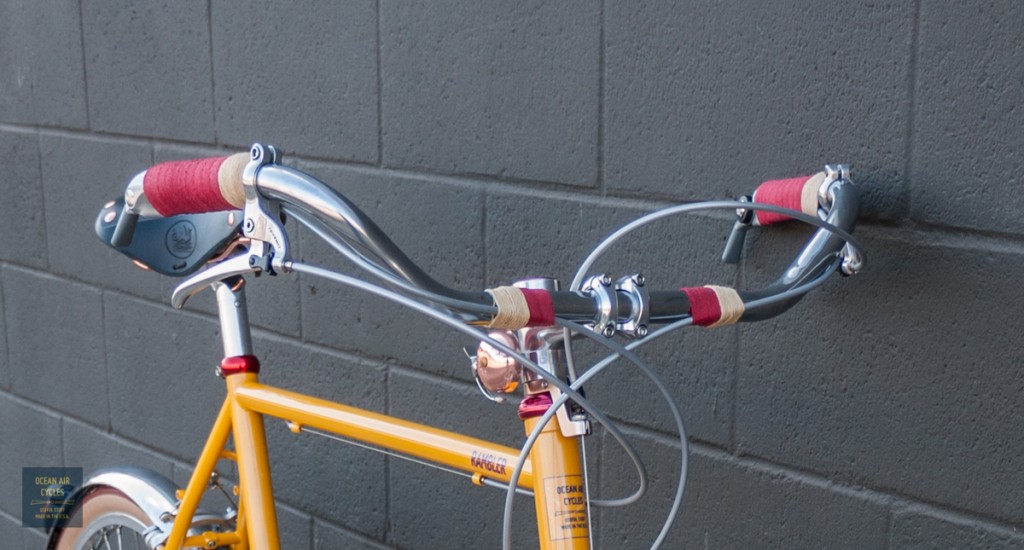
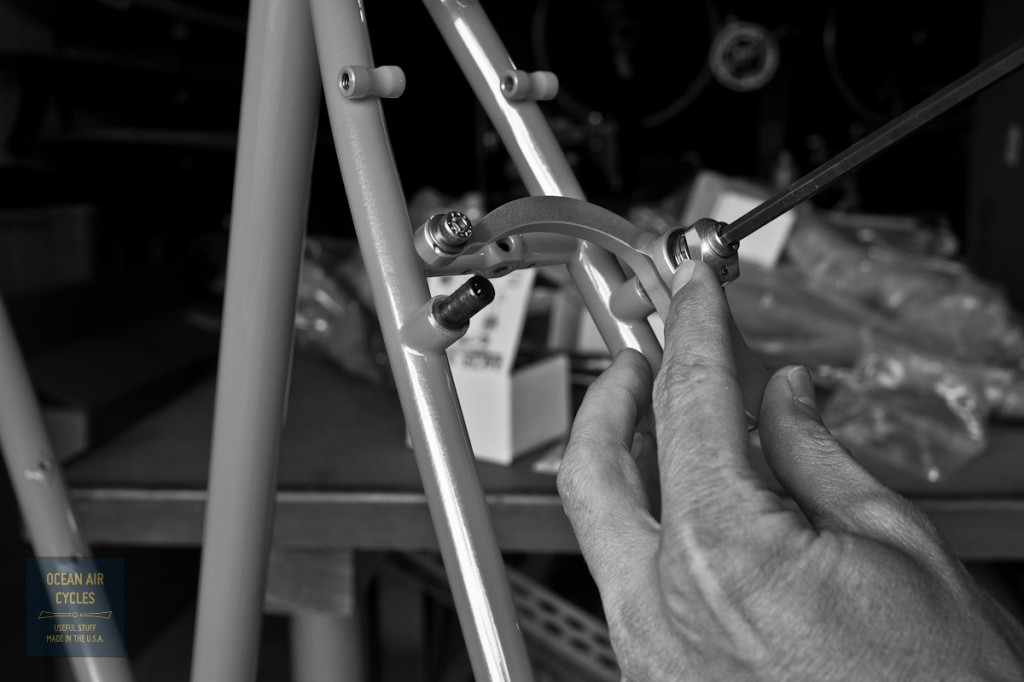
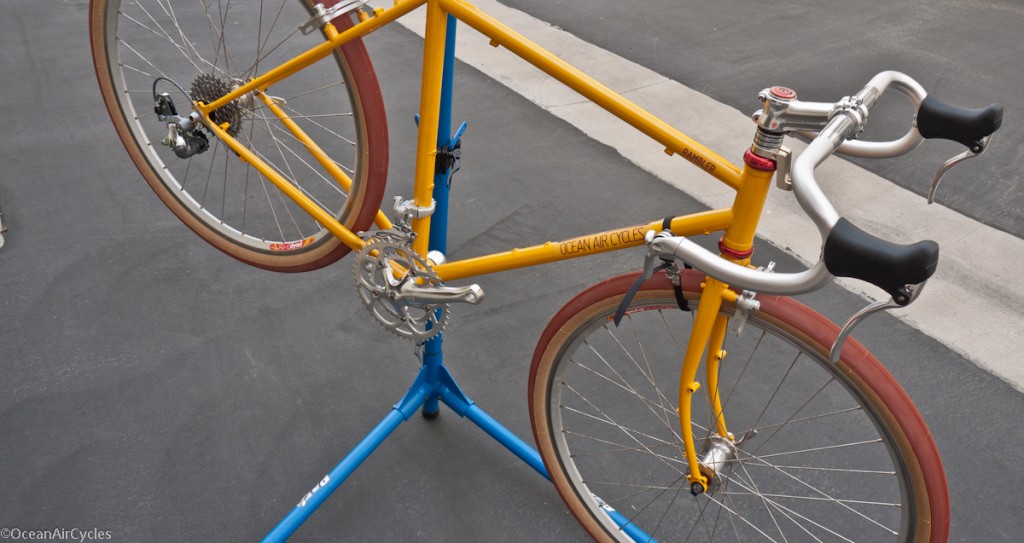
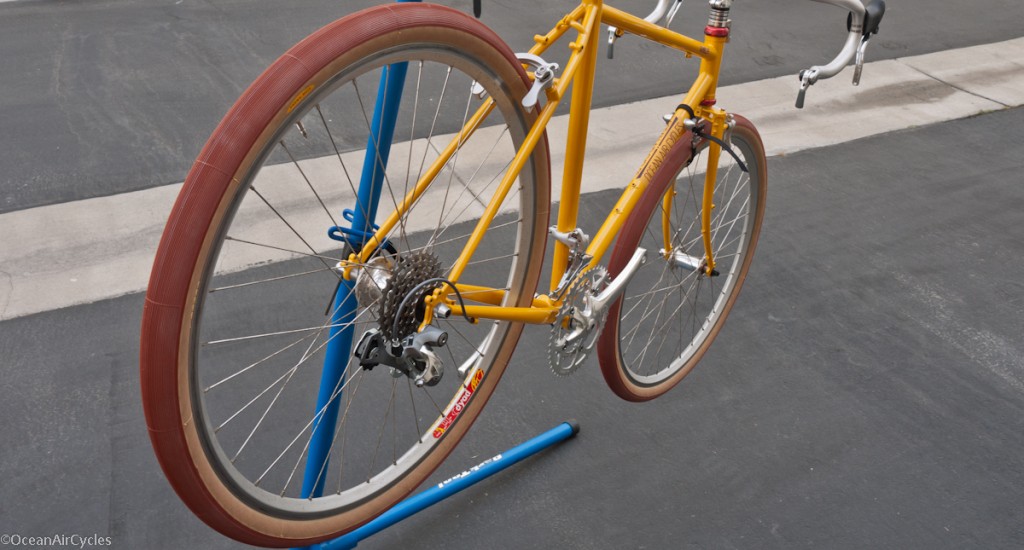
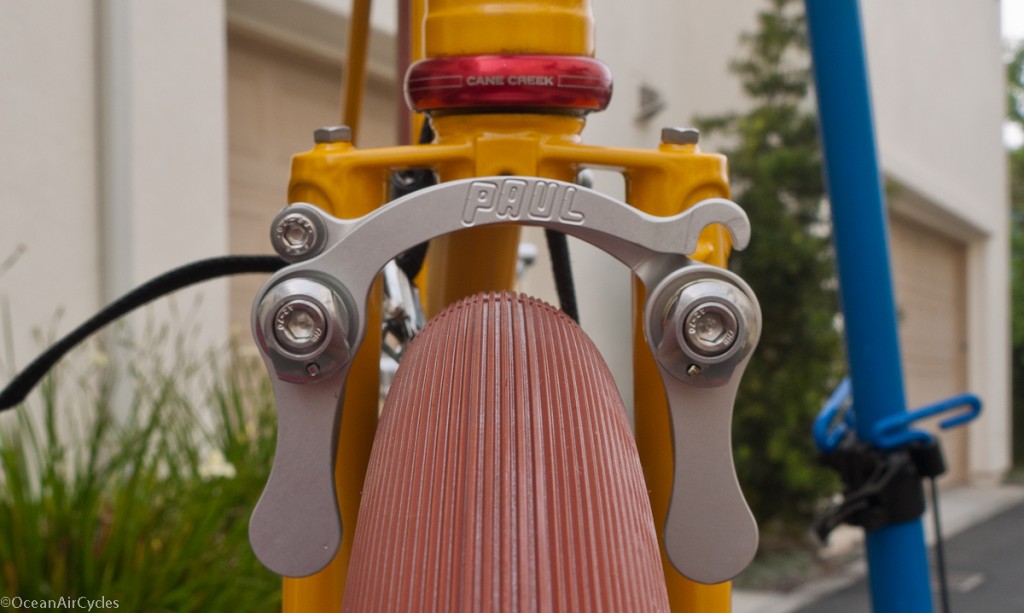
Rambler No.3 is now fit and built up to what it will most likely be for a while. I still need to sort out the racks, but am stoked on how it turned out.

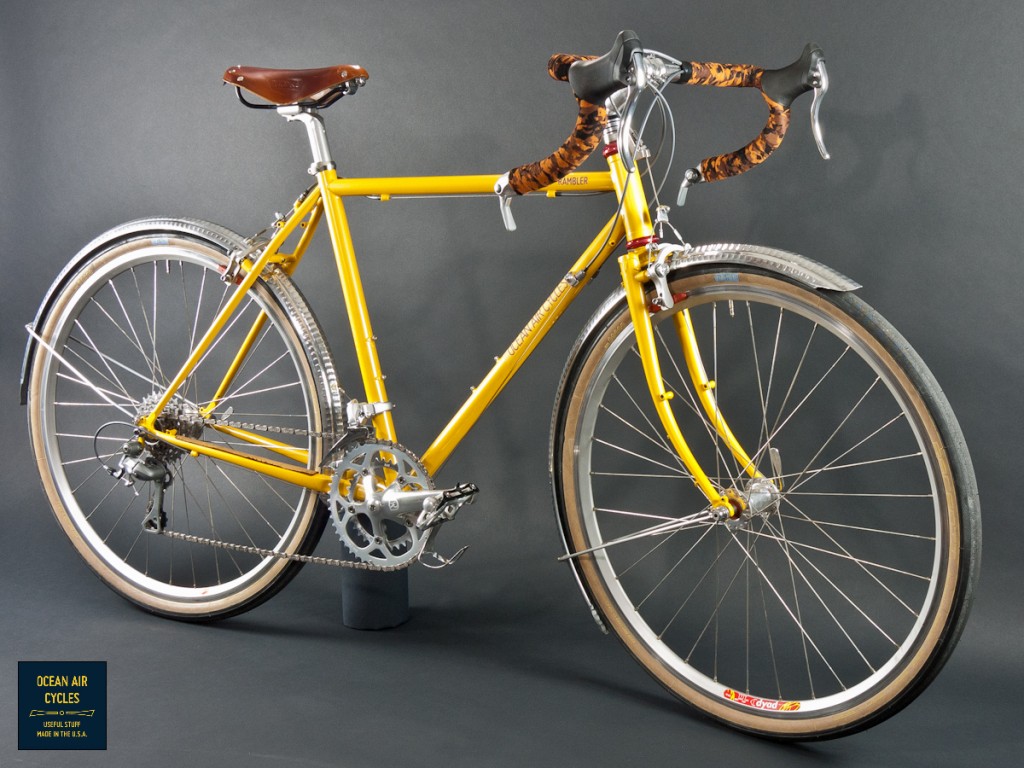
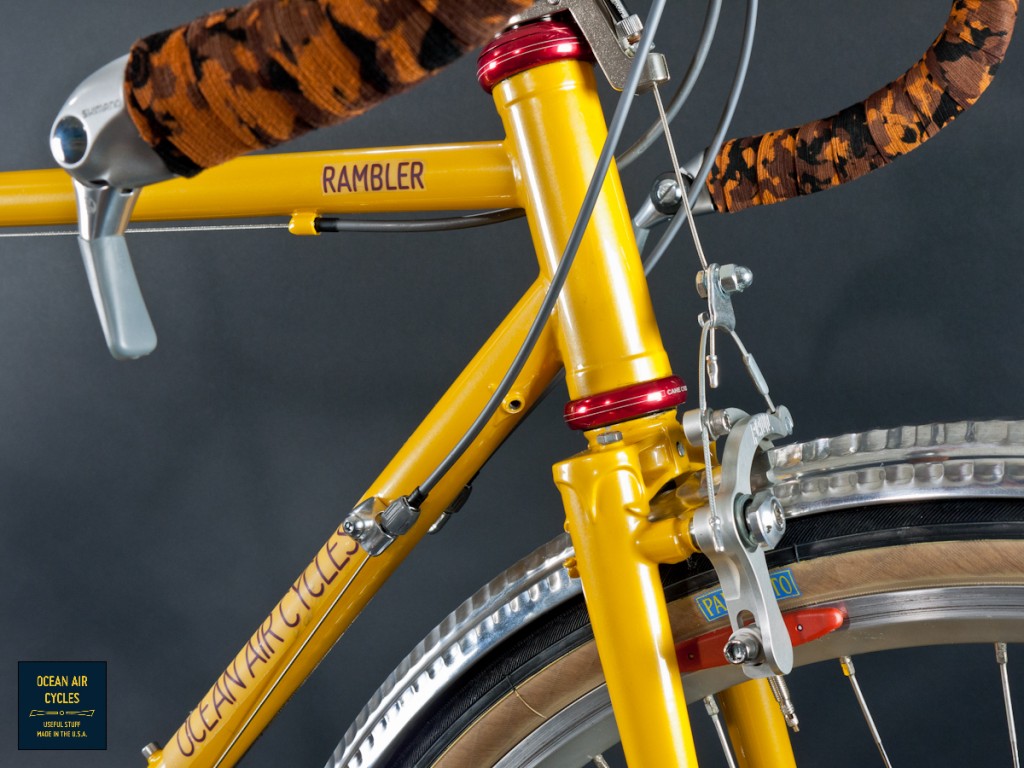
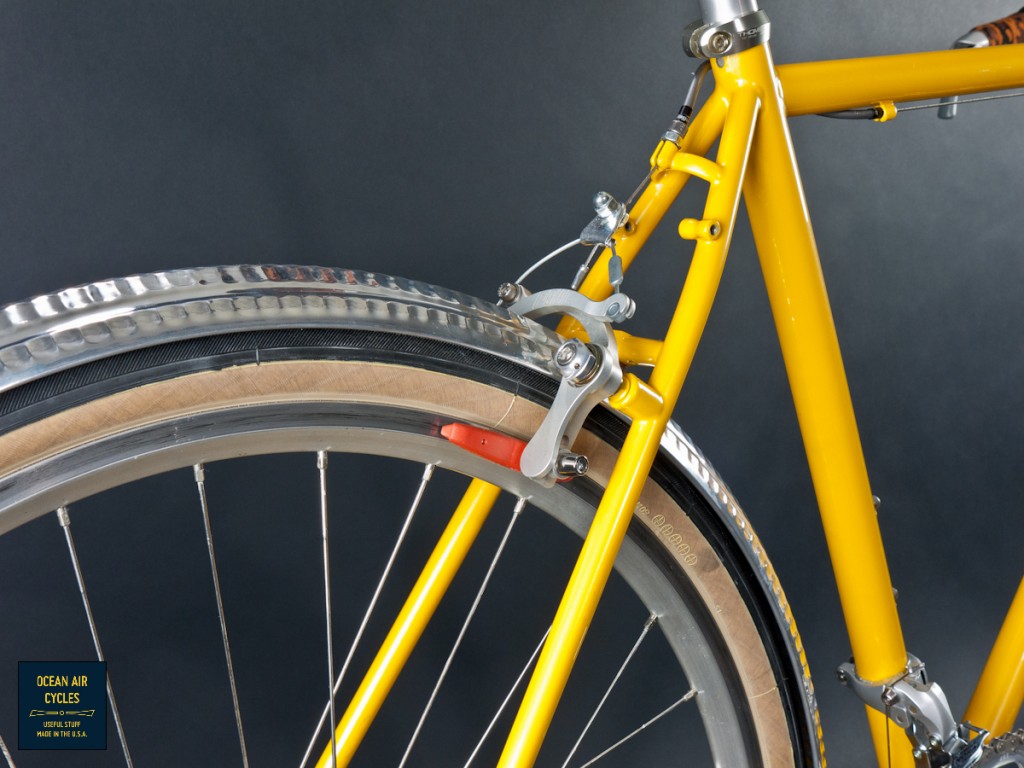


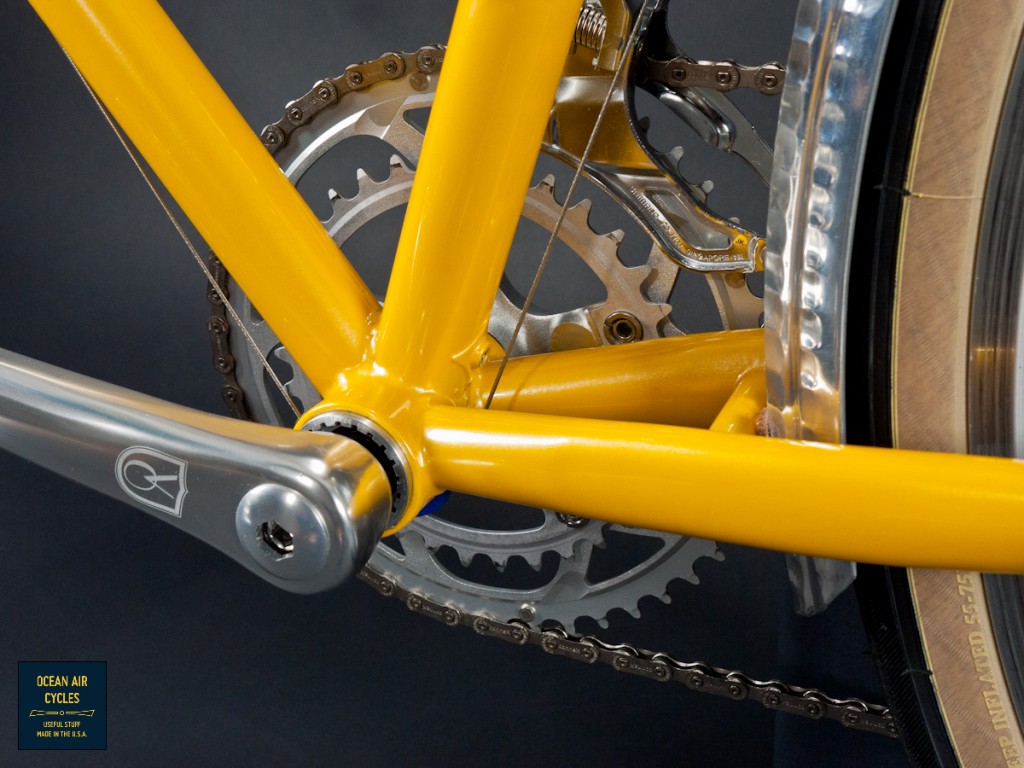
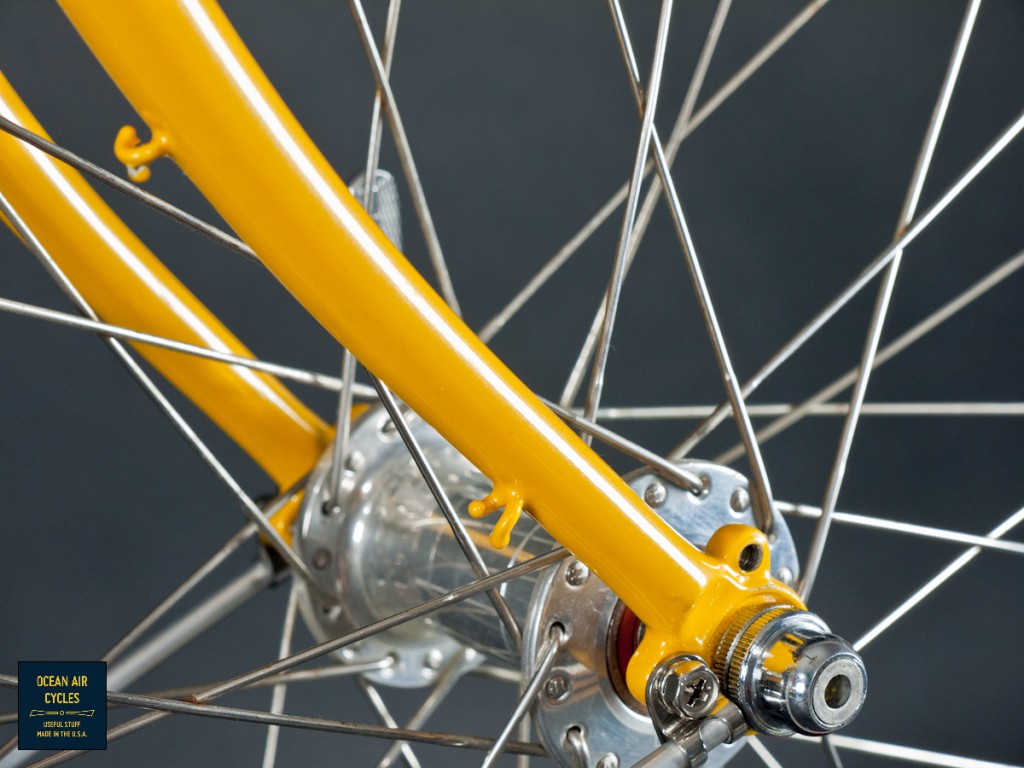
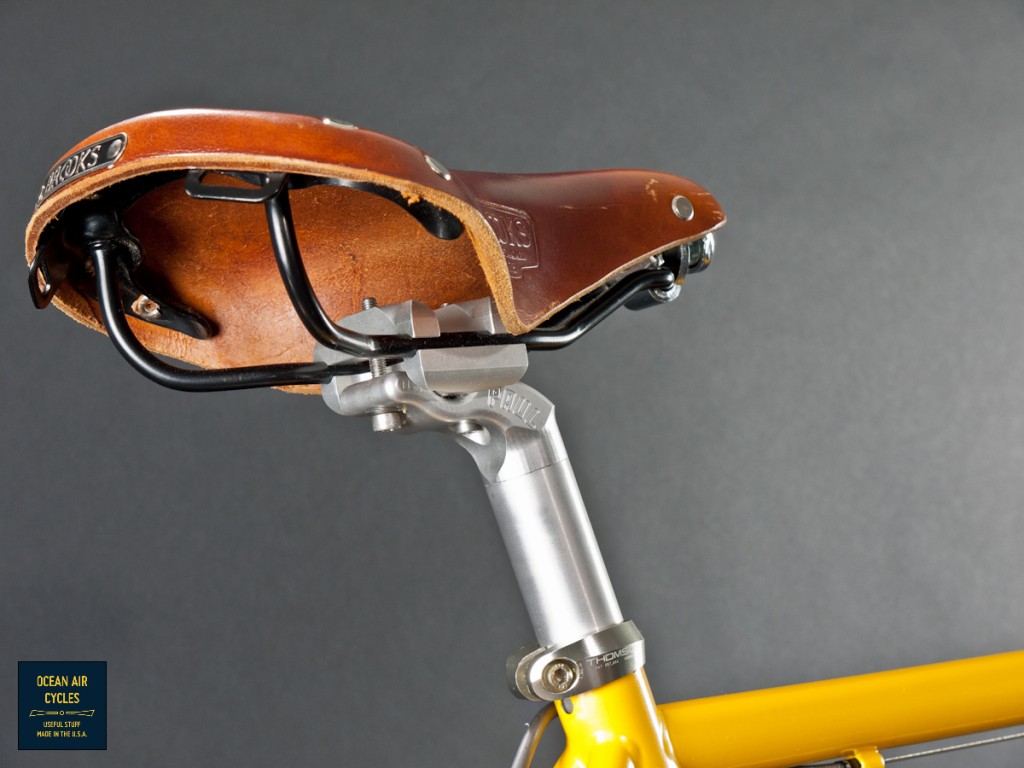
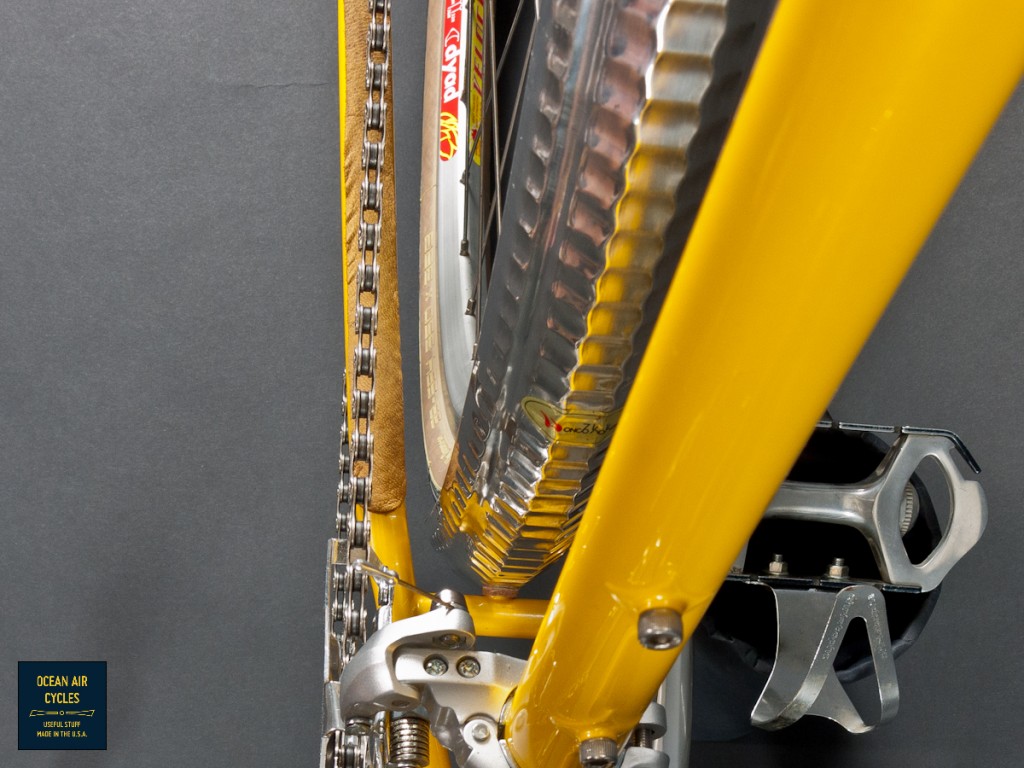
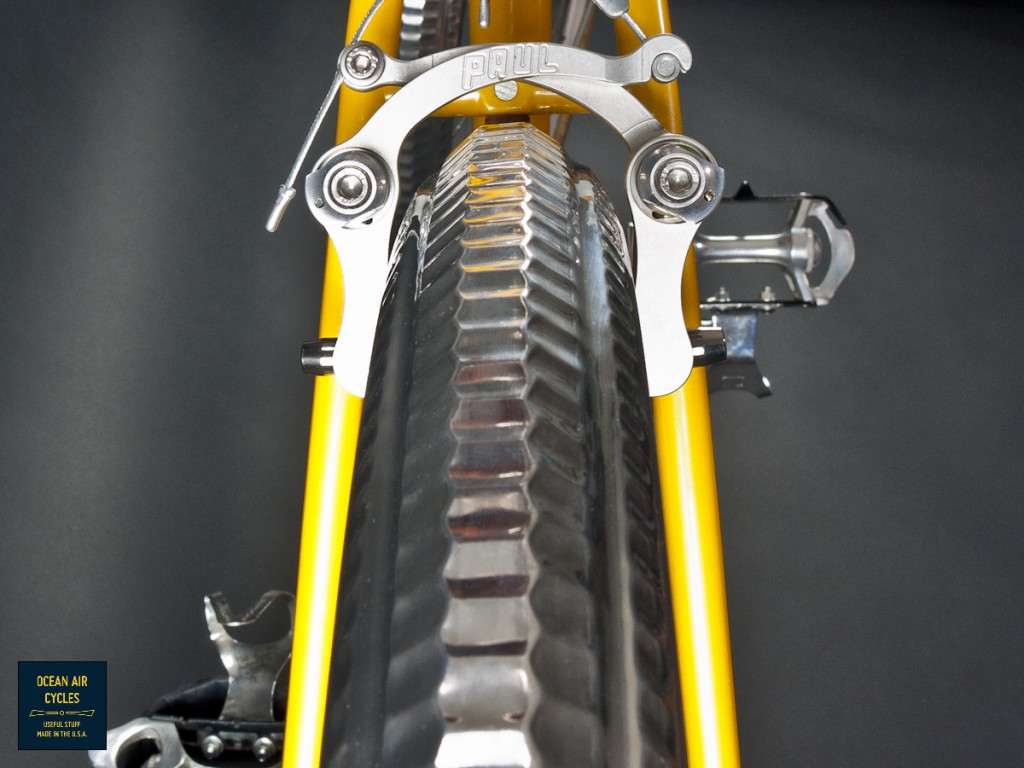
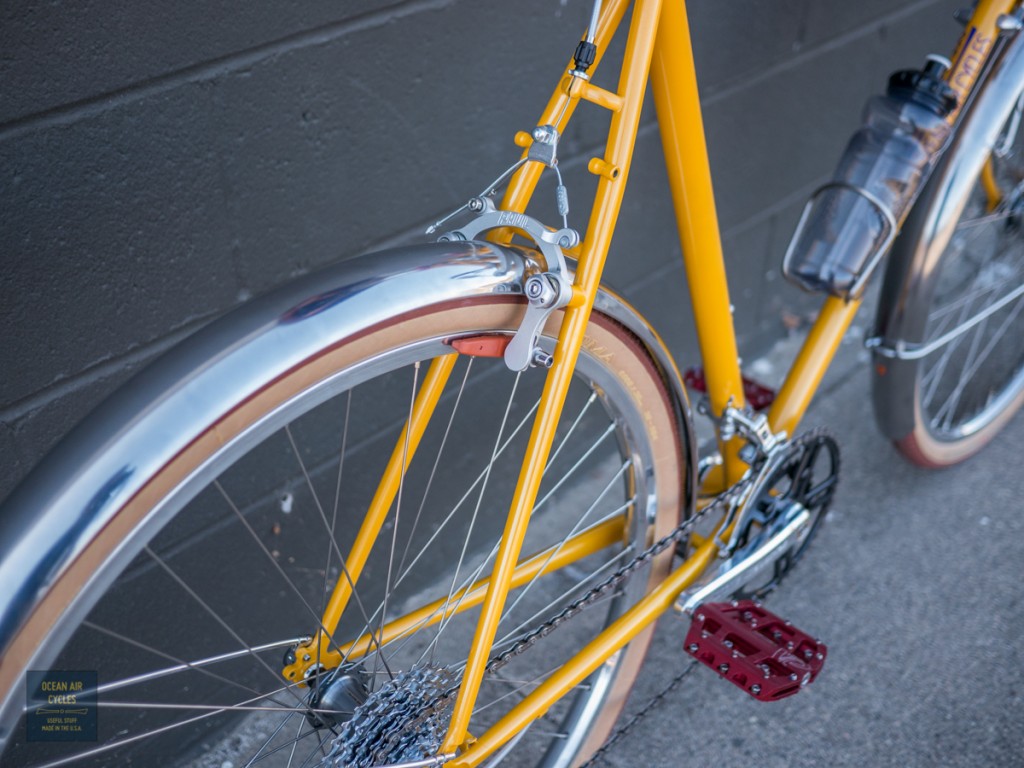
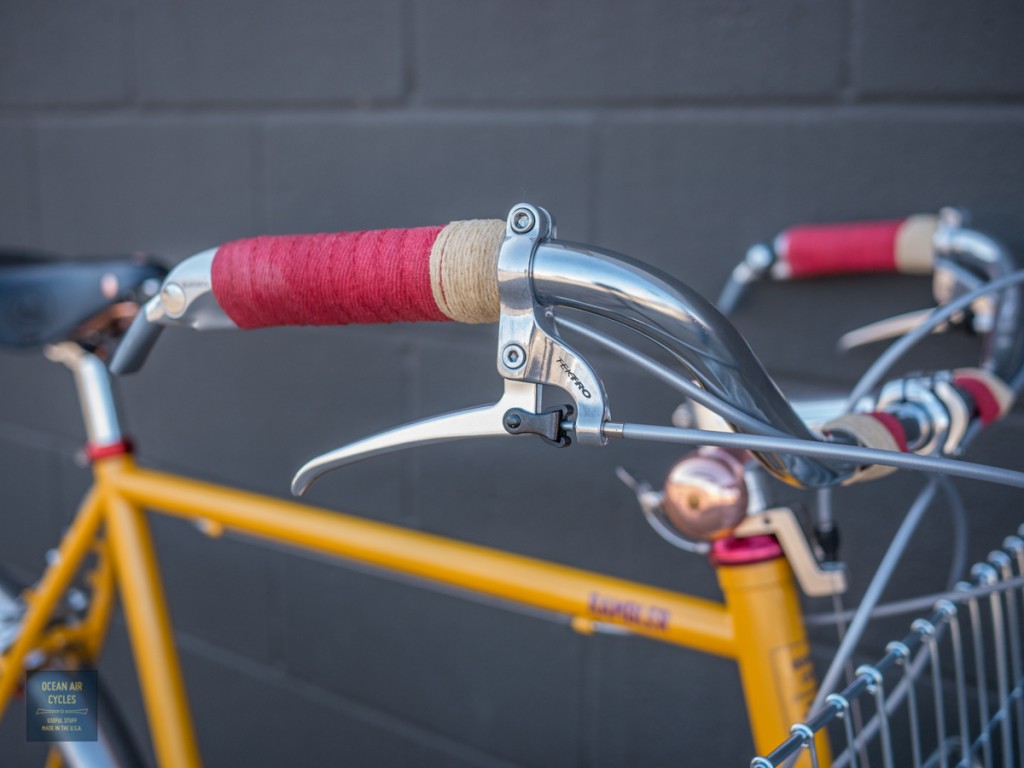
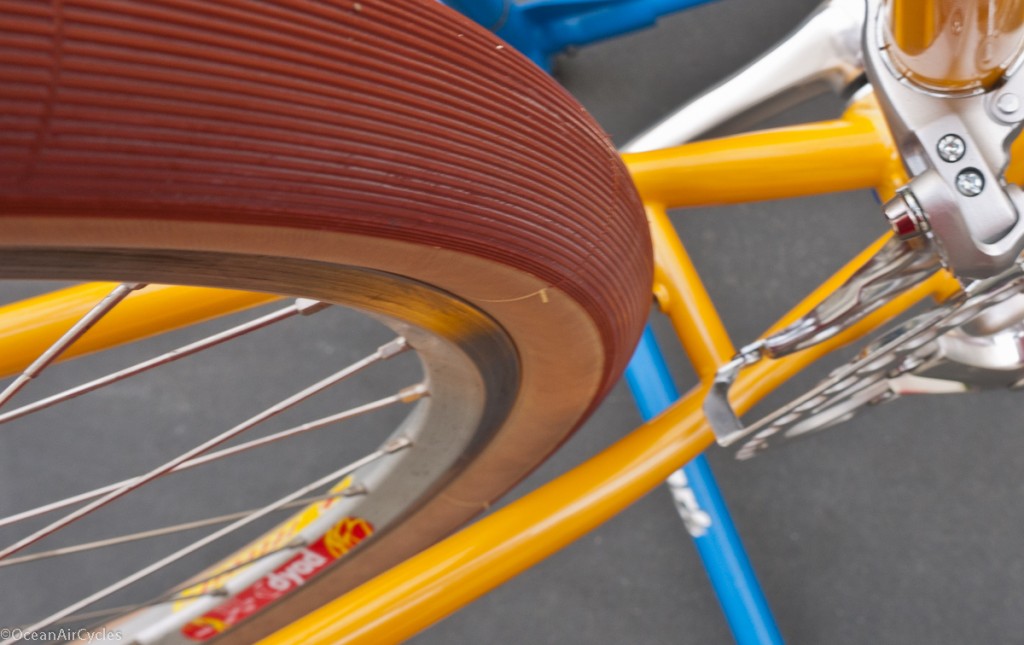
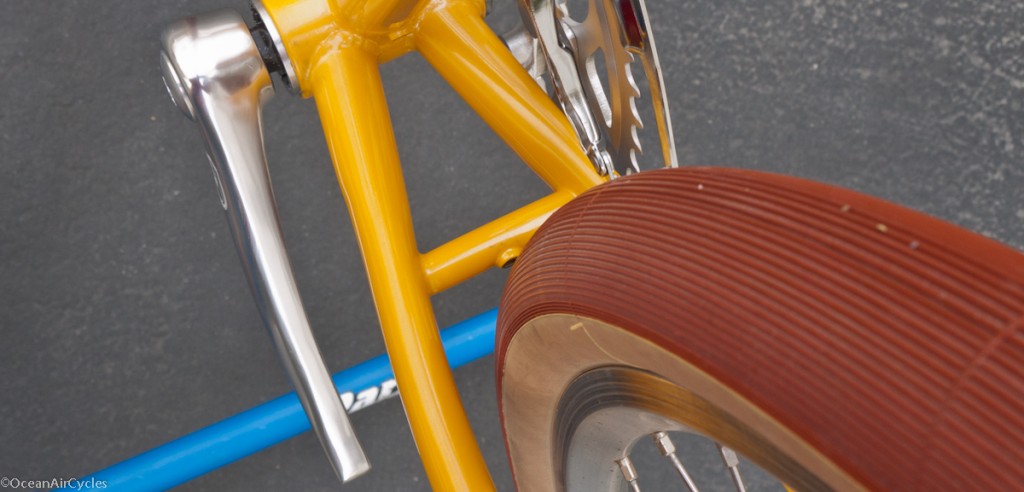
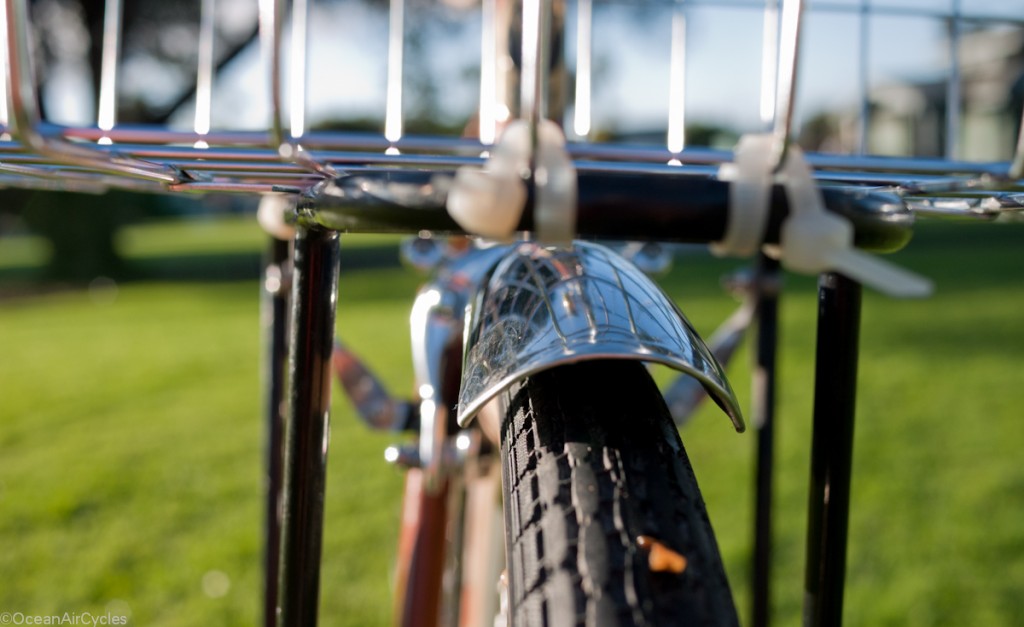
After riding the bike a bit with the Hetre tires, they just felt to big and cushy for the nature of the bike. One lap around the block with the Pari-Motos and I knew it was a perfect match for such a little bike. The hammered Honjo fenders are the 50mm offered by Velo Orange, and are a perfect fit for the 38mm tires. The verdict is still out on how the HWY 1 handlebars will be for the long haul, but I thing the shorter reach is a good thing. The pictures tell the story of the frame details, lighting wire provisions, rack and fender mounts, etc.
Having been in the business of designing and making things most of my post college career, I will never cease to be excited every time a project comes together. Having this bike in front of me to make the pictures, for my wife to ride, and to make available for other people to find joy in cycling is incredible. Thank you for the opportunity to deliver a product that works, and might even be a game changer for some people. Finding small bikes that work and fit well, like the one above is not easy, and I plan on changing that.
I had the pleasure of adding a new chapter to a customers long-lived road bike. He has owned this 1999 LeMond Zurich since new. His interest was starting to head towards the rougher less traveled roads above Santa Barbara, and he wanted to get a bit more comfort out of the bike. We exchanged a few emails, met, I was able to take the needed measurements, discussed options, orders were placed, and today it all cam together.
This is where we started, 700x23mm:
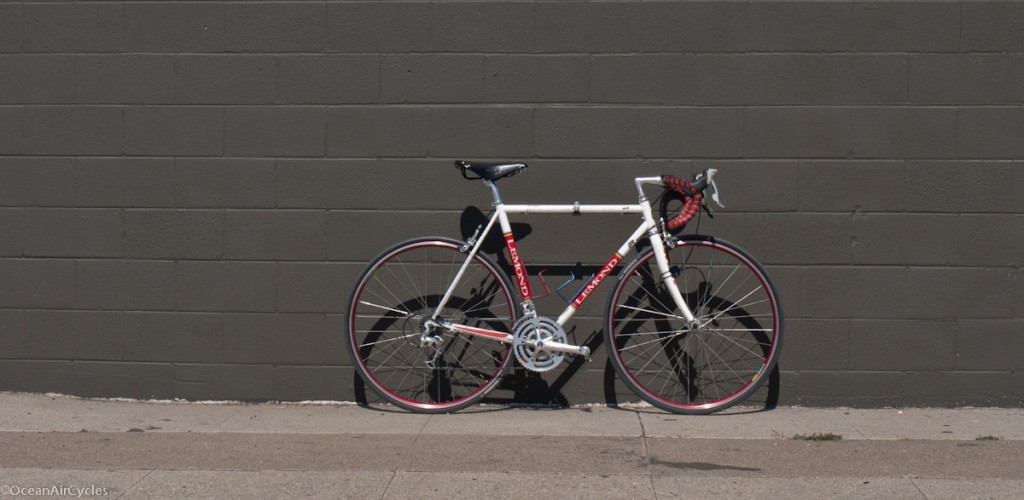
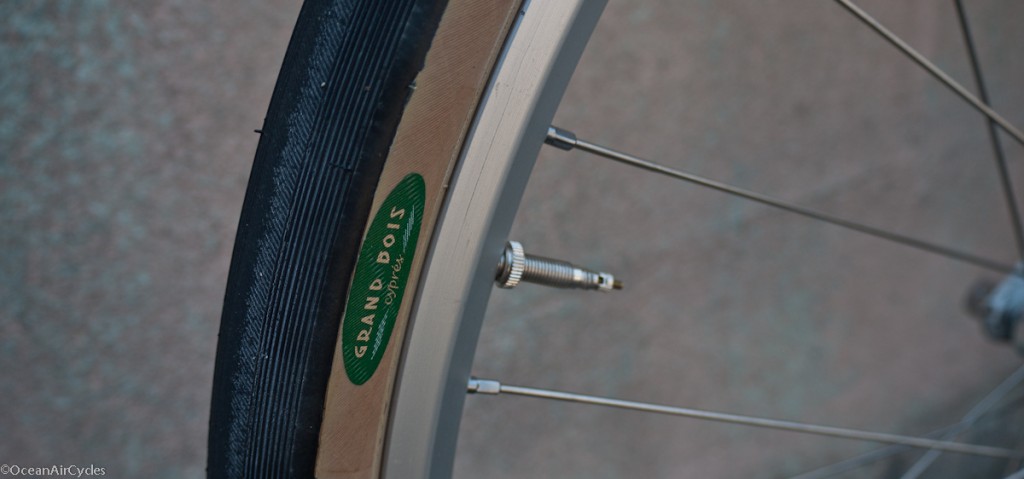
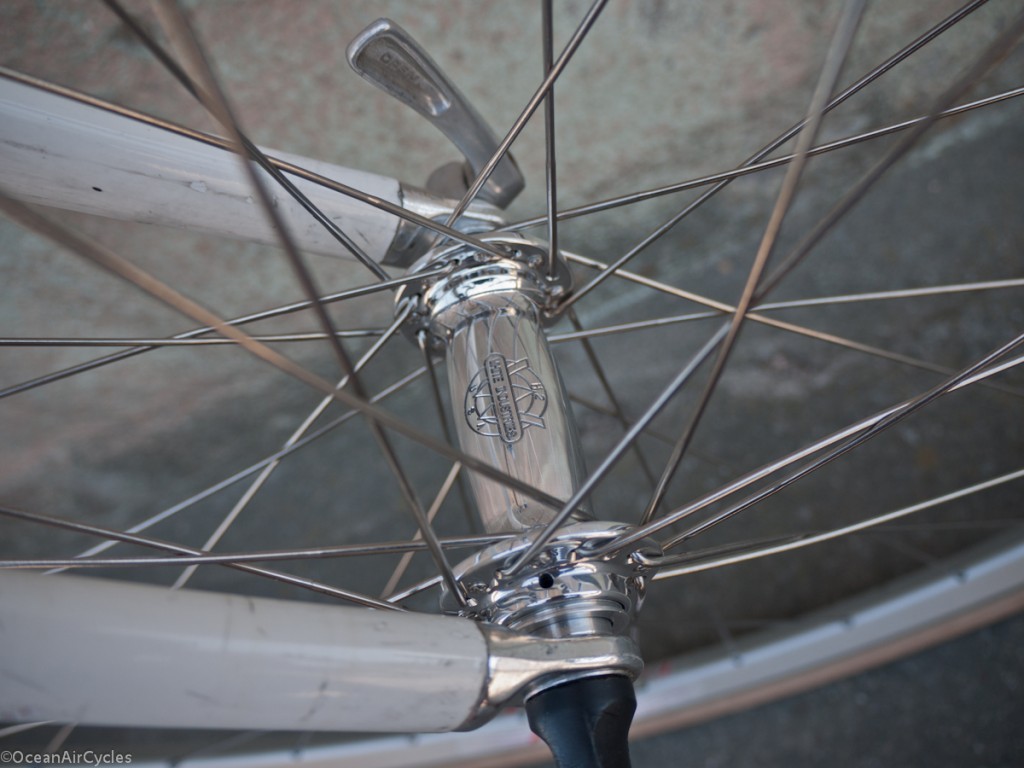
The wheel set came from Anthony at Long Leaf, the new Velocity A23 rims laced to White Industry hubs. The clearance at the chain stays is pretty tight, and the widest, at 32mm, 650b tire that will fit is the Grand Bois Cypres. Tektro 559 brake calipers provided the extra reach, with KoolStop salmon pads to replace the stock. New cables and bar tape, finished out the build. The original drive train has been going strong and we decided to save any work there for another day. I will let the pictures tell the rest of the story:
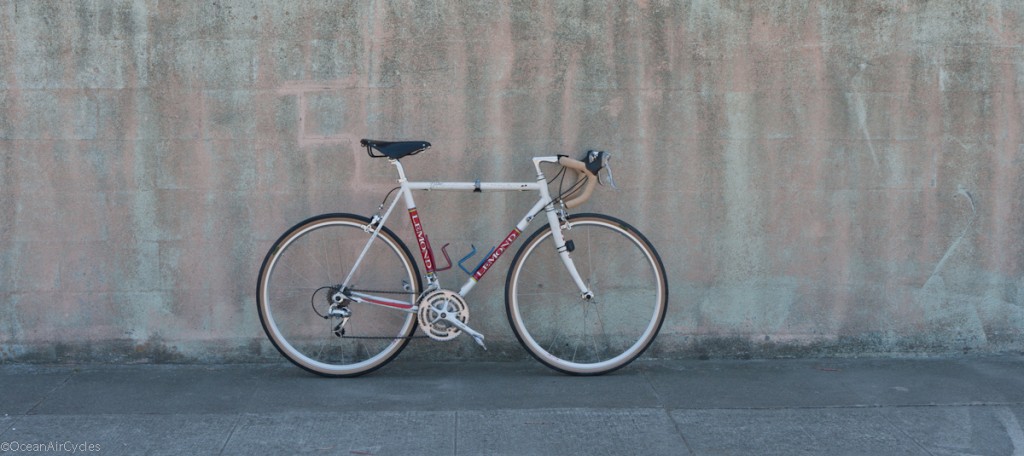

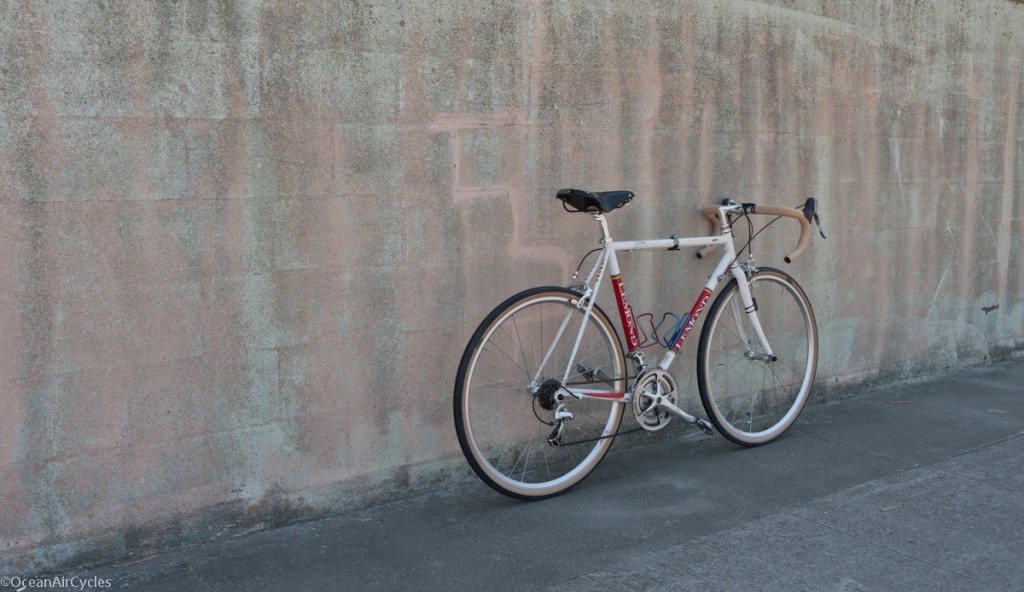


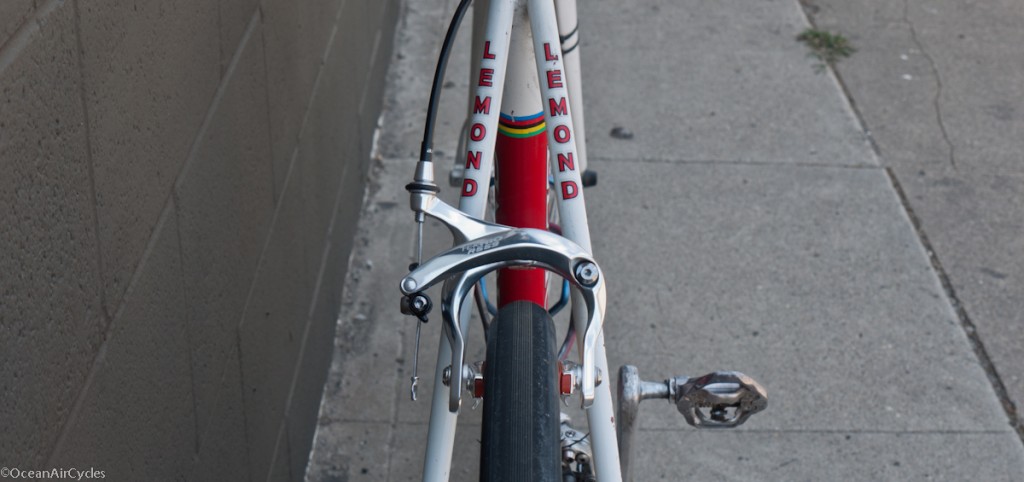

As far as 650b conversions go, this one went perfectly. Detailed planing led to a smooth execution. Everything bolted right up the way you would hope. IMO the bike looks more balanced with the fatter tires. The only tight spot is at the chain stays, as expected. There is about 3mm on each side of the tire. That said, I was unable to get it to rub on the test ride, and I weigh about 40lbs more than the owner. The bottom bracket drop can sometimes be a problem with conversions. The Zurich has a drop around 65mm, with a finished height of 264mm to the center of BB after conversion. There is no real danger of pedal strike than with conventional road bike set ups.
This bike has already been on more local adventures than most, but I am pretty sure this new chapter is going to be a long and good one. Thanks M.K. for the chance to build this up.
I am putting together the bits and pieces needed for a customer who wants to dip their toe in the 650b waters before diving in with a propose built frame set.
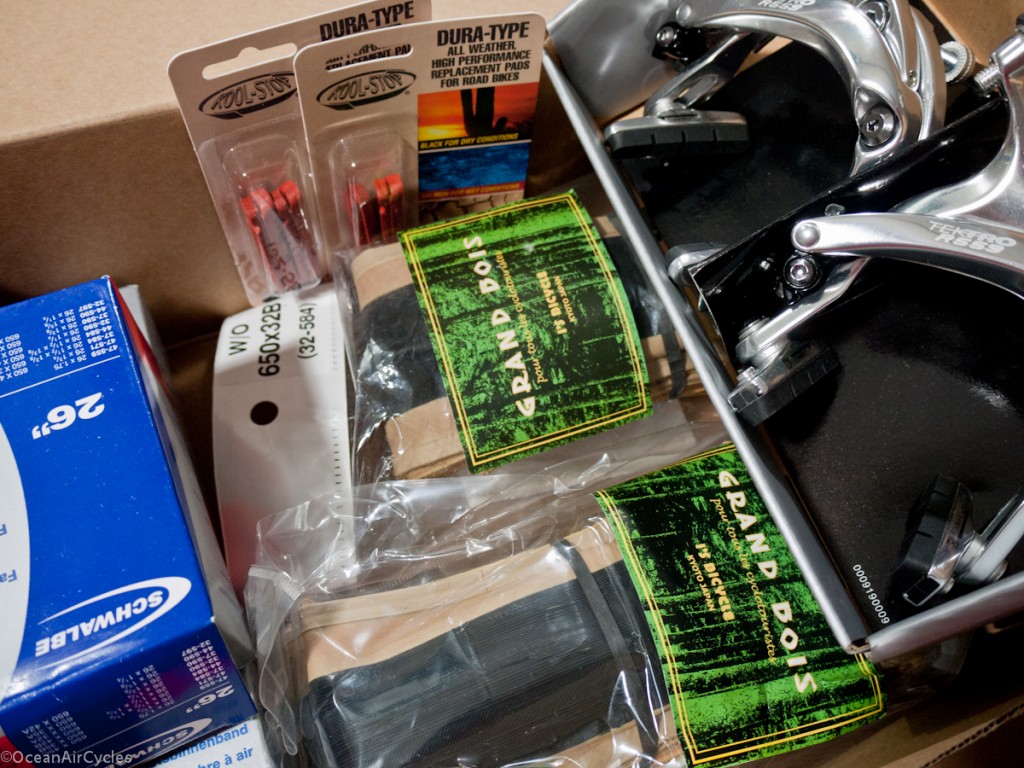
As always these projects require a bit of measuring and test fitting to get things just right. In this case we were able to meet so that I could pull the required measurements myself from the bike to be converted.
The biggest part of the investment, the wheel set, is directly transferable to a Rambler he finds the waters to his liking. The 32mm tires would work fine, but I am sure that he would want to go fatter as the Rambler would allow. The only thing that would end up in the parts bin is the Tektro brakes.
The knowledge and components needed to pull off a successful 650b conversion are scattered throughout the web. What would you think of having that information in one place, as well as the needed components to pull it all off? Rivendell used to have something like this, but does not appear to be a focus of theirs as much any more. How about a kit price on a package like the one above?
I am sure many of you, but maybe not all, who are readers here are likely familiar with
Bicycle Quarterly, and the strong bias towards traditional French bicycles that they profess. BQ is one of the few sources of well thought information on bicycles outside of mainstream modern racing. If you have not yet heard of them, it is a worthwhile read. The Spring 2012 issue hit my mailbox yesterday. Every time I promise myself to read at a decent pace, and stretch it out for a couple of weeks. As usual I ended up reading about 90% of it last night.
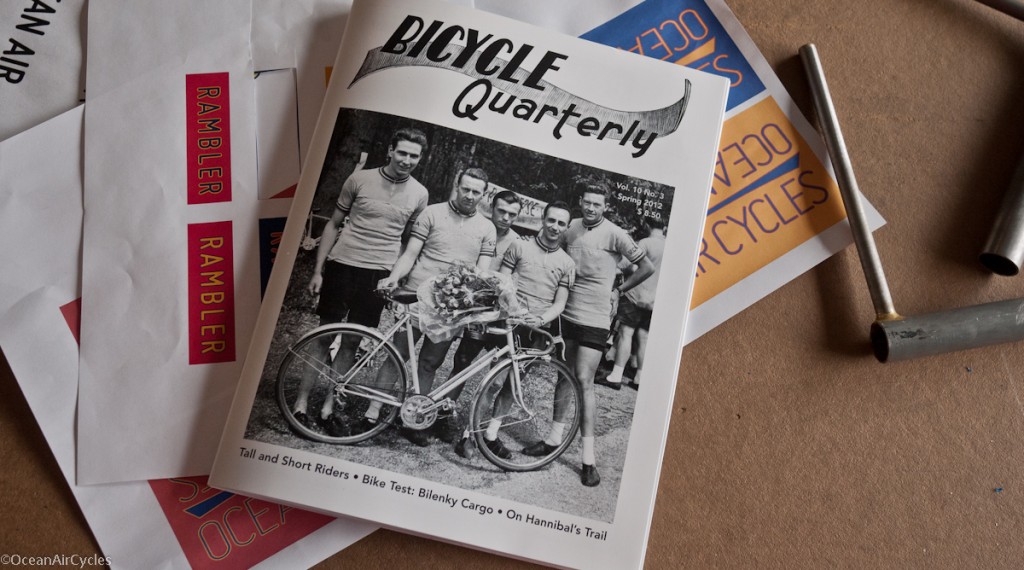
This issue had some decent coverage and insights on the issues surrounding bike design for taller and shorter riders. This has always been an issue for me in trying to interpolate Jan's reviews and comments into something that applies for the bikes in our household. Jan is around 6 foot tall and 160 lbs, and represents the average rider/part-time racer's slim build. I am 6'3" and my wife is 5'4", both of average build and are at the opposite ends of the size range. Over years of riding and research I have been able to take the data from the averages and work out bicycles that perform quite well for her and I. This led to helping friends outside the averages get on bikes that suited their every day needs as well. This bank of experience led to my design of the Rambler line. There are many ways to get things to work on the smaller and larger sizes of bikes, some better than others.
The smaller bikes, sizes 56 and below, are designed to use the 650B wheel size. This wheel has a diameter between that of the common MTB tires and 700c road bikes. This leaves room to maintain a decent reach to the bars without making horrible compromises in the frame geometry. The front end maintains the desired handling characteristics without having toe-clip overlap. Toe-clip overlap is an occurrence at low-speed where the foot on the pedal and the front wheel can collide at the extreme turning points. These extremes do not often occur, but when they do, it can take the rider and bike to the ground. This possibility has been designed out of the bike. Another aspect of the design is Seat tube angle. I have kept it such that the seat will easily be set far enough back with commonly available components to keep the rider comfortable. Balancing all three of these parameters results in a bike that will comfortably fit the riders on the smaller side of average, allowing for the use of normal components to build a bike with either drop or upright handle bars. I think those familiar with the challenges of fitting smaller bikes will appreciate this design.
The larger sizes do not have the same space constraints with wheel size that the smaller bikes do. They have plenty of room for large 700c tires. These will offer the space for larger (up to 42mm) tires and fenders, that with a bit more rotating weight, will offer the gyroscopic stability that a larger rider may seek. This will be balanced with the front end geometry and long rear stays to flesh out a comfortable and stable bike. The challenge in taking the design above the averages is managing the flexibility of the frame, striking a balance between stability and the optimum resilience of the tubes. This is managed through steel tubing specification itself, and I have struck what I feel is a good balance for a rider and load total weight between 180 and 230 lbs.
The whole line is biased towards carrying a modest load on the front of the bike. This is so your every day necessities can be at hand without having to dismount and search around in a bag behind the saddle. Likewise you can keep an eye on your stuff. This style of loading requires subtle changes in the design of the bike that move away from the commonly available racing geometries of today's mass market offerings. Ironically these changes, while accommodating the loading, result in a well-mannered bike with or without a load aside from the rider.
My designs throughout the size spectrum are confirmed by the reports in the issue of Bicycle Quarterly. Both the historical accounts well as reviews of recent interpretations covered in this issue, confirm my design philosophy and decisions. While I have complete confidence in my designs it was reassuring to have many of the aspects of my design affirmed in print. A big thank you to Jan Hine for his pas, current and future efforts with this publication.
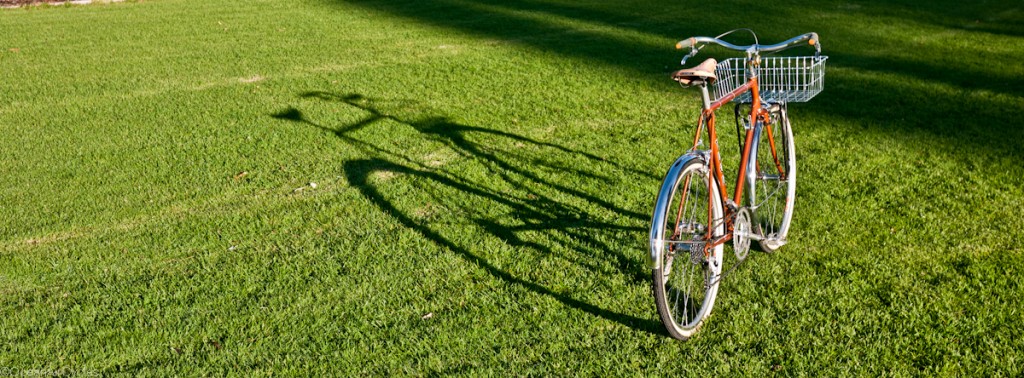
This is the most beautiful bike I have built up yet. I would even go as far as saying it is nicer than my roadeo from Rivendell. After years of reading on the web and doing multiple 650b conversions on my own, this one went together perfectly the first time. With some careful planning, part procurement and patience this bike went together as if it were always meant to be this way.
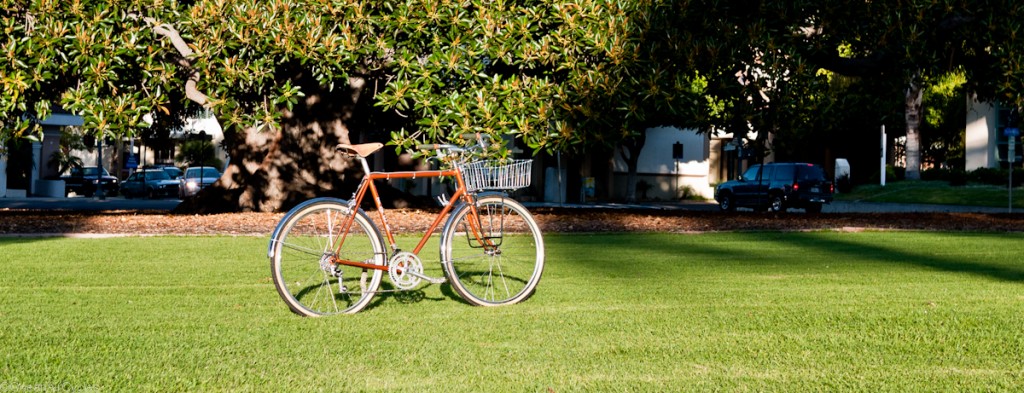
This Trek 613 started its life as a 27" wheeled touring bike back in 1981, and by the looks of it once in my garage, it was barely ever ridden. There are a few scuffs in the paint, but most of the damage appears to have happened while in storage. The visible portions of the frame's interior were pristine. I treated the inside with a liberal coating of T9 to keep it rust free as long as possible. For this build I was able to reuse much of the drive train, replacing only the wheels, cassette, and bottom bracket. The headset was preserved, and rebuilt with loose balls and phil grease.
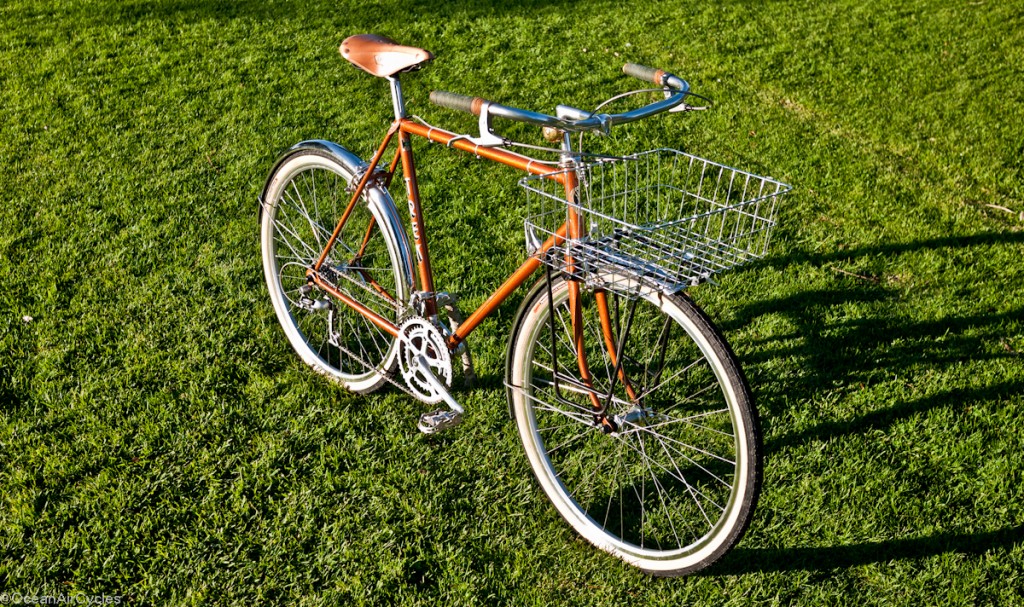

The cockpit was built up with a Nitto Technomic Delux stem, Albatross bars and Shimano brake levers. The brass bell is from Crane in Japan. The grips are blue Neubaums cloth tape over a layer of cork tape. Three layers of garnet shellac brought the final color to a fantastic dark patinaed coppery green that is a perfect contrast to the copper color of the bike. Te saddle is a Brooks B17 Special Select.
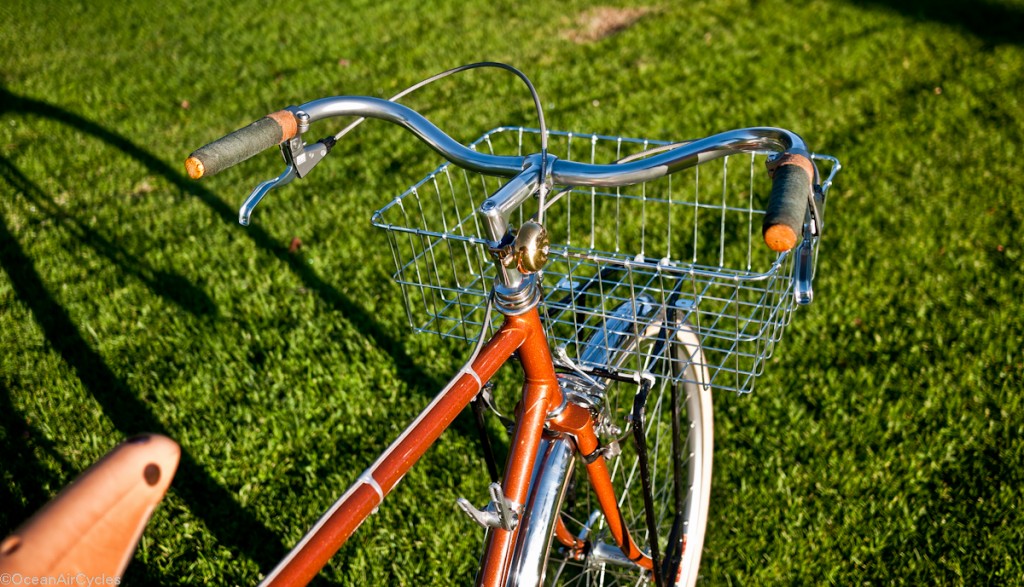
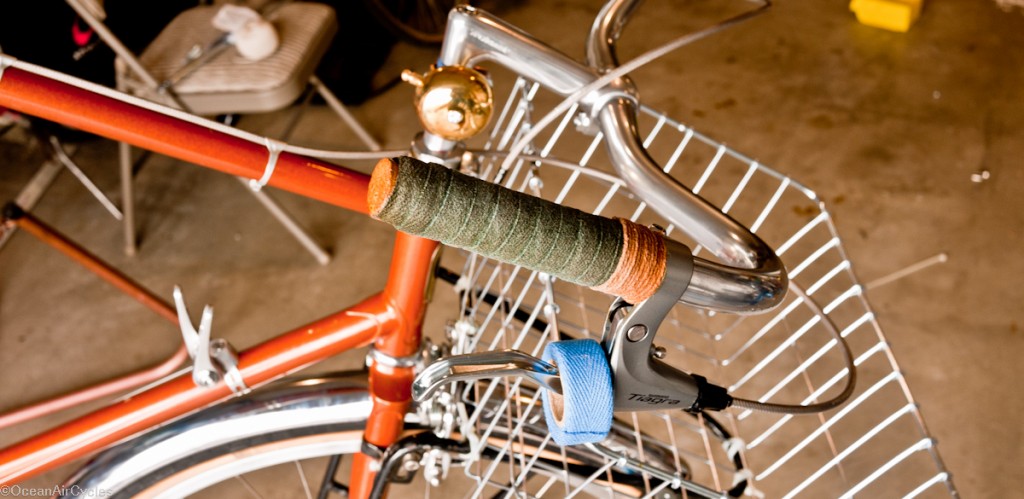
The front rack is a Bruce Gordon MTN rack that used to reside on my bike and will be the temporary support system for the Wald basket. While the basket provides incredible versatility, the stock hardware is not up to the task at hand. In the long run this will be set up with a rack that will allow for panniers in a low mount with a high mount to support the basket. The fork dropout only has a single eyelet to support both the rack and fender. My work around for this is to thread in a hex bolt from the inside, providing a stud to mount both. The whole assembly is then held on with a lock nut. In theory if the nut ever came loose, it should all still be able to be held in place with a zip tie until you could get to a hardware store.
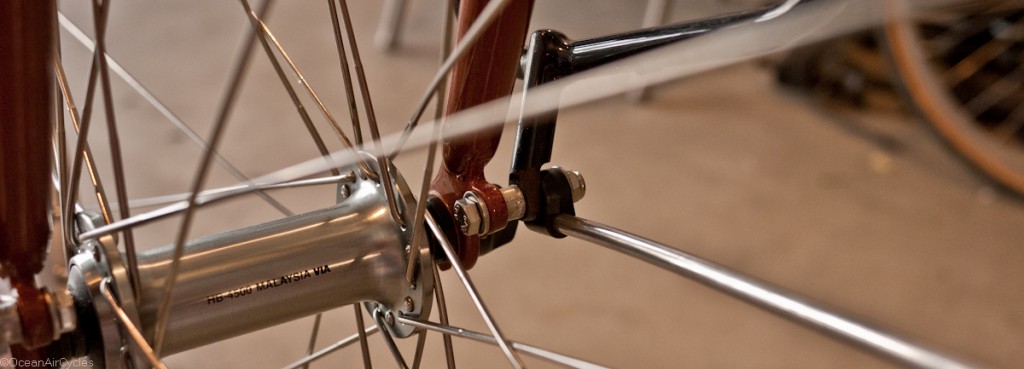
I utilised Dia-Compe 750 centerpull brakes to get the required reach to the smaller rims. The stock pads were replaced with KoolStop Cross Pads. The wheel set is Shimano Tiagra laced to Velocity Synergy rims. I opted to use an 8spd rear cassette to hopefully be a bit more forgiving with the Suntour Symmetric DT shifters. The downside to this is that the shifters only move the chain across 7 of the 8 cogs due to the limited throw.
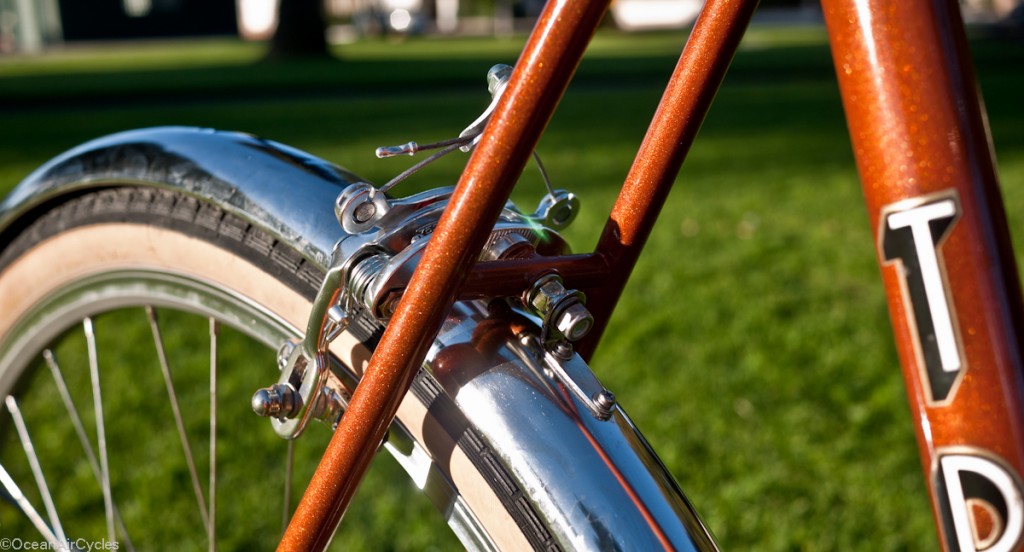
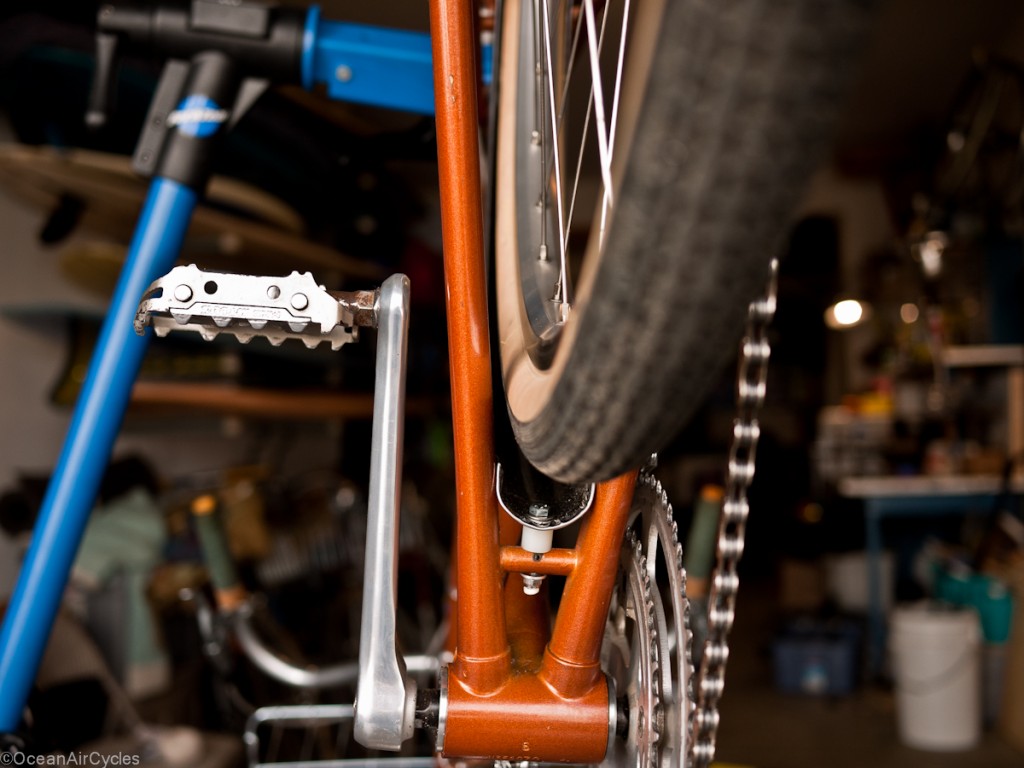
Now for the part that everybody cares about. I opted to use Panaracer Col De La Vie tires on this bike to ensure adequate tire clearance at the chain stays. These older Trek frames, pre 82, will generally have room for a tire up to 38mm wide without needing to dimple the stays for more space. Spreading the rear from 126 to 130 mm at the dropouts while adding tire space in theory did not make a noticeable difference in reality. The fenders are Berthoud 650b x 50 mm. These were fairly simple to install, only requires minor re-shaping to accommodate the horizontal stays, leave plenty of room to install wider tires in the future and resulted in near perfect fender line around the tire. I did make a wooden mandrel to help shape indents for better fender clearance at the fork and chain stays. The rear brake bridge attachment was made with Honjo hardware. The connection at the chain stay bridge was made with a long bold and spacer. While a spacer is not ideal, it seemed a better option than moving the bridge on a bike in this condition.
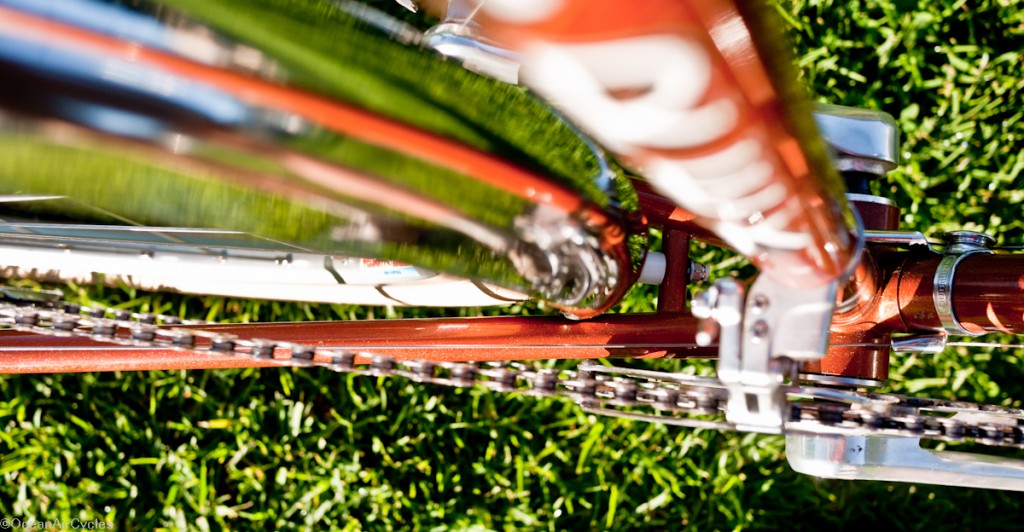
Rear wheel at mid-dropout.
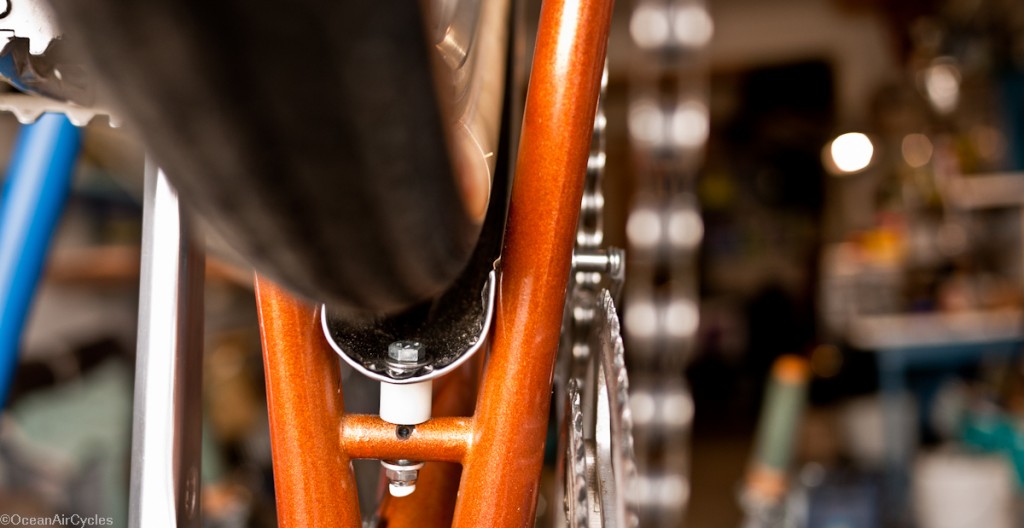
Rear wheel all the way back in the dropouts.


I would like to thank a whole bunch of people for sharing their knowledge on the web. If not for the collective knowledge provided by old Rivendell Readers, the iBoB and 650b email lists and the Bicycle Quarterly publication I likely would not have been able to work through this build in a single pass. It is the knowledge shared by those who have gone this way before that helped me to build such a wonderful bike.
Likewise, online vendors such as Universal Cycles, Rene Herse Cycles, Wallingford Bike, and Ben's Cycle all made it possible to source the needed components.
This bike is going to have a new lease on life. Its owner is going to pick her up tonight. The planned maiden voyage will be a 90 mile ride home from Jalama state park. I wish I was along for the ride, it is going to be a good day tomorrow. Thanks to Mike for giving me the chance to build this bike up as a blue-collar constructeur.
Off to cleain it up for delivery, thanks for taking a look.
Some of you may be familiar with converting old road bikes to 650b, smaller rim, fatter tire, possibly more fun. I am working on an older Fuji for a friend at the moment and had to share this. It has and will have the original 27x1-1/4 tires for a bit due to budget constraints. But look at those perfect dimples, it could not get any better if you built it that way on purpose.
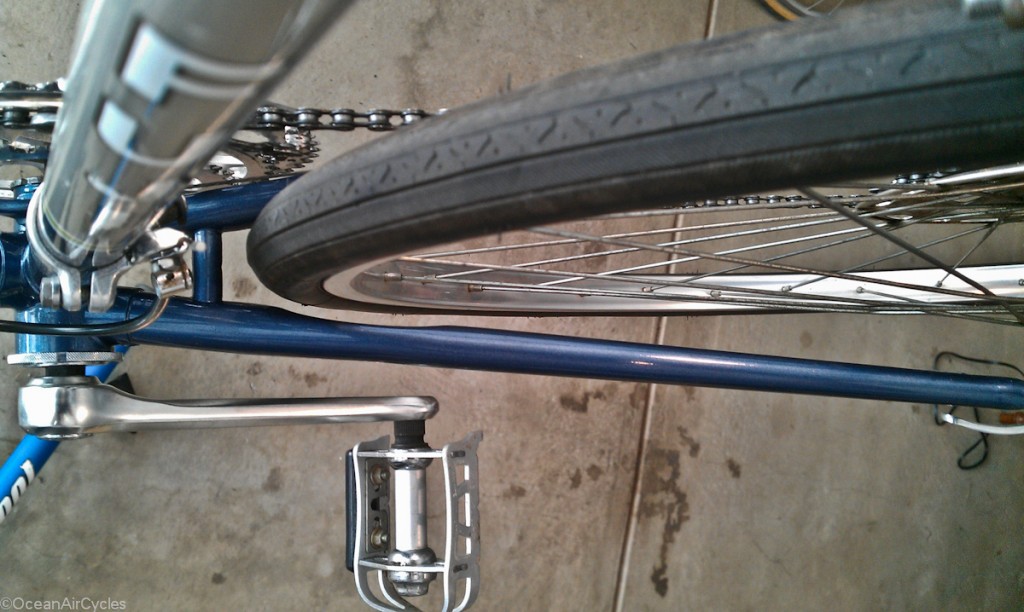
Frosting on the cake is the bottom bracket drop of 60m or so. If I had the money I would convert it and put Berthoud fenders on it just because it seems like the right thing to do. I took it for a test ride, and even with no front load, trail in the low 40s and the big hoops it handles great. Still, it begs for fatter rubber.
Load Testing October 10 2011, 0 Comments
Today was another fantastic day to be out on the bike gathering the groceries for the week
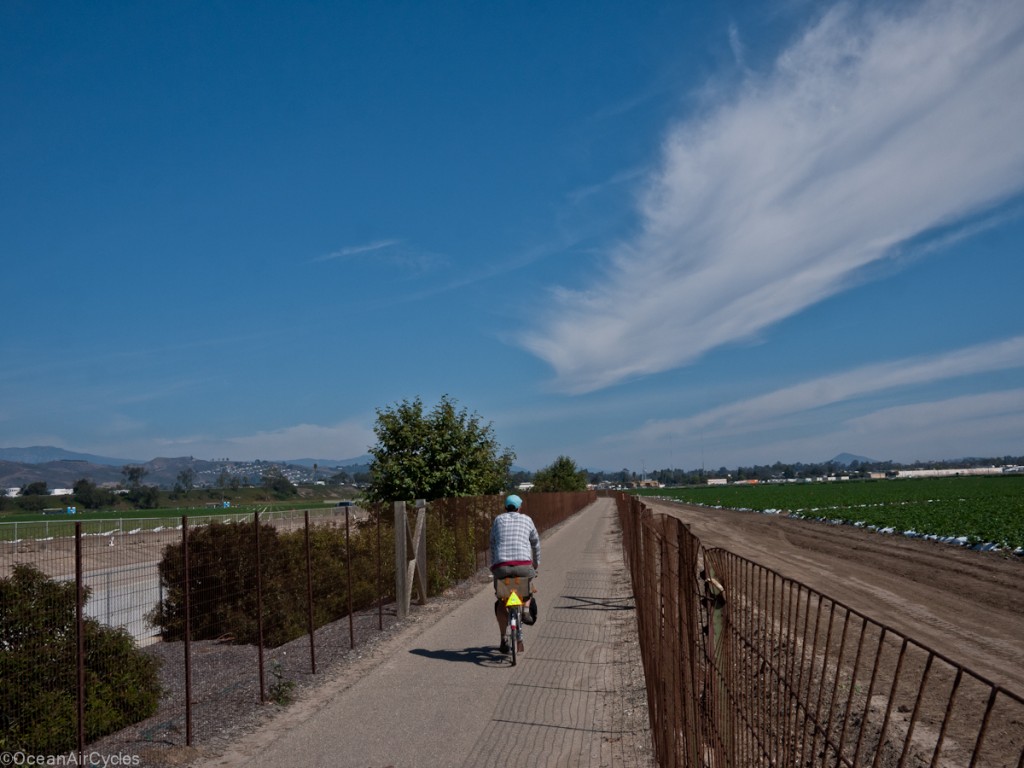
ide blue skies to the east with the fog looming just offshore behind me. THe high sweeping clouds made the blue skies pop, this one made me think of the swallows that will be heading back south pretty soon.
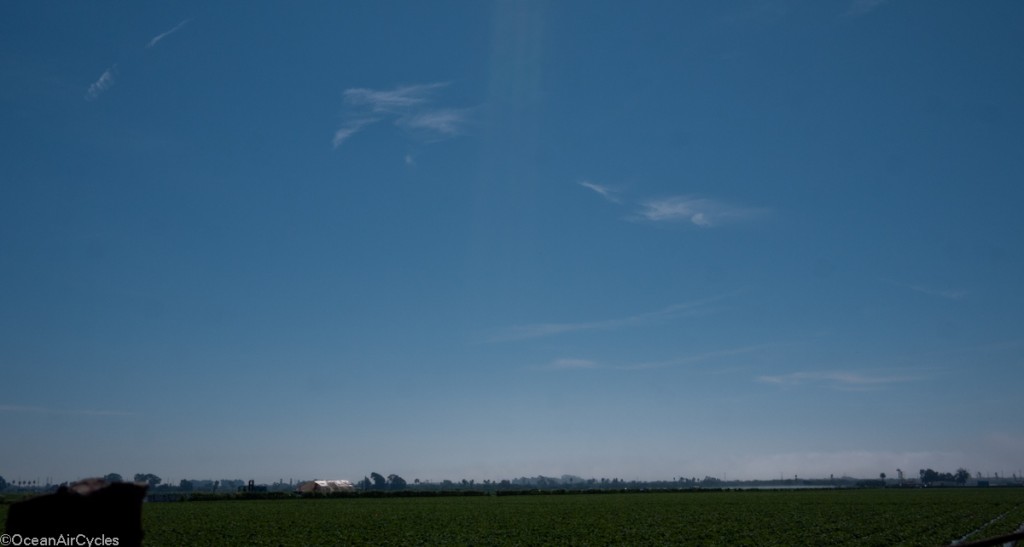
Enough day dreaming, and time for the business end of the trip. Two stops totaling, 1 gal milk, 1 gallon Tangerine Juice, 3 quarts yogurt, boxes of cereal and crackers, more juice, bananas, and some how squeezing the camera gear back in the bags. One trick I use is to take the bags of stuff out of the boxes, getting every little bit I can out of the hauling capacity.

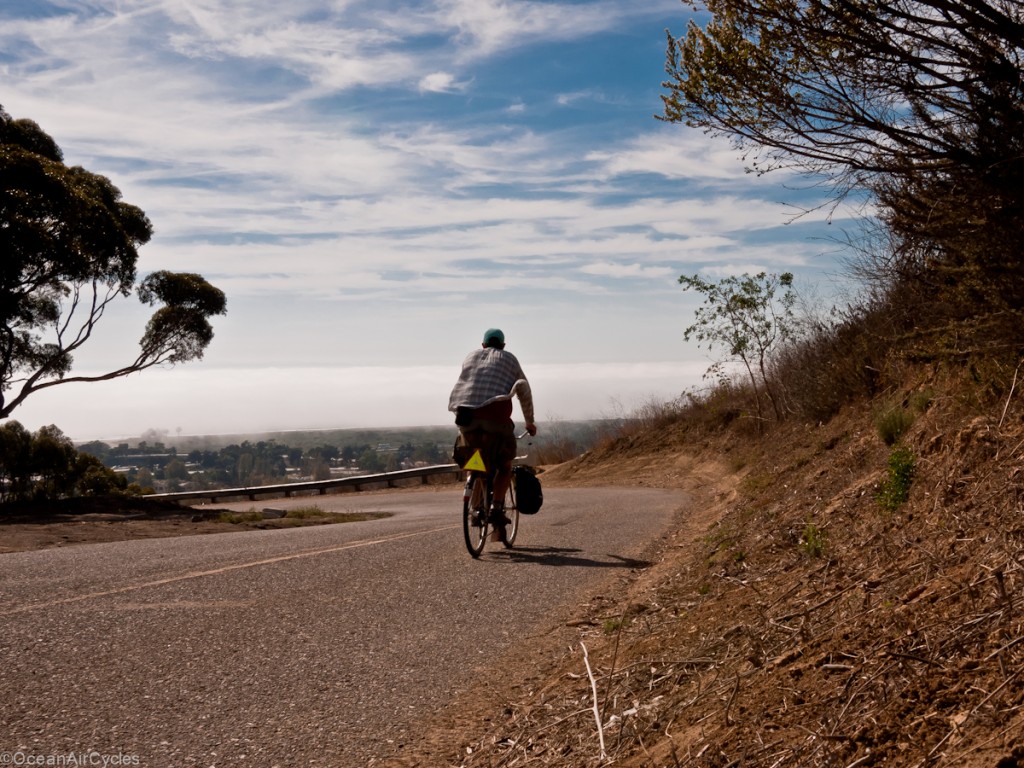
Fully loaded with over 30 lbs of stuff I decided to head uphill to push the bike and myself a bit. The handling climbing up was very precise, not slow speed wobbles all over the road, even mashing a 36/30 low gear. The views were fantastic once above the fog, the bank looming just off the beach, with the channel islands poking out the top miles away. This shot diving into one of my favorite turns captured it best.
