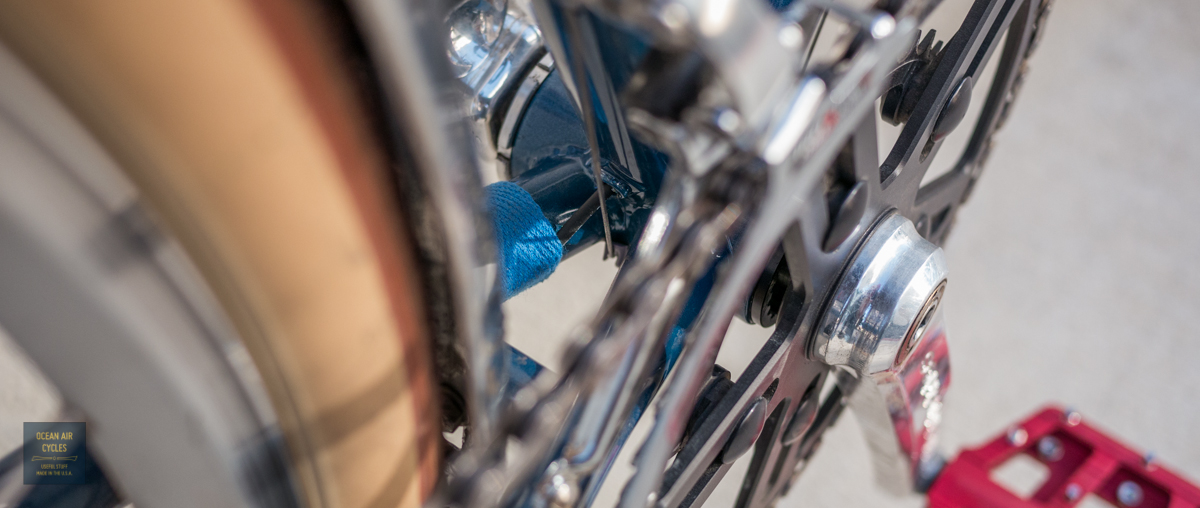
We love Flat pedals, all sorts. This is a broad category that includes all pedals that do not somehow attach you to the pedal, i.e. clipless or toe clips and straps. Grant at Rivendell wrote a piece years ago,
The Shoes Ruse, that sums it up better than I ever could into one essay. After months of compiling commute time data with all sorts of pedals, the clip less showed no significant benefit. I switched completely to flats. Last year when considering what pedals to offer our customers I compiled all of my of my thoughts and reasoning behind
choosing the VP Vice into a blog post.
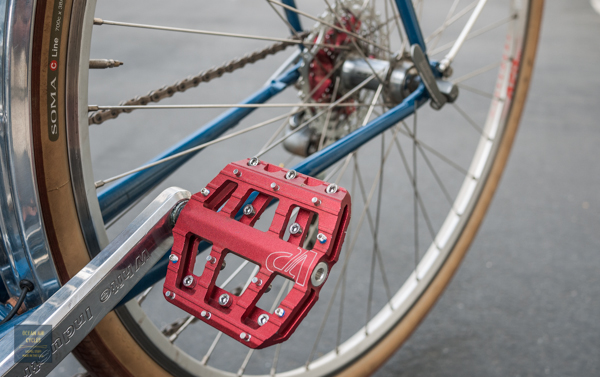
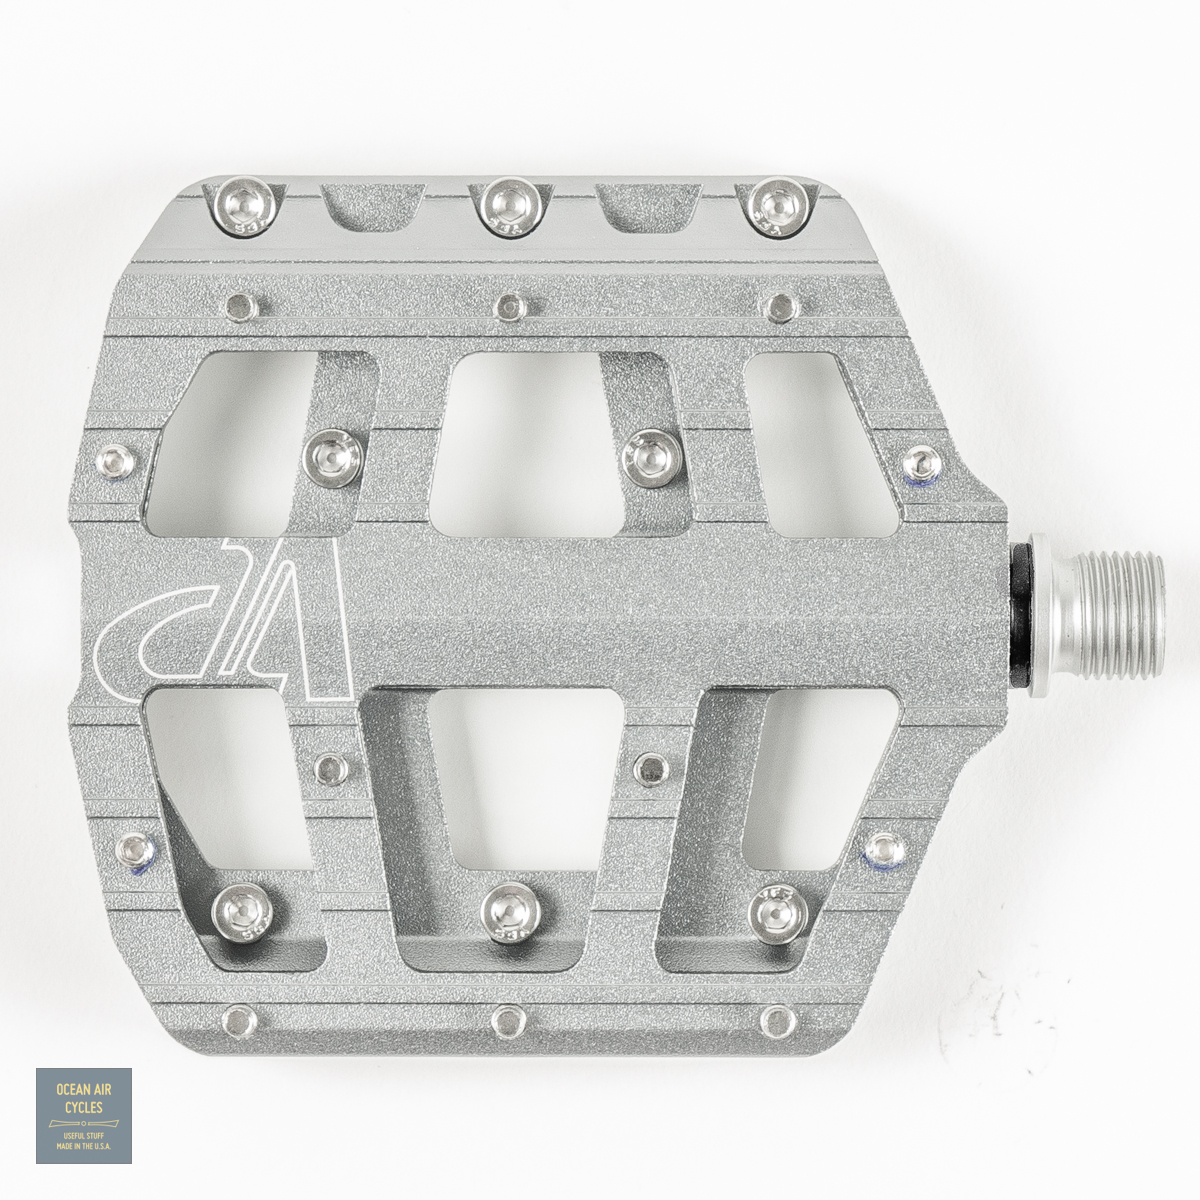
The vice is our favorite pedal for the money. The color options are really fun to add a touch of detail to your build. The next closest options that offer significantly better mechanical features cost roughly twice as much. I have helped a bunch of people onto these pedals over the last year. The only non-positive feedback was the wish that they came in Silver.
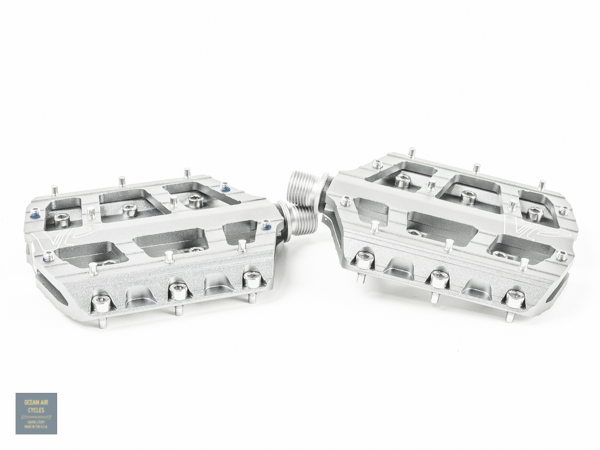
Well this year they will. We are working with VP USA to import a batch of these in Silver (clear) anodized finish. We are close to our minimums for making the project happen, and need your help to get over the hump. We have set up a Pre-order on our storefront. The turnaround time on these is about 60 days, and we expect a mid to late April delivery.
Place Your Pre-Sale Order Here
 Today is the last day of the lowest pre-sale pricing, tomorrow the price will go up another $10 before we settle in at the new $95 price point for the year. To see presale pricing you will need to add the pedals to your cart and use Coupon Code SVPVPS at checkout. While we can not advertise the price, I will say this is a smoking deal and below the wholesale price of most other thin flat pedals on the market.
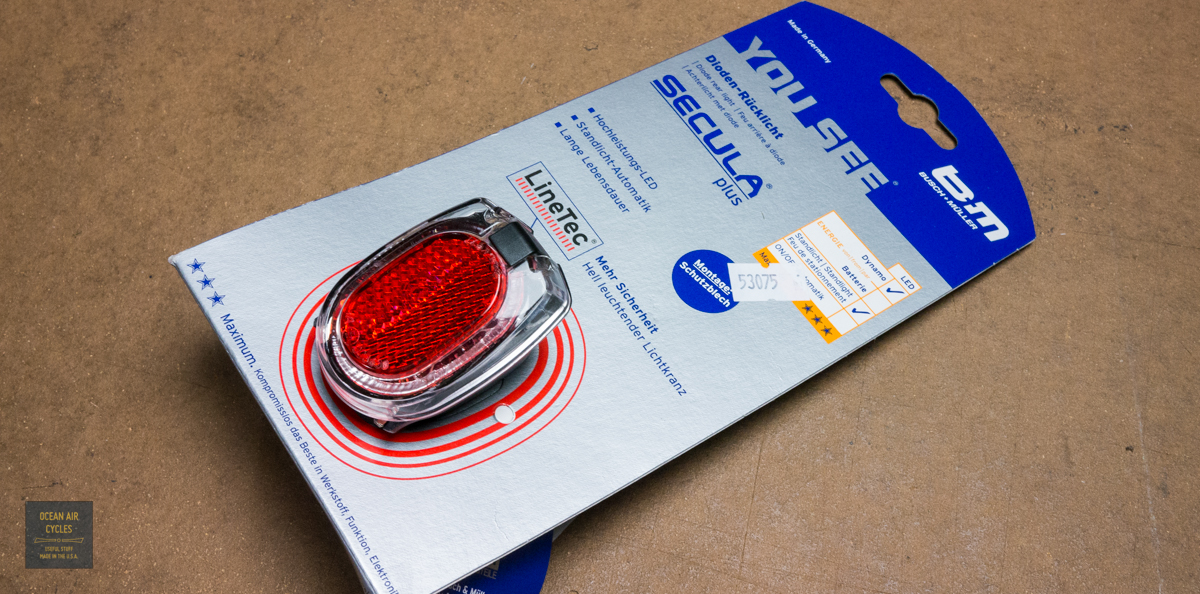
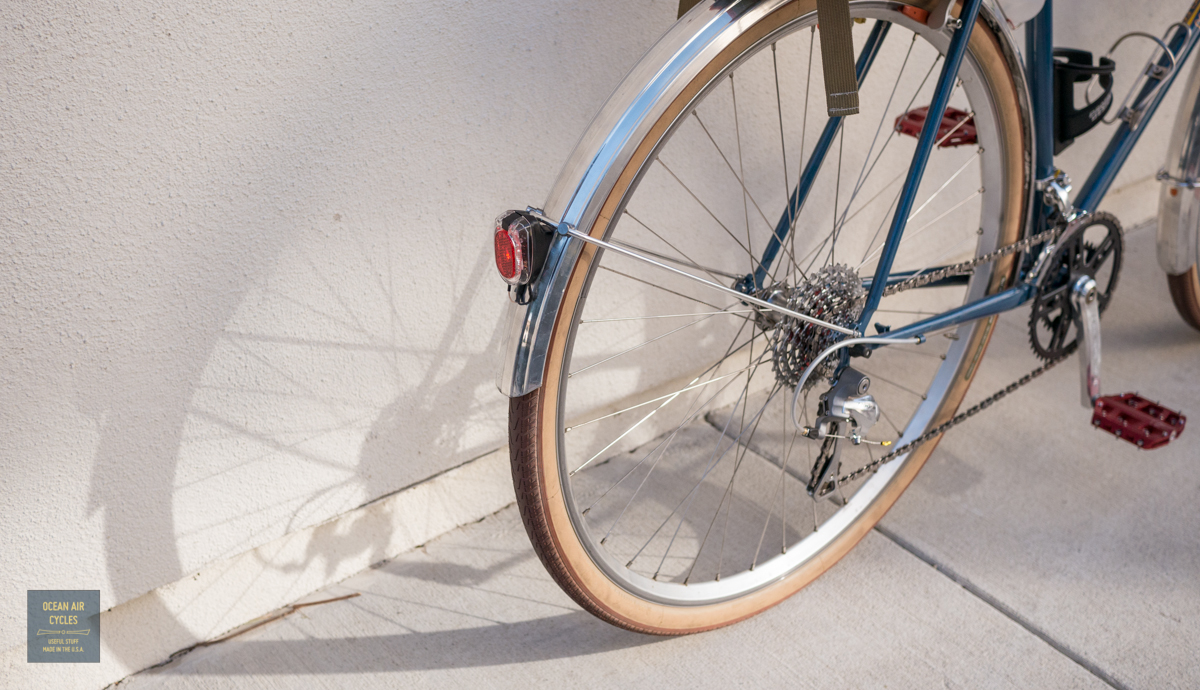
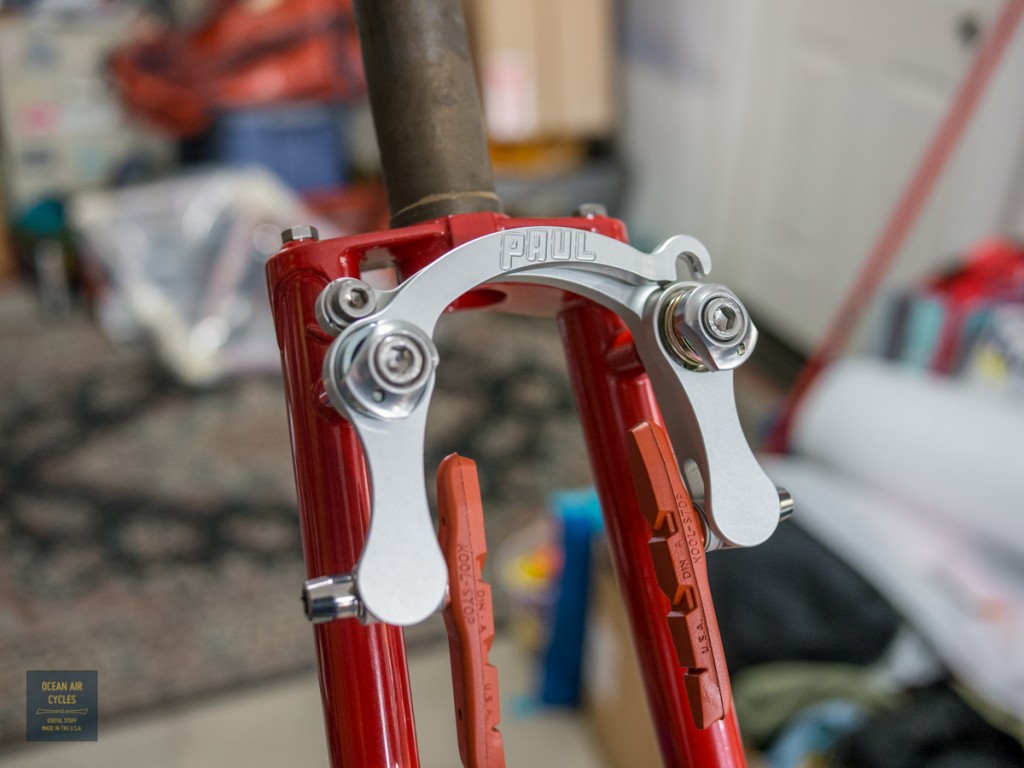
Metal fenders offer a bunch of benefits over their plastic counterparts. They are often lighter, offer better coverage of the tire, the rolled lip reduces side spray, they generally look nicer, etc. One of the challenges of the fender though is the need to put more hand work into the install.
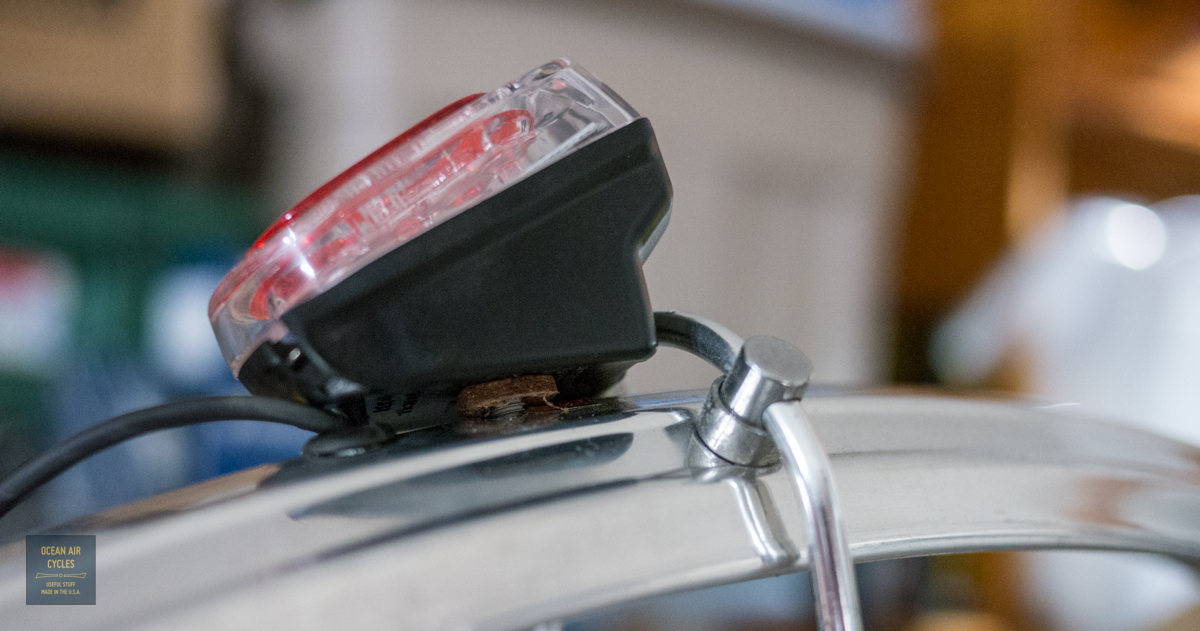
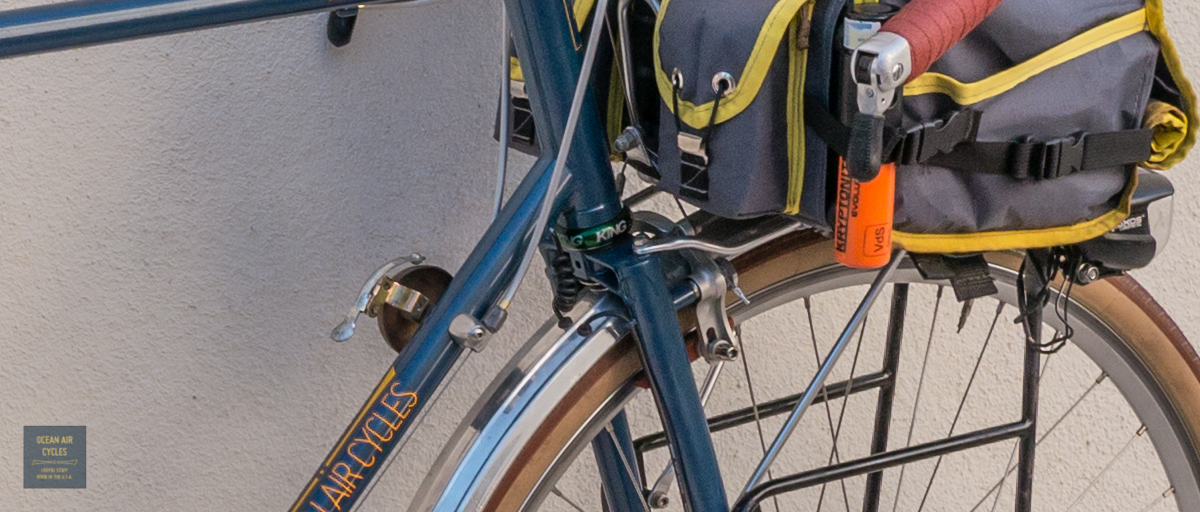
My last post resulted in a few questions that made me realize our readers could use a little more info on some sheet metal working skills used to put holes in the fender. Part of installing the fender, lights and wires will often if not always require you to make holes in what are perfectly good fenders. Good technique and proper tools can make this a breeze, a couple of lazy steps could leave you with expensive scrap metal. I documented an install of a headlight on a bike that already had the rack and fenders mounted in place. If you are building from scratch it is often far easier to make all of the needed holes at the work bench.
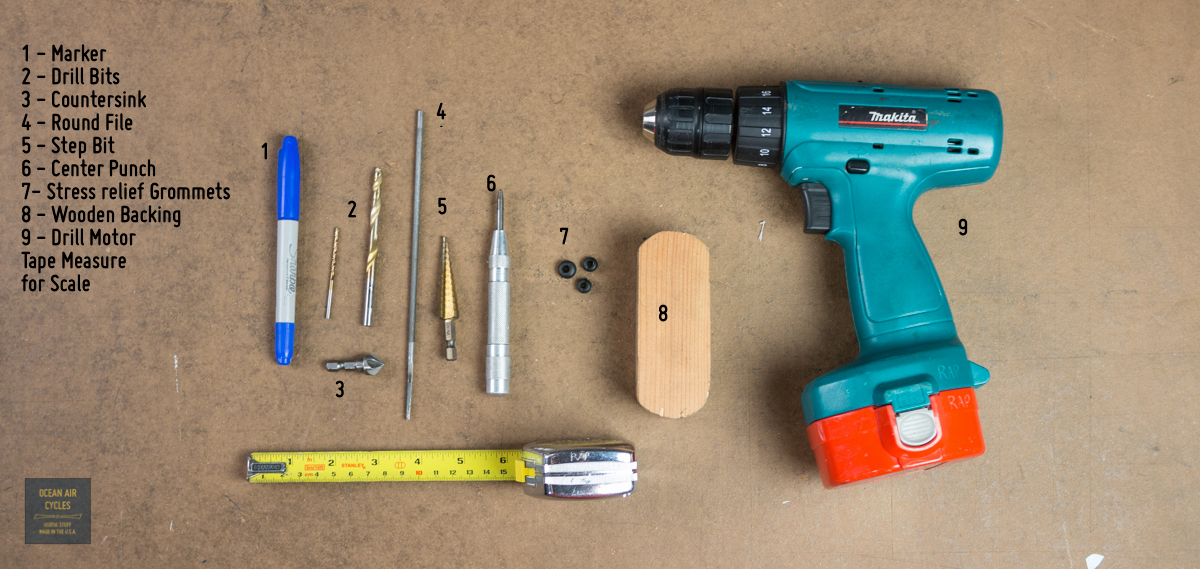
Here are the basic tools you will need: Marker, Drill Bits (in the event that you did not get a step bit), Countersink, Round File, Step Bit, Center Punch, Stress Relief Grommets, Wooden Backing, Drill Motor

There are other tools out there, like a large hole punch made by Honjo, but these are the basic hand tools that many of you may already have, or can get at you local hardware store.
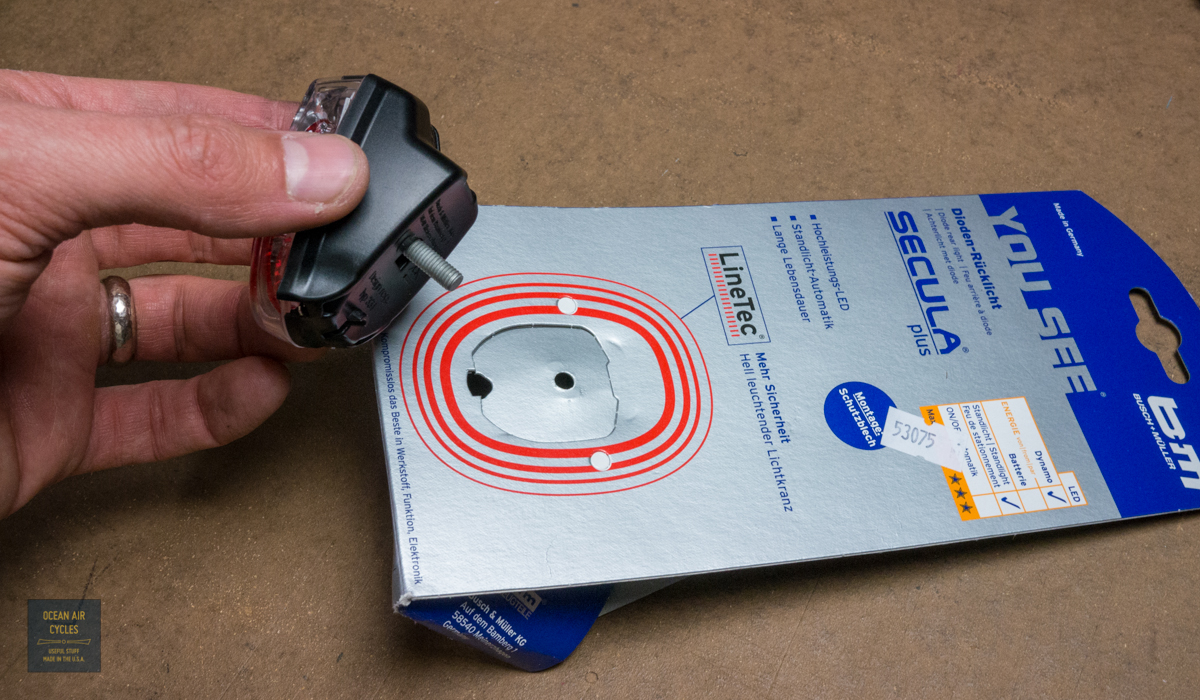
First step is to put your drill bit into the motor, think about where your holes will be, then remove everything that is in the way.

This includes you tire, the light, possibly the rack and any other accessories that may be in the way. If you get lazy and leave stuff in the way you have a high risk of wrecking stuff, it is not worth it, trust me.
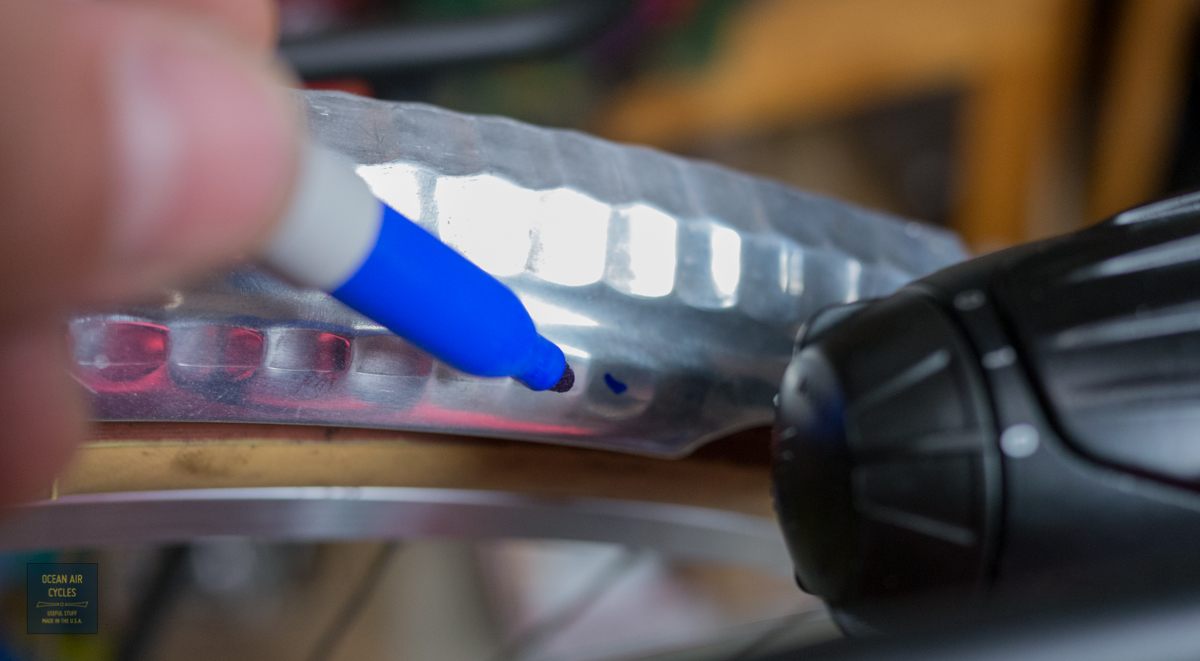
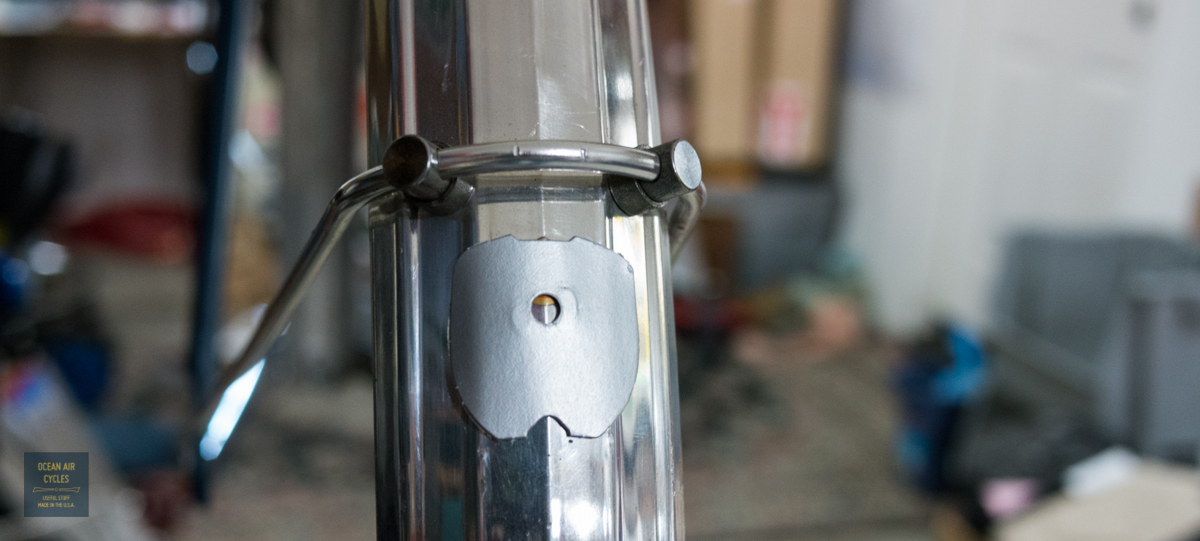
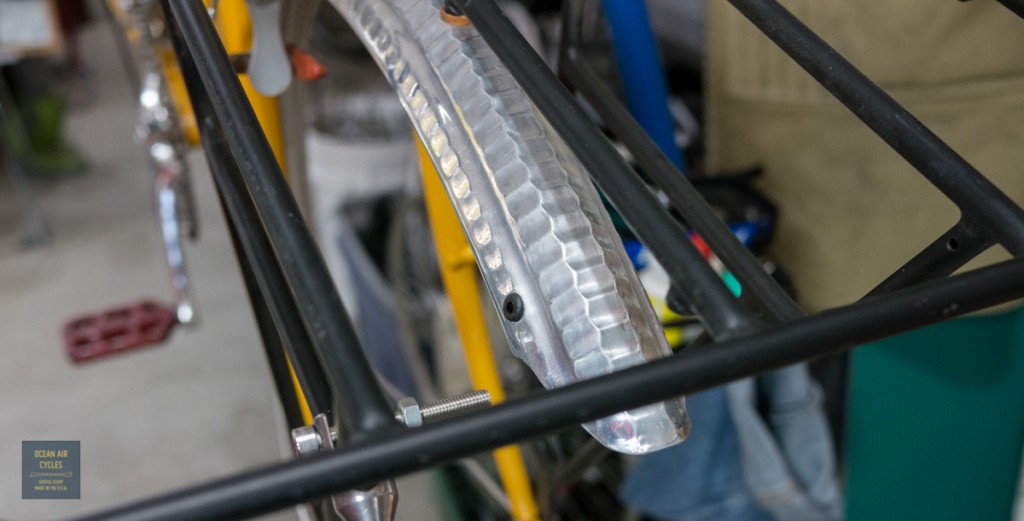
With everything you need stripped off, use the marker to make a mark where you want the holes. With lighting wires there is a bit more margin on the location. Mounting holes need to be precise. Taking the time to make the mark forces you to take a second and think twice (or more) about where you are making the holes

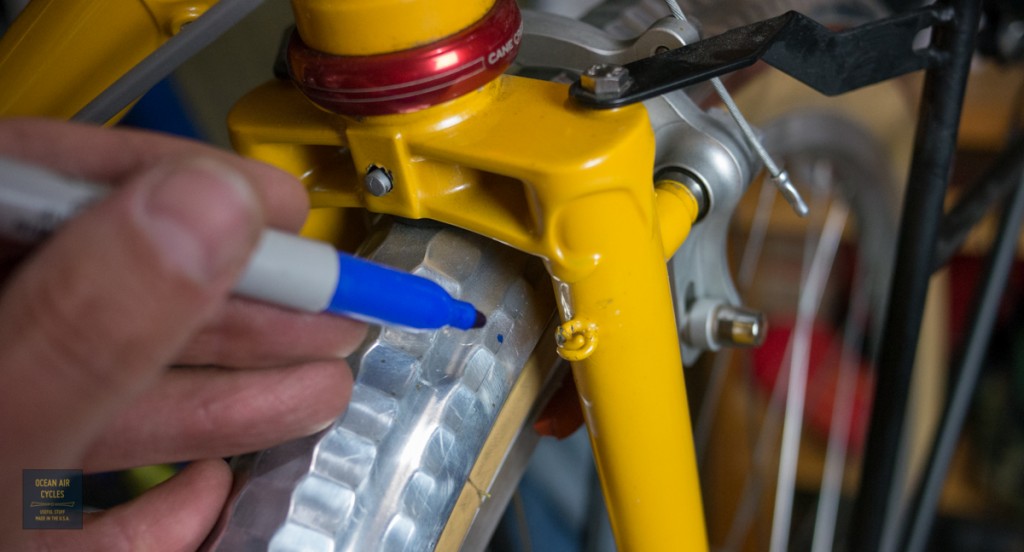
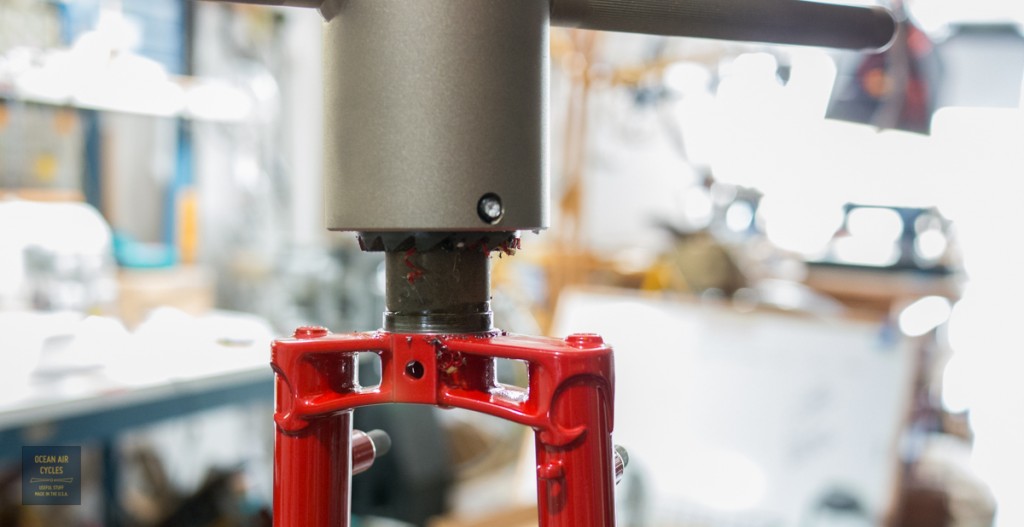
Once you are sure of the hole location use your center punch to make a small indent in the place you want to be the center of the hole. The indent will help to keep the drill bit from running all over your fender at the start of drilling. When you make the indent with the punch be sure to support the fender from behind with you hand and the block of backing wood.

Without support from behind, the indent you make with the punch could end up damaging the fender more than intended. If you do not have a spring loaded center punch a sharp nail can substitute, but you may need a second set of hands to keep everything supported.
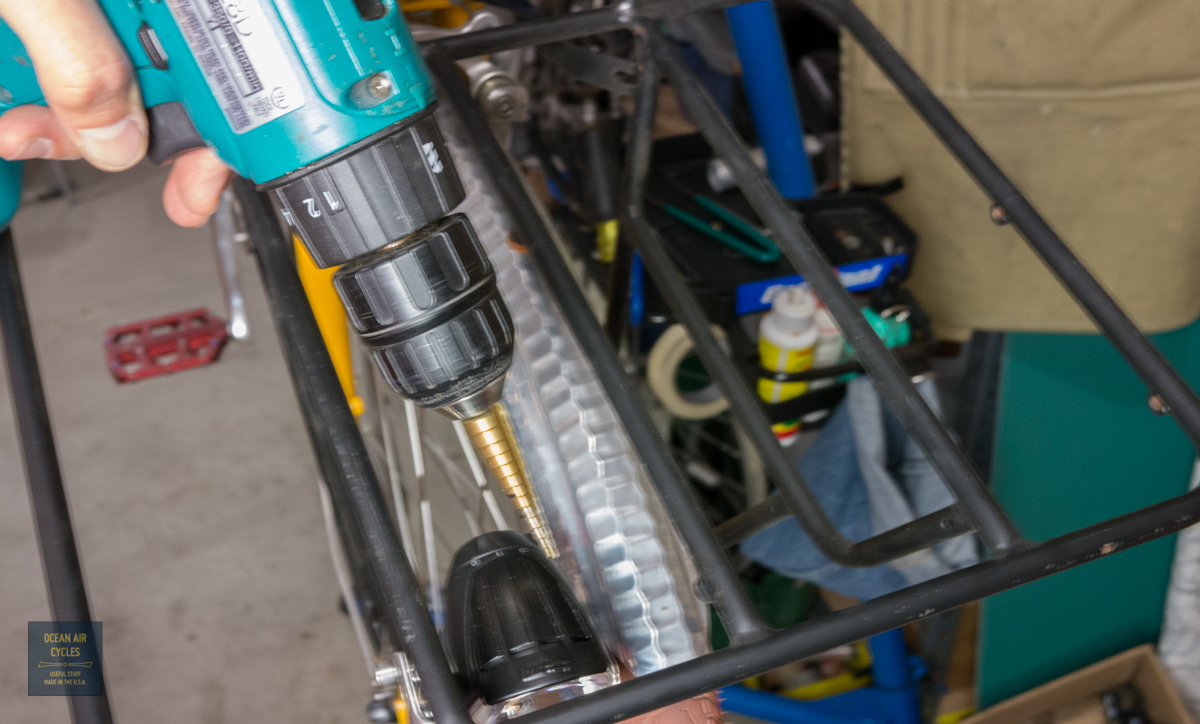
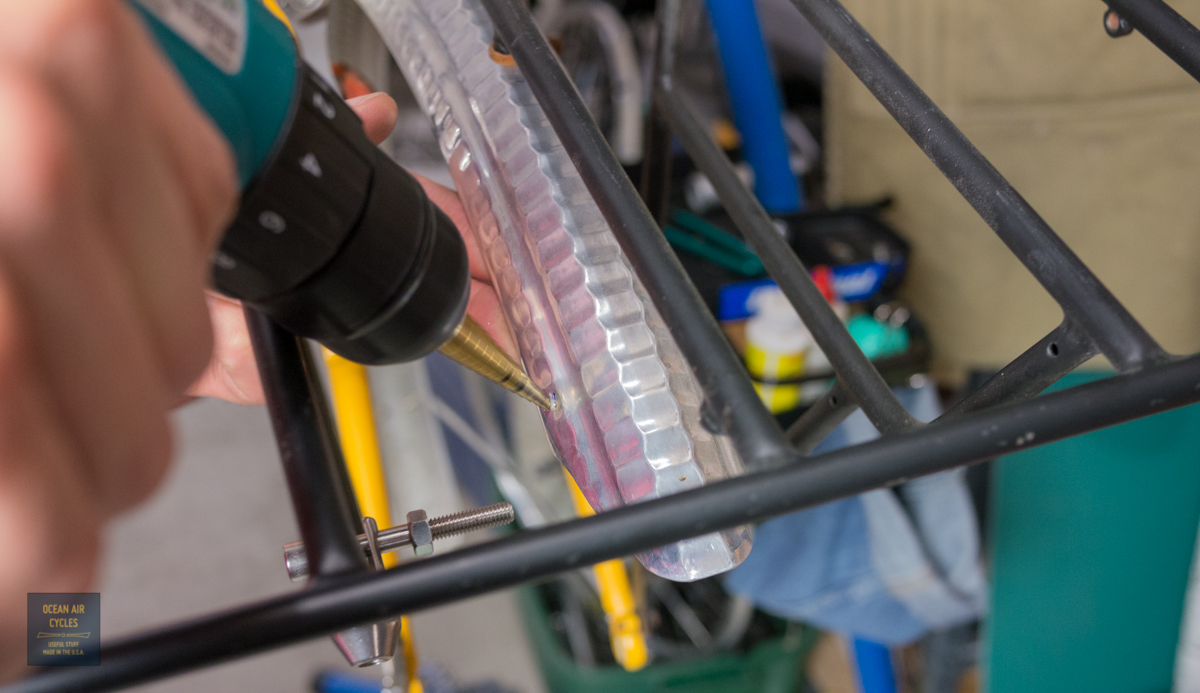
It is time to drill. If you have the step drill this will go a bit easier. These are made specifically for sheet metal and the way they take incremental cuts, as well as the shape of the cutting edge help to reduce the pressure needed to make the hole cut. If you are using traditional drill bits be sire to start with a small bit (hole), then move up to a bigger bit. Also be sure to back the hole with a wooden block.
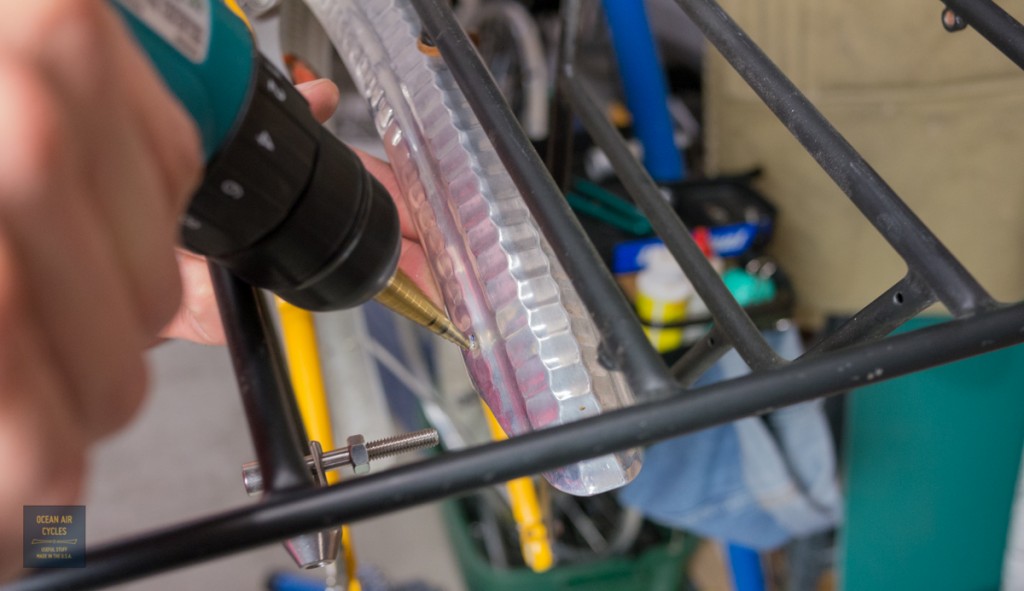
With the step drill you do not need the wooden block and things are a bit easier. You can see the black lines I made on the bit. These mark the diameters where I want to stop. The black line makes it much easier to see on the spinning bit.
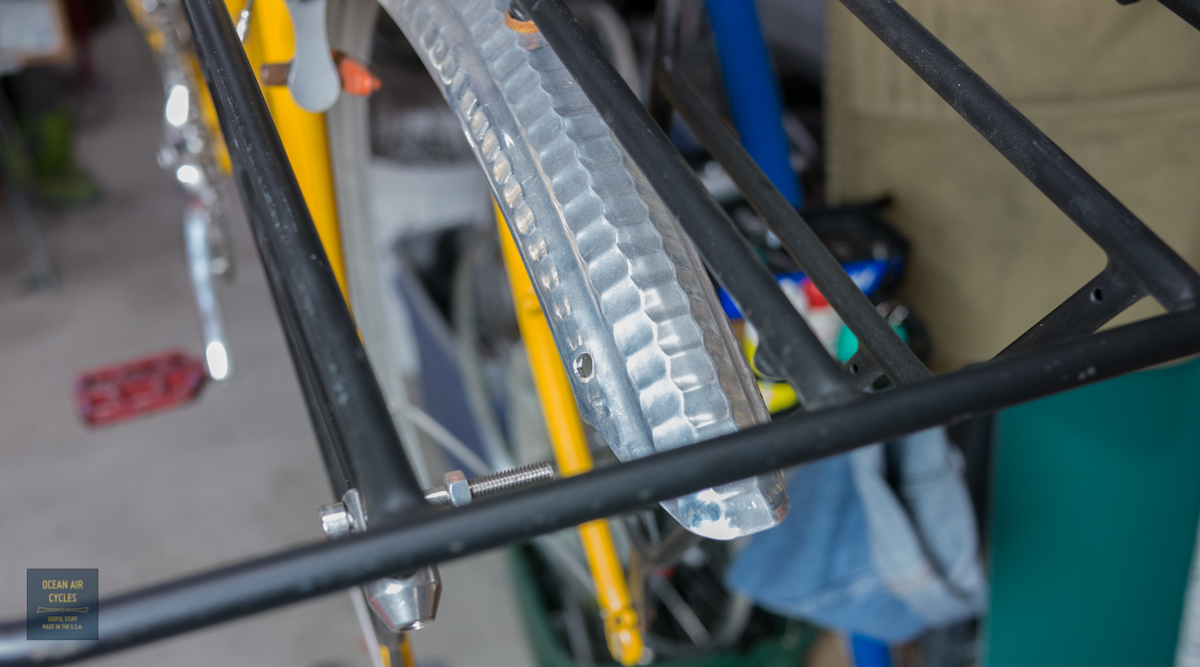
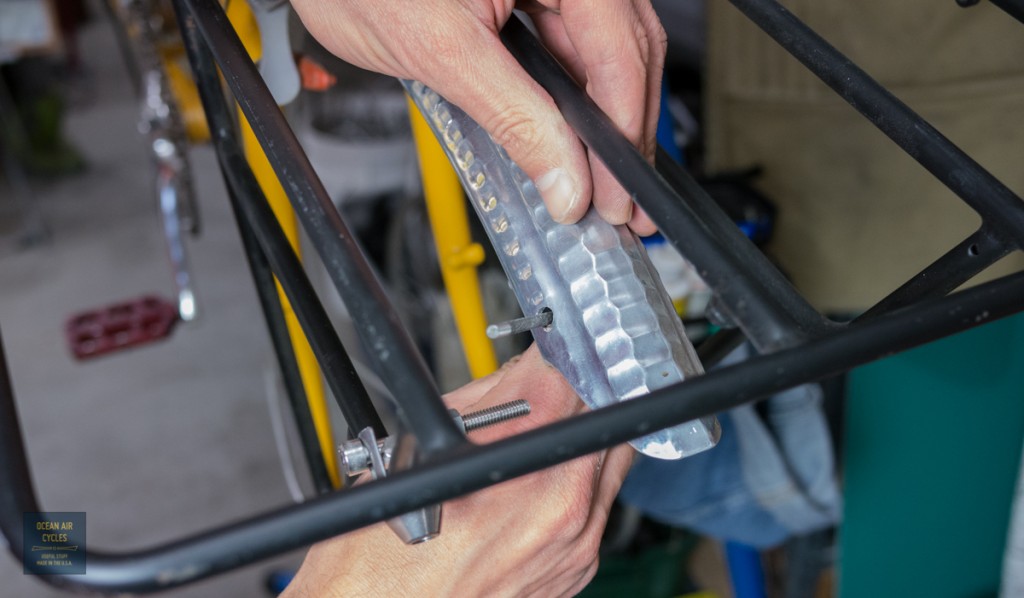
This is what the hole should look like.

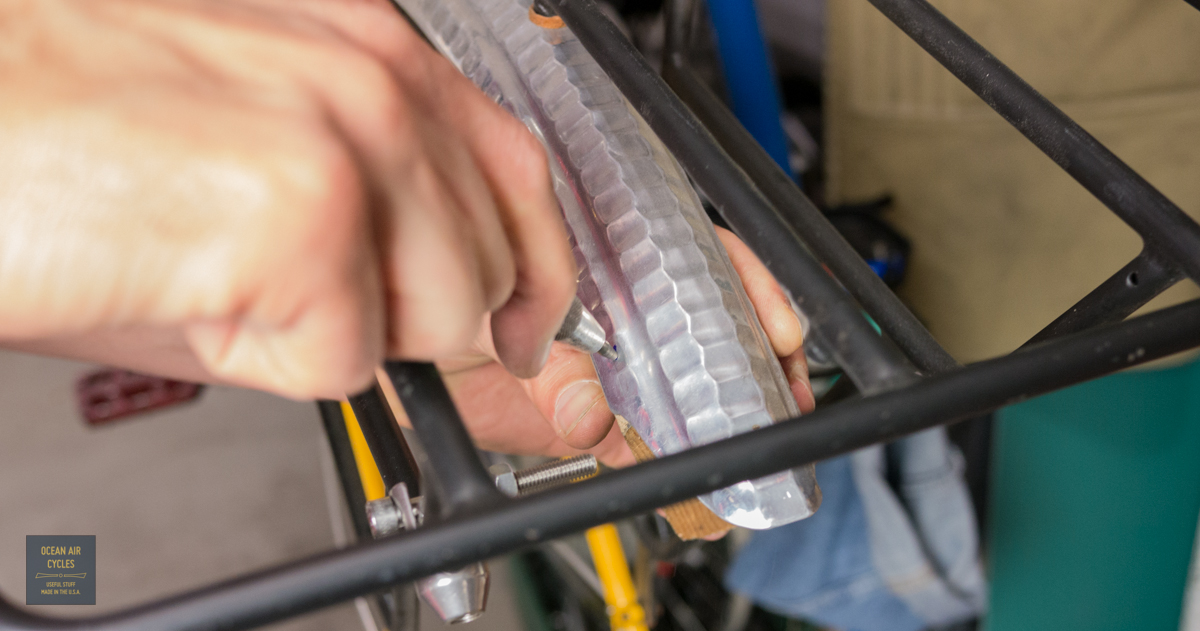
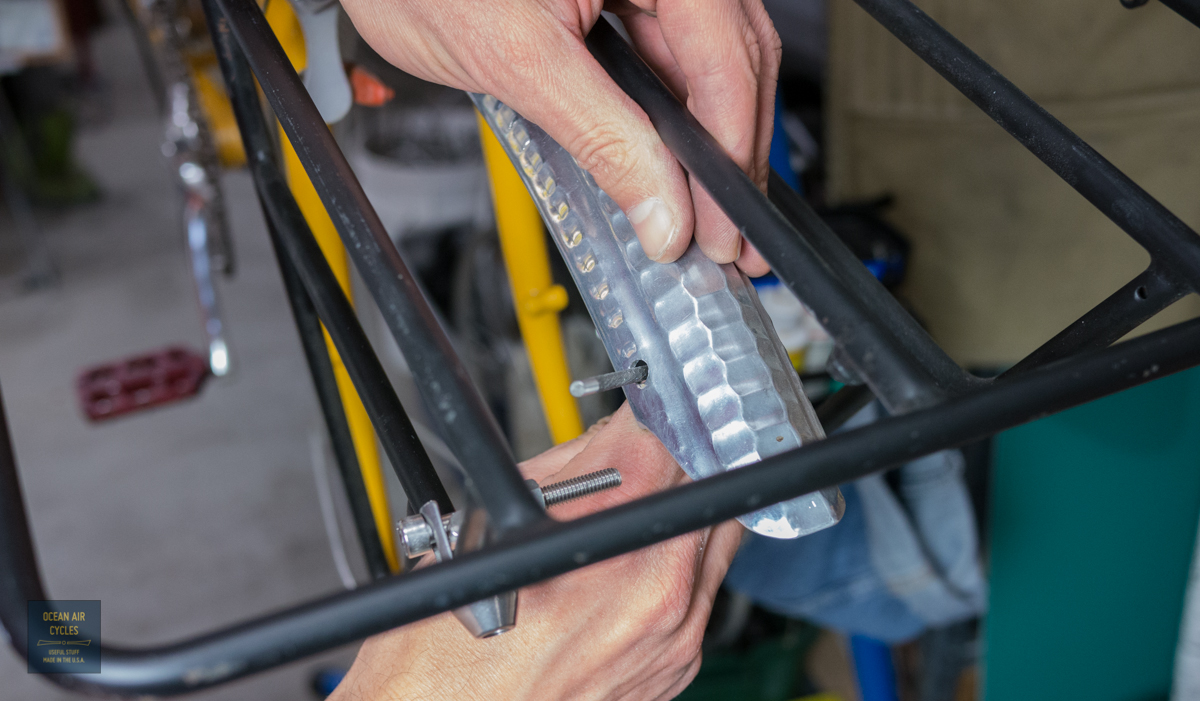
Nice and round, a tiny bit smaller then the final hole you want and there will be a metal bur around the edge. You can either use your countersink by hand or the round file to gently de-bur and clean up the edge of the hole. I am using the file in the picture below.
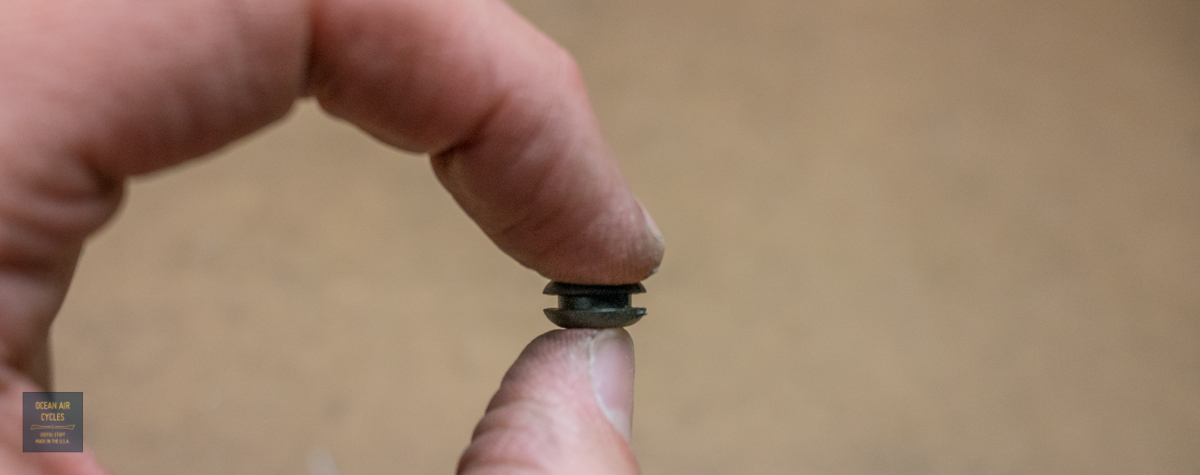
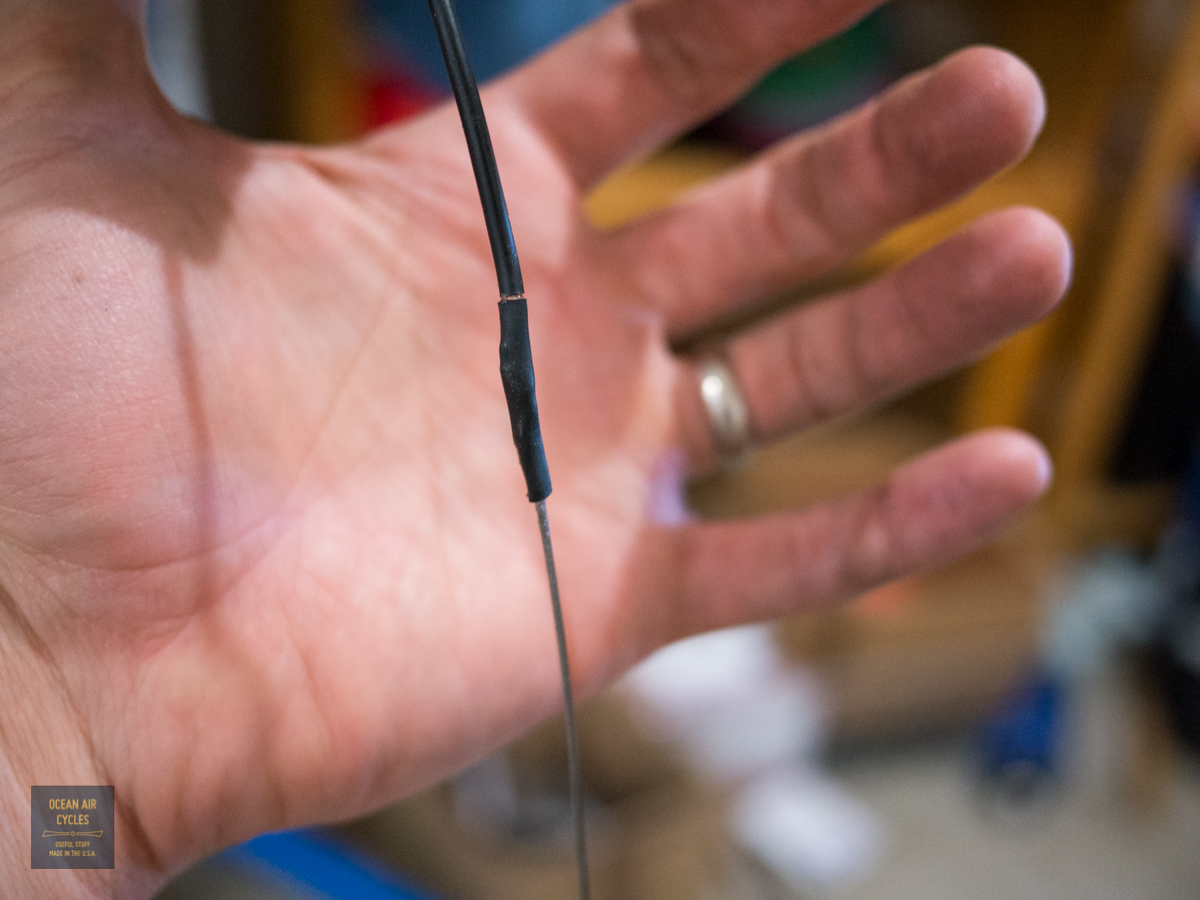
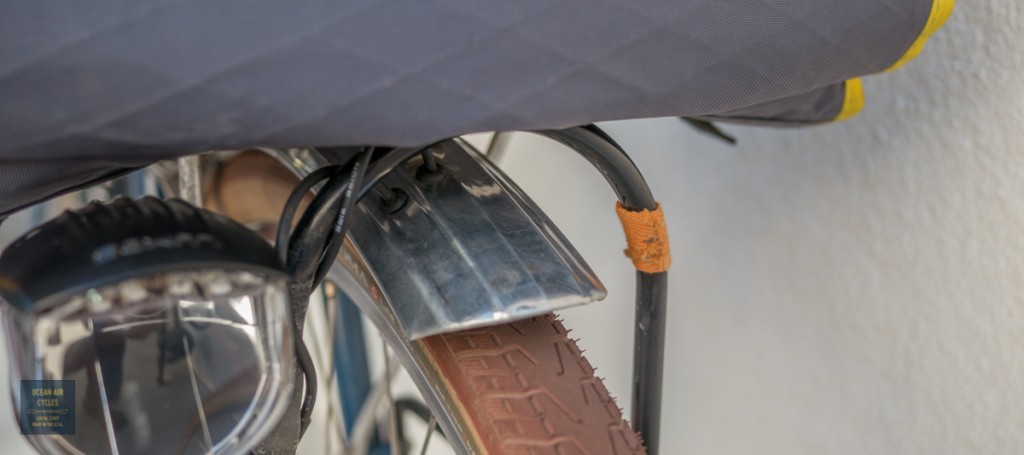
With the hole tuned up it is tie to push in the stress relief grommet. If this were a mounting hole it would be done. THe stress relief grommet protects the electrical wire from the sharp edge of the hole. Even with the edge filed smooth, the wire would likely wear through and fail from the vibrations of riding. The grommets can be bought in a variety of sizes at you local hardware store. They are usually found in the electrical section. They are shaped like tiny doughnuts with a groove cut in around the edges

Every time I hold one I think of it as a tiny Death Star with Luke flying around the trench in an X-Wing. Yes that kid is alive and well in all of us I hope.
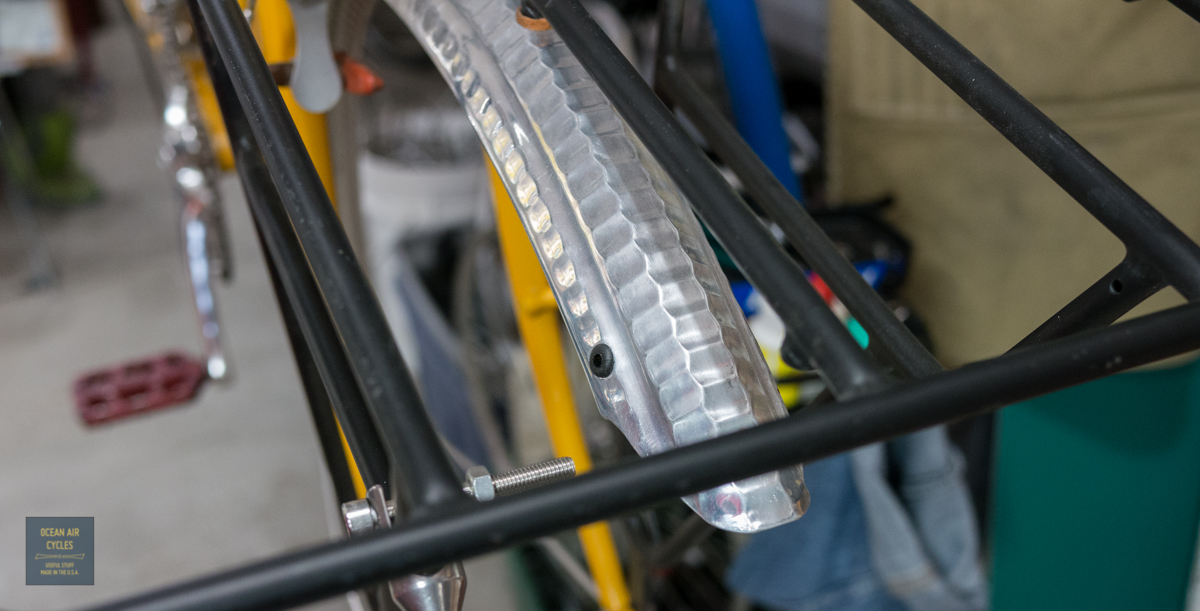
Push the grommet into the hole and work around the edges on moth singes to make sure that the grommet is centered with the top and bottom fully sandwiching the metal of the fender.

It should look the same on both sides, none of the lip caught in the hole. If you were lazy with the de-burring it will likely have taught your finger tips a lesson when working the grommet into place.
The hole is now ready and safe to pass your wire through, finishing off the rest of your lighting install.
If I were to insert this much detail into a single post it would end up incredibly long. I will do my best to expand steps like this where needed. Later this week there may be a post on grommets alone. Eventually I will cover wire terminations, and a bunch of other stuff that I take for granted. I was lucky to grow up in a mechanically inclined environment, then back it up with an engineering education, time in machine shops and countless hours keeping mechanical things running. This is my chance to share the knowledge. If at any point you think I jumped a step or need to explain something in more detail, hit me with a comment or message.
Because much of this is second nature to me there will be things I skip, like eye protection. Not that I skipped it, but forgot to write it out. Eye and face protection are no joke when working with metal. Metal bits in your eye sucks, really bad, trust me. I usually wear a full face shield, it is easy and keep thing from getting in any of your head holes.
Now have fun punching holes in your perfectly good $100 plus new fenders, in the long run you will be happy with them.
The freshest shipment of
Randi Jo Caps hit our door step this week and the storefront stock has been updated. Getting boxes from Randi is always a little bit like Christmas.
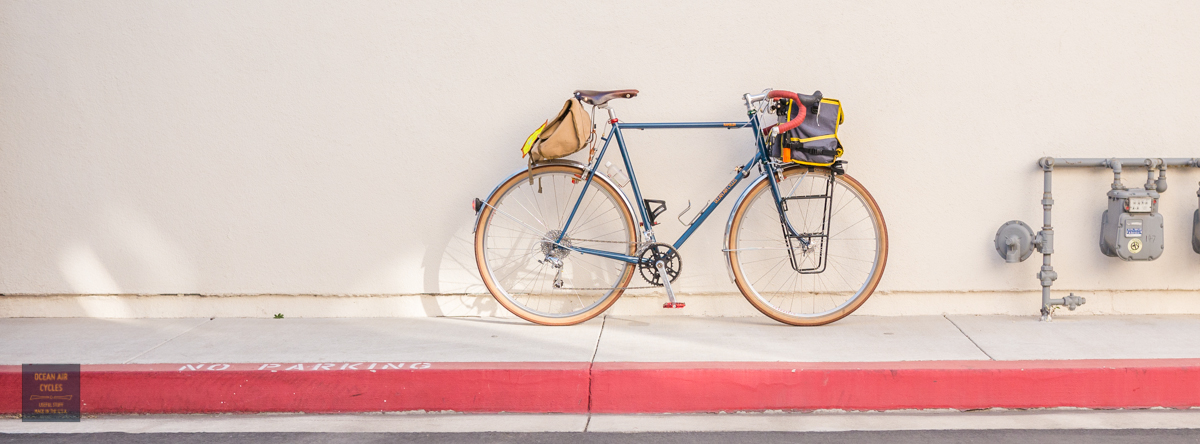
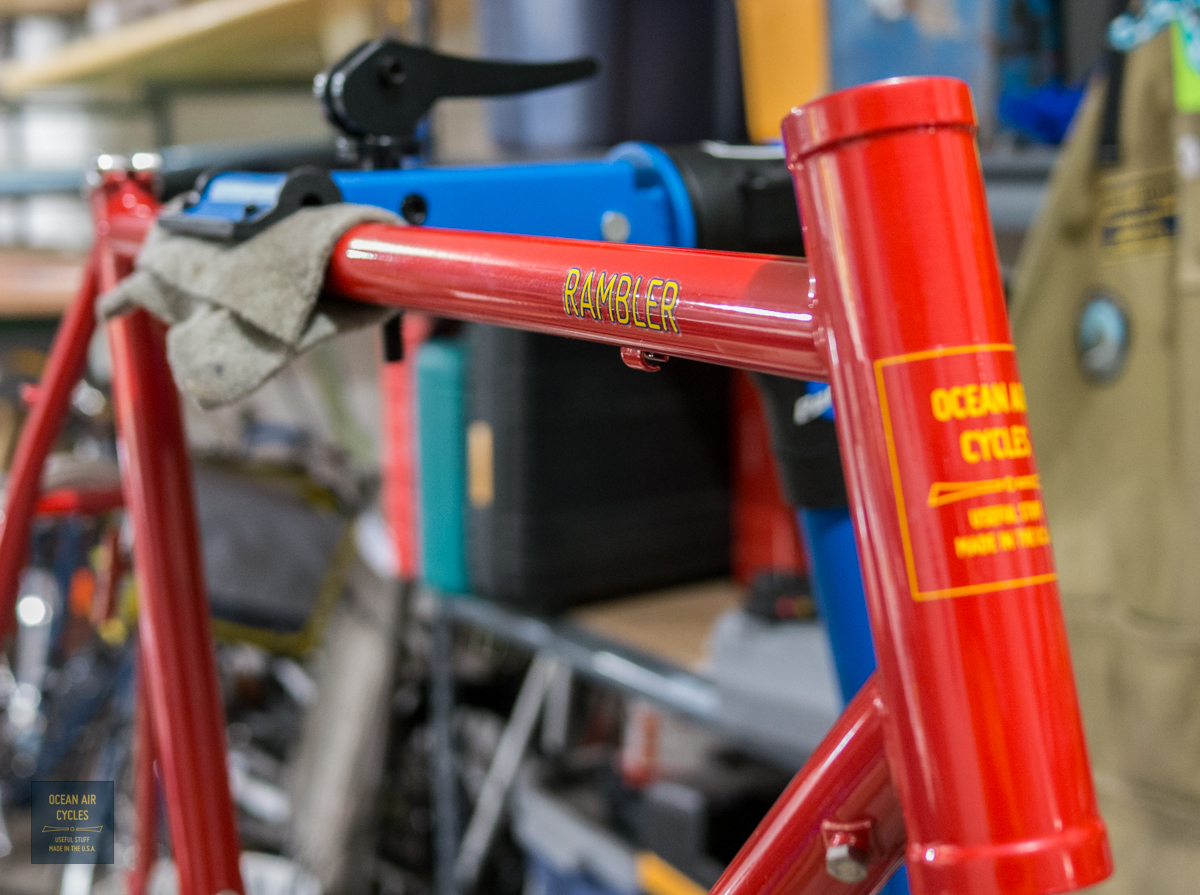
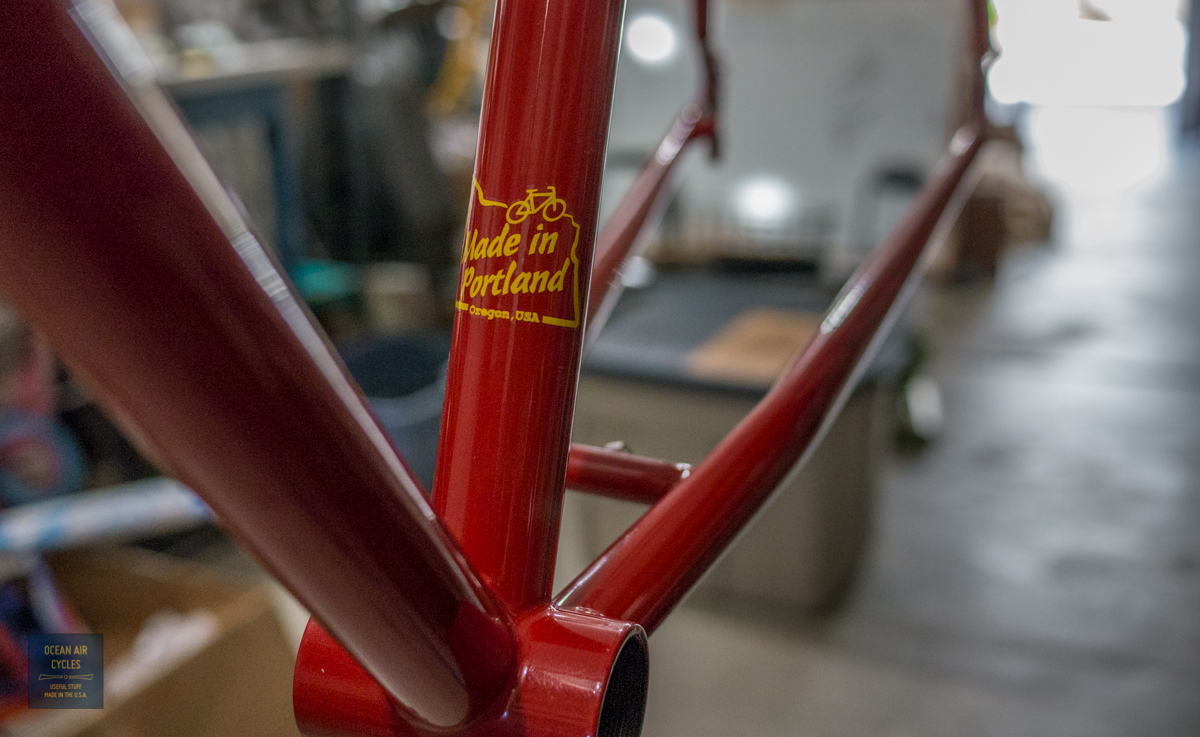
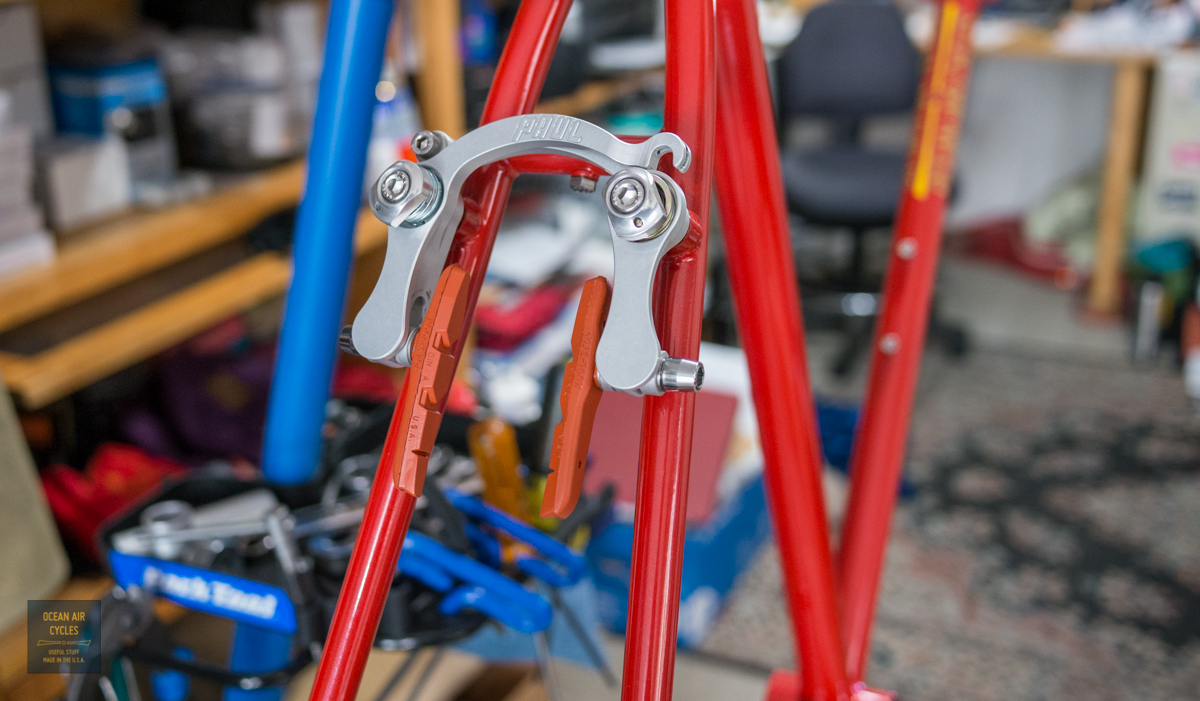
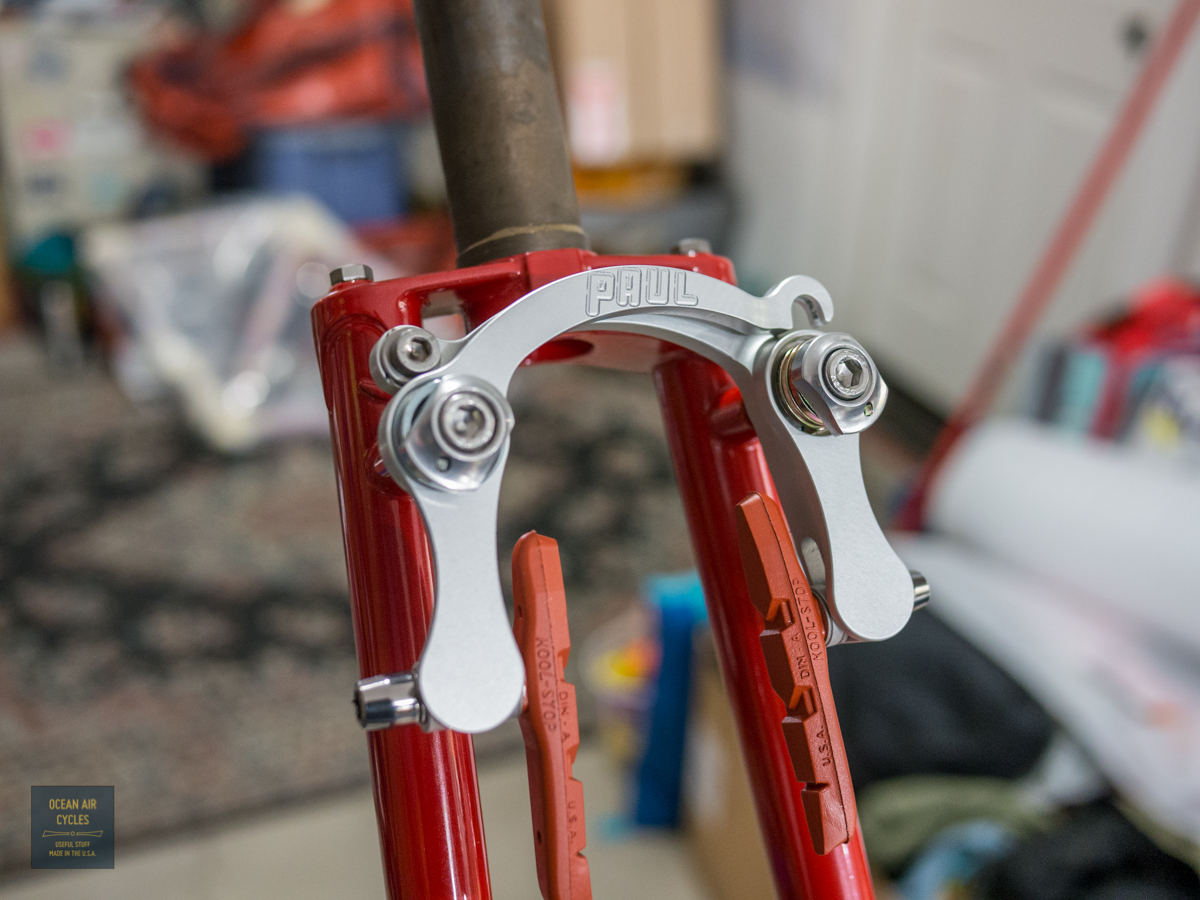
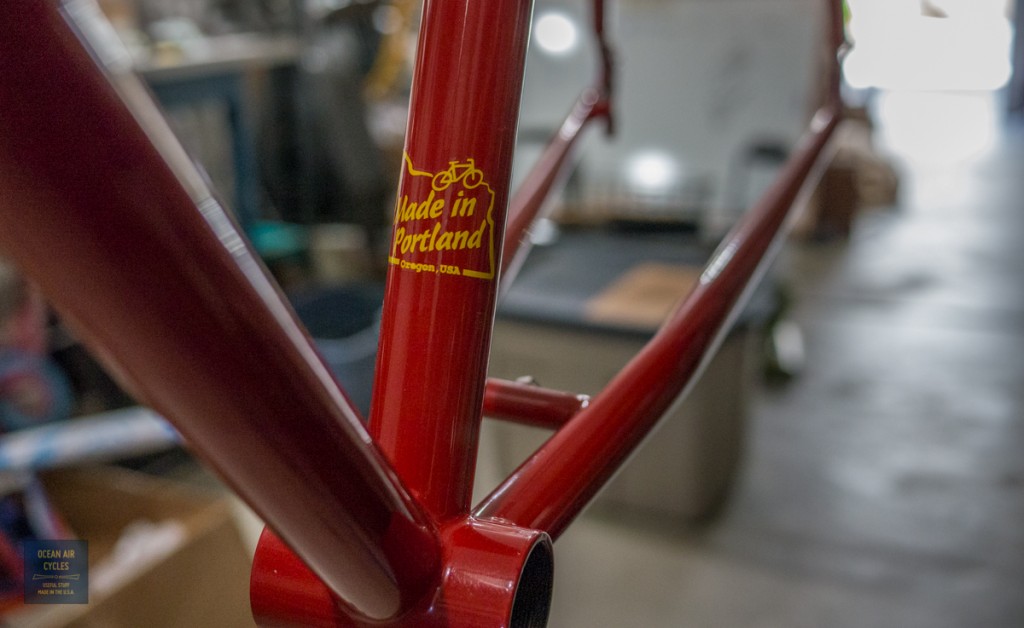
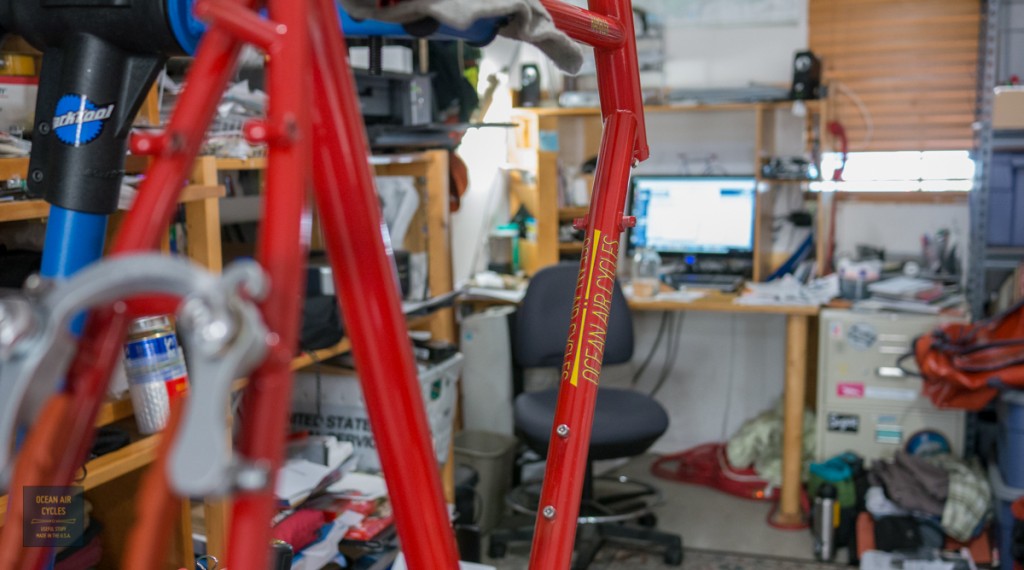
Today I shipped off the last Rambler for 2013, a huge thank you to all of you that have bought into the program so far. This red 55cm will be the first Rambler on the front range of CO as well as east of the continental divide. Pictures:


And the Stoke comment of the year goes to the new owner who saw yesterday's pic on instagram:
"The like button has become grossly inadequate. Where's the 9 year old me "I just got an AT-AT walker, run screaming through the house" button?"
Most of my customers are men, about 35-40, and we all know just how much an AT-AT walker really meant to us as a kids. Brad is going to be stoked in a few days, and we are stoked for him.
If any of you out there think the red is as awesome as I do, and would love to, I mean need to, have a Rambler in red, hit me up and I will check inventory. There were a few of these made in the last round and I still need to add then to the storefront.
This may also be the last post of the year, with two munchikins and a bit of travel on the immediate horizon things are going to slow down around OAC. I will do my best to keep up with email, and most orders from here on out will ship the first week of 2014. Thank you all for helping to keep 2013 awesome around here, safe travels ad Merry Christmas
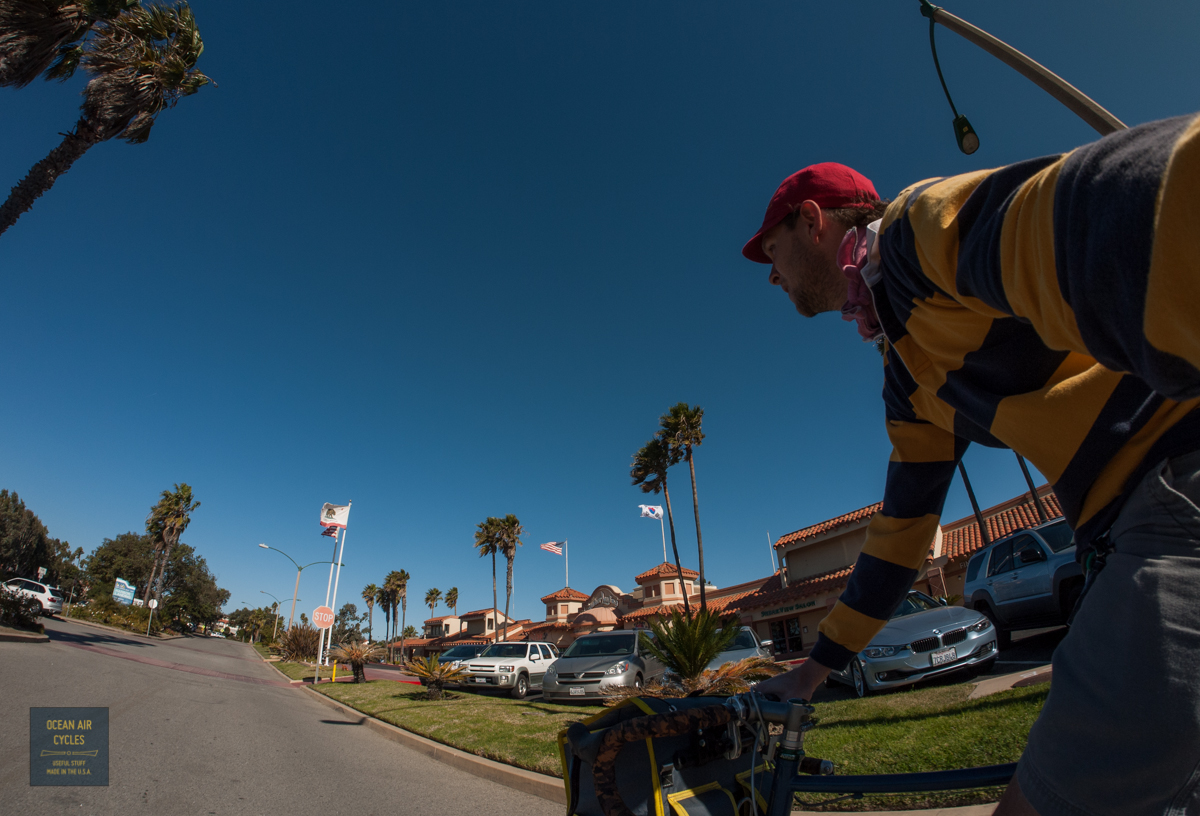
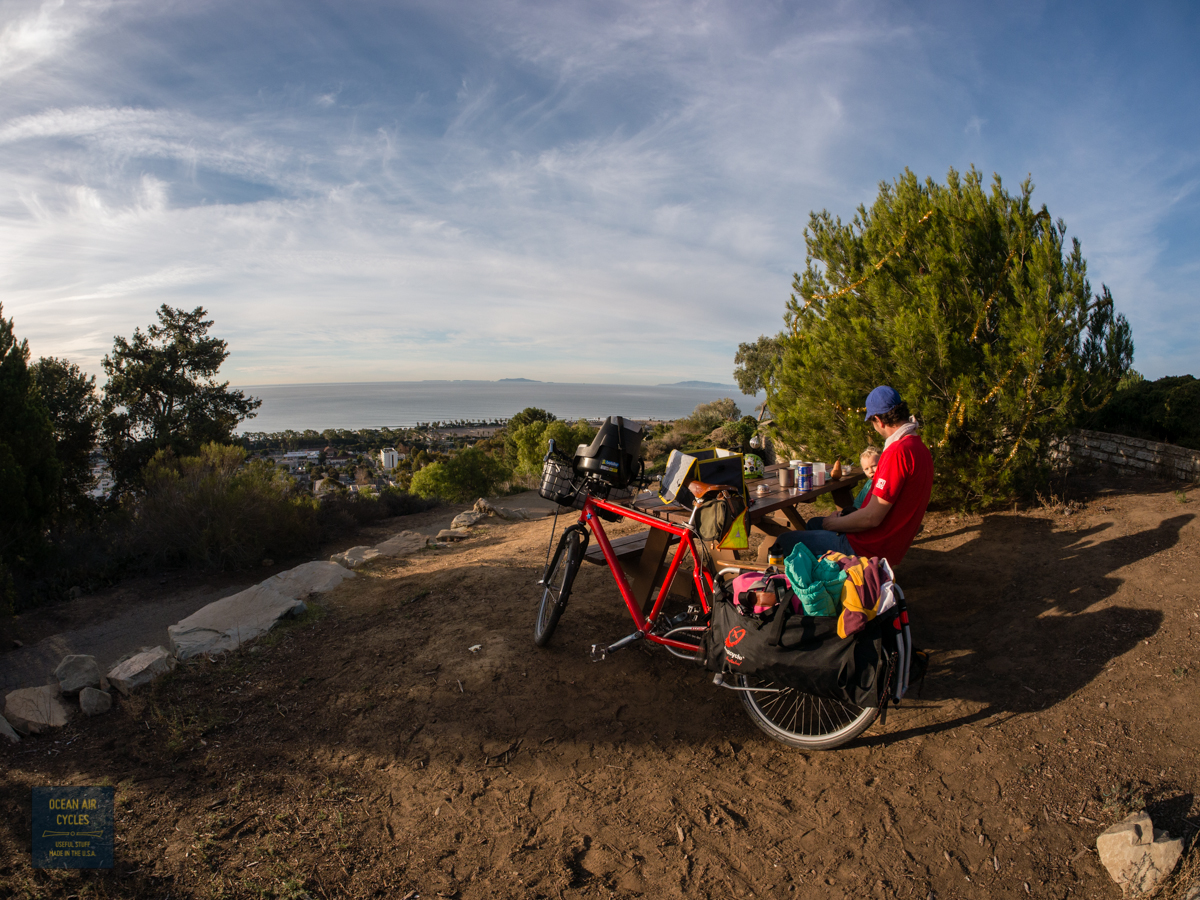
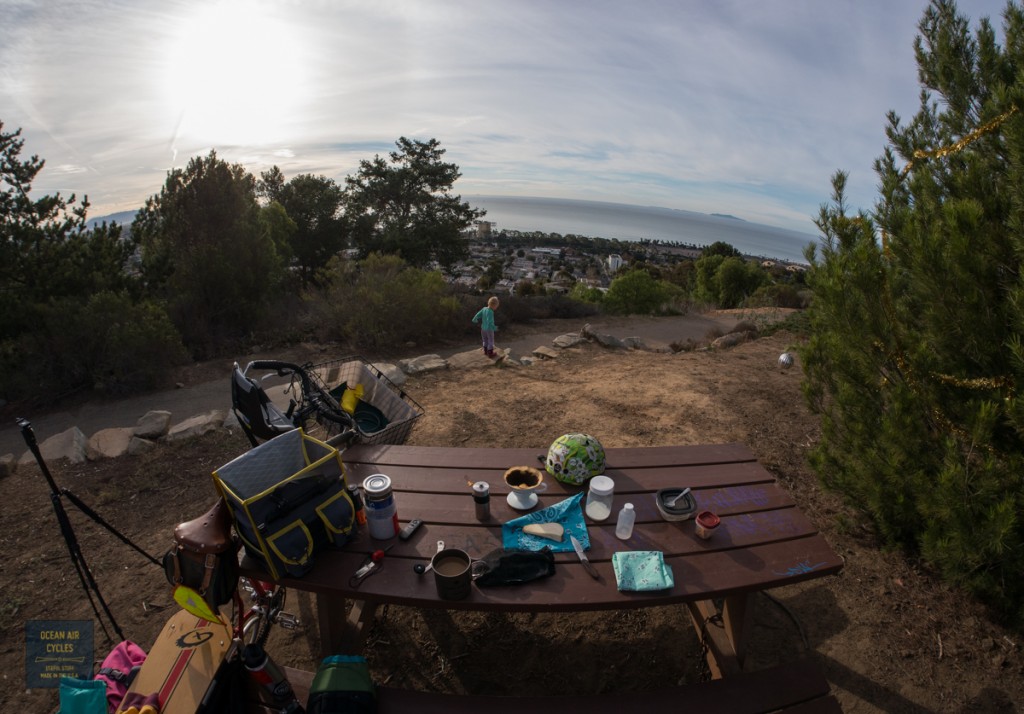
Today munchikin No.1 and I took the scenic route to school, breakfast picnics will skew their perception of being grown up for ever.
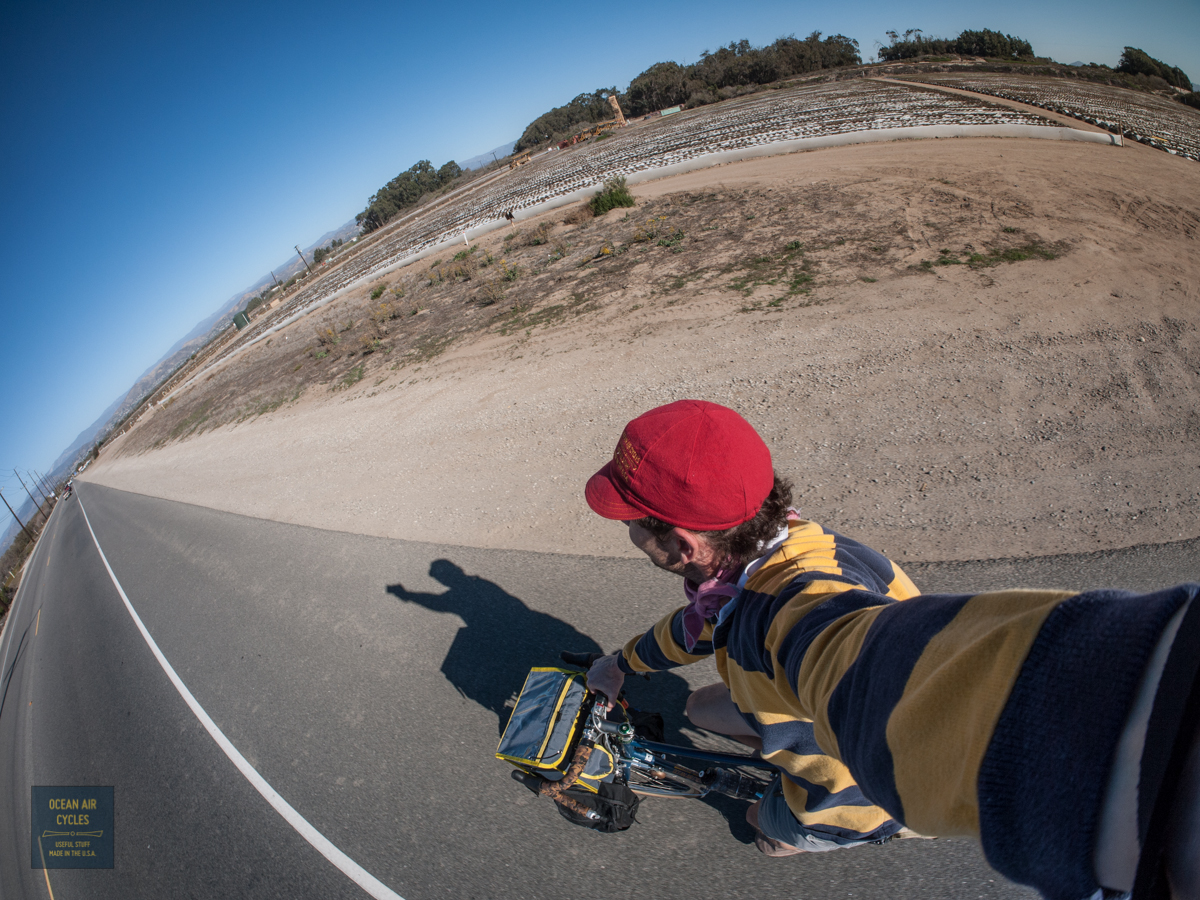
With about 400 feet of climbing in half a mile I was glad for the low gears on the family xtracycle. About half way up we took a break for the photo op.

Once at the top she confirmed that it had been quite the climb up, much more work than in the car, and she too was feeling it in her legs

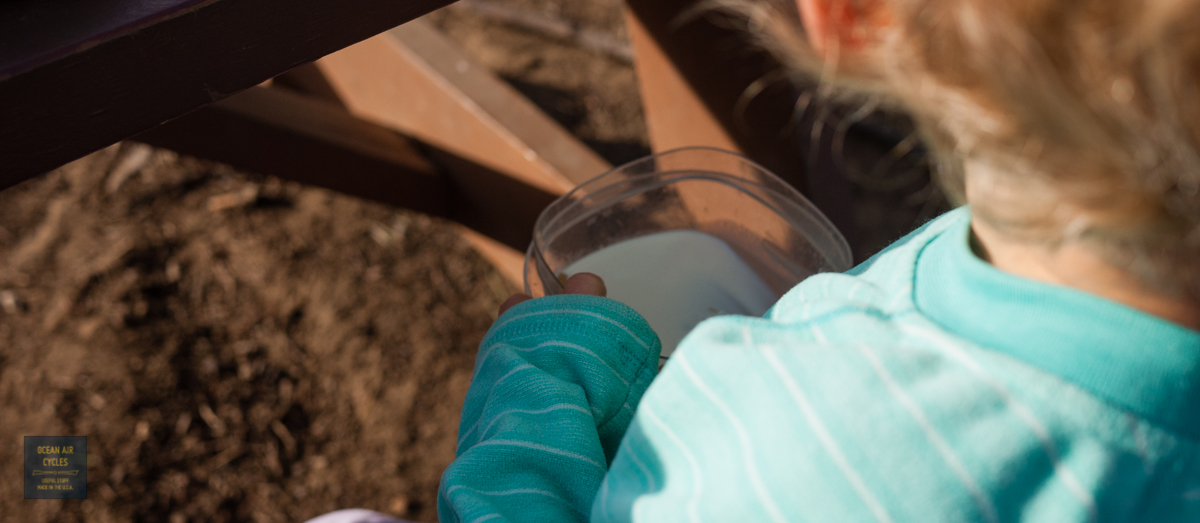
I think she was mostly feeling the lack of breakfast. We found the bench she wanted and set up fast.


With all the hard work behind us it was time to make time for some real playing, a bit of exploring.
Fully recharged it was time to get back down the hill and make sure her sister was ok before heading off to school and work. These are some of the best times, I hope she never forgets.
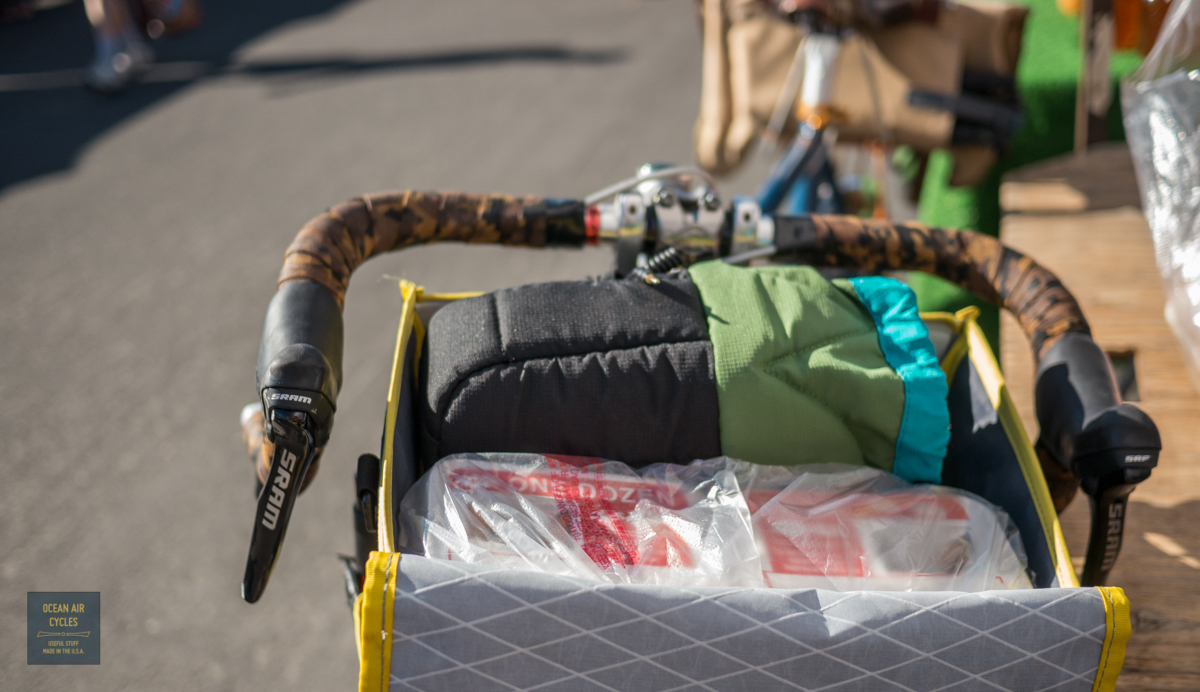
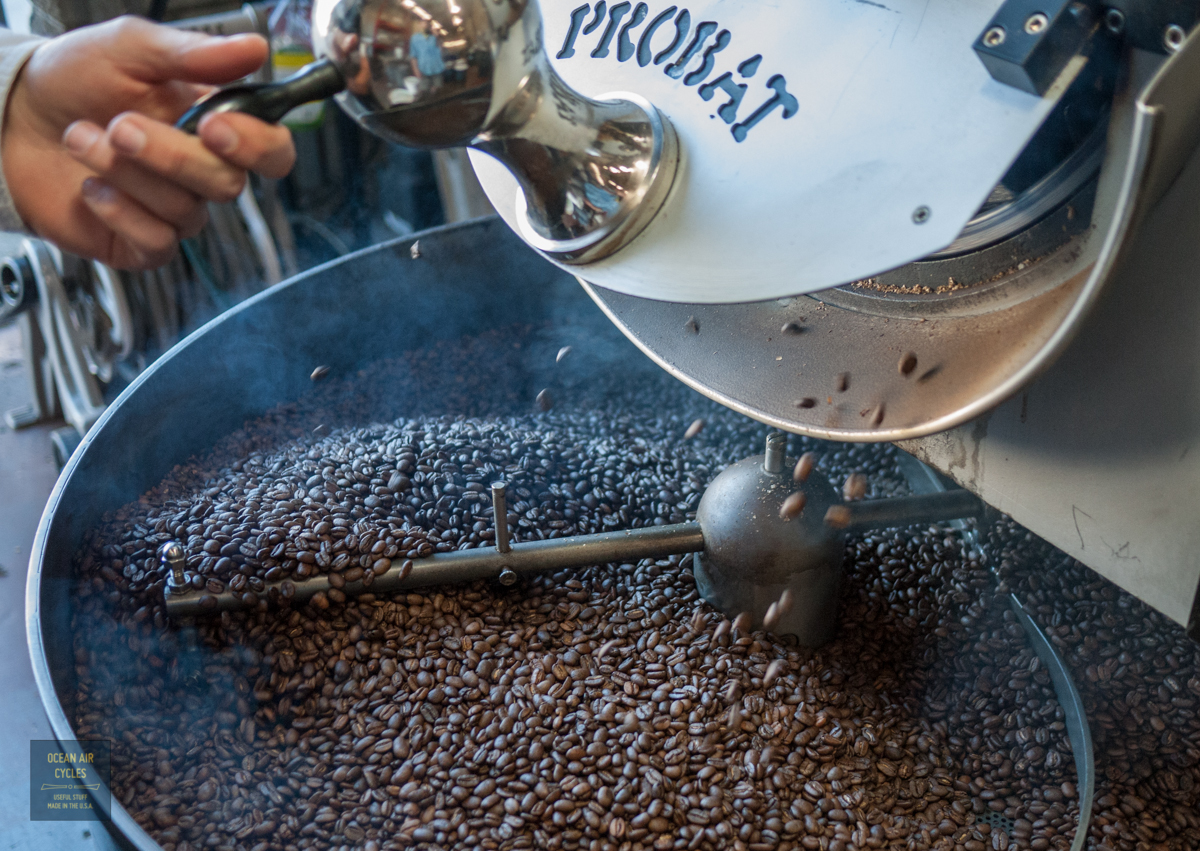
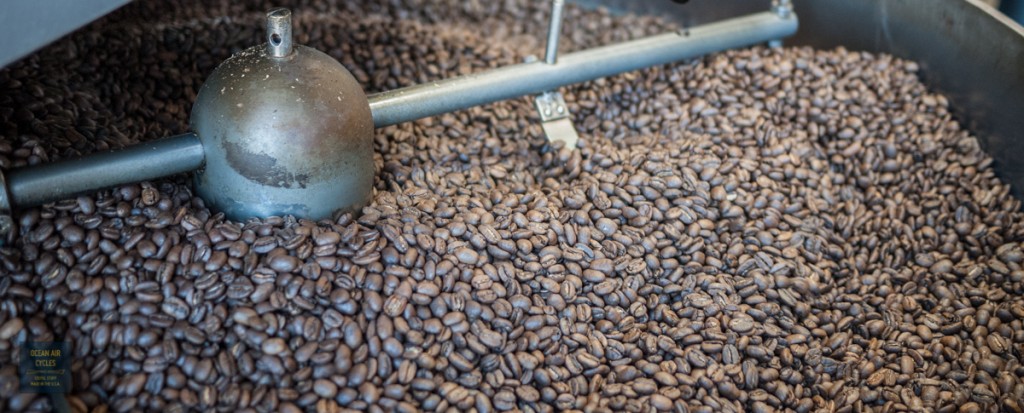
Since the coffee outside thing began we have bounced around the idea of a house branded blend of coffee. A few things have held us back a bit, making the time to develop a relationship with the right local roaster, projected volume to make it worth the venture and the basic fact that many of you doing the coffee outside in far away places have great local roasters of your own. Today I stopped in to visit
Centri Coffee, and Dillon and I hit it off right away. He has a good thing going doing a fair volume of organic beans at some of the local farmer's markets.
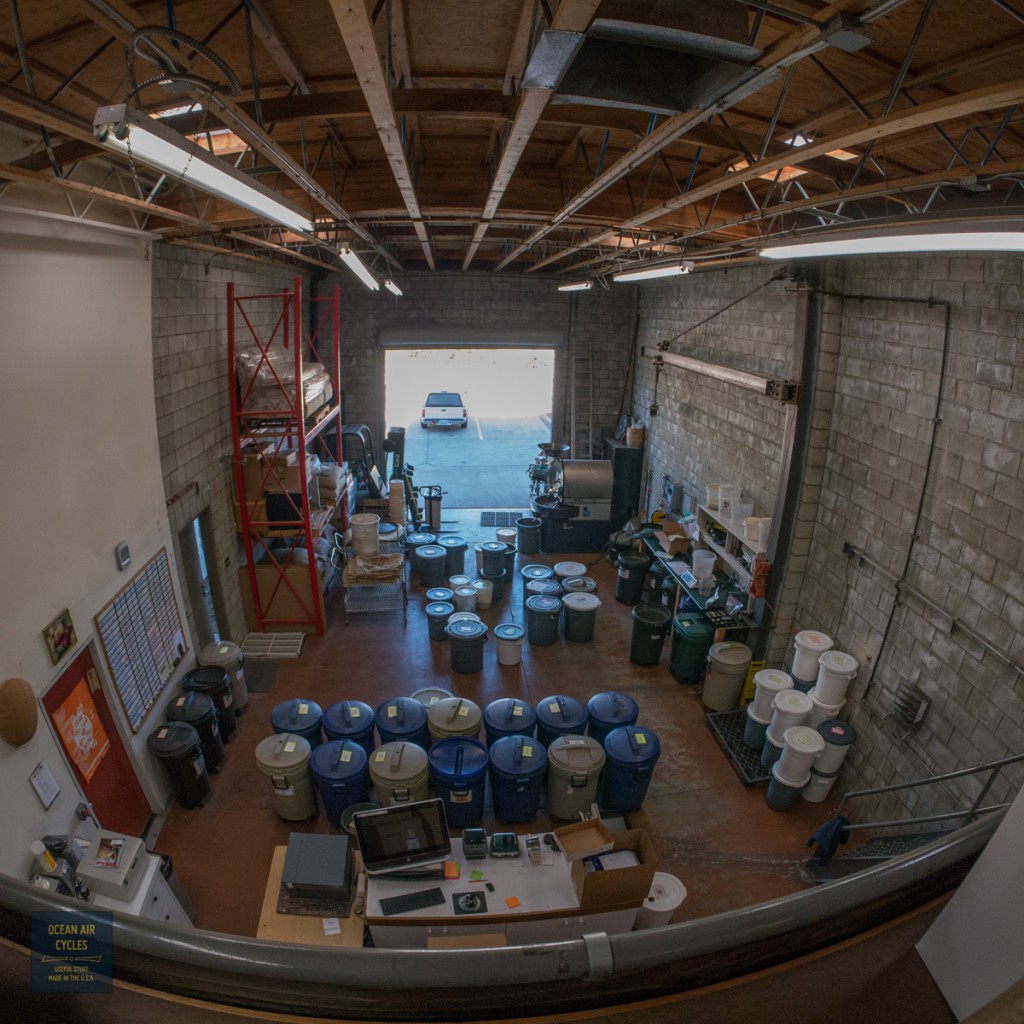
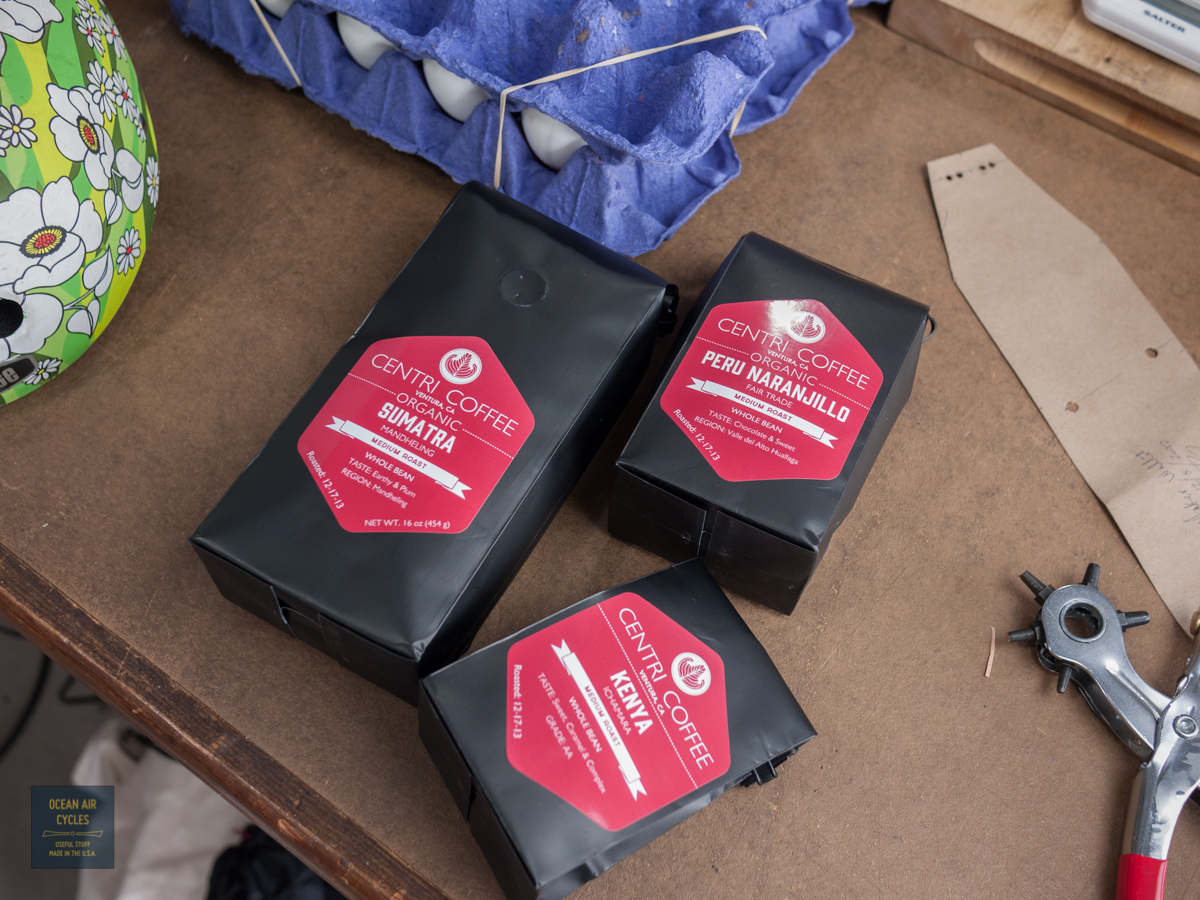
We chatted a bit about coffee and all sorts of other things. He was prepping for the holiday sales as well as tomorrow's market in Ojai. There happened to be a large amount of organic Sumatran beans running through the roaster. One of my favorite varieties, and what I had been stopping by for.

They also had all manner of other single source beans, and I can see that my coffee problem is about to step up a notch.
With some samples in the bag, literally, it was time to get back to work. I do know that I will be heading over to their space again once the chaos of the holidays settles down a bit. Dillon wants to boil some water outside, and the possibility of a collaboration in the coming year will work itself in time.

Thank you Dillon of your time today, it was definitely time well spent for me.
Still Here December 13 2013, 0 Comments
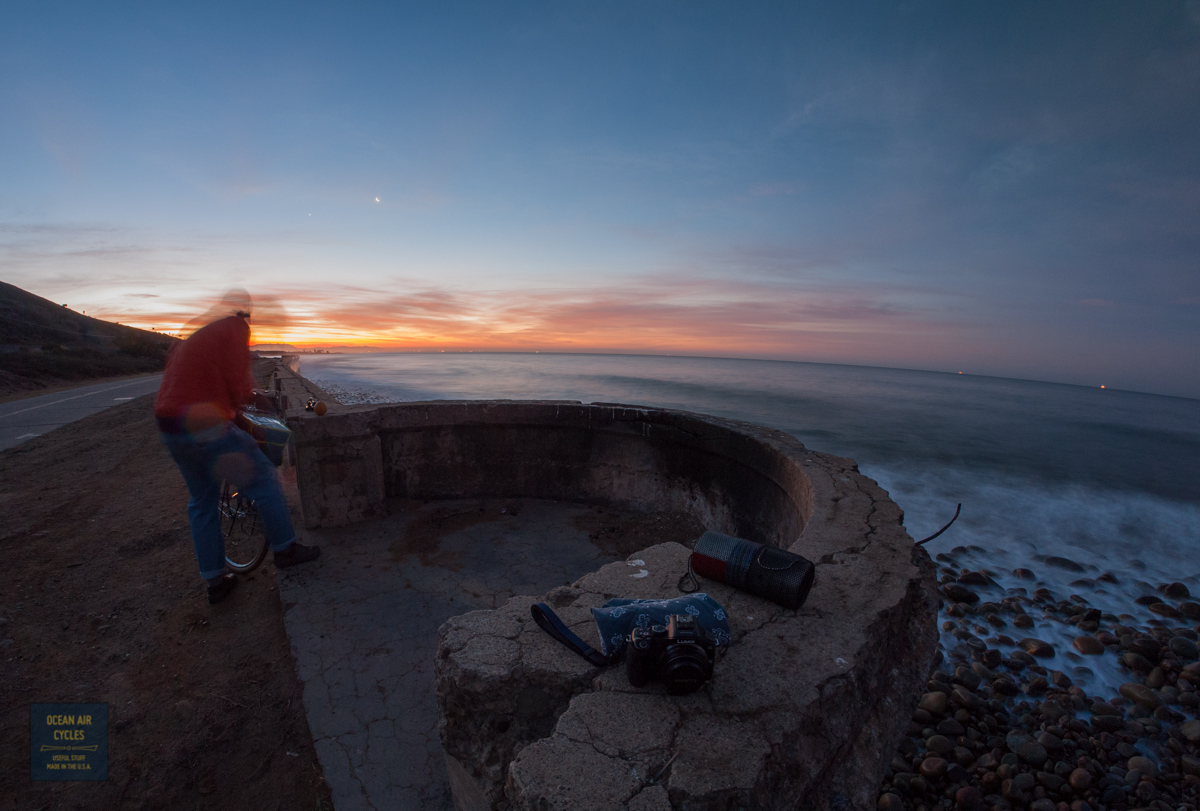
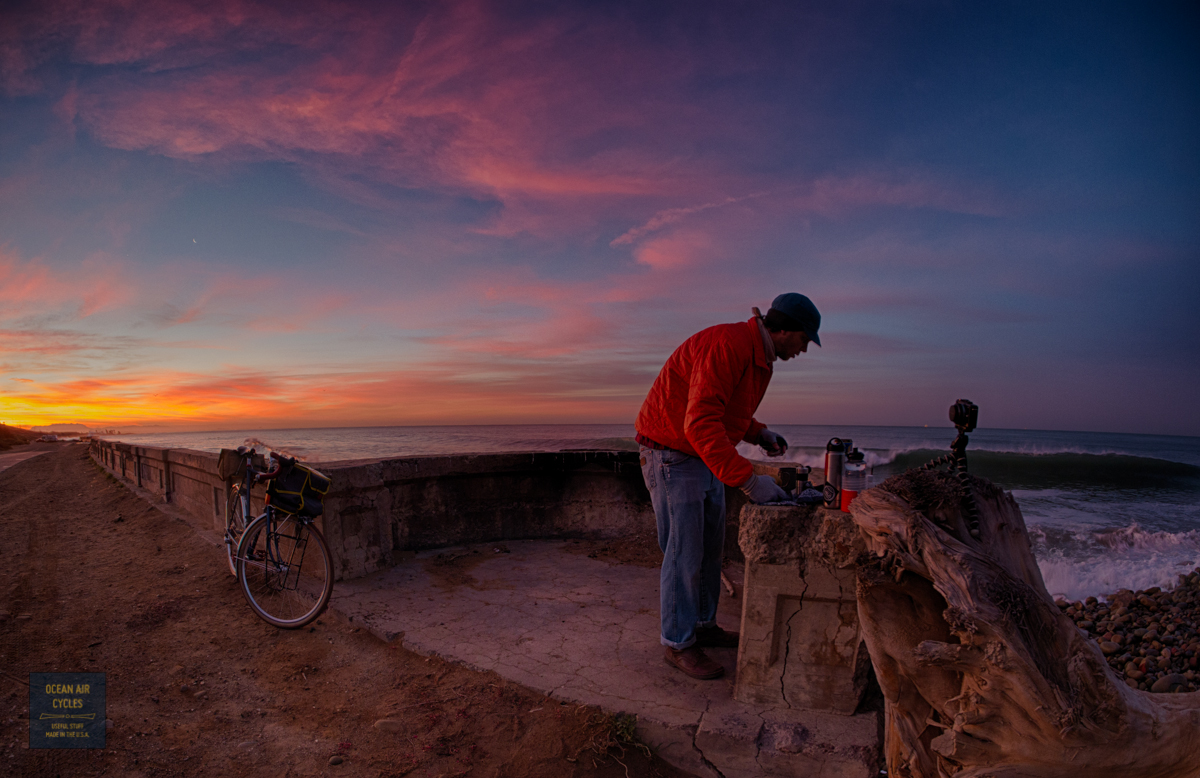
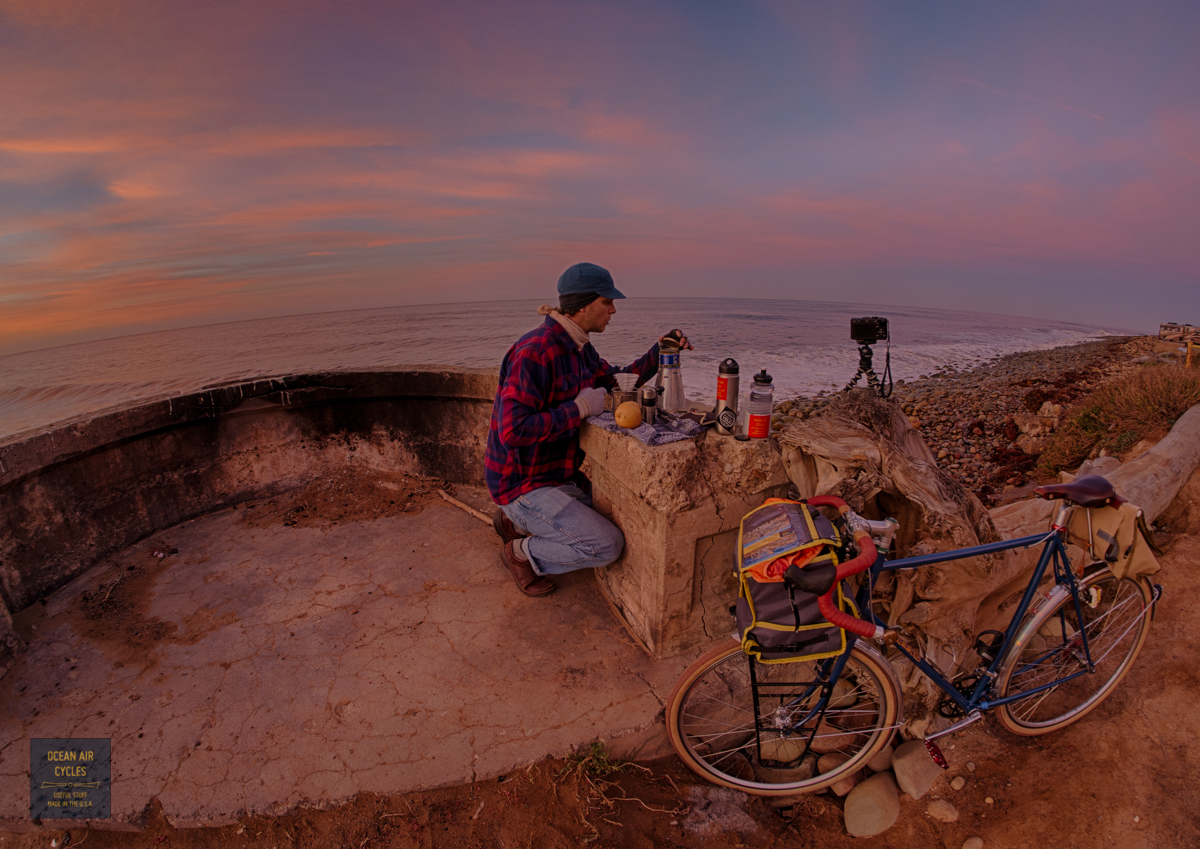
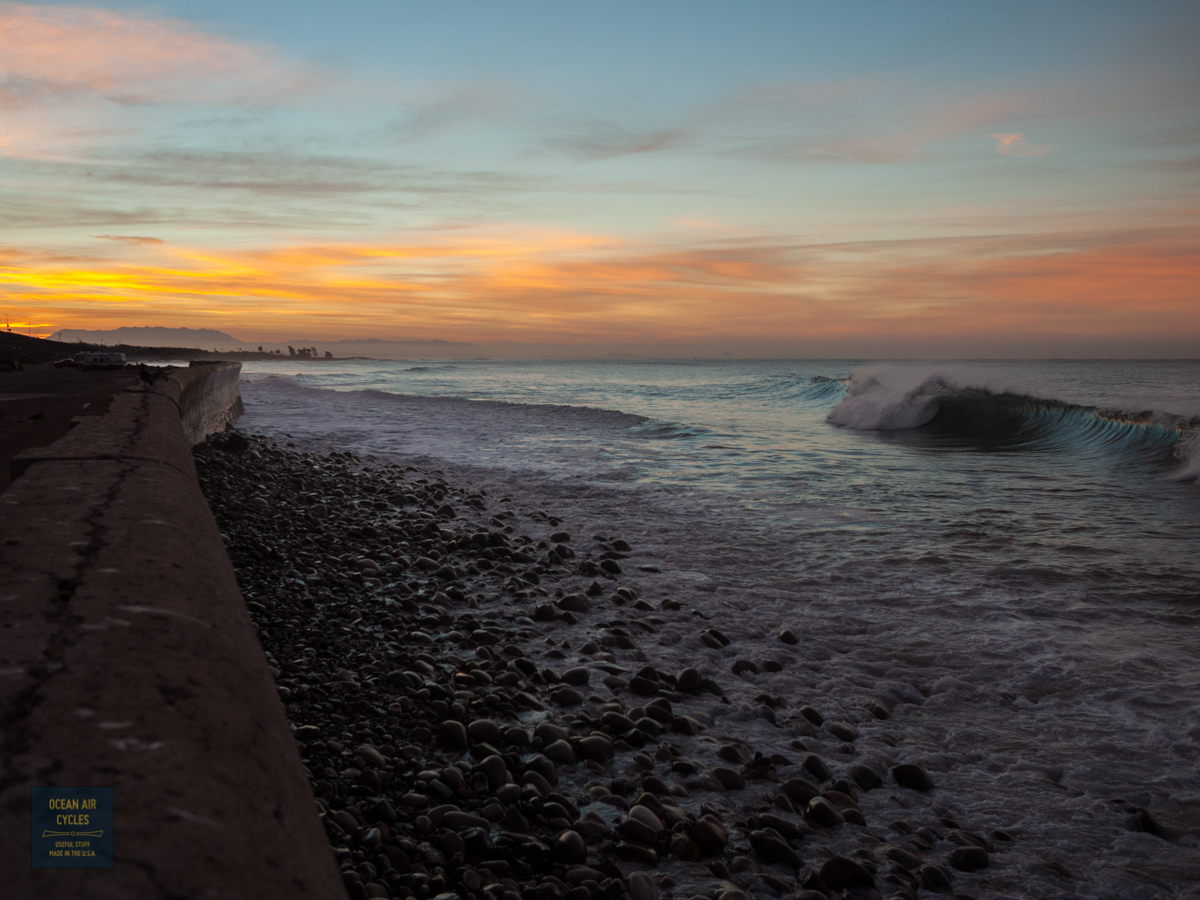
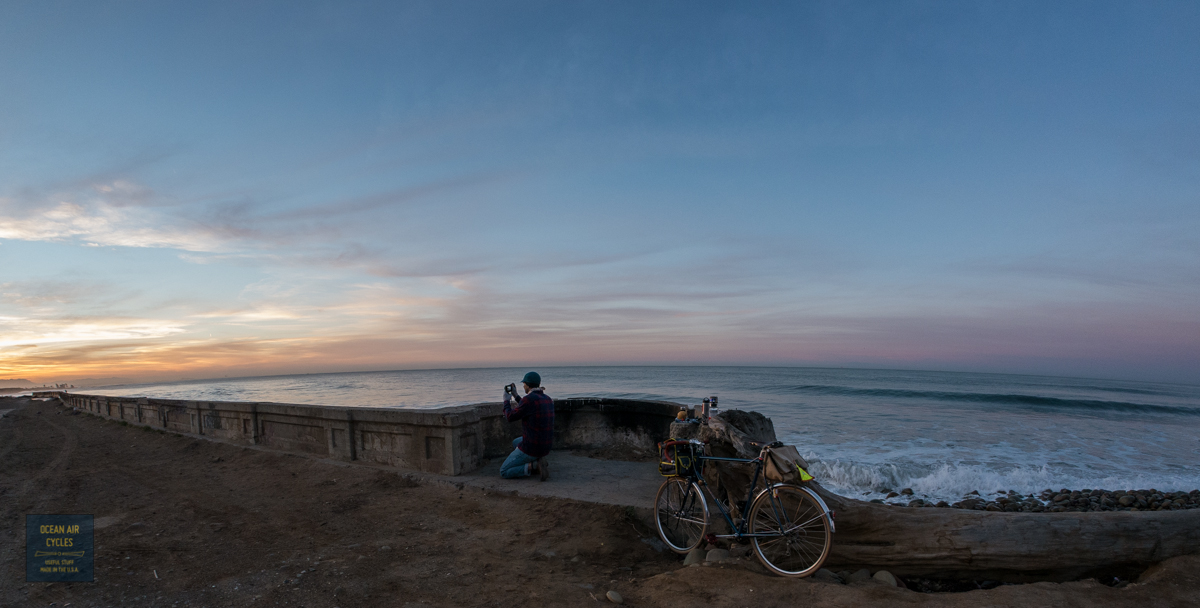
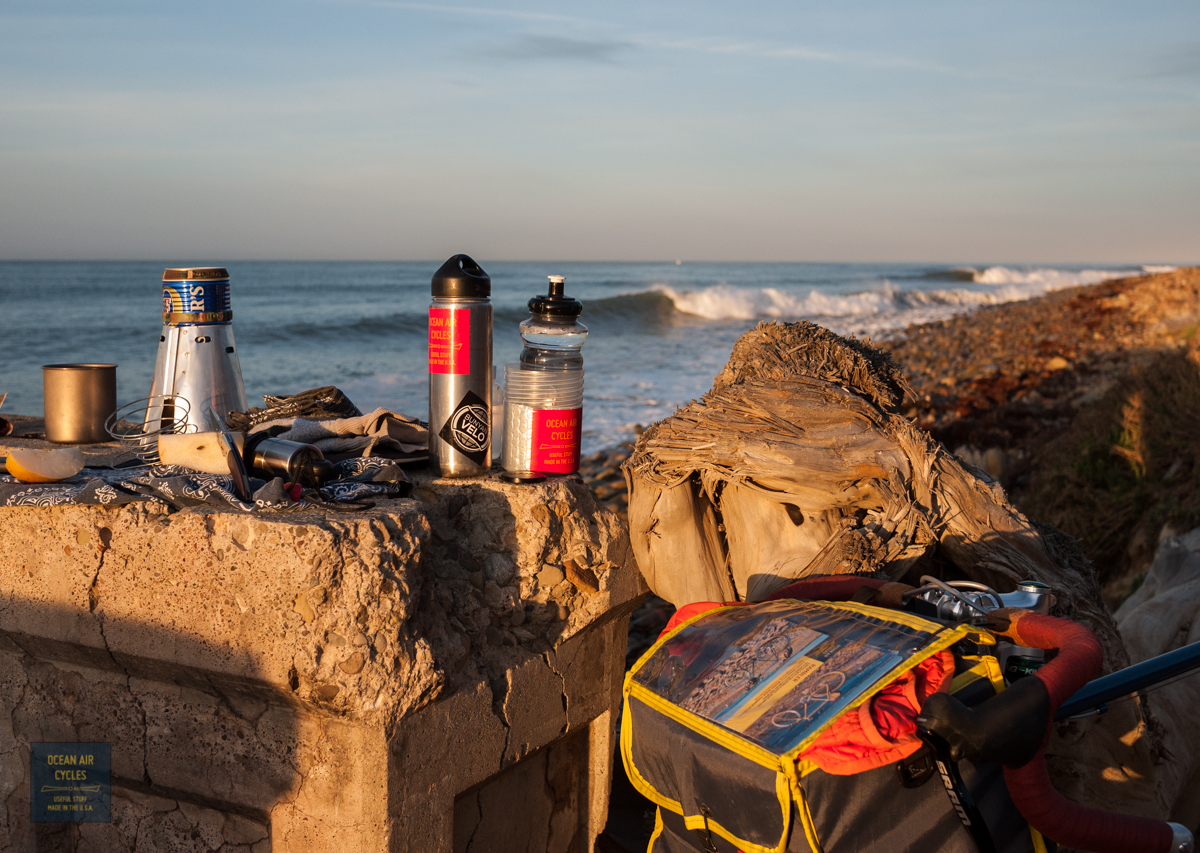
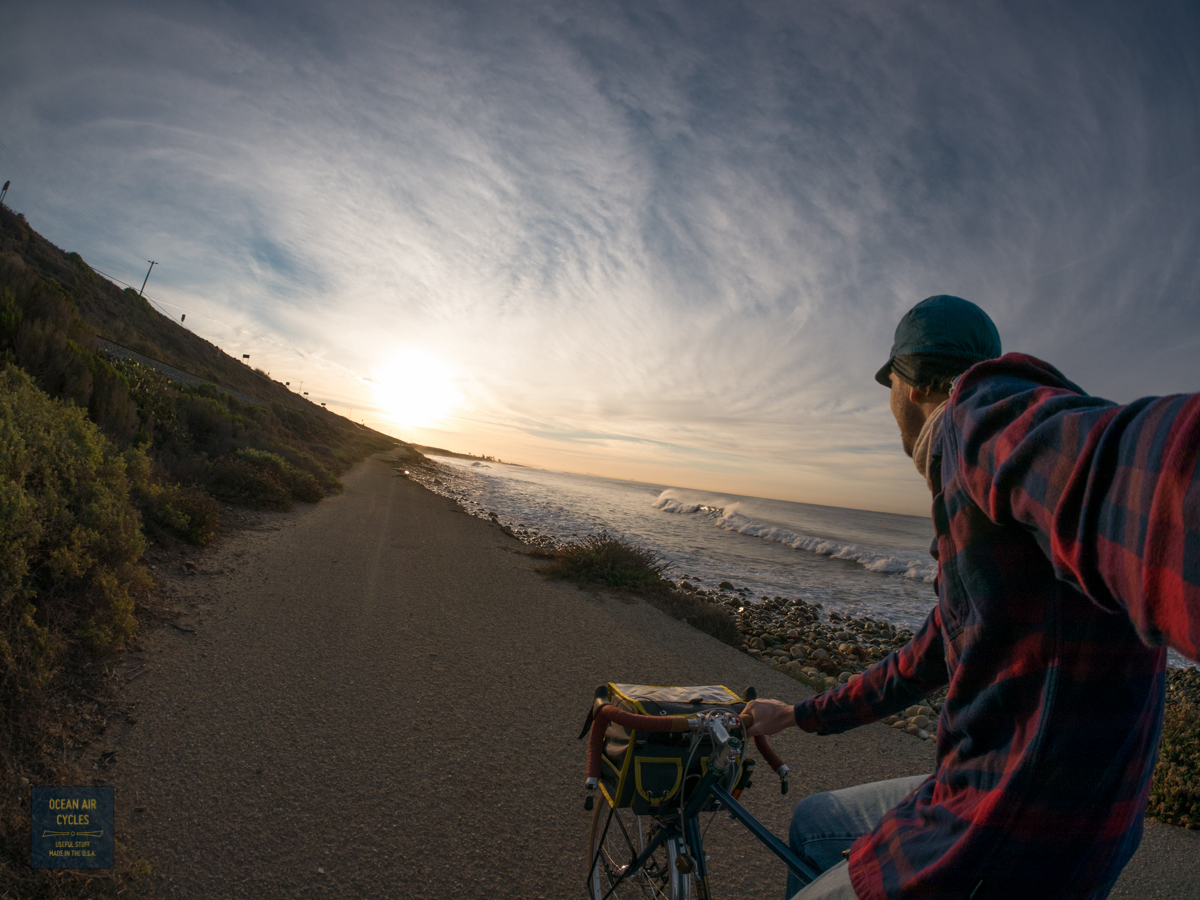
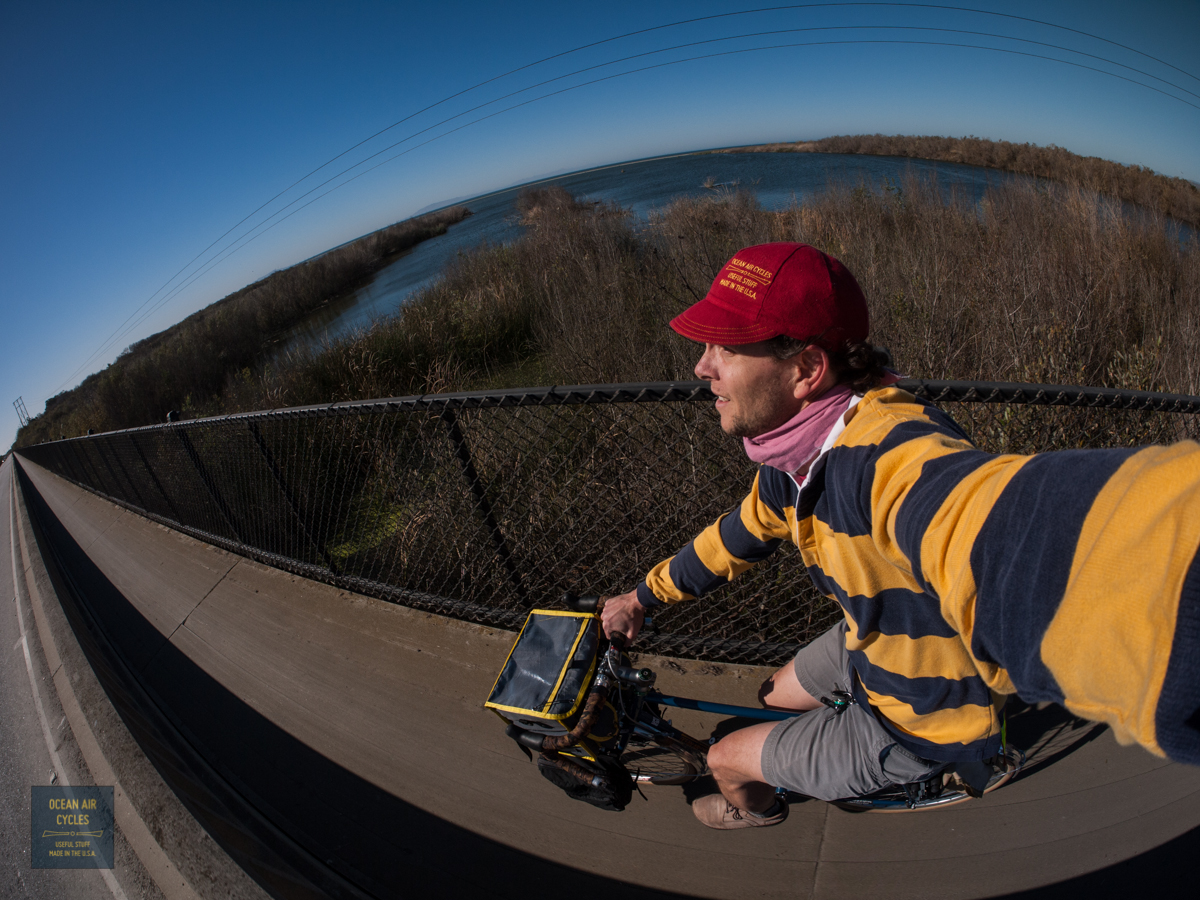
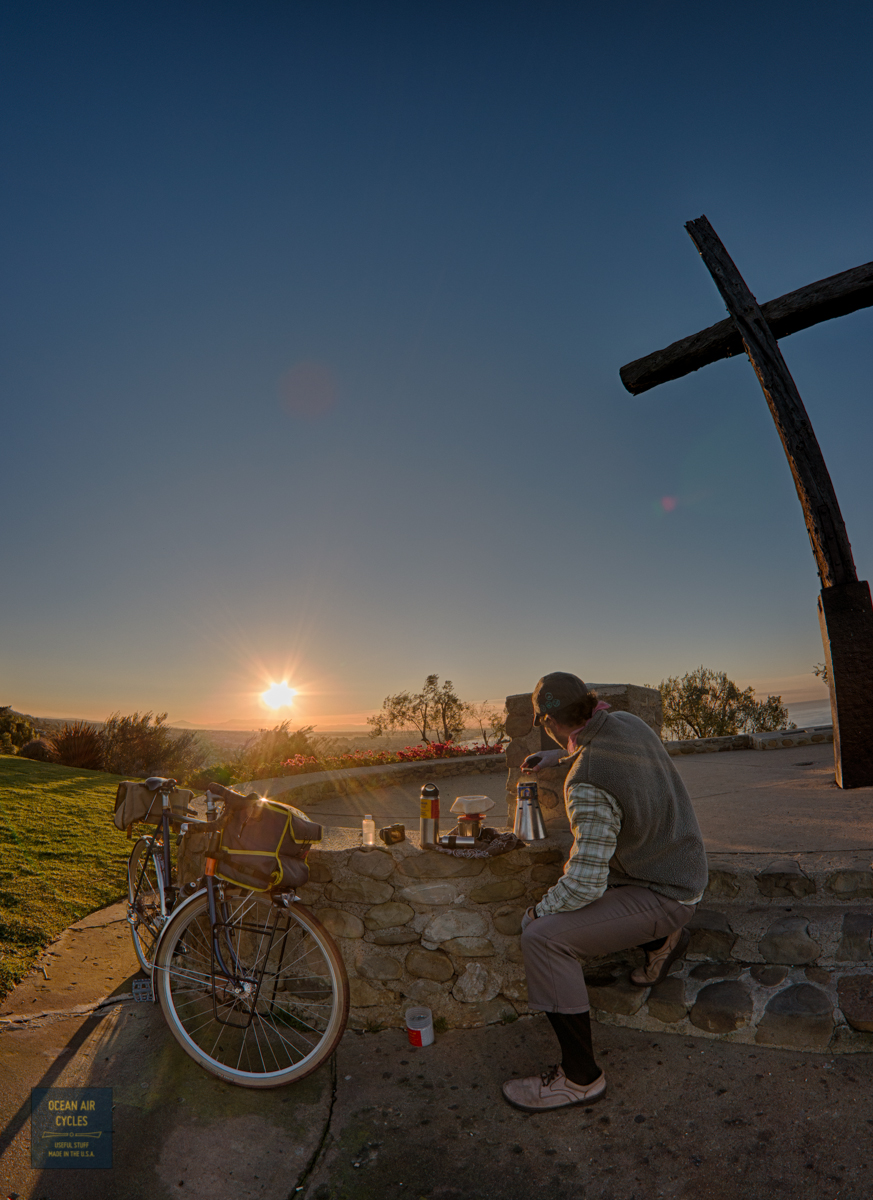
It has been a wild ride over the last eight weeks, things have been busy, both work and life. At the moment it seems things are almost back on track, I made it out for a ride this morning, brewed a cup in the 40'ish degree weather and then back to work.
 Hats will be here soon, kerchiefs are in stock, wallets are being cat and on the sewing table and there is no better time to plonk down the $$ on the Rambler frame set you have been dreaming about.
I will be breathing a bit of life back into the Blog over the coming weeks - Rob
 Today is the last day of the lowest pre-sale pricing, tomorrow the price will go up another $10 before we settle in at the new $95 price point for the year. To see presale pricing you will need to add the pedals to your cart and use Coupon Code SVPVPS at checkout. While we can not advertise the price, I will say this is a smoking deal and below the wholesale price of most other thin flat pedals on the market.