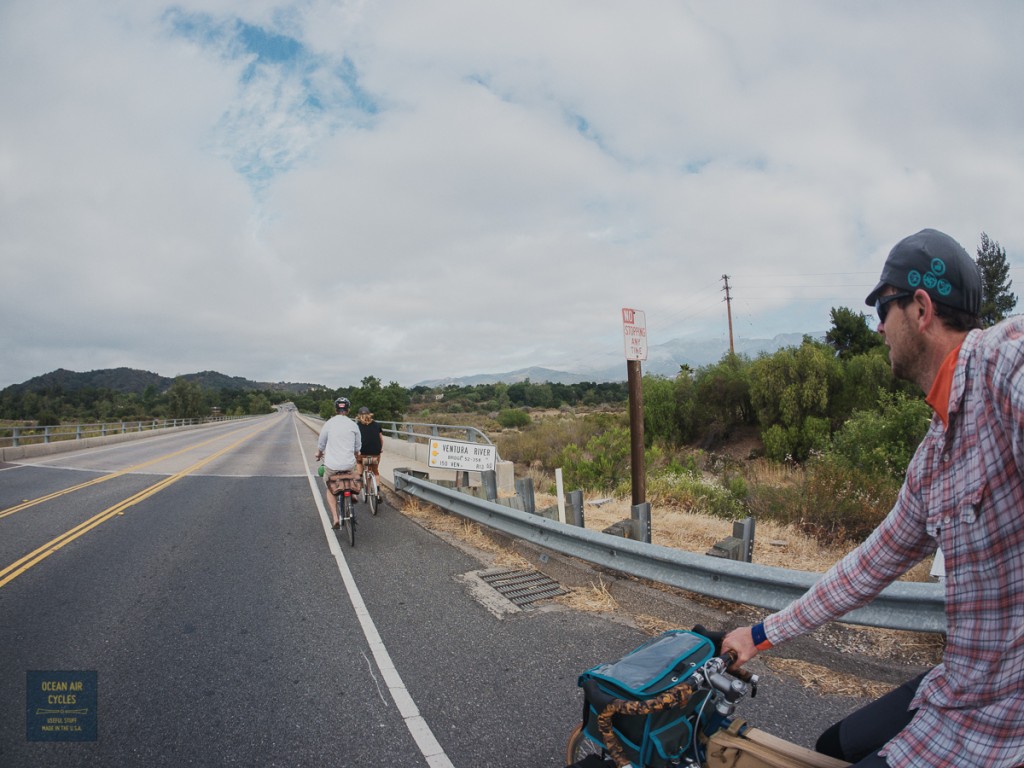
What used to be the old standard ride every Sunday is not so standard lately. There has been a bunch going on the last couple of months and we still manage to make it to the farmer's market when we are in town, but not me alone on the bike. Today I was free to make the ride happen. It quickly became apparent that summer is in full swing, and I am no longer as punk as I was years ago. Rolling out of the neighborhood, Warped tour had moved in while I was sleeping, and I had no idea until it was in front of my face.


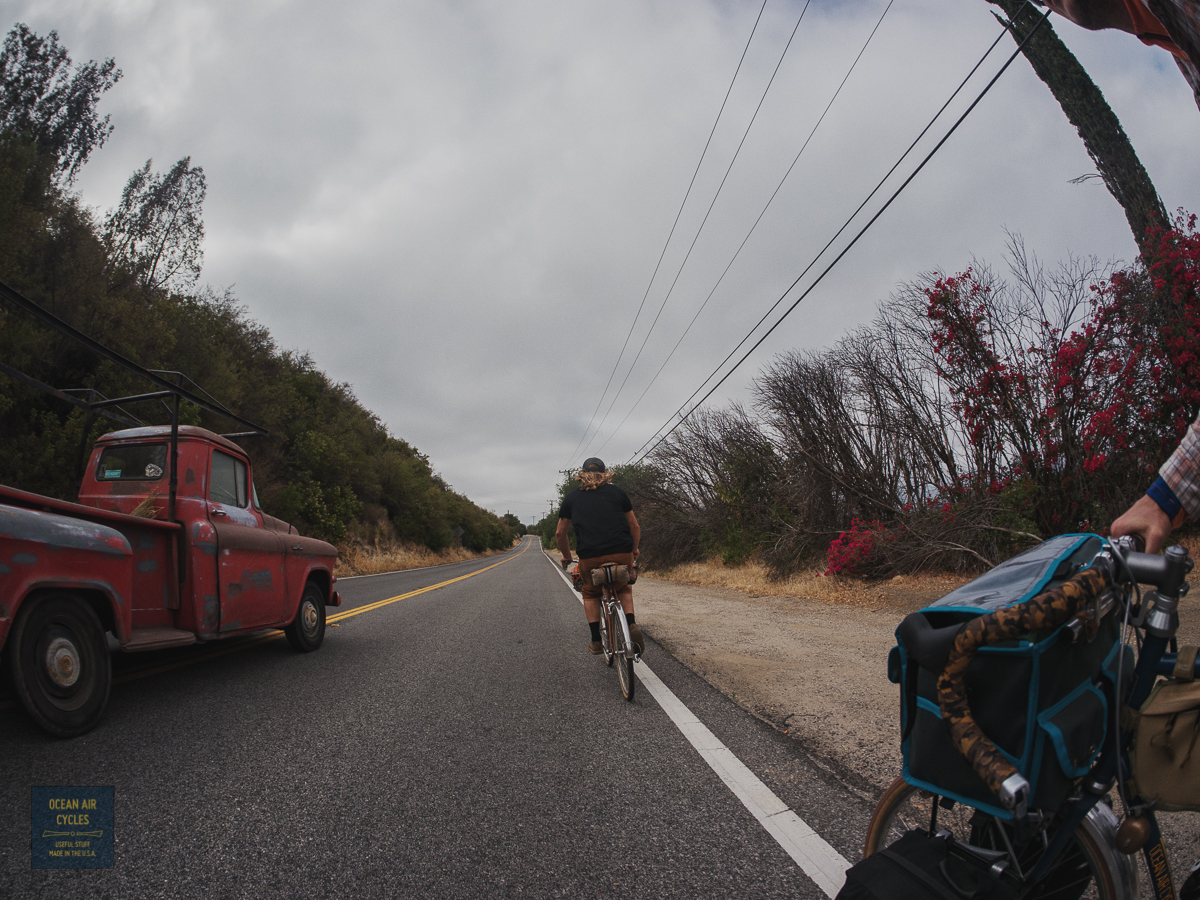
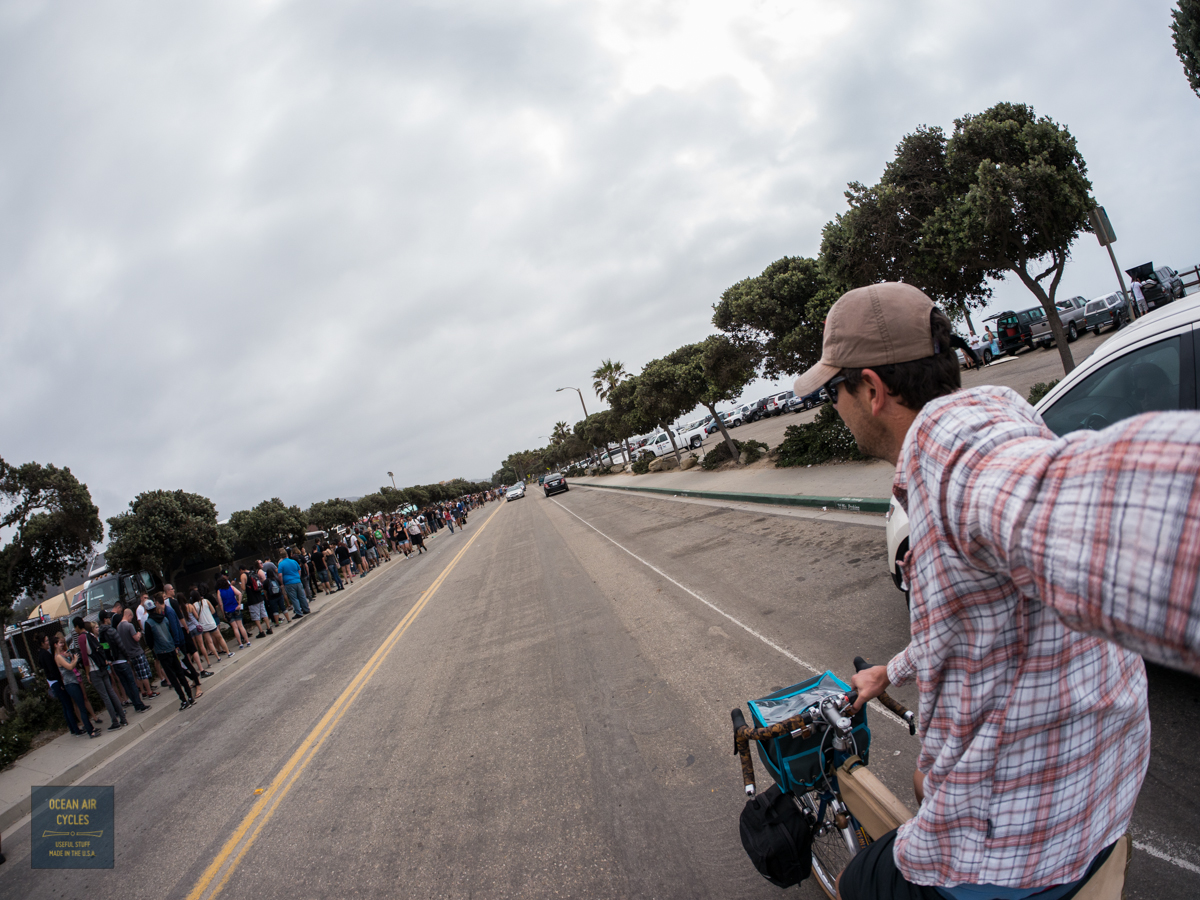
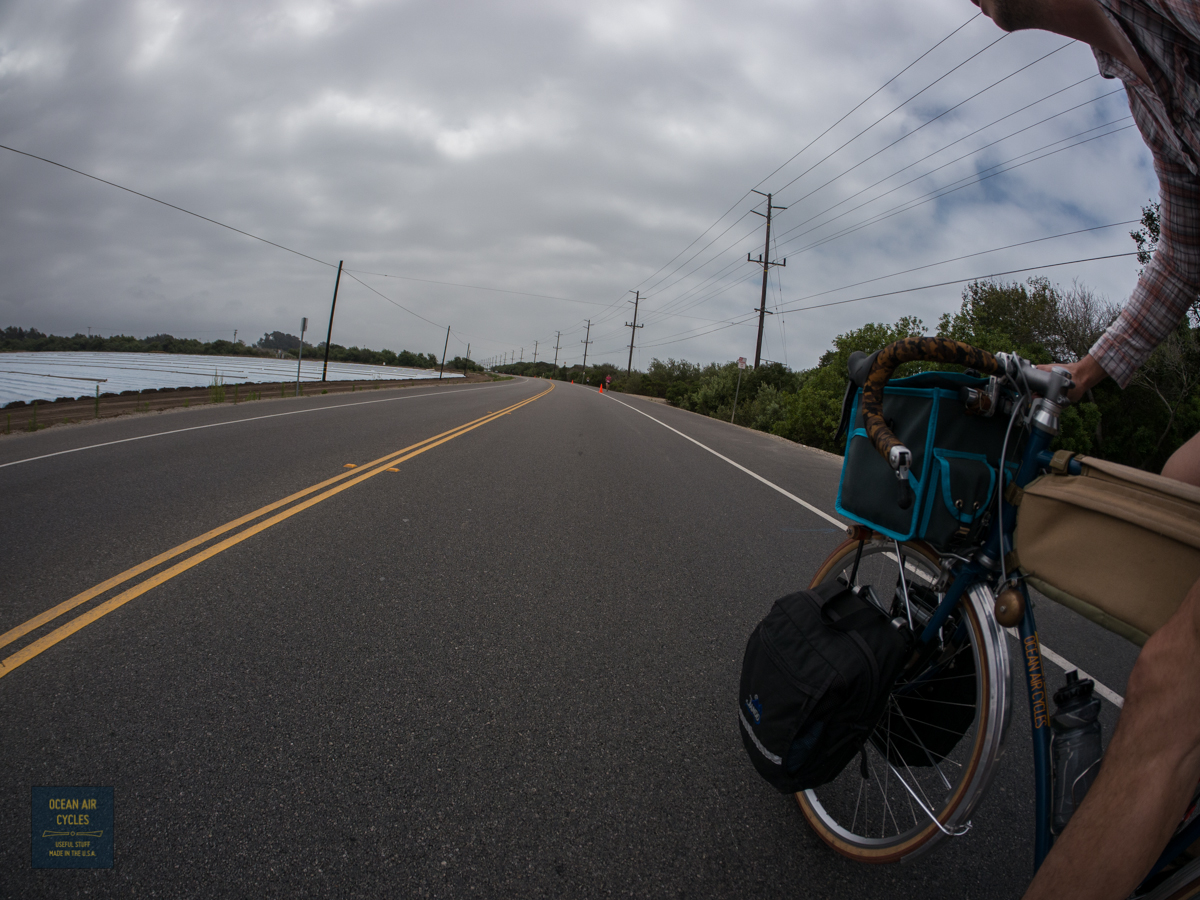
It looks like they are going to have a busy day inside. The whole neighborhood is plugged up. I remember when I was the drunk kid showing up in someones neighborhood, sort of, and it seems like a long time ago. Now it is my back yard (mental note, the apartment by the beach and fairgrounds seemed like such a good idea in the fall). Things thinned out a bit before finding out just how much the triathlon between me and the farmer's market was clogging things up. On the plus side I managed to poach a "closed" road and get the the whole lane for a few miles.

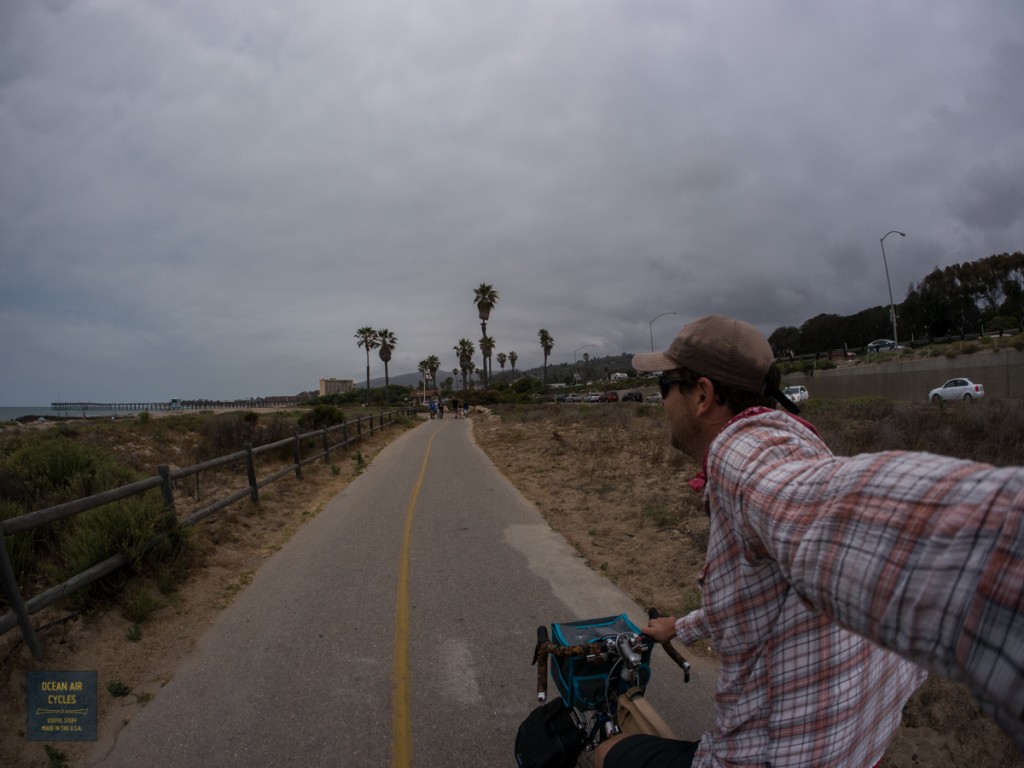
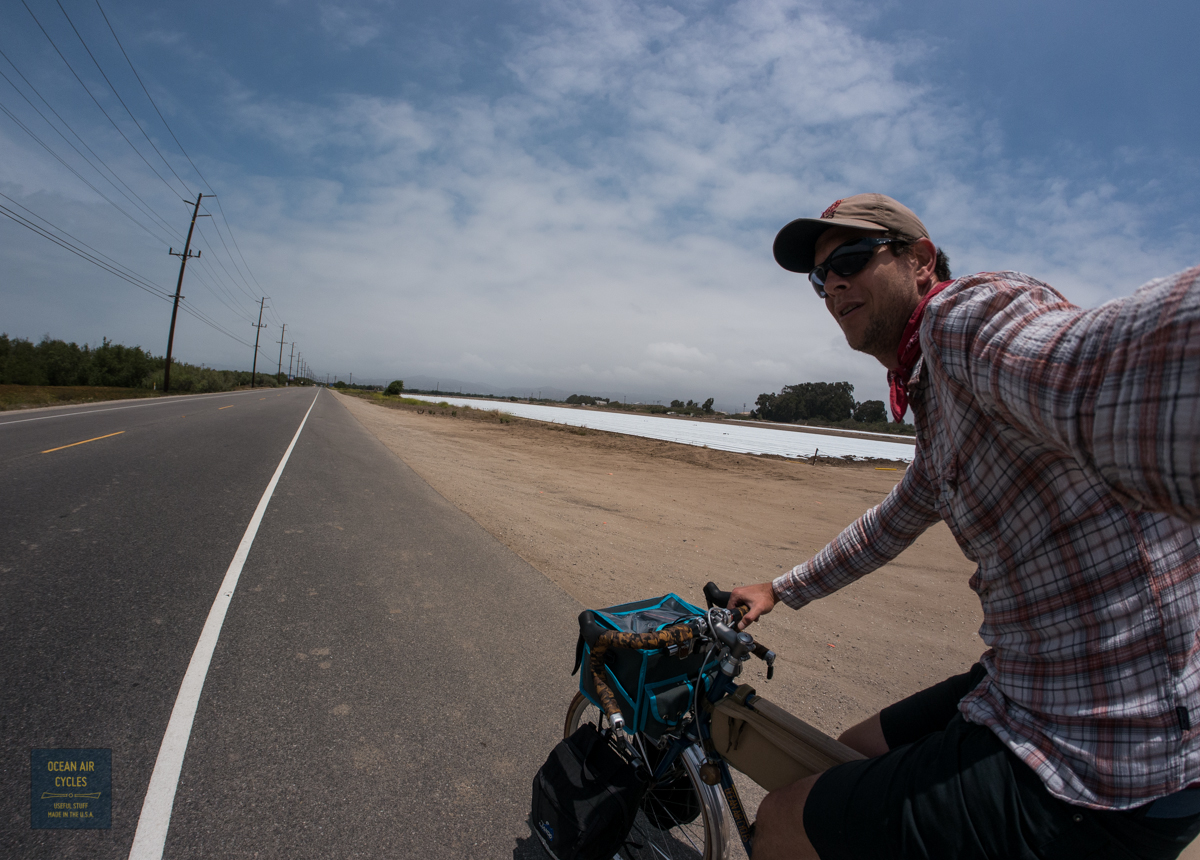
Mission accomplished with a week's worth of fresh food in the bags, the sun was coming out and time to get home.

This is about as good as it gets. It lasted a few miles before diving back into the fog, and a completely plugged up neighborhood. Cars backed up over a mile headed to the concert and the highway plugged as usual on a Summer Sunday.
One of those days I am so happy Home is by the beach and I can ride a bike just about everywhere. I hope you made it out this weekend, solstice and all, it has been quiet on the web, and that is probably a good thing.
The new
Busch and Muller Luxos dynamo headlights are setting a new standard for high-powered LED lighting, both in brightness and distribution of light. The Luxos U takes it one step further with a remote switch and USB charger.
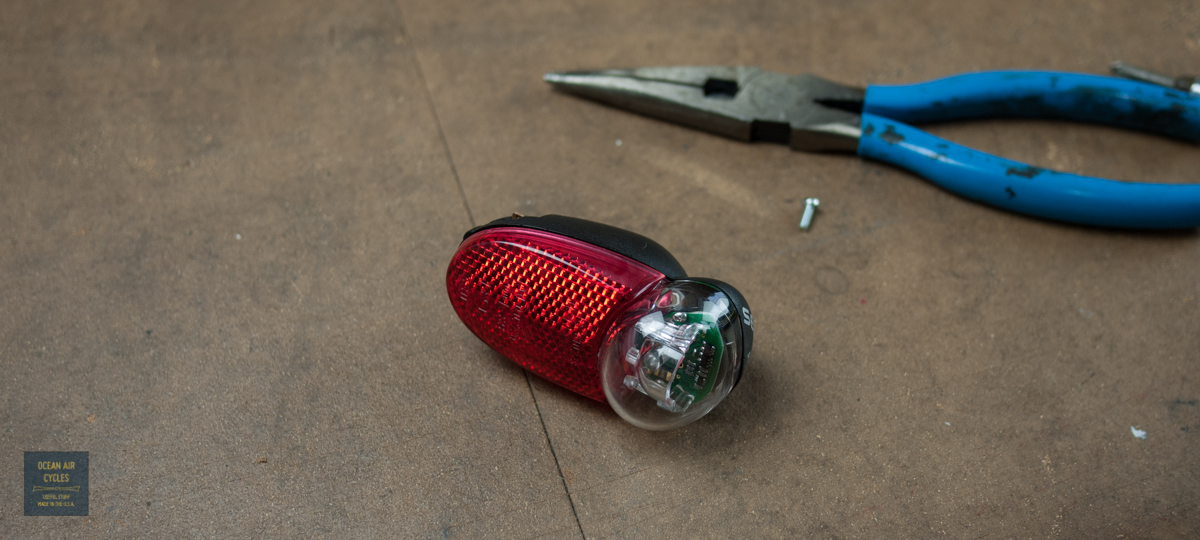
All of the Luxos lights are able to be paired with a dyno powered tail light. The catch is that the tail light cannot be grounded to the frame or fender through the mounting screw. The will cause a fault circuit that detects a problem in the tail light. There will be problems with the functionality of the light and possible damage to the circuitry. This is a is a challenge because most of the popular fender mounted tail lights currently available offer the option of grounding through a wire or the mounting screw. My current favorite for both function and looks has been the
B&M Seculite plus.
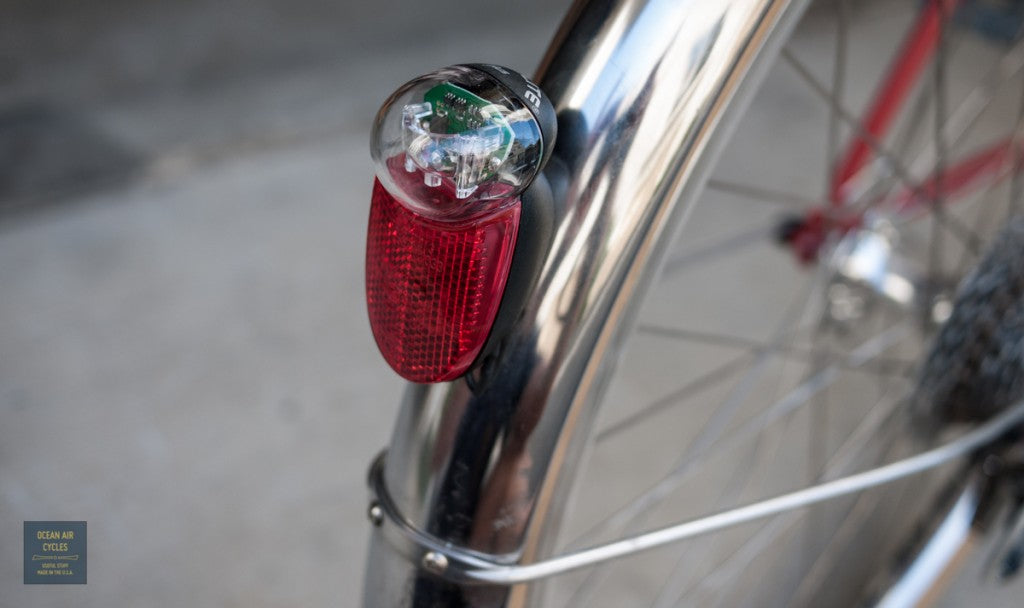
I had already gotten my sample Luxos wired up and going when I became aware of the issue with a grounded tail light. At first I was a little bummed, then the challenge was set, and I decided to figure out how hard this was going to be to fix. It turned out to be fairly simple, and I have outlined the steps here for you.
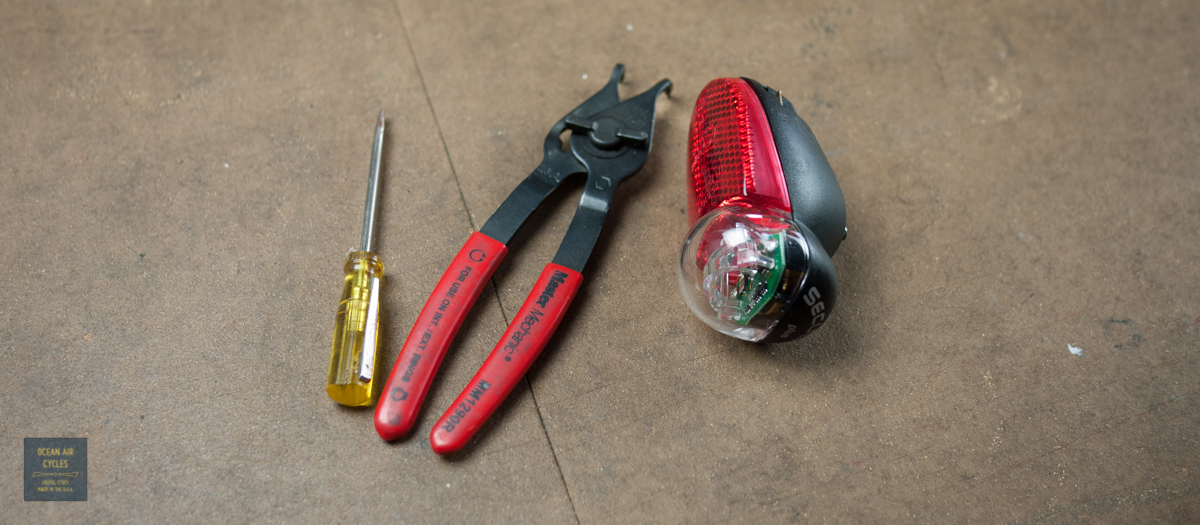
You will need a few basic tools: small flat head skew driver and small wire cutters will get you there, cir-clip pliers and a small Phillips head screw driver help make things a little easier.

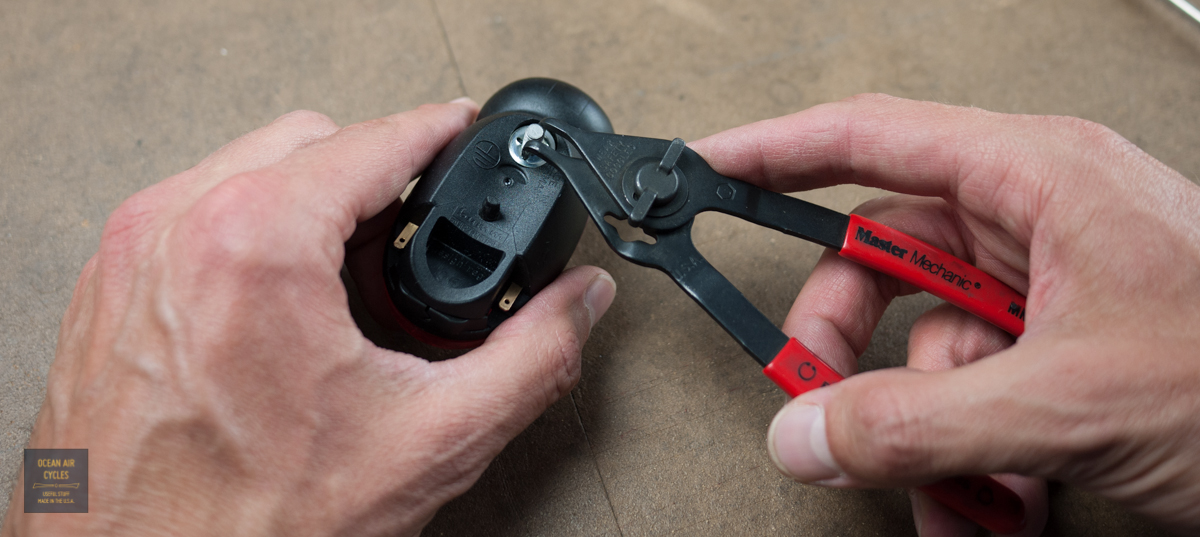
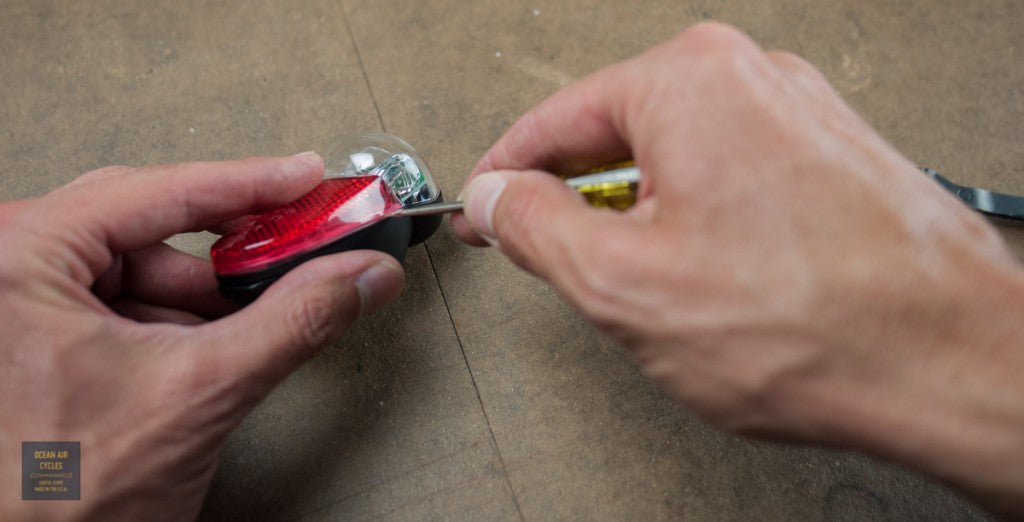
The first thing I did was remove the nuts and washer from the mounting screw. The first is the standard hex mounting nut. Then there is the round washer style nut that holds the bolt to the light body
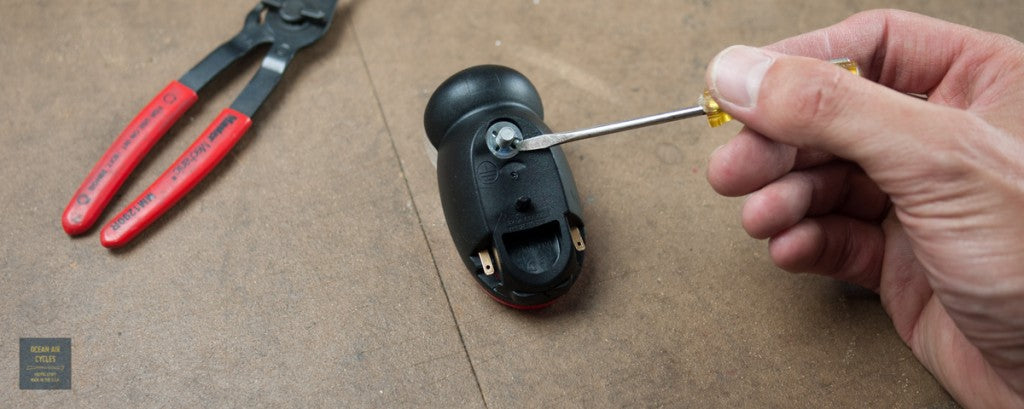
You can get this one off by carefully pushing it around counter-clockwise with the tip of your flat head screwdriver, but the cir-clip pliers made it a little easier.

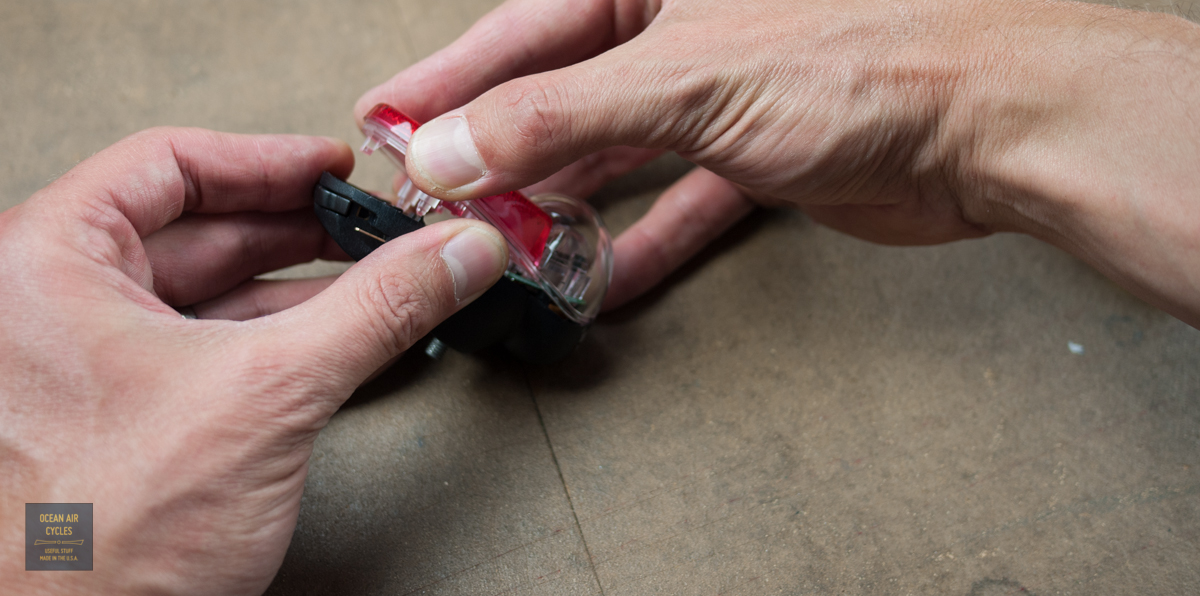
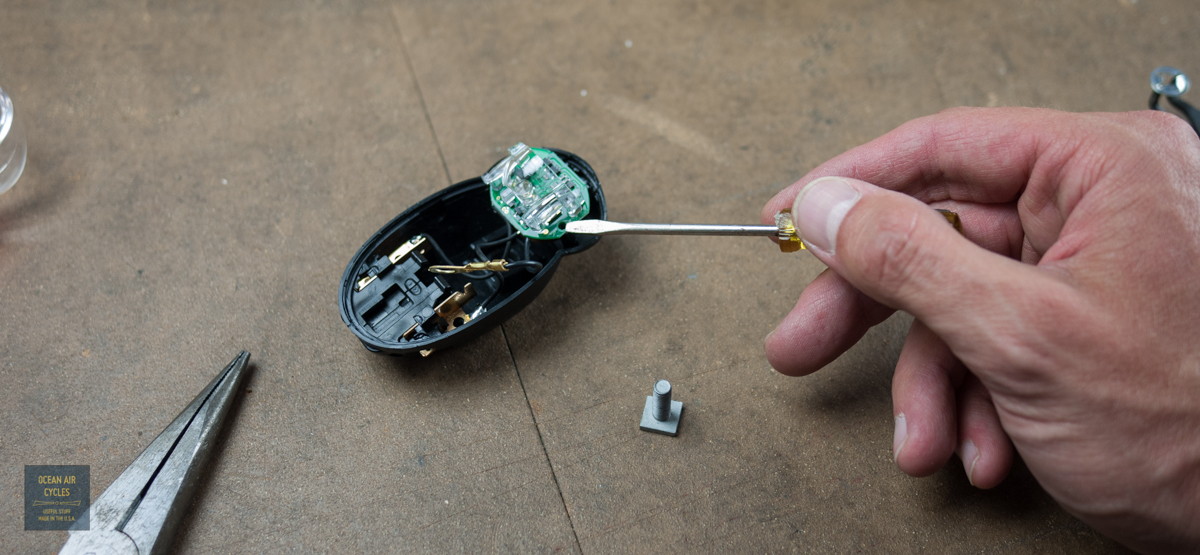
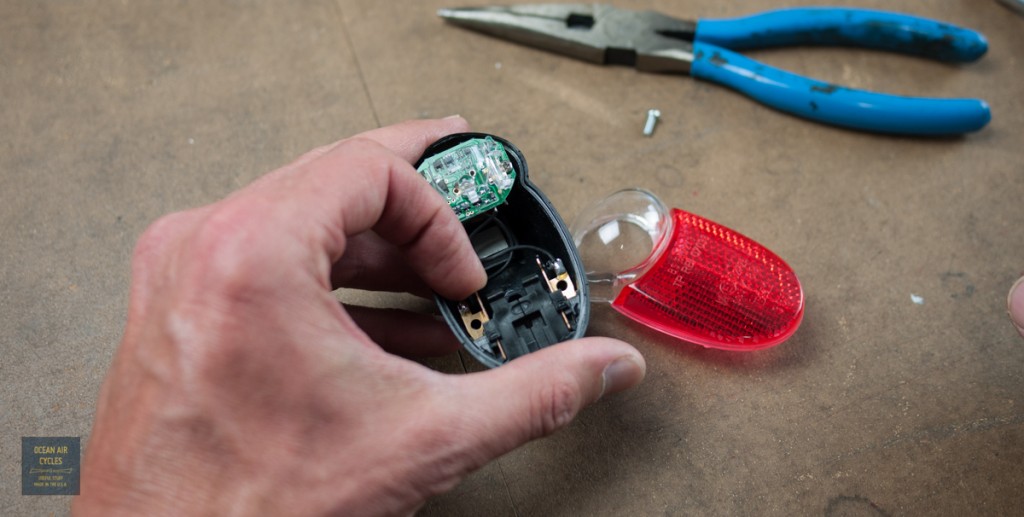
Once done you will be opening the light housing. Carefully work your way around the edges, starting from the bottom. The two halves of the housing are a press/snap fit together and can come apart safely as long as you are careful. I inserted the tip of the screwdriver into the thin gap between housings and lightly twisted to get it going.
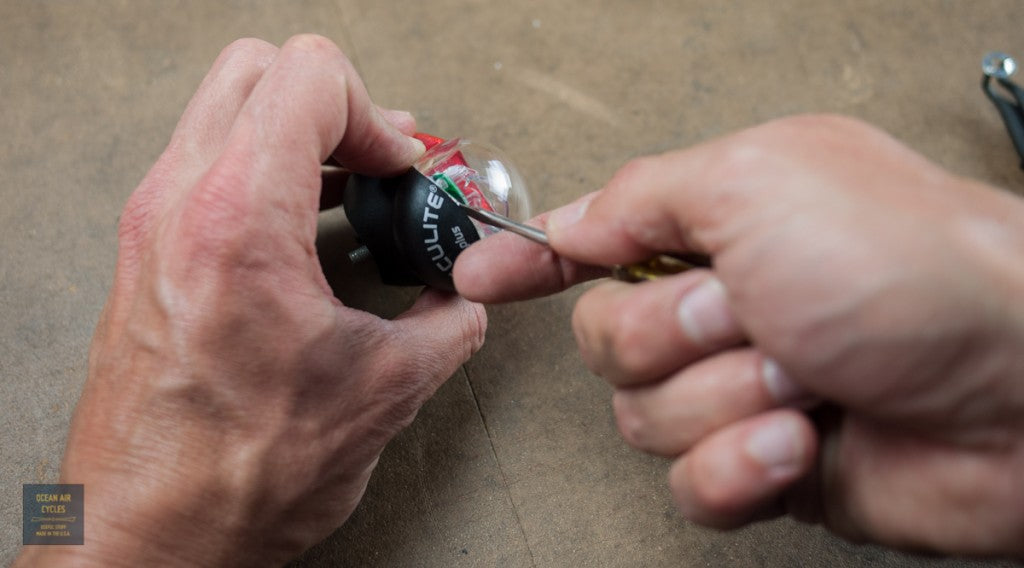
As you approach the top you need to be extra careful. This is where there is a small tab that indexes the two halves together. At this point I stopped using the tool and gently separated the two halves with my hands

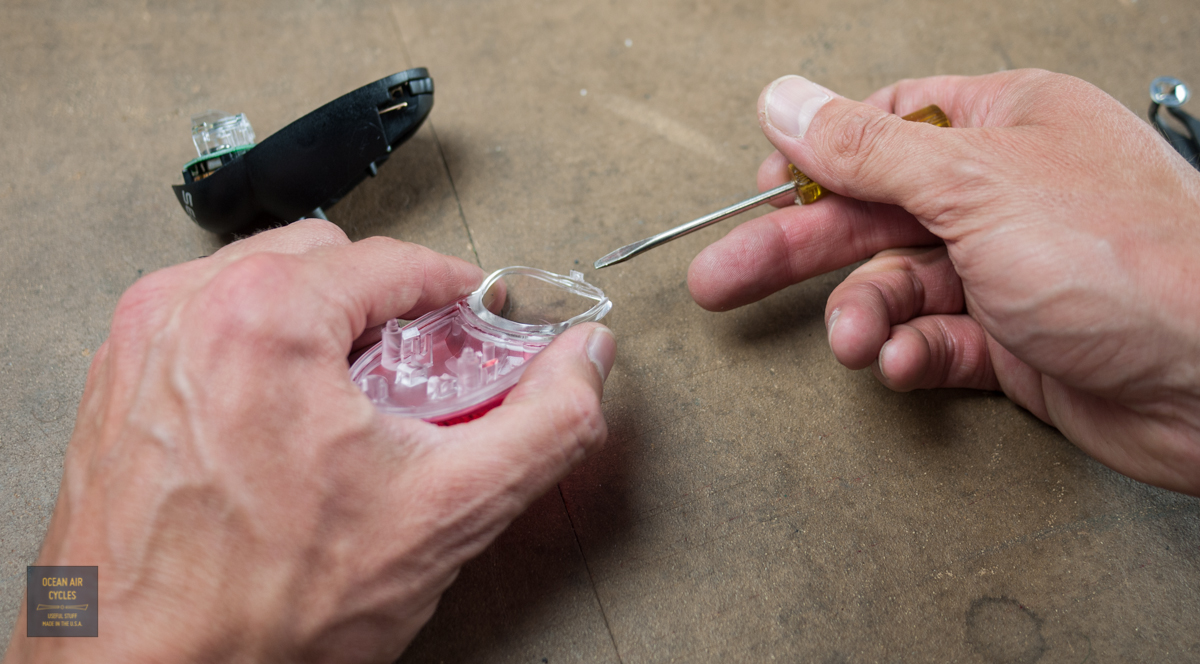
Once opened, you can easily see the above mentioned plastic tab.

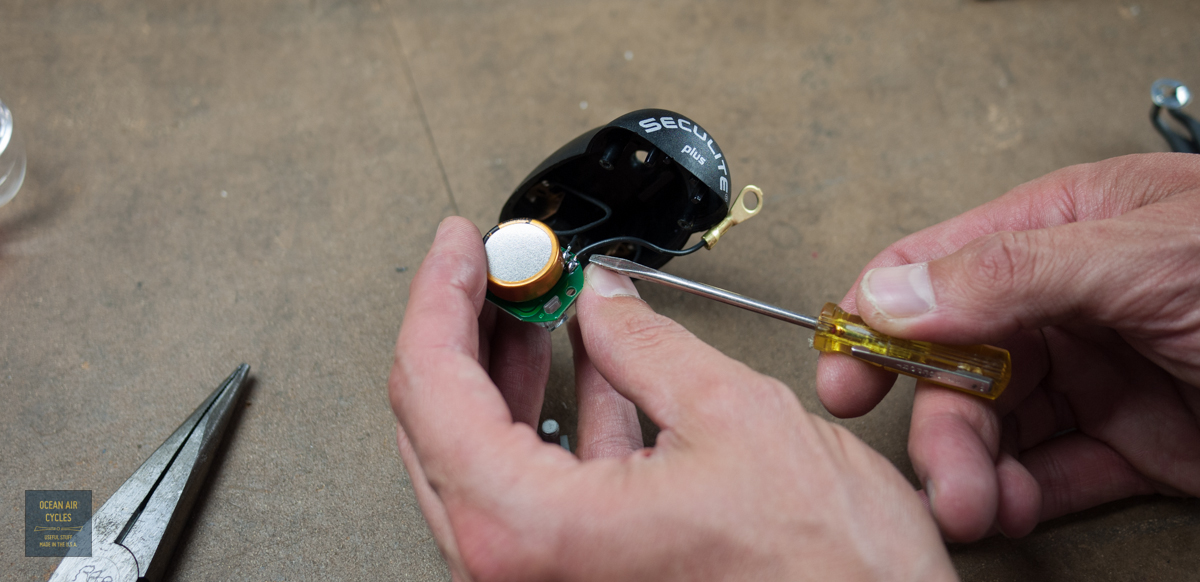
Moving on to the grounding of the light. The Seculite plus has two possible grounding paths. For most common installations involving a B&M headlight you will be wiring the tail light tot he front with a paired or co-axial conductor. The other grounding path is through the mounting screw. This is only used in cases where the frame of the bike and associated hardware are used as the grounding path. looking at the circuit board you can see both of the internal grounding wire options on the left side. The single wire on the left is for the positive lead.
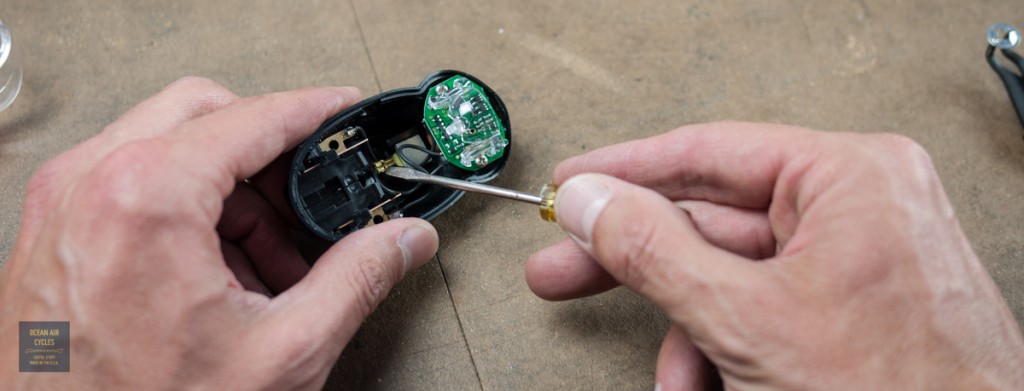
The grounding wire to the frame mount needs to come out. It is connected to the mounting bolt with a ring connector. I was able to get the bolt out of the housing with the LED circuit board in place. If this is too tight for your comfort, you can remove the two Phillips head screws securing the board to the housing and you will then have plenty of room to work.


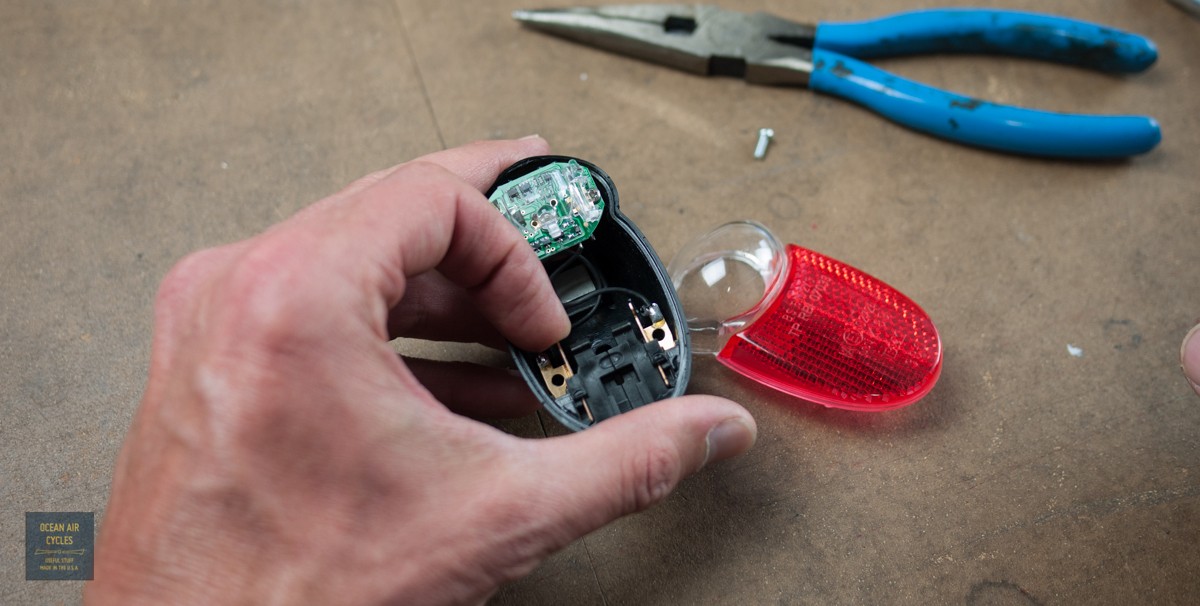
With the board out, you will want to snip the wire with the ring connector as close as you can to the board.
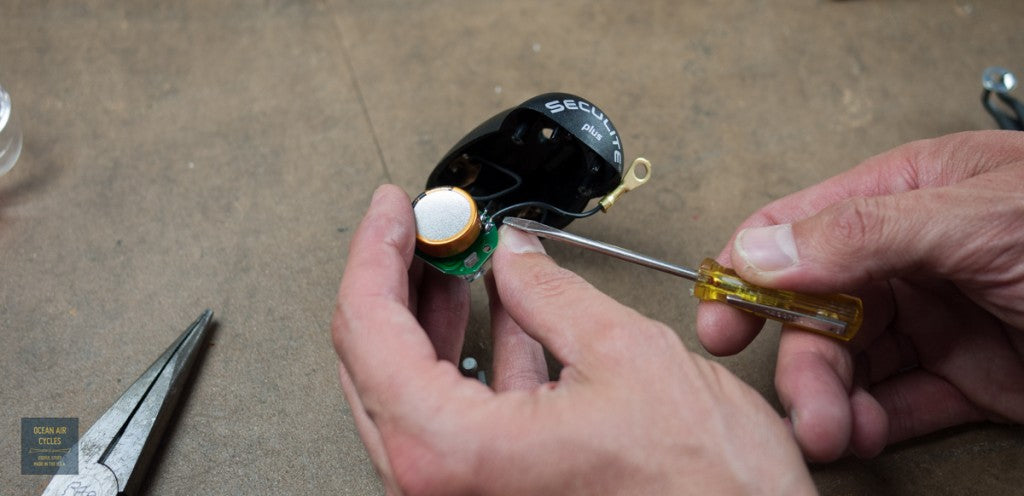
In theory you could leave the connector inside and isolate it, wrap it in electrical tape or shrink wrap, so that the process could be reversed. For this light I am pretty certain that it will never be wired with a frame ground path, so I snipped. While I had things appart I wired the Seculite into the Luxos U and confirmed that everything was as hoped.

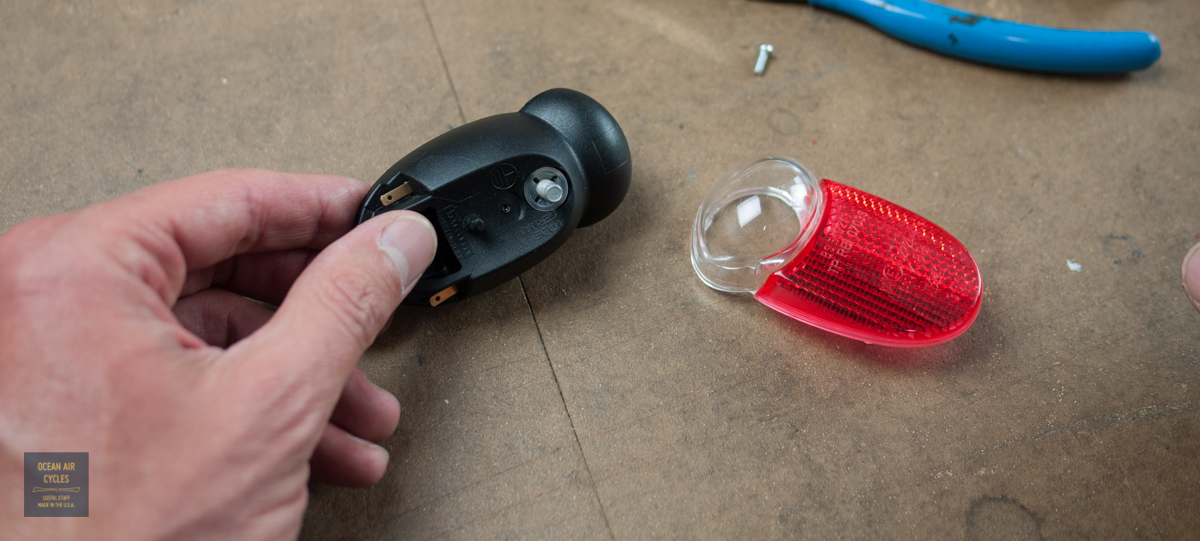
The re-assembly is a pretty straight forward reversal of the above steps. Double check that the remaining wire connection points are fully seated in the housing.
Insert the mounting bolt and fasten in place with the thin nut.

Carefully align the two housing halves and squeeze together, they should snap into place and the light is ready for wiring and mounting to the bicycle as usual

For the home mechanic that is comfortable with electrical work this is not too bad of a project to take on. If you feel that this is above your skill level, and want a Luxos Seculite combo from us, I am more than happy to perform this procedure for free.
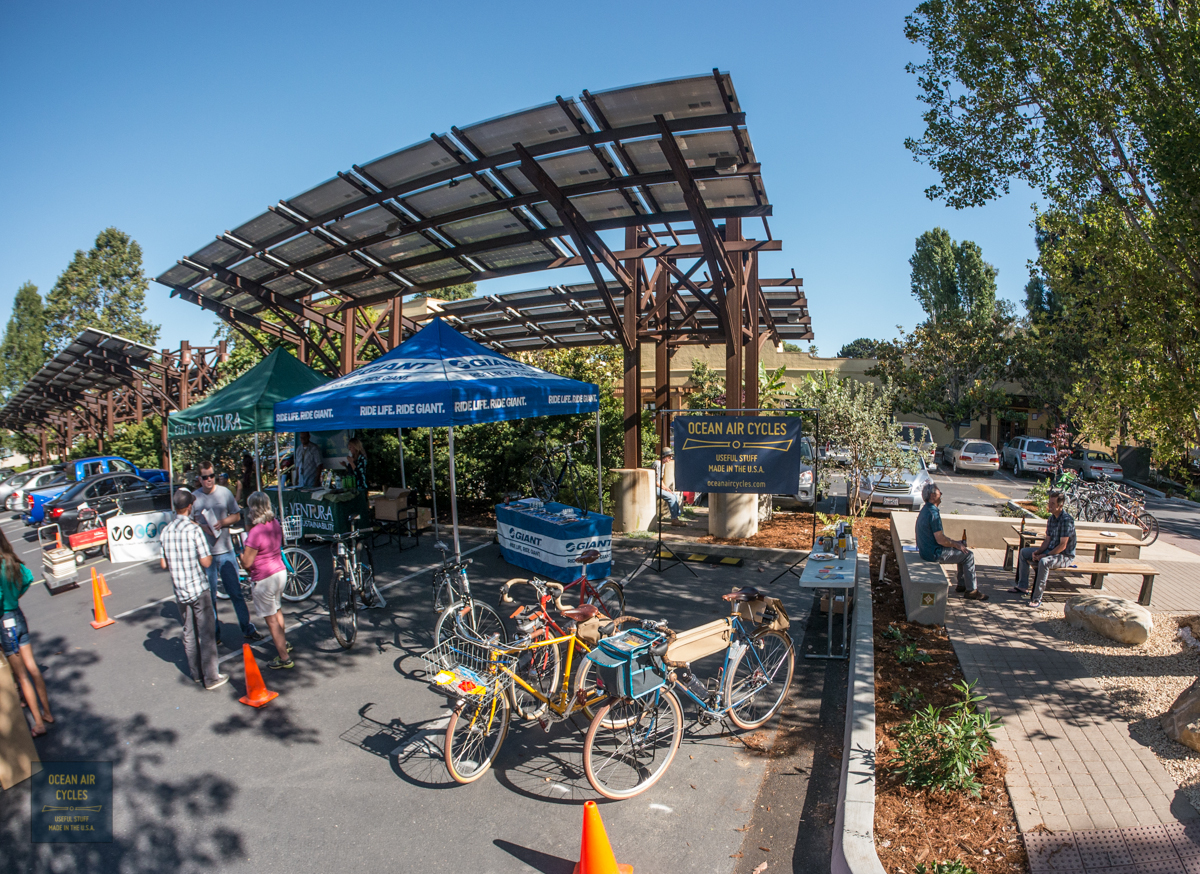
Yesterday was the Bike to Work Week party over at my neighbor down the street,
Patagonia. (yes we all know it is a month later than the rest of the party here n the states, long story)

I was able to make some new connections and show off the Ramblers in a slightly more formal way than locking them up when we are over there for work, meetings or picking up the munchikin. A huge thank you to my wife, who works there, for keeping me connected with all of the other incredible volunteers who make the BTWW happen over there. They throw a ton of events together throughout the week, and I am honored to be included in it all as an outside company.
Thank you everybody who made this happen, all the folks that stopped by to see the bikes, and I am looking forward to next year
Harbor Trip June 14 2013, 0 Comments

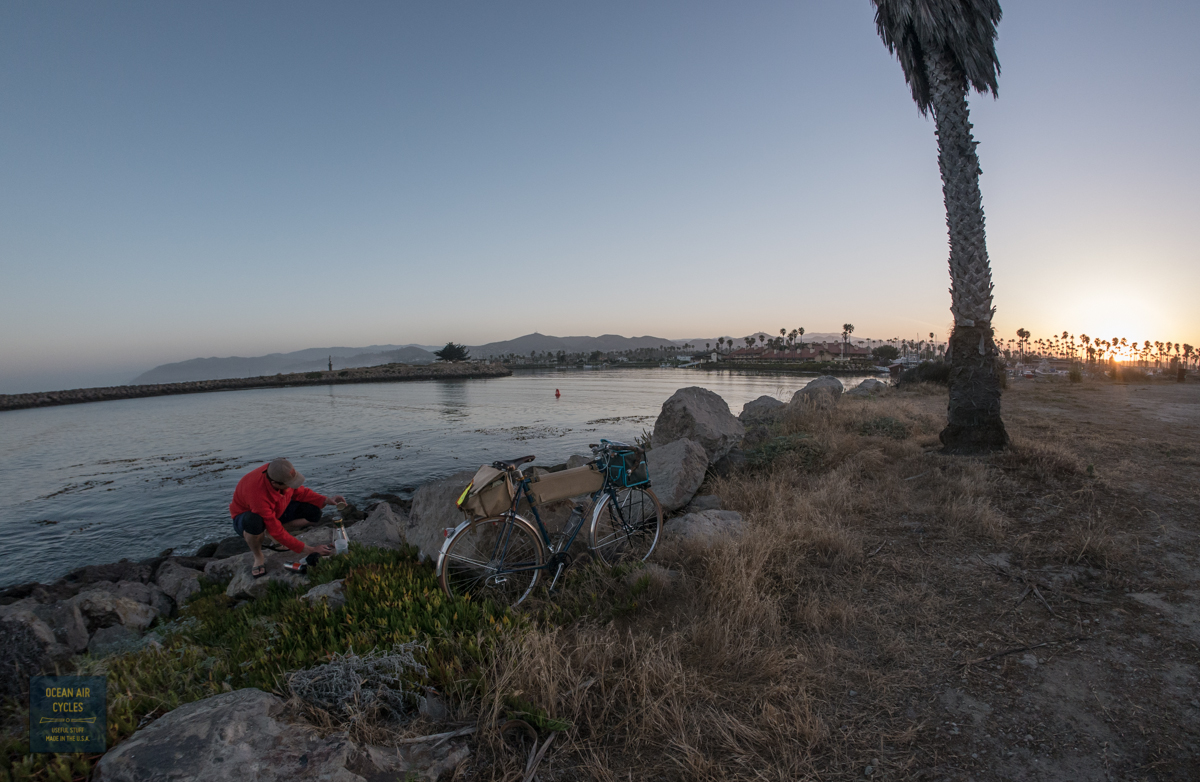
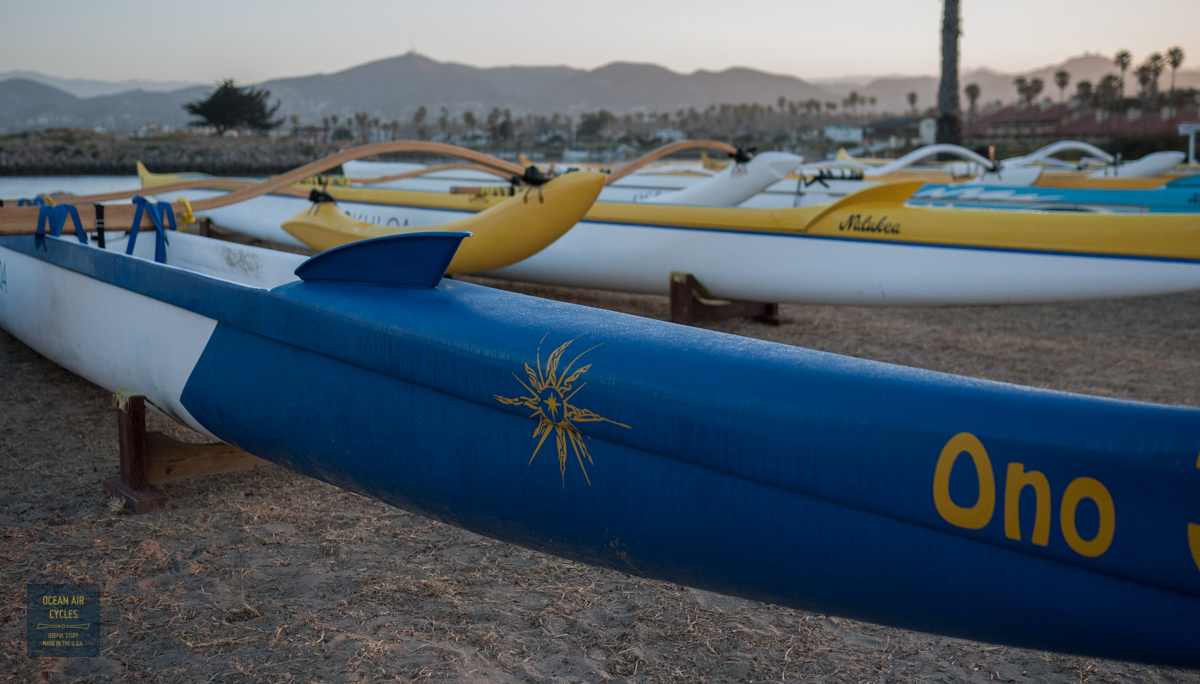
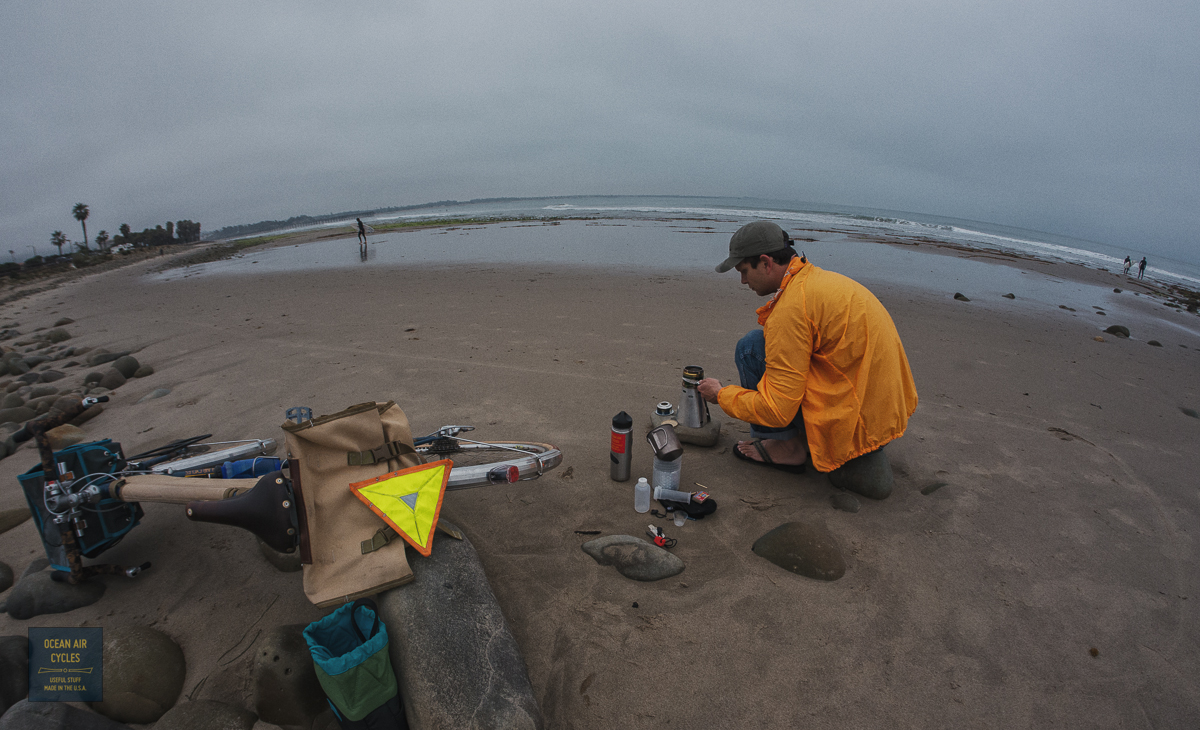
I met up with my buddy Aaron, on his Rambler, for a trip down to the Channel Islands Harbor this morning. It was a sort of rain check ride for the one that never happened on Wednesday.


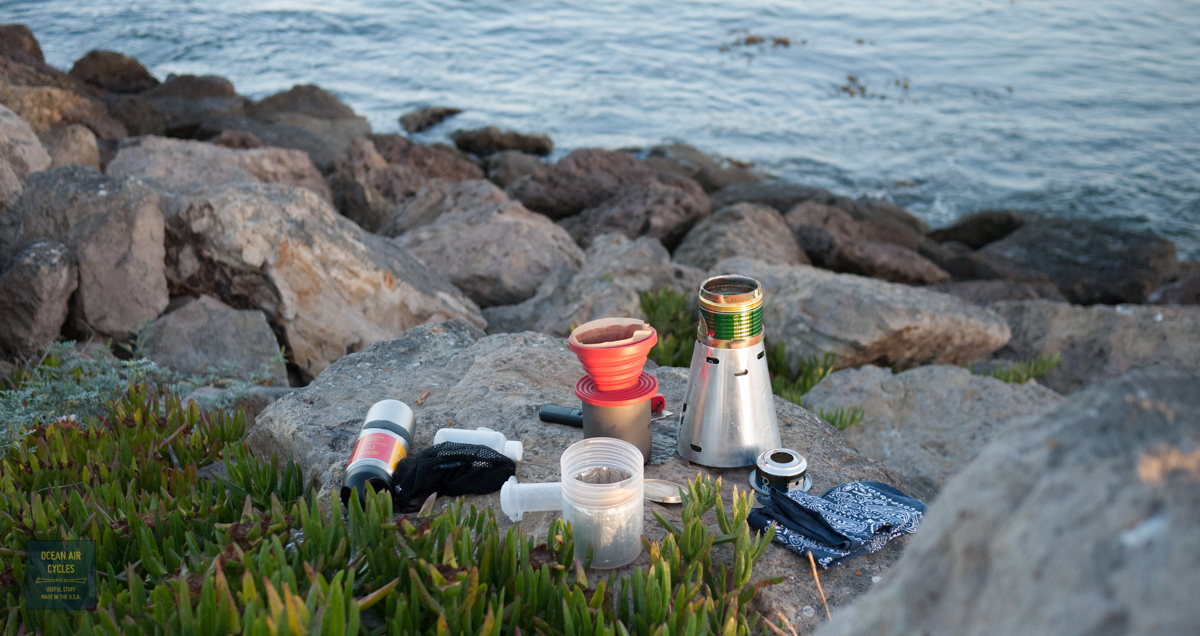
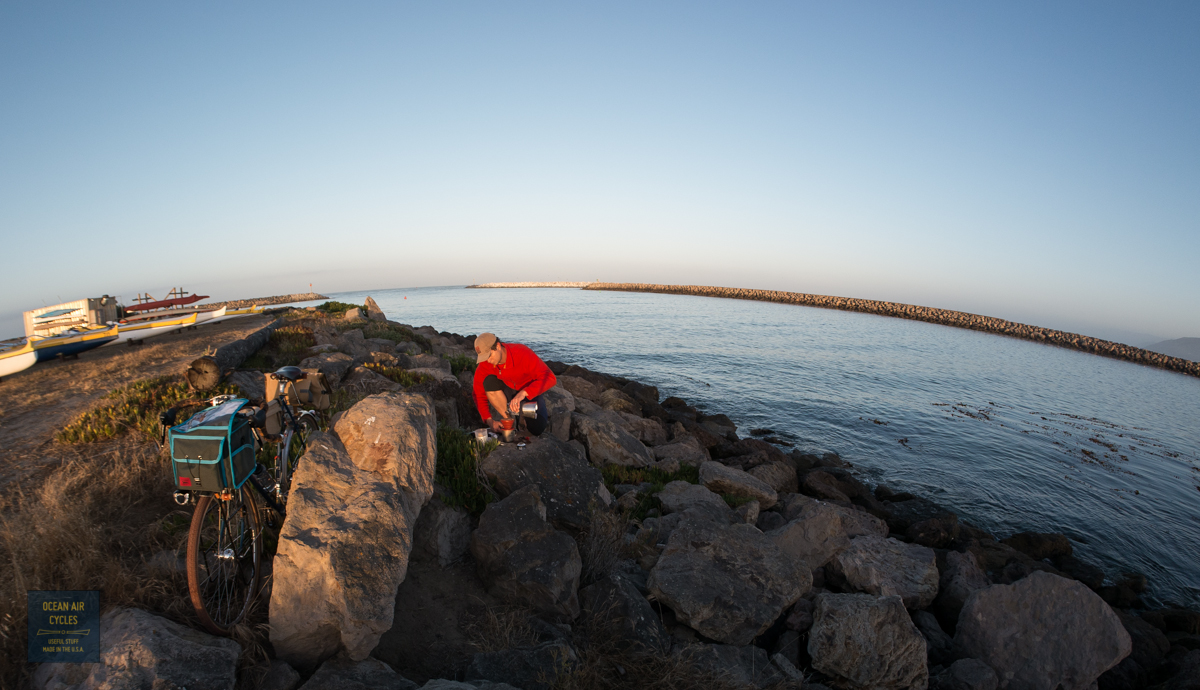
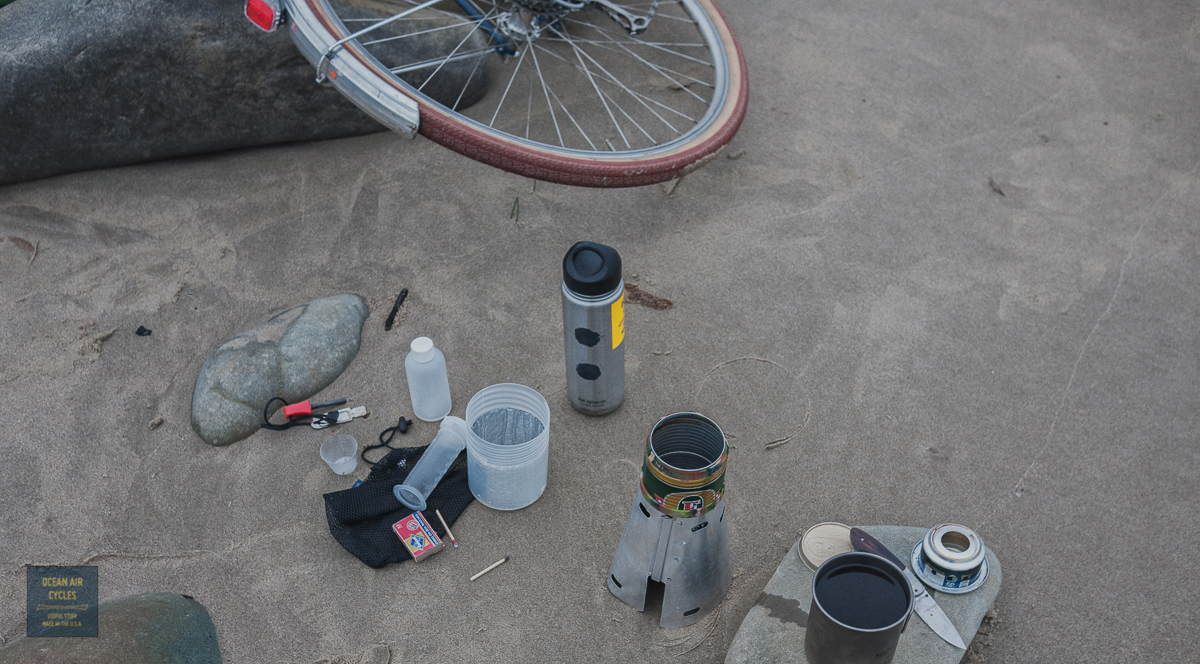
It is good because he motivates for the commute, I get in some extra miles, and some time to hang out and catch up. How is it that life gets so busy that you only catch up with friends, good friends living a few miles from your house once or twice a month? At any rate, these rides are a good thing. Plus we get to watch boats heading out for the day, boil some water, brew up some tea and coffee before he heads on further to work, and I head 11 miles back towards home.

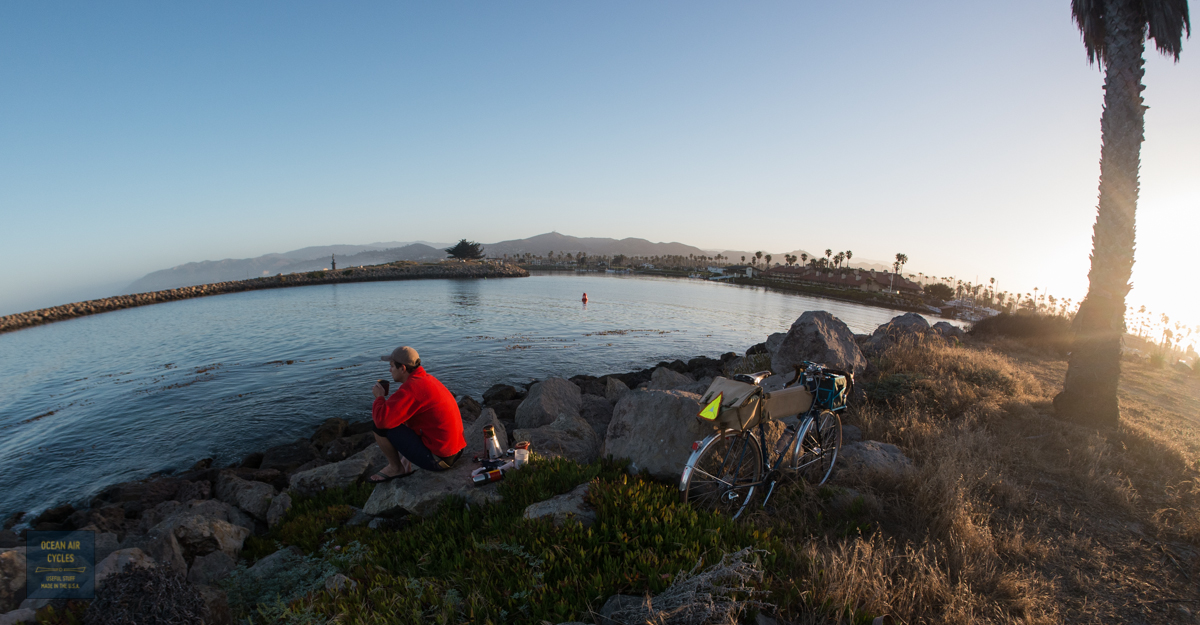
This ride had a testing aspect as well. My new wheel set was delivered yesterday, and there was no delay in getting the Luxos headlight mounted and wired up. Performance in the early morning darkness was fantastic, best light I have ever owned hands down. The ride home gave me a chance to test out the USB charger.

I wish there was something exciting to report, but, well, it just worked. The remote is tucked onto my lamp mount/decaleur and the USB cable is running to the Android phone in the map case. As long as I was moving the phone was charging. Pretty basic, but from what I have read other systems missed the mark. What ever electronic magic B&M cooked up, it works and my first impression is good.
Happy Friday, get out and ride this weekend!
The next round of
Ramblers is getting closer to delivery! Fifty is a lot of bikes, while I dream of batches way bigger than this, I am pretty happy to be cutting my teeth on 50.
So what does 50 bikes look like on a production rack?
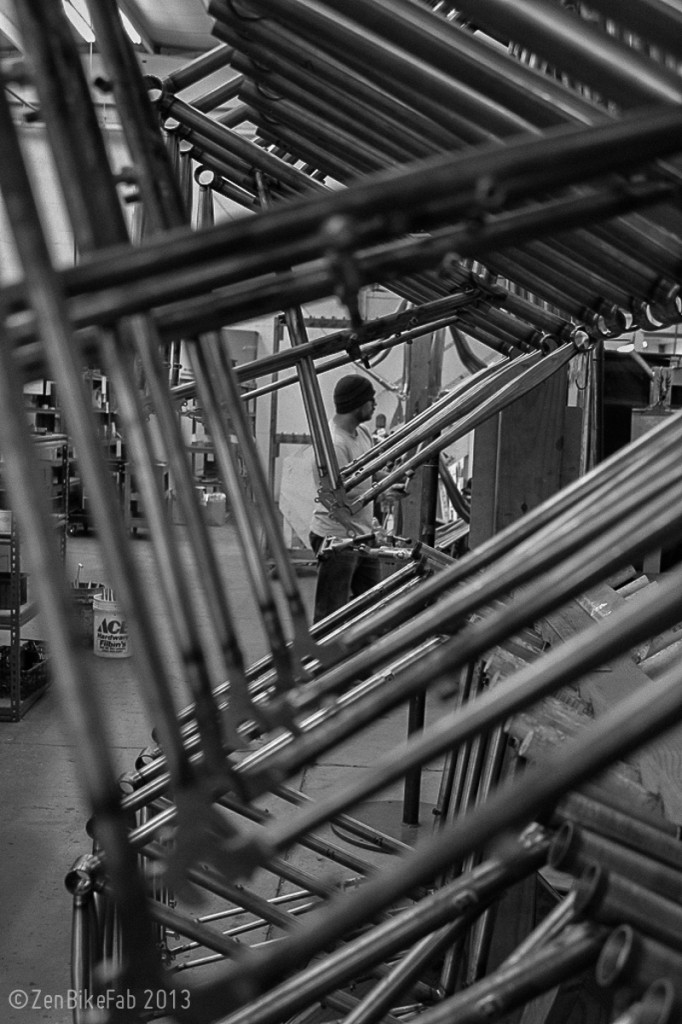 And that is not all of them or the 50 forks too.
So far there are about 20% of the bikes spoken for. I need your help to get that number up. The more of these I can get out the door the faster we can start the next round. Even then it will be Fall or Winter before there are more in the works. So if you have been considering a Rambler for Summer now is the time to claim yours.
As an incentive I will be updating the storefront to reflect free shipping on all Ramblers with deposits in place prior to the completion of the powder coating process. Fulfillment will be throughout the month of July.
What makes a Rambler different from some of the other options out there?
- Choices of color: US Blue, Sunflower and Orange Soda
- Provisions for integrated dyno lights, front and rear
- Paul Racer Brakes INCLUDED in the package price, with brazed on mounts
- Double Butted steel with tubing spec optimized for the frame size
- Made in the USA, coated in the USA with US made powder
- Sized in 2cm increments over a range from 51 to 63, there will be one that fits for most riders
- Rack and fender mounts, front and rear
- Highest levels of quality control
As an expansion on that last note. In general production frames are held to a slightly lower standard of tolerance than some of the highest end custom bikes. Quite often the imports are far enough out of spec that the bike you get is delectably different from what you may have ordered from a spec sheet.

The Ramblers are made in Portland by guys that care, guys that ride and love bikes. The spec and tolerances are much tighter than you will see elsewhere. Many Ramblers will be rolling out in Portland, a good number of you may even know the guy confirming the alignment of the rear dropouts in this pic. He, and all the team at Zen, want you to be as stoked with your Rambler as I do, and never hear a complaint. This all matters so that your frame set builds up quickly and easily, then goes on to provide years of faithful service.
So what are you waiting for,
claim your Rambler now, these are unique bikes in the market place, delivering most of what you would want in a custom Rando bike but at production prices and delivery.
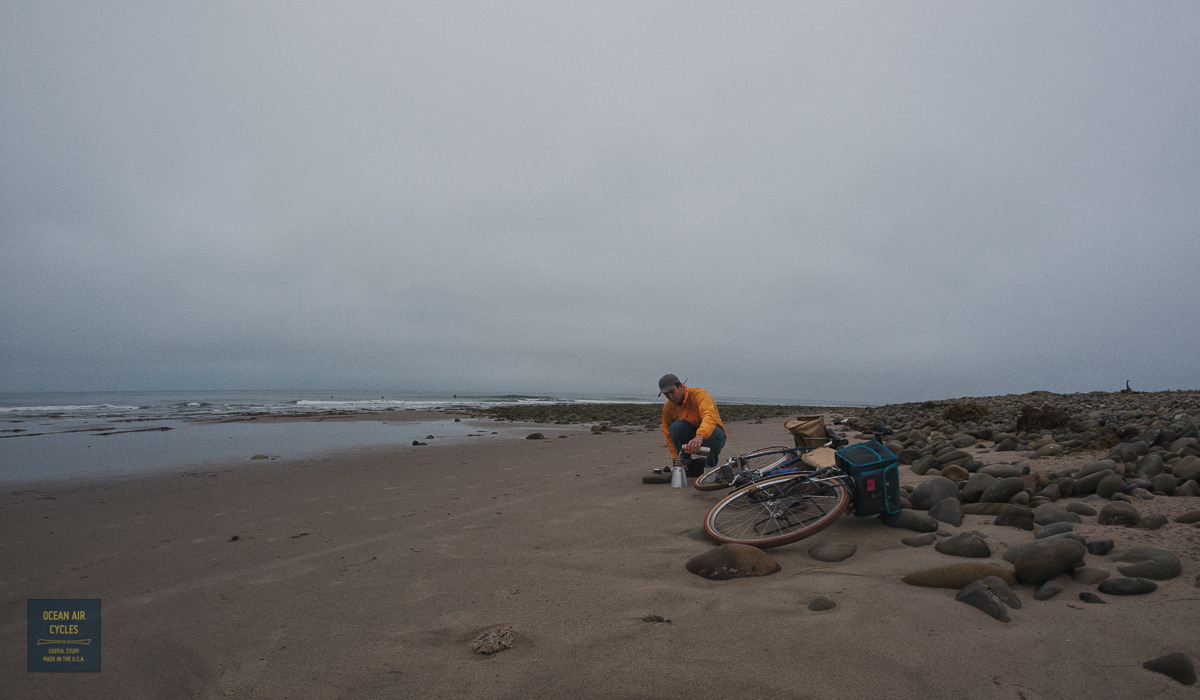
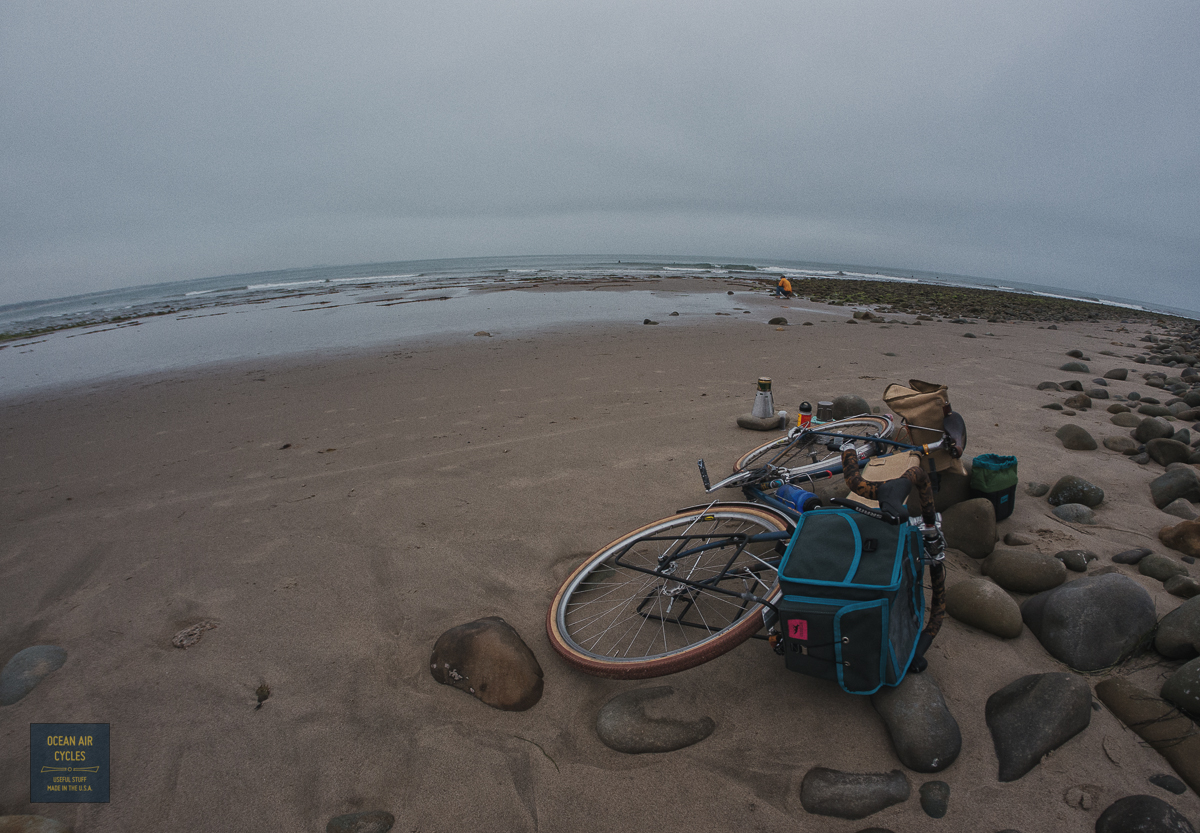
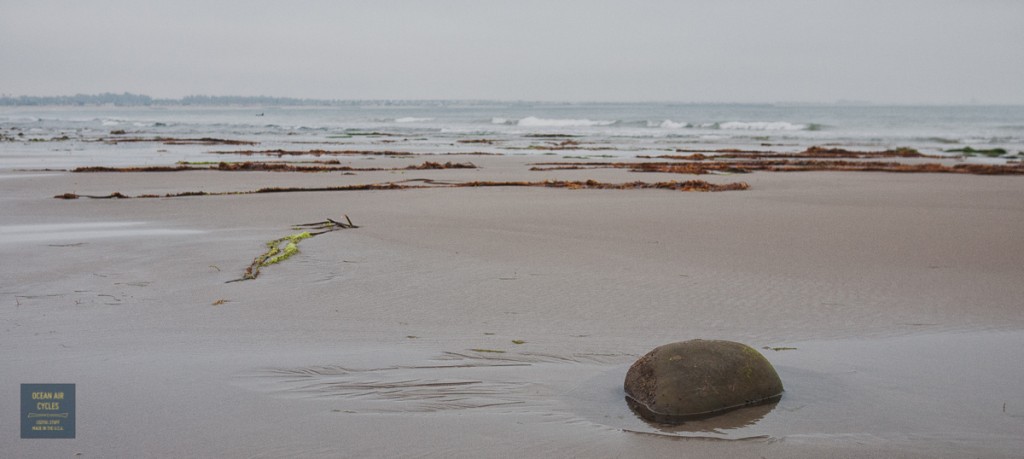
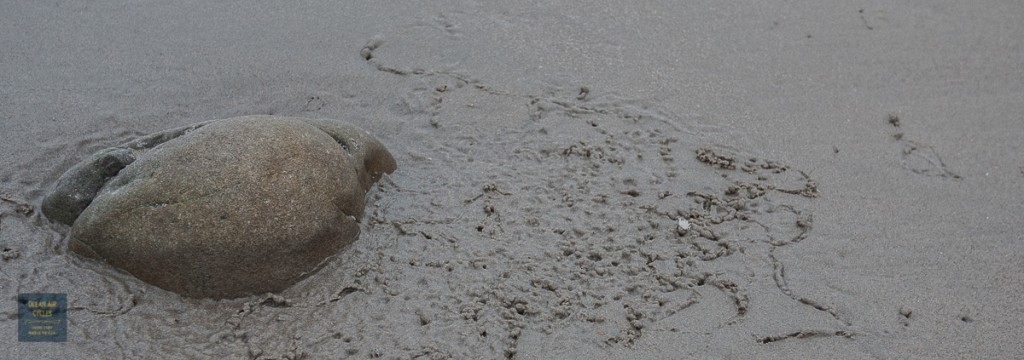
Made it out this morning on m own for the Wednesday ritual. Pretty gloomy out, but warm, light breeze and super low tide fun.

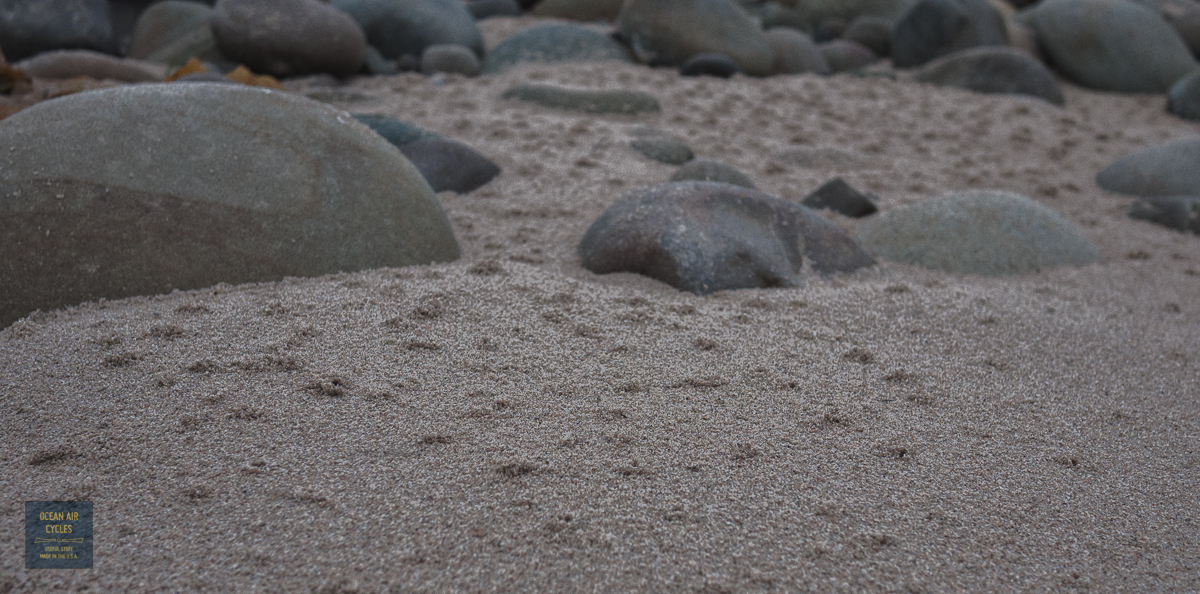
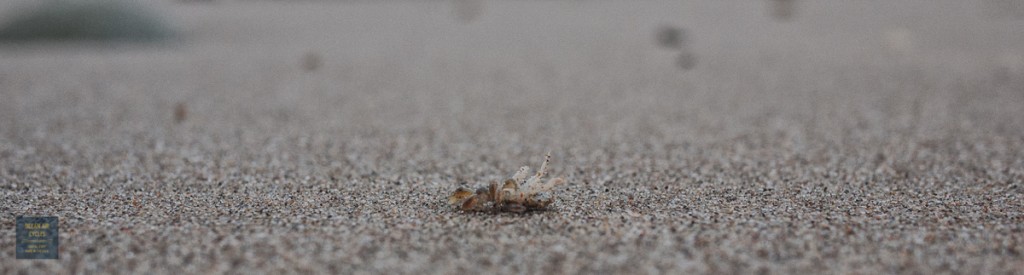
It was still pretty close to dark when I set up at the edge of the rocks and sand. At first I noticed just a few sand fleas, then a few more and then there were swarms of them, more than I have ever seen burrowing out of the sand.
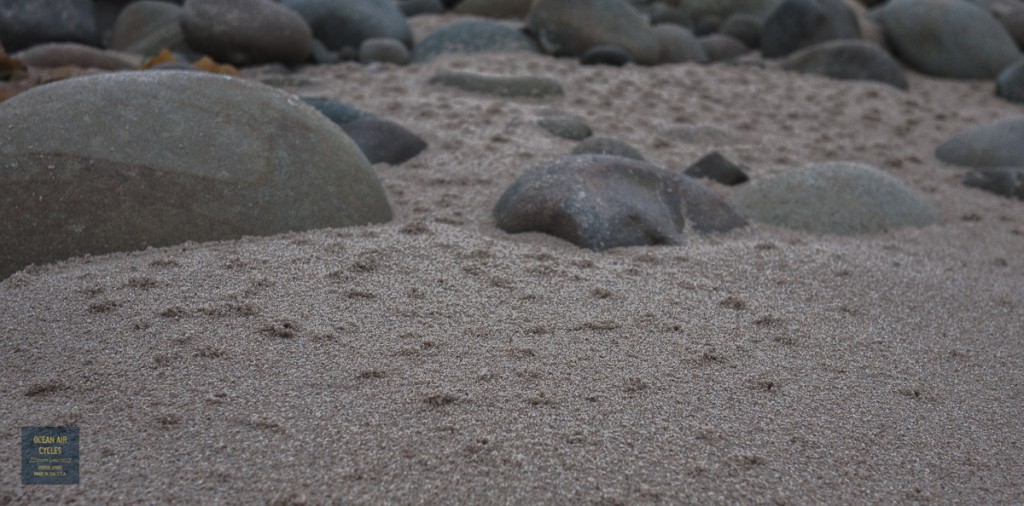
For me, they are more of an annoyance and something to avoid getting in the mug. In some parts of the world they will bite like crazy and leave you with a rash. I am guessing that I am either lucky or the ones we get here are just not that bad. Still, it was either move camp or walk around a bit. I chose the latter since, as we all know, a watched pot never boils.


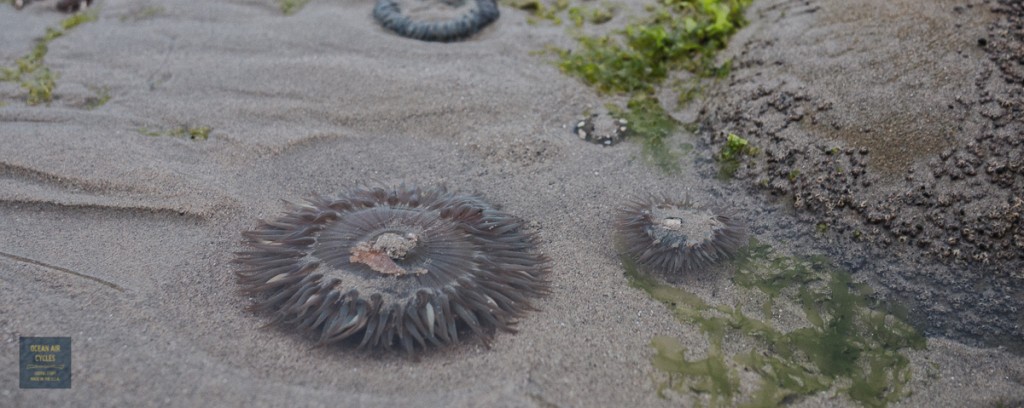
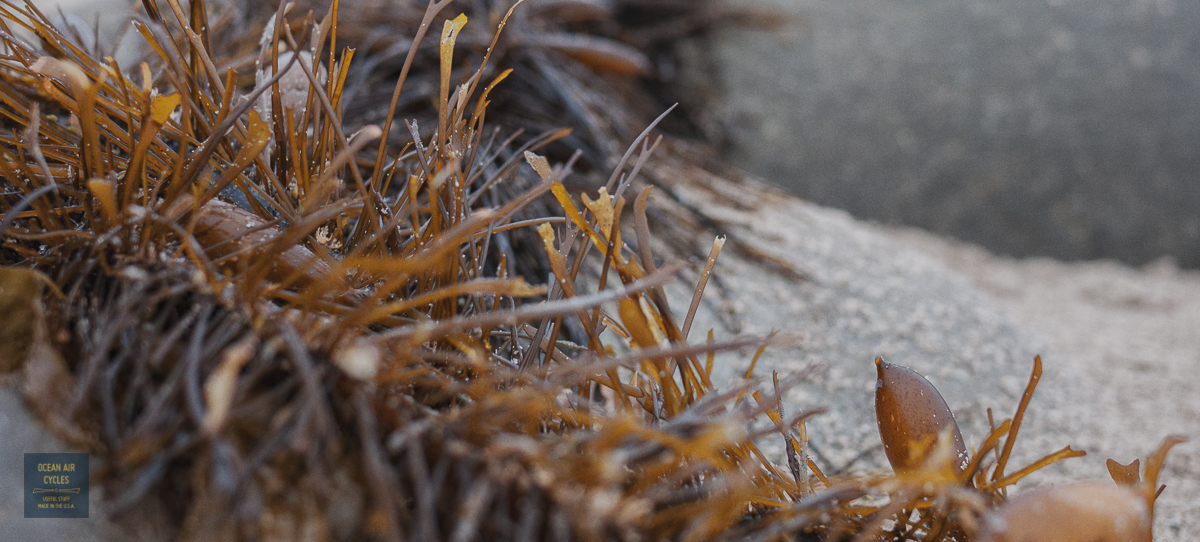
As the tide was dropping, the limpets or bigger sand fleas, started their migration to the edge of the surf zone. This is when I noticed something completely new after a lifetime spent on the beach.
The swarming sand fleas were ganging op on the limpets and taking them down. These things are all so small I was wishing for my macro lenses. But here is a gang of them on the back-end of a limpet trapped on its back.
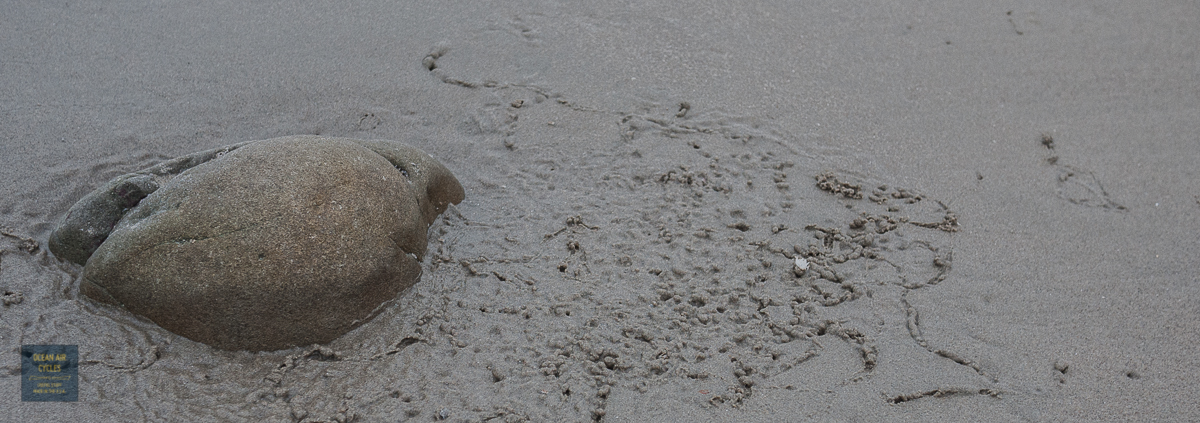
Getting back to the task at hand, the water had boiled, coffee grounds were stirred in, and is was time for a couple of quick taps on the pot to get them settled.
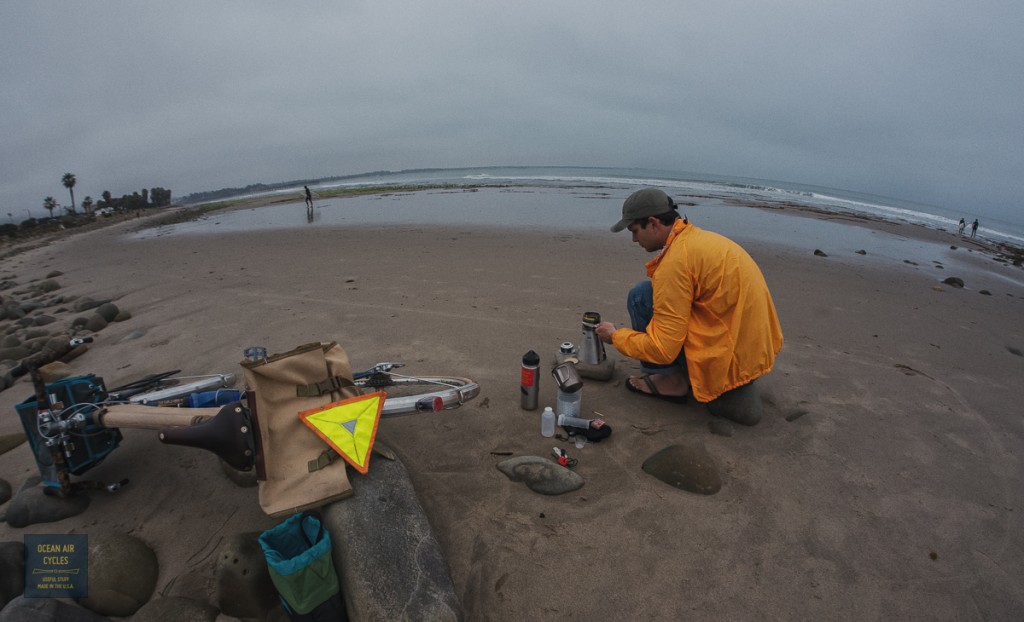
Another successful morning ride. I missed having company this week, but end up taking more pictures when I am alone. As for the war of the Limpets and Fleas, that is something I will never forget.

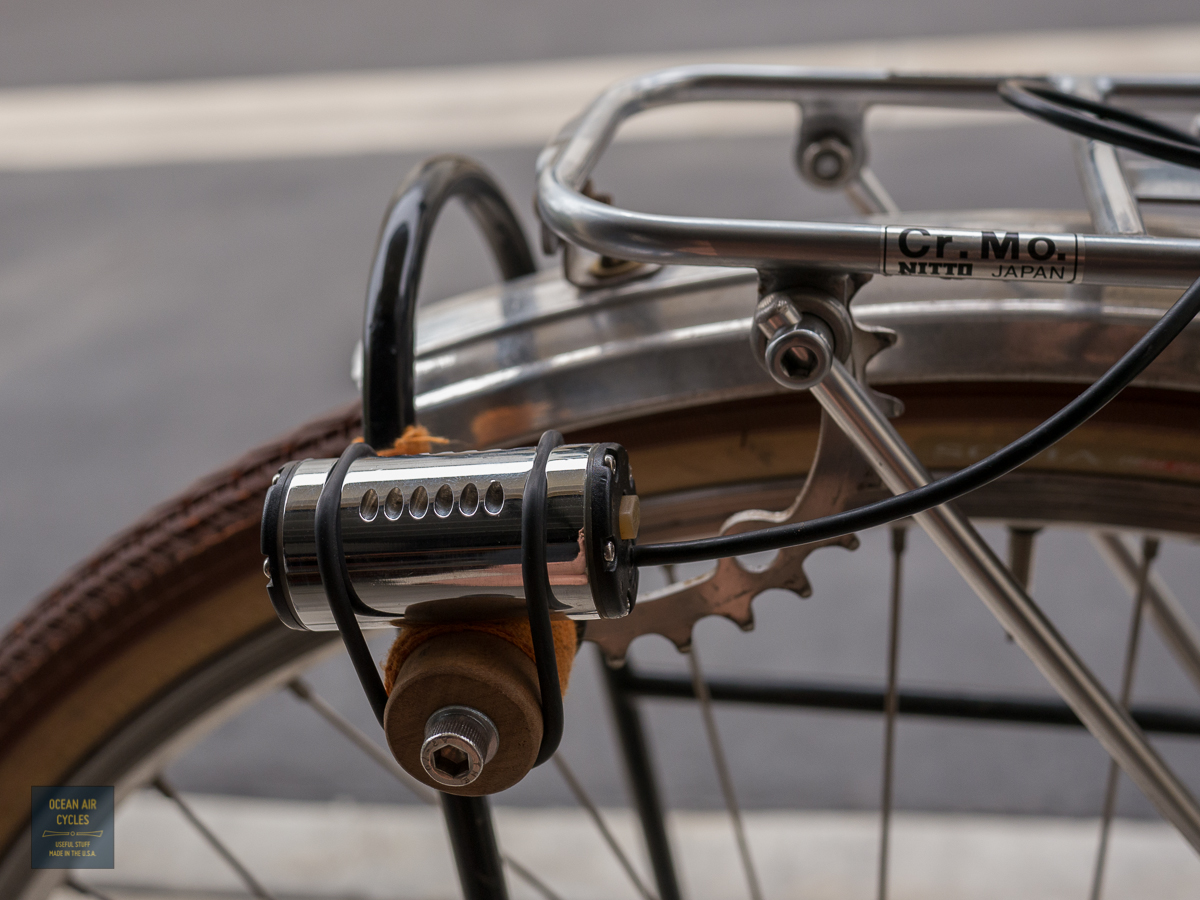
I have made a few successful light mounting bracket out of upcycled chainrings. They work quite well for something that would normally be thrown out or recycled. The upside is that they come pre-drilled, are easily cut to size, easily cleaned up with files, sufficiently rigid to support most lights and are relatively light weight.

I have a similar solution that I have used with battery mounted lights as well.
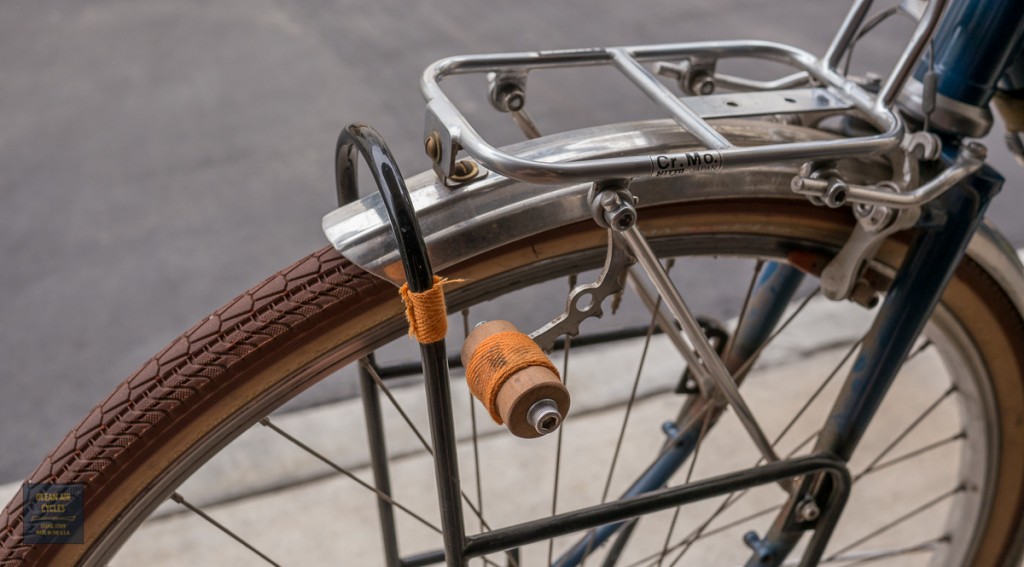
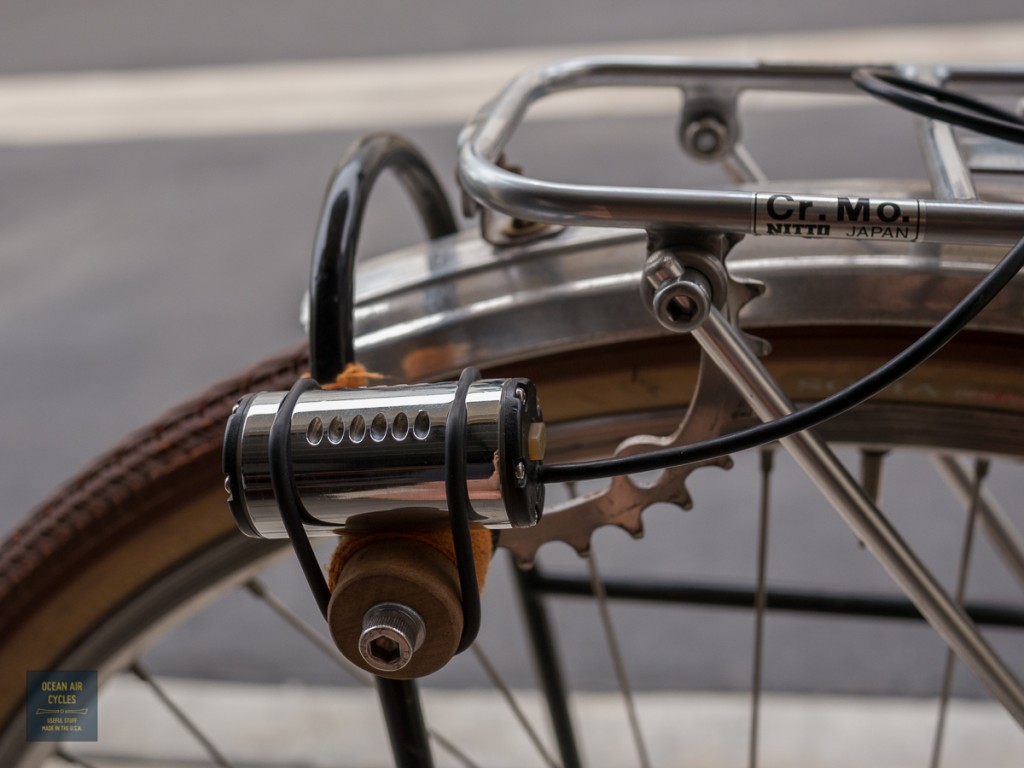
This one has served me well, but as I get ready to switch this bike over to a dynamo lighting system, I thought is was a good time to share the set up. There is a lot that the home hobbiest can do solve challenges like this with basic hand tools and a trip to the local hardware store.
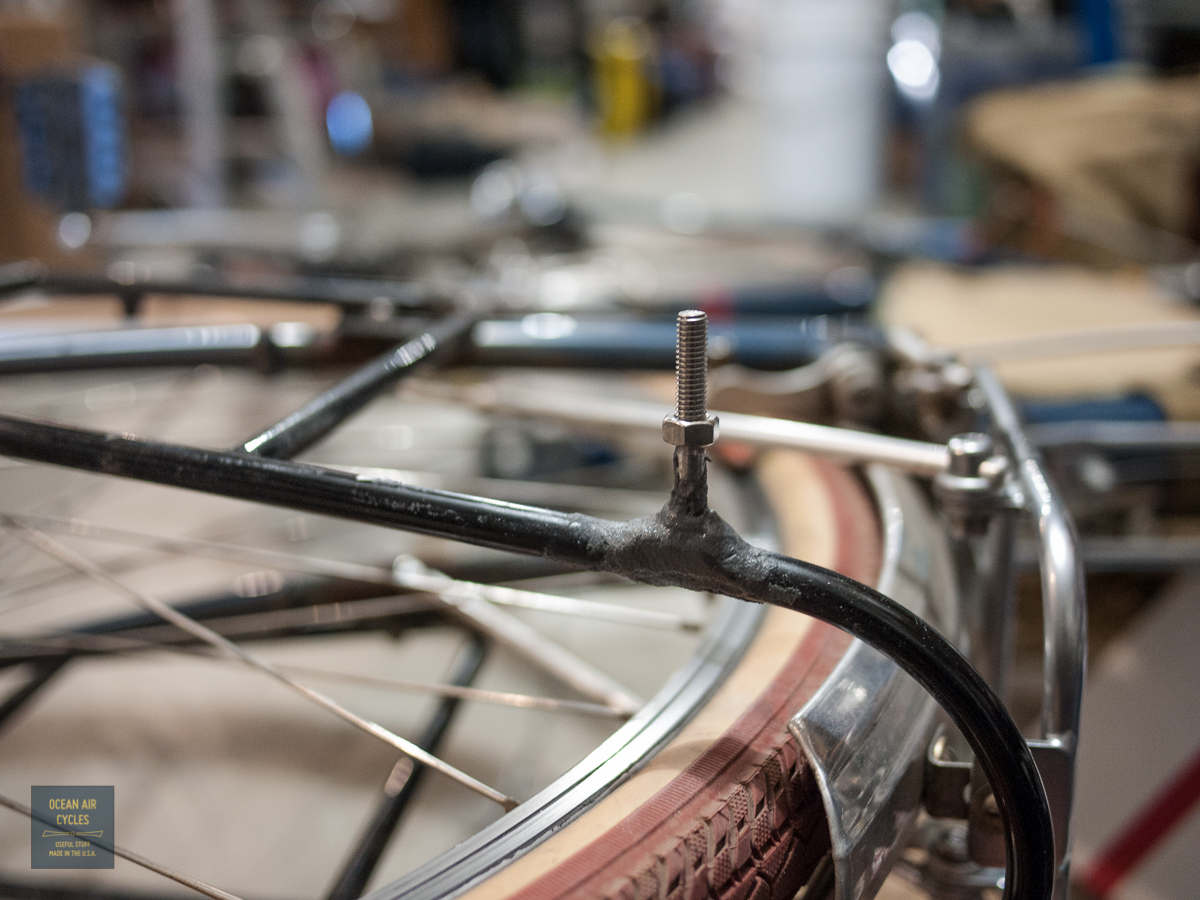
Here is a sneak peak of the mount I am working on for the upcoming dyno system. First step is tacking and filling with epoxy. Next up is a composite wrap. Conventional wisdom is that something like this needs to be brazed. If whole bikes can be built with bonded metal and composite systems, I am sure light mounts can be done just fine.
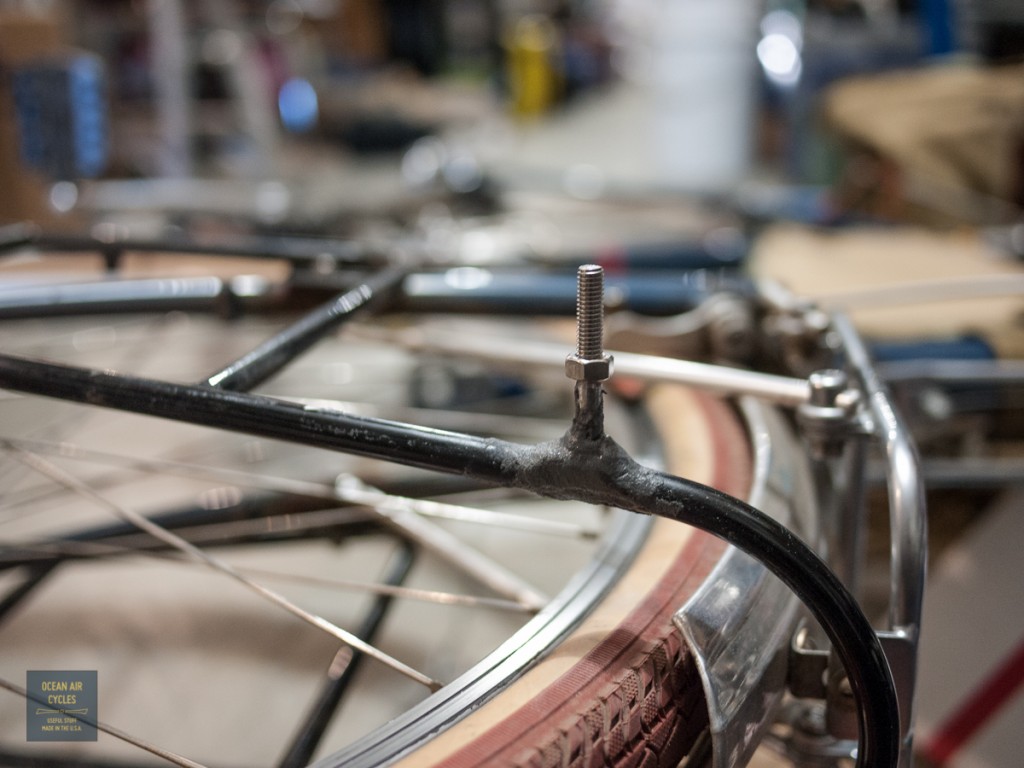
Next steps are to smooth the filler, clean it up and wrap it with a resin fiberglass matrix. More on that soon.
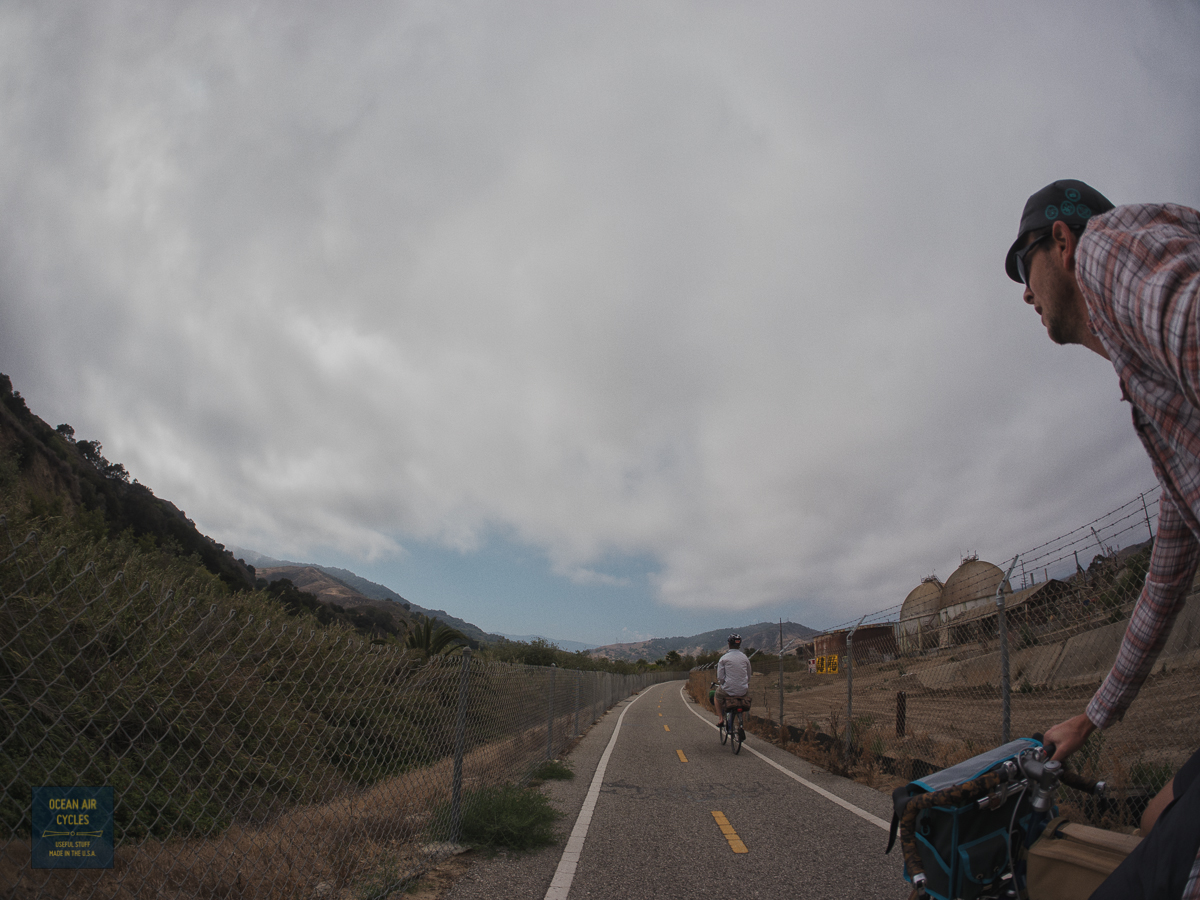
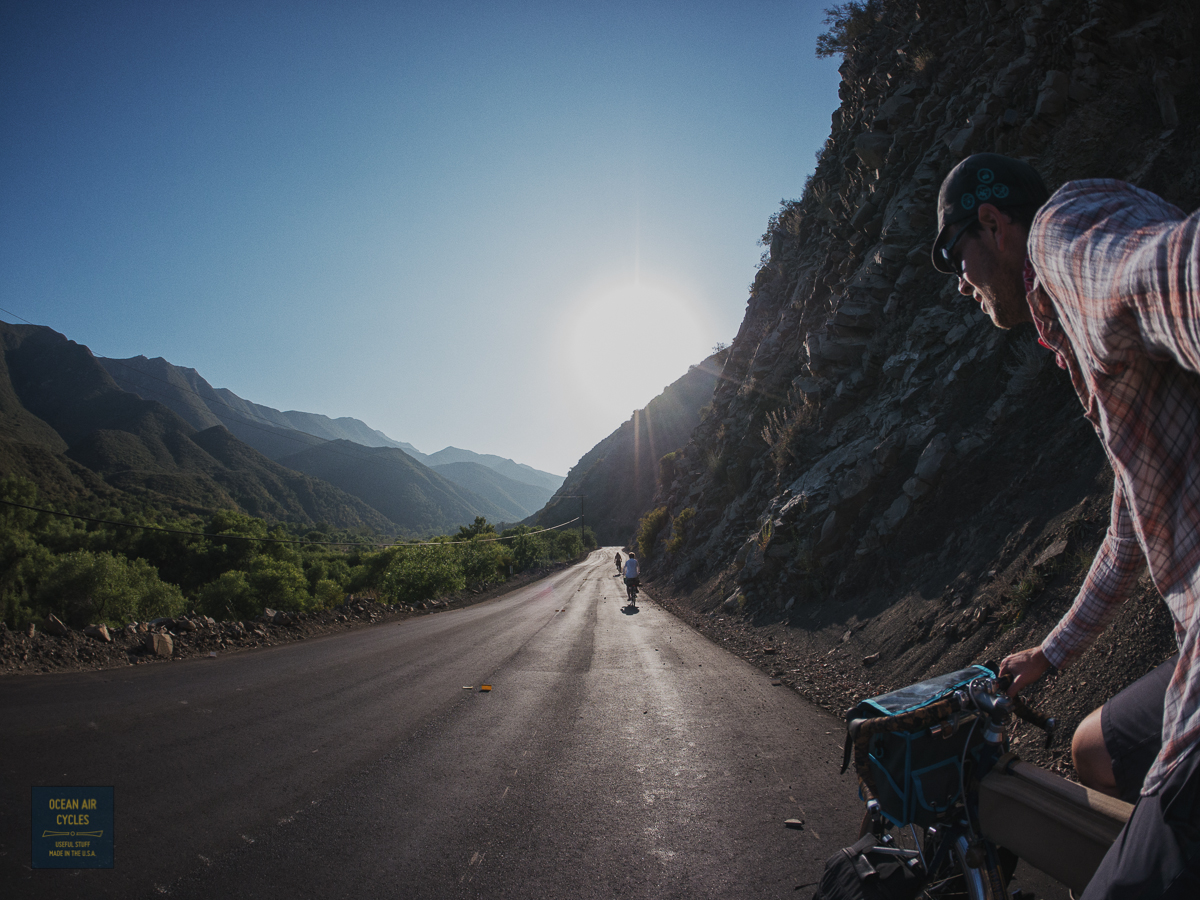
This past weekend I was able to coax a couple of buddies out for a quick s24o camping trip up in the mountains behind Ojai. Not an easy feat for most of us to pull off as life gets too busy, but a few emails, a month of lead time and I had two out of 6 invites along for the ride, thanks Mike and Mike. We headed out Saturday afternoon towards the Murietta Camp near the end of Matilija Creek Rd.
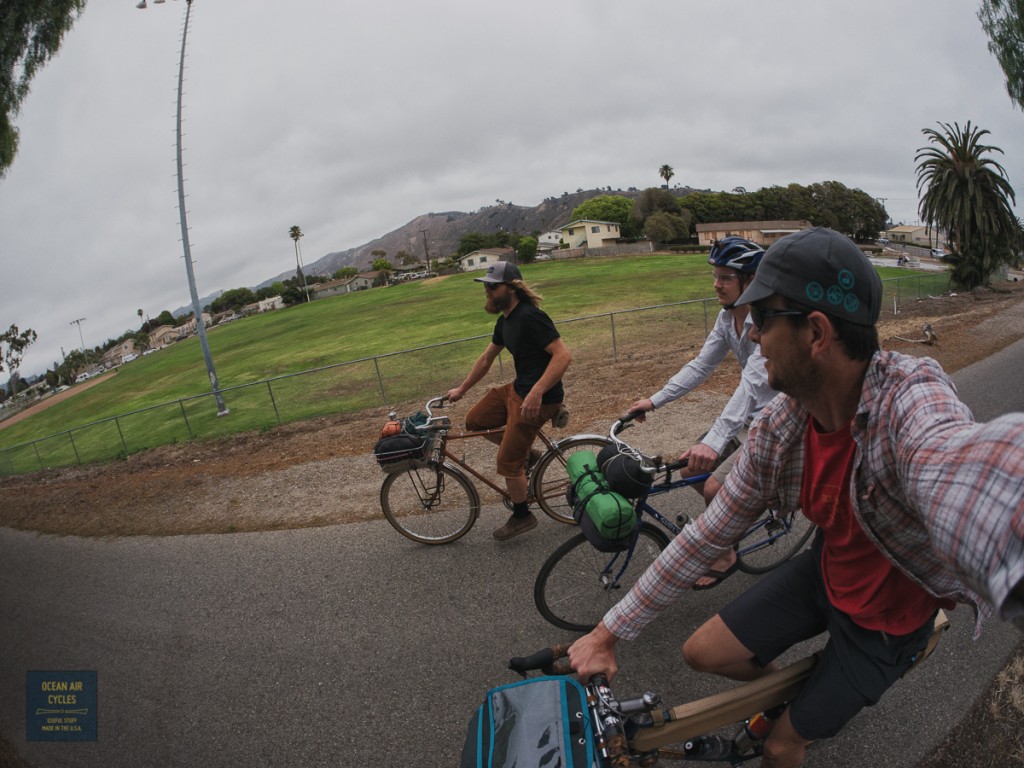
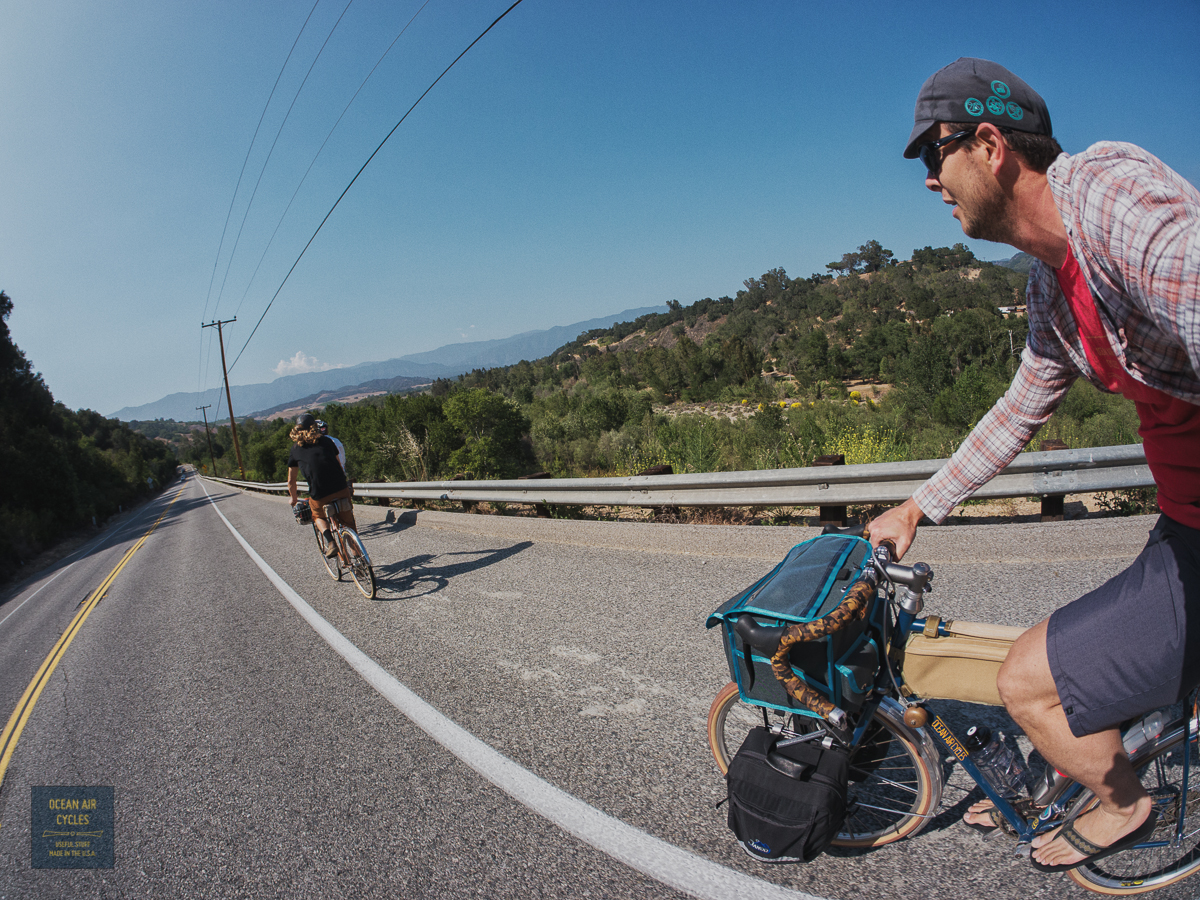
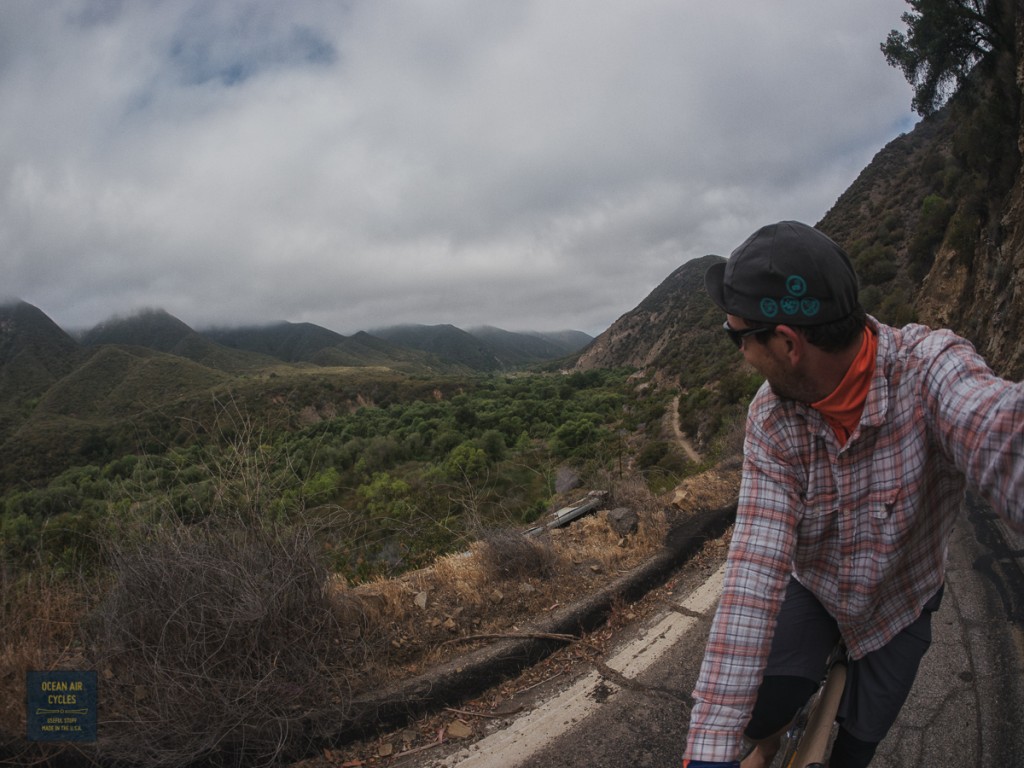
Weather down on the coast was foggy all day, and I was looking forward to getting some time in the sun. About 6 miles in we could see the end of the clouds, and then it was clear all the way to camp.


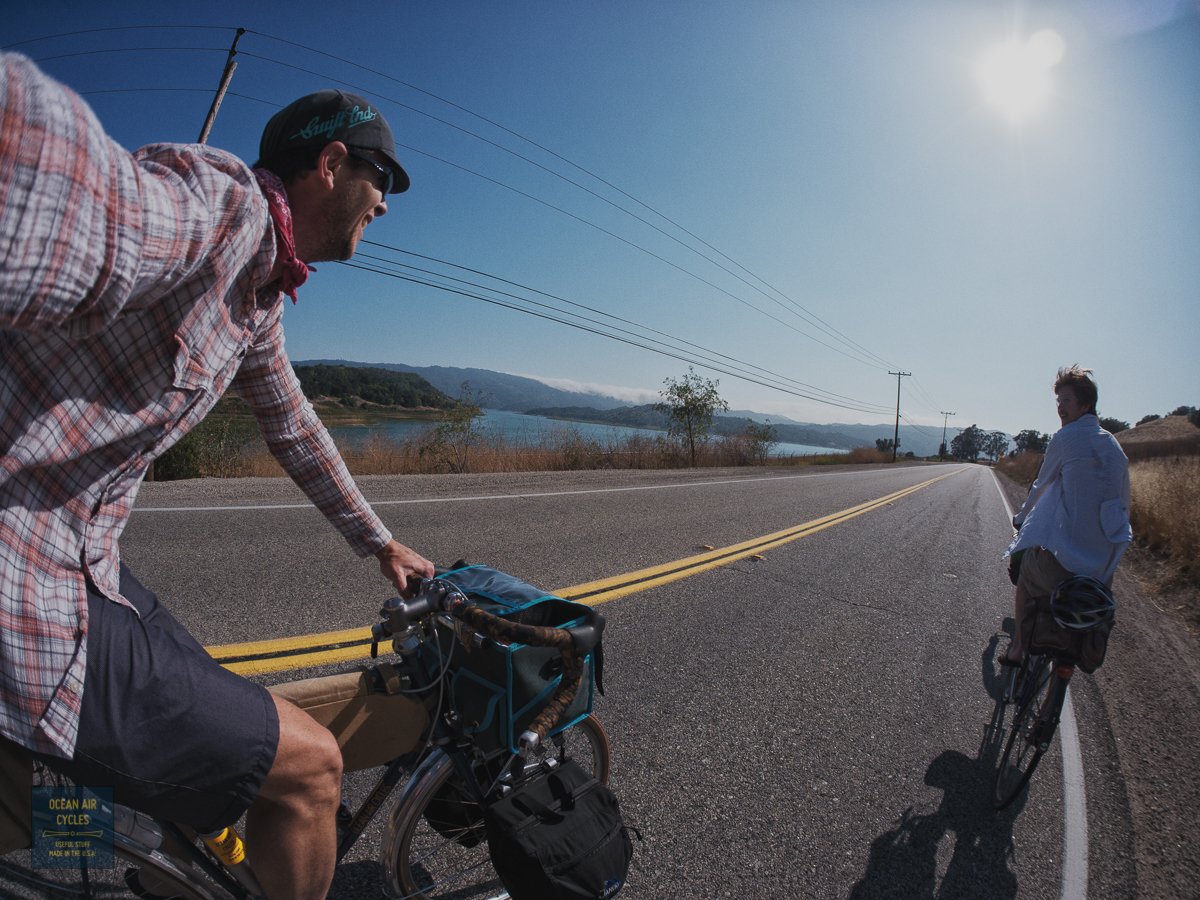
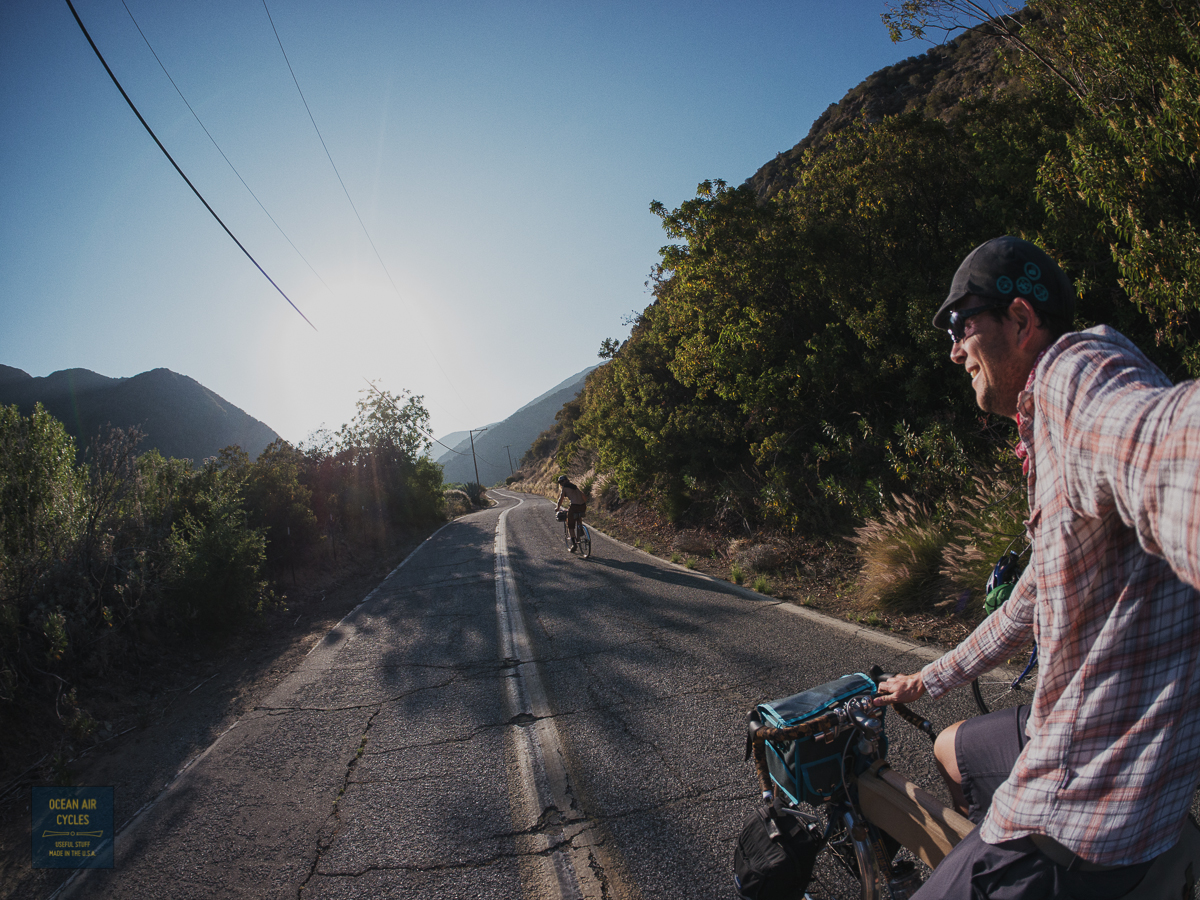
Up around Lake Casitas and through Miner's Oaks we stopped in at the Farmer and the Cook to pick up some last-minute energy snacks (peanut butter cookies) and then it was out of town an up HWY 33 into the Santa Ynez mountains

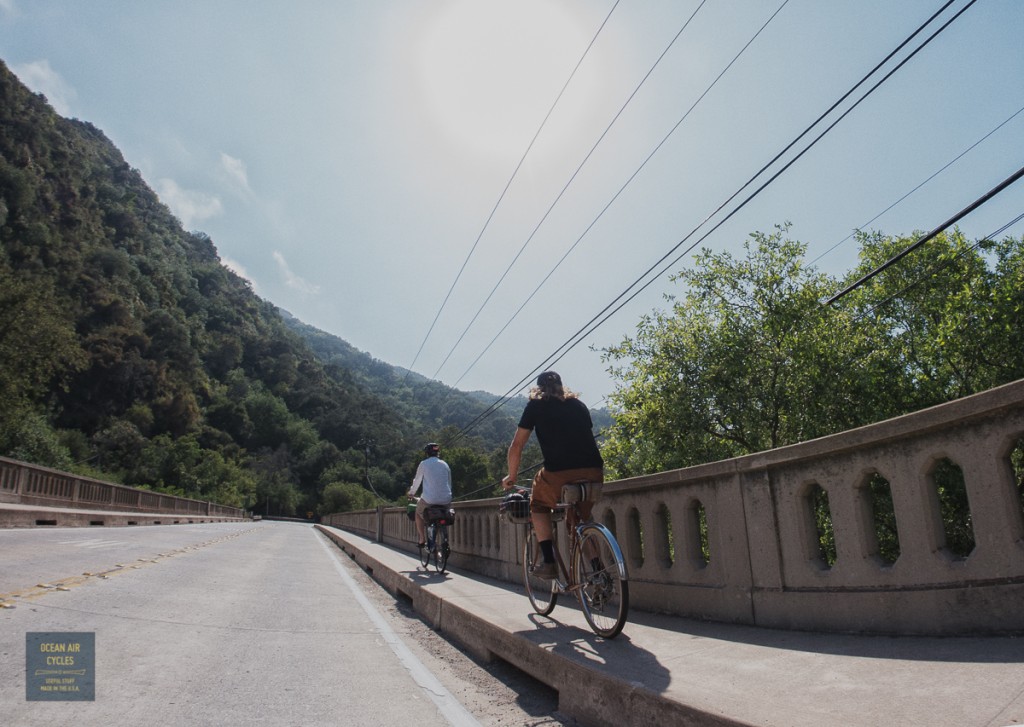
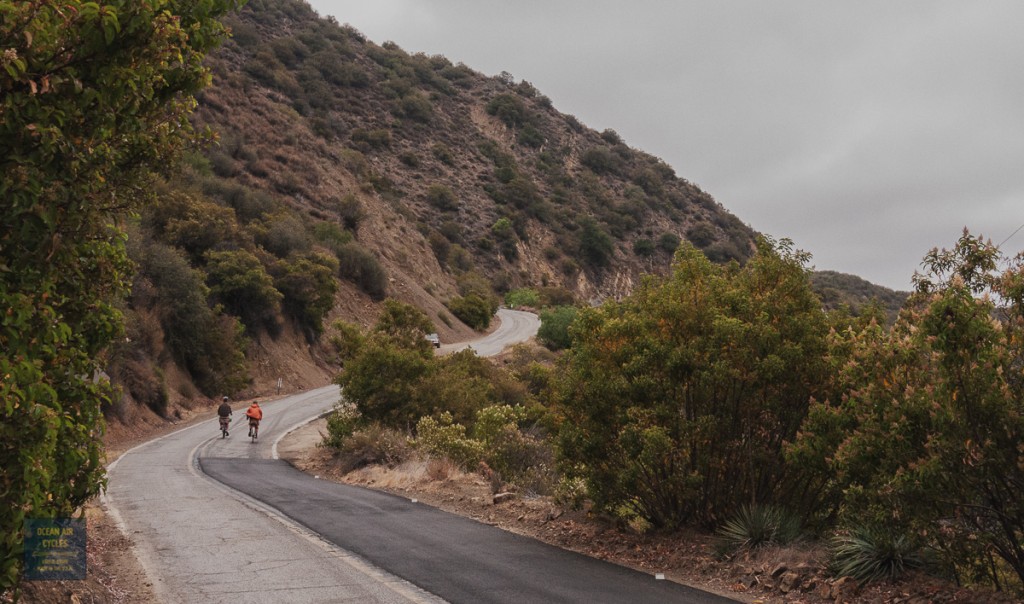
The turn off for Matilija Canyon Rd comes up quickly. Mostly uphill to get past
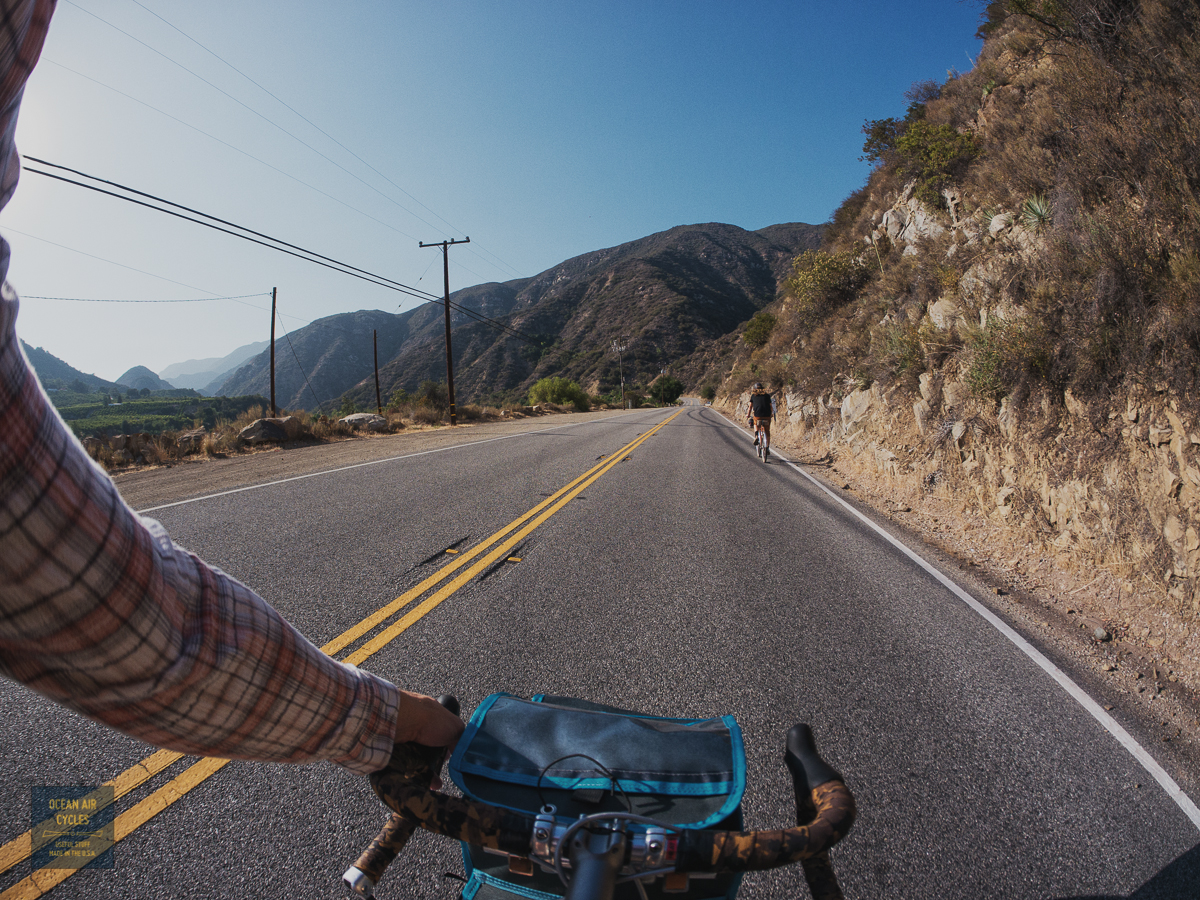
the most useless damn in the region, and then down into the canyon. This is some of the most beautiful countryside I have ever been through.


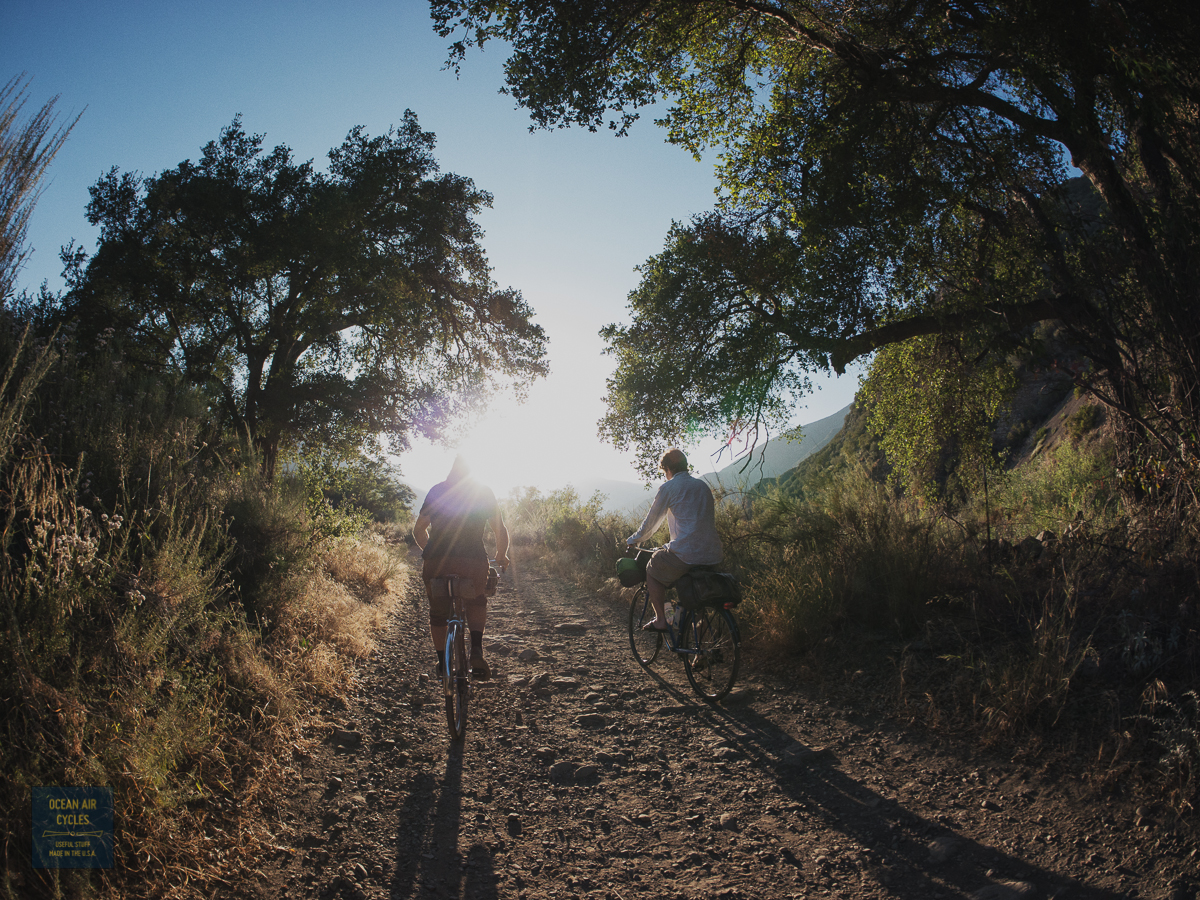
Just over 5 miles of empty rolling hills heading back to some dirt and creek crossings. The sun would be giving us light until 7:30 or 8, so we were taking our time getting to the trail head


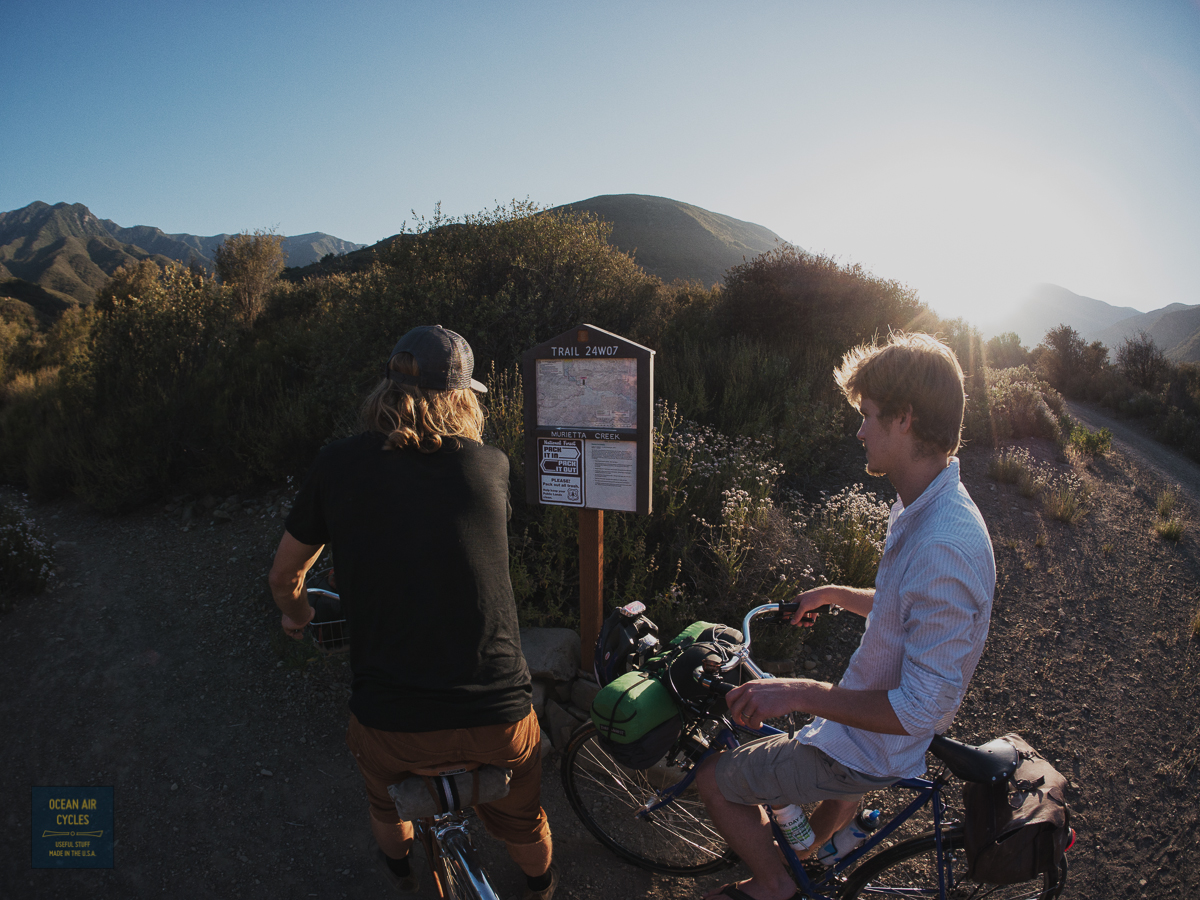
I theory we were almost there. The campground should be less than a mile up and easy to spot. Twenty minutes of single track, and a creek crossing and it was becoming painfully evident that Plan A was not going to be as easy as we thought

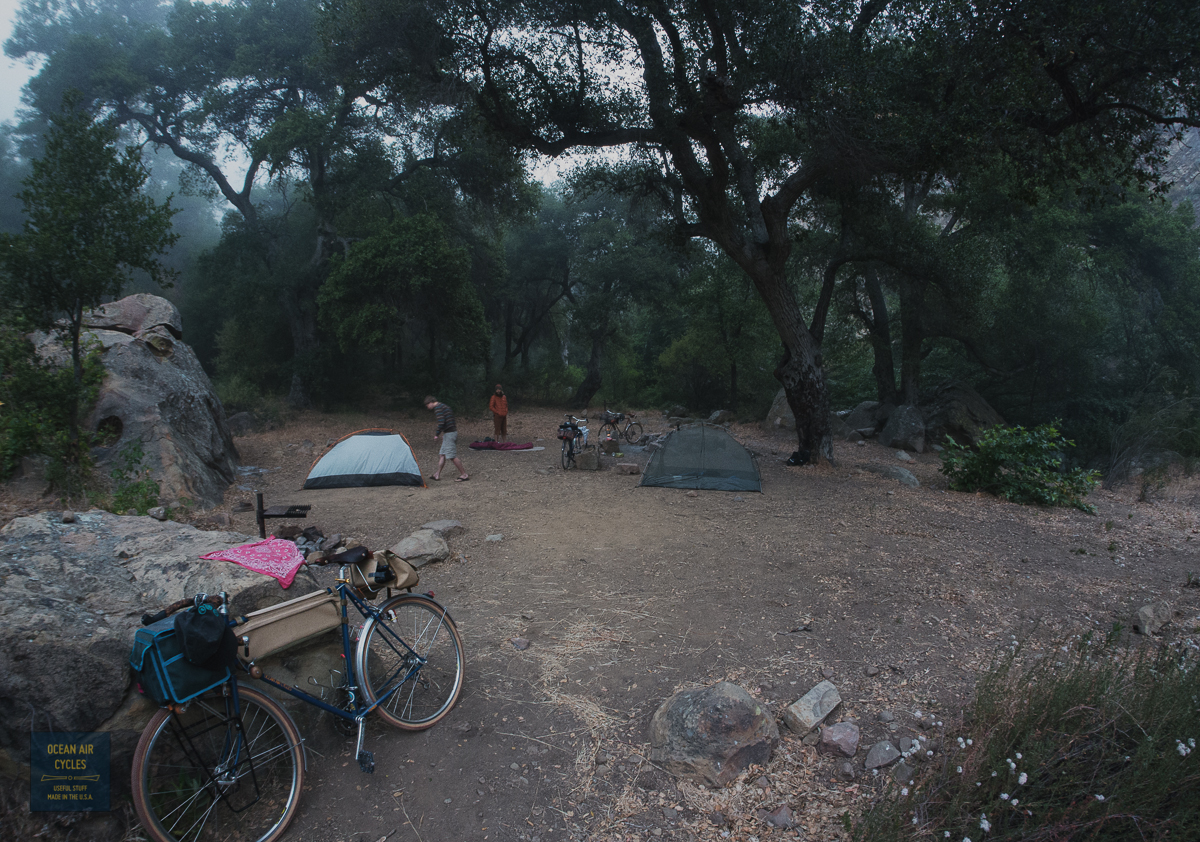
The trail was well marked, and a heck of a lot of fun, but the campsite was a bit elusive. Plan B was to head back towards Matilija camp, and or the first workable flat spot before it got too dark. Two miles back the other direction, one dry riverbed, 3 creek crossings and a whole lot of hike a bike and we found our home for the night
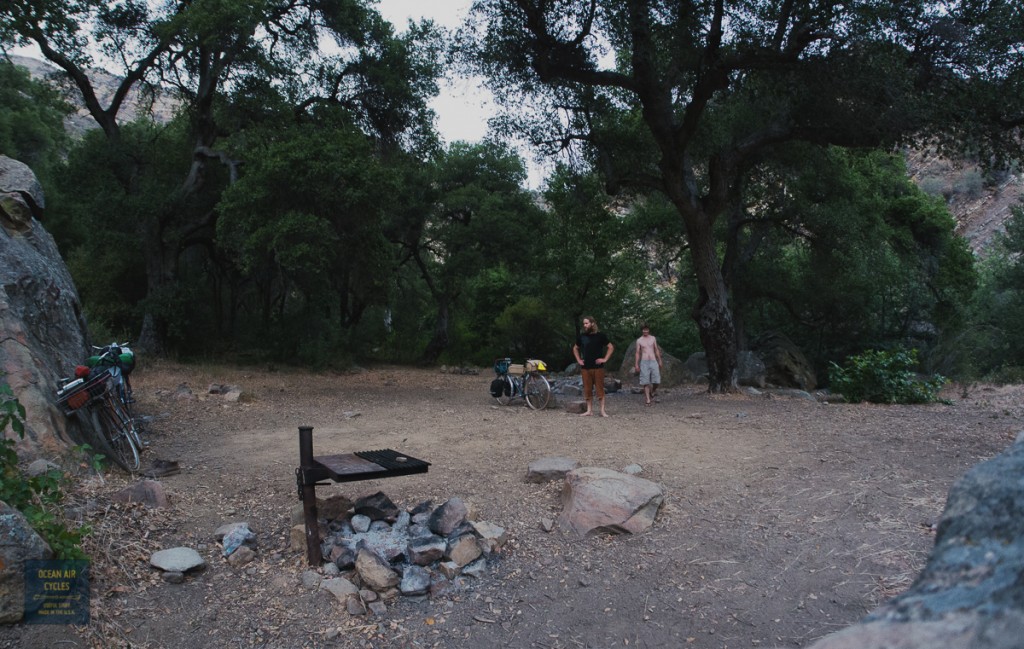
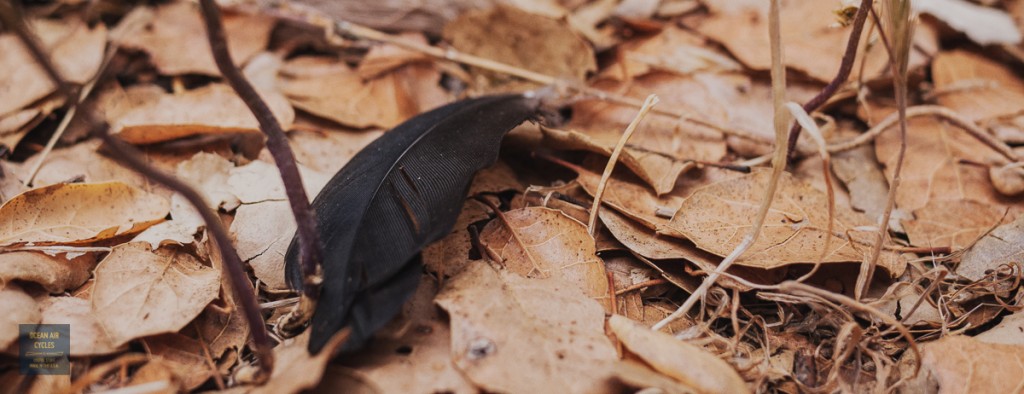
Tired, hungry and needing a rinse in the creek the camera went away until morning. While the Matilija camp sees a fair amount of traffic, it was fairly quiet this summer Saturday, there were a couple of other camps to the south, but by no means crowded. The night was clear with bright stars and no moon. Sleep came easy. Fog had rolled into the valleys by morning, bringing some chill with it.

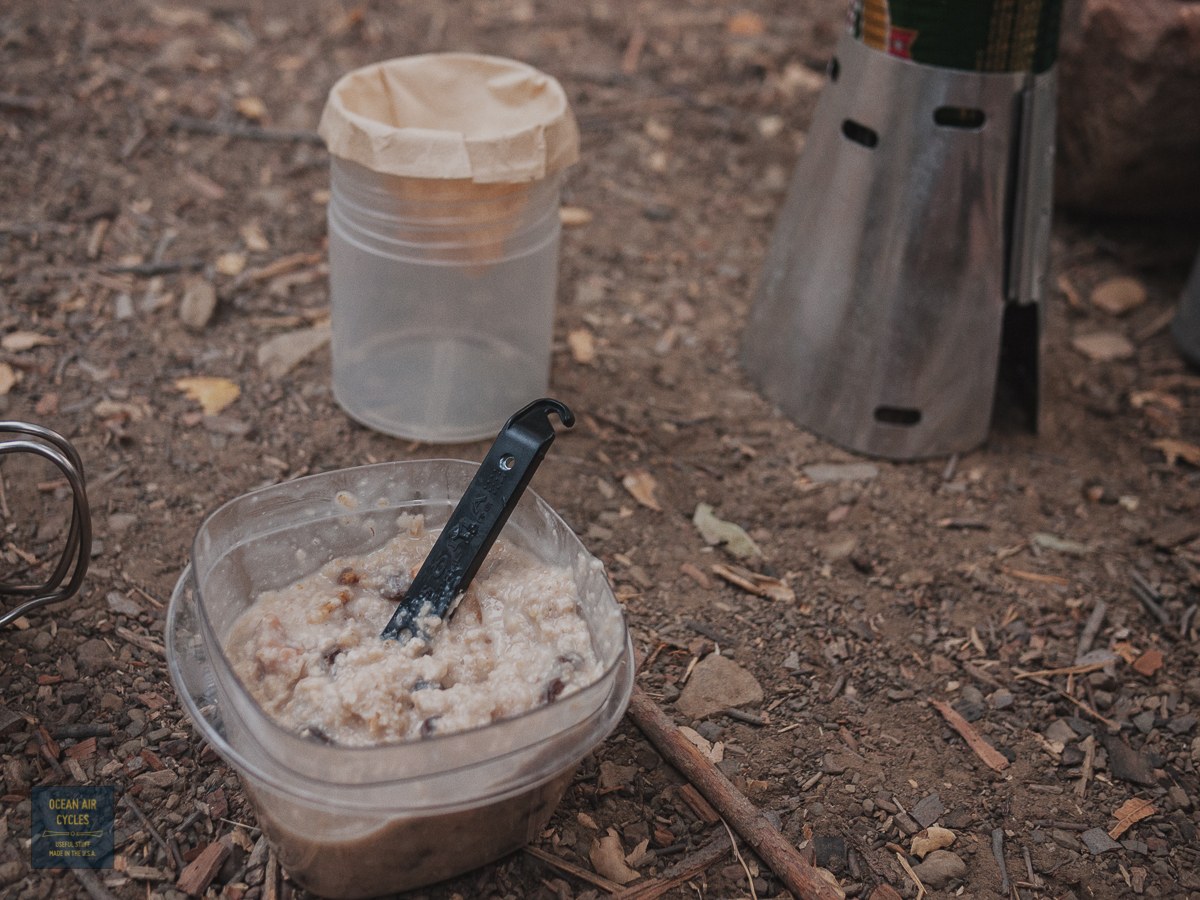
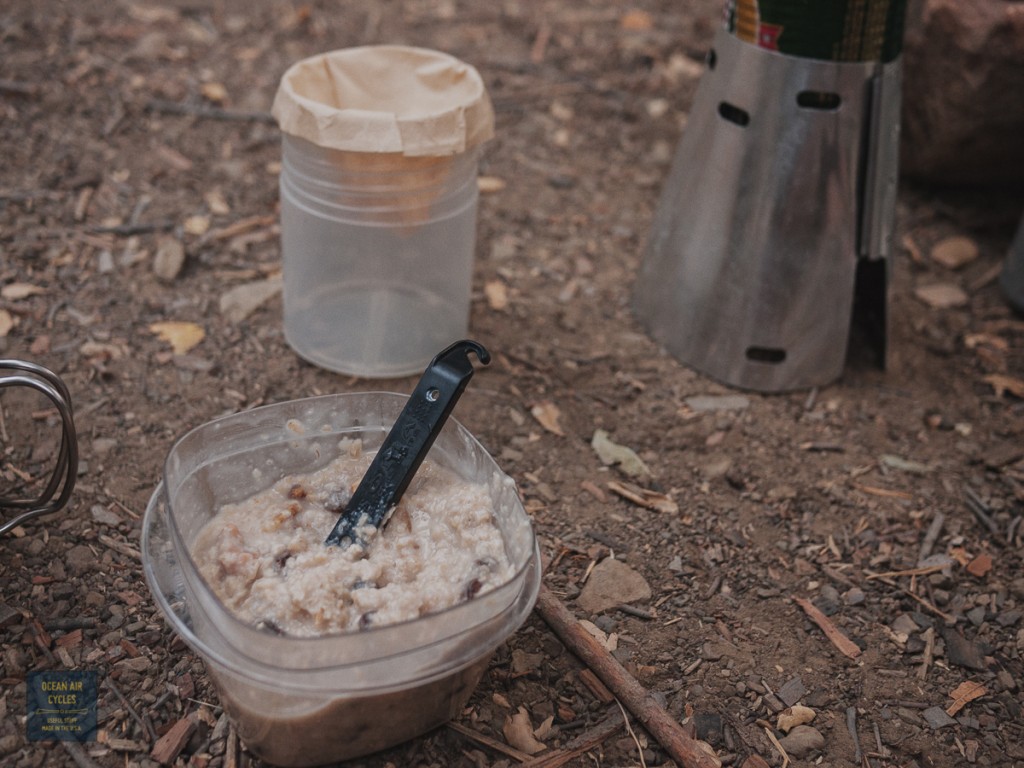
Dinner Had made it evident that I had left my spoon at home. There is a good bit of humor to be found in that in consideration of all the camera gear and other stuff I had dragged along. It was not that big of a deal, by morning I had thought of a work around for my oatmeal. Have I mentioned how much I like my
Soma tire levers?
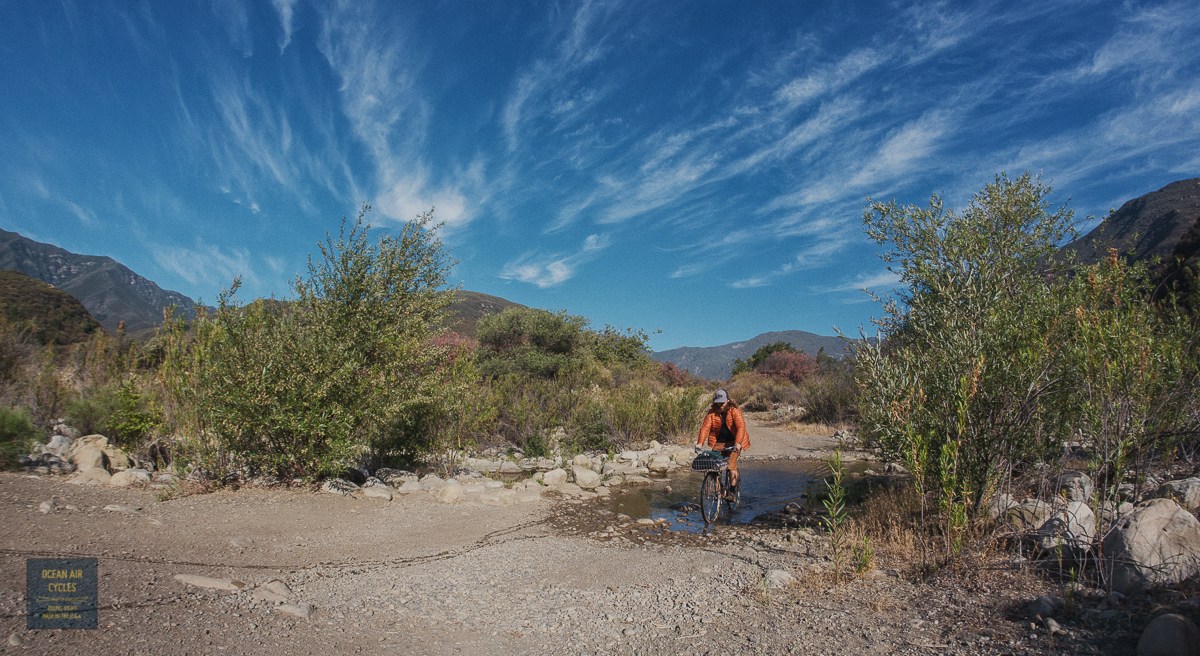
The sun was starting to break through, it was time to break camp and enjoy the ride out. A mix of single track, and hike a bike, with creek crossings, plenty of poison oak, and did I mention poison oak?
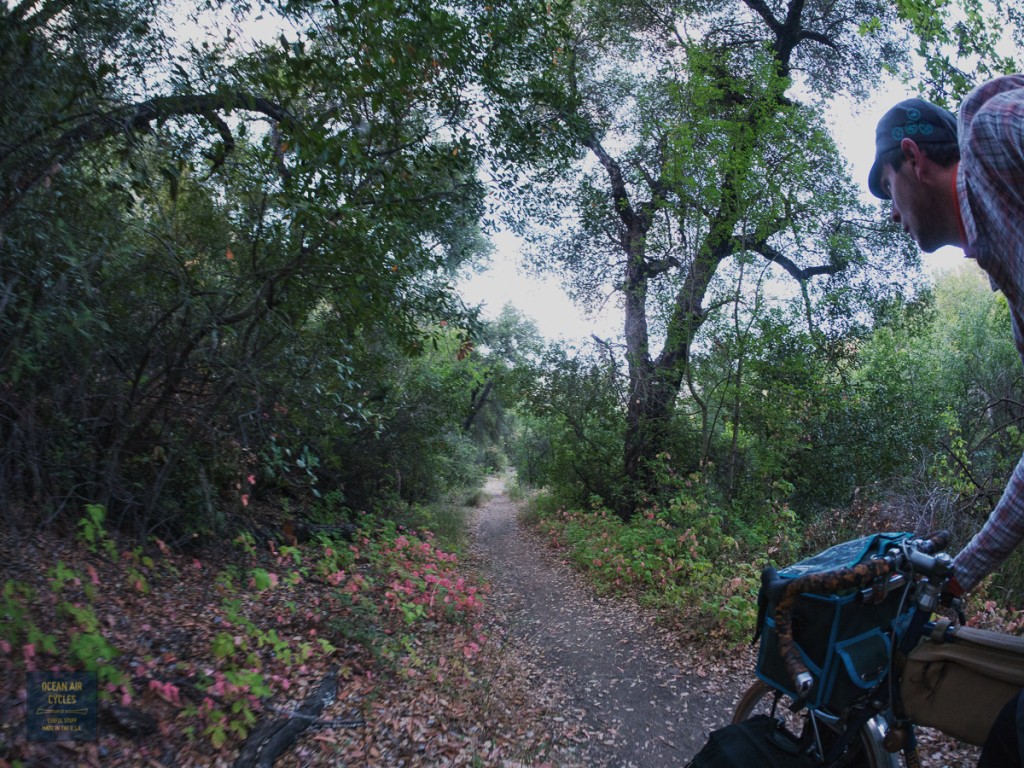


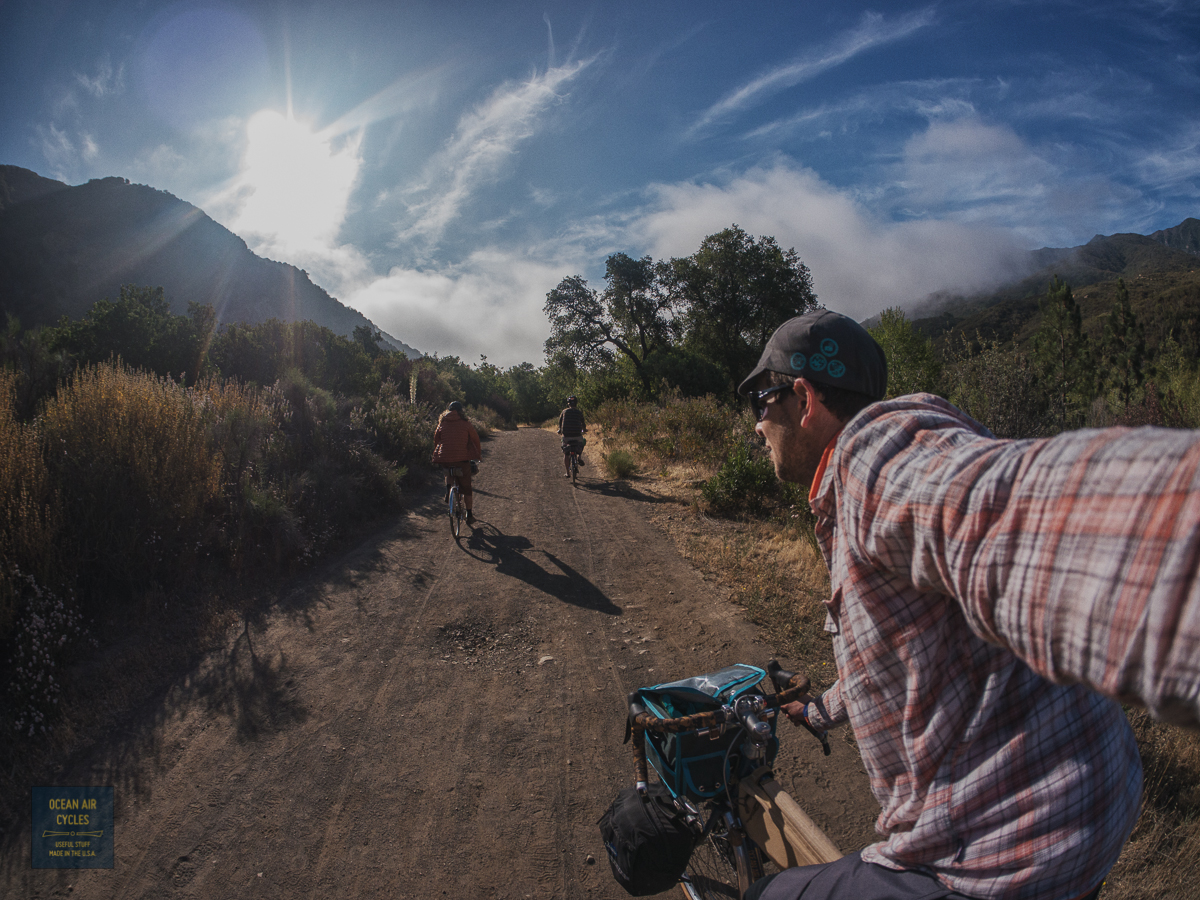
The time in the sun was short lived and we were flirting with the edge of the fog the rest of the way back towards home and the ocean.
After a look back we crested out of the valley and back out on the HWY 33, tempting us to head north for a bit.
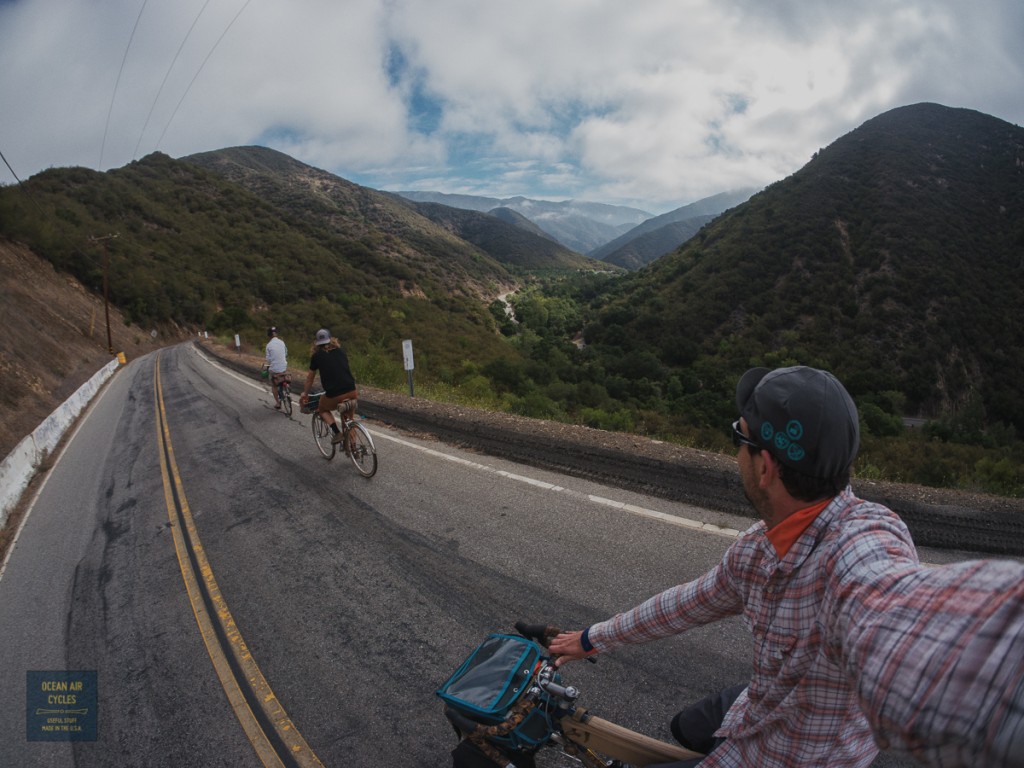
At least it was tempting me. The rest of the afternoon committed for all three of us though, it was back to town. Trips further North will have to wait for another time.

The trip was a success, even had a little adventure thrown in. Total time away was under 19 hours with about 60 miles of riding. All of this is just to the North of the comforts of home. Everybody wants to do it again. Time to start planning the next round.
I have been talking with the great folks at Merry Sales about bringing a new 700x38mm tire to market fora while now. IMO the best platform is to use the existing Soma New Express mold and casing from the 700x37 tire they currently sell and have a batch made up without the hypertex casing. This has worked with great reception on the 650b version of the tire. Having put many miles on both versions of the 650b tire as well as the relatively new 700x37 New Express I am convinced that a "C Line" would be my Goldilocks tire.
At this point I need your help in picking a color for the first run
[polldaddy poll="7161169"]
As with all projects of this nature there will be one color for the first batch, once consumer reception is felt out we can move to have batches made up in more than one color.

 It looks like they are going to have a busy day inside. The whole neighborhood is plugged up. I remember when I was the drunk kid showing up in someones neighborhood, sort of, and it seems like a long time ago. Now it is my back yard (mental note, the apartment by the beach and fairgrounds seemed like such a good idea in the fall). Things thinned out a bit before finding out just how much the triathlon between me and the farmer's market was clogging things up. On the plus side I managed to poach a "closed" road and get the the whole lane for a few miles.
 Mission accomplished with a week's worth of fresh food in the bags, the sun was coming out and time to get home.
 This is about as good as it gets. It lasted a few miles before diving back into the fog, and a completely plugged up neighborhood. Cars backed up over a mile headed to the concert and the highway plugged as usual on a Summer Sunday.
 One of those days I am so happy Home is by the beach and I can ride a bike just about everywhere. I hope you made it out this weekend, solstice and all, it has been quiet on the web, and that is probably a good thing.