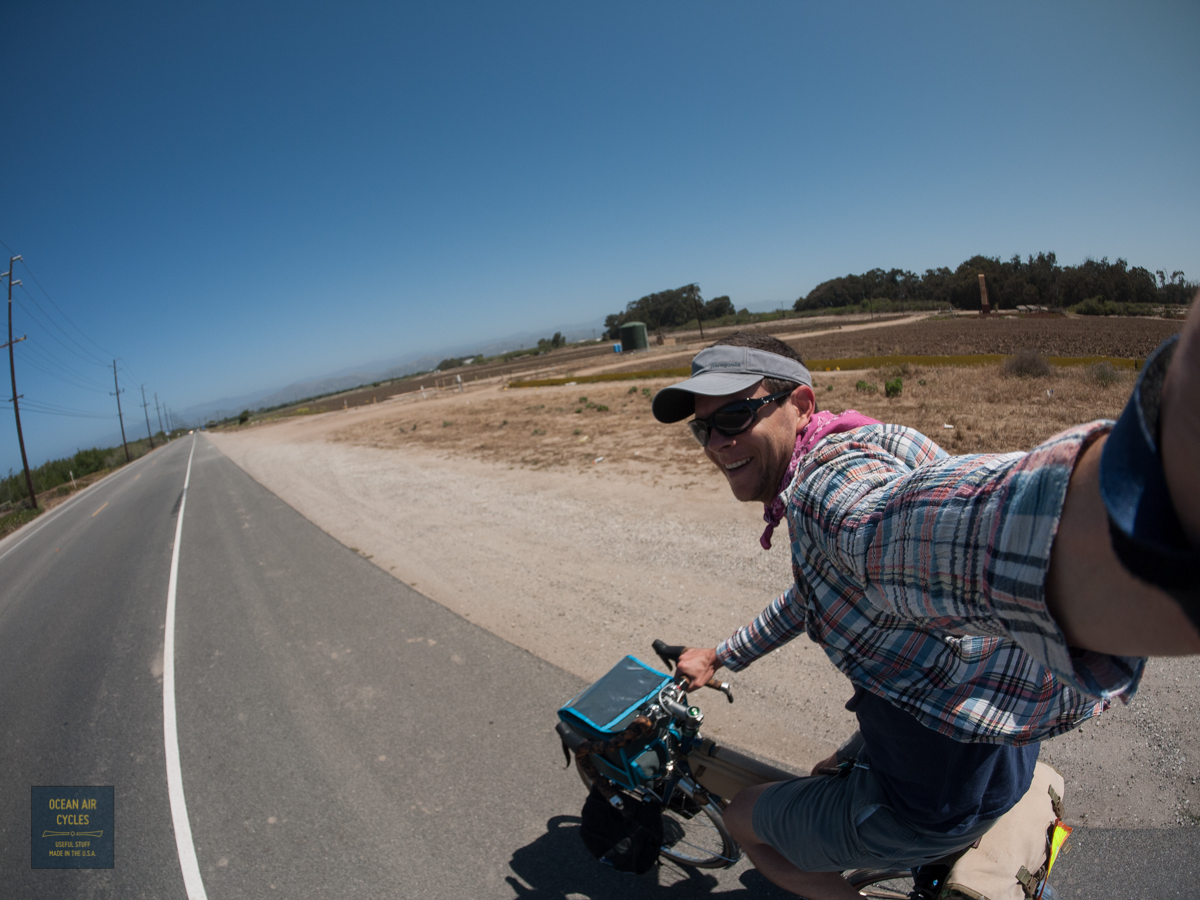
Summer is here and it is back to being able to ride in seersucker and sandals. Another successful Sunday haul of fresh food from the Farmer's Market.


Hopefully this weather holds for a bit, I does not get much better than this.
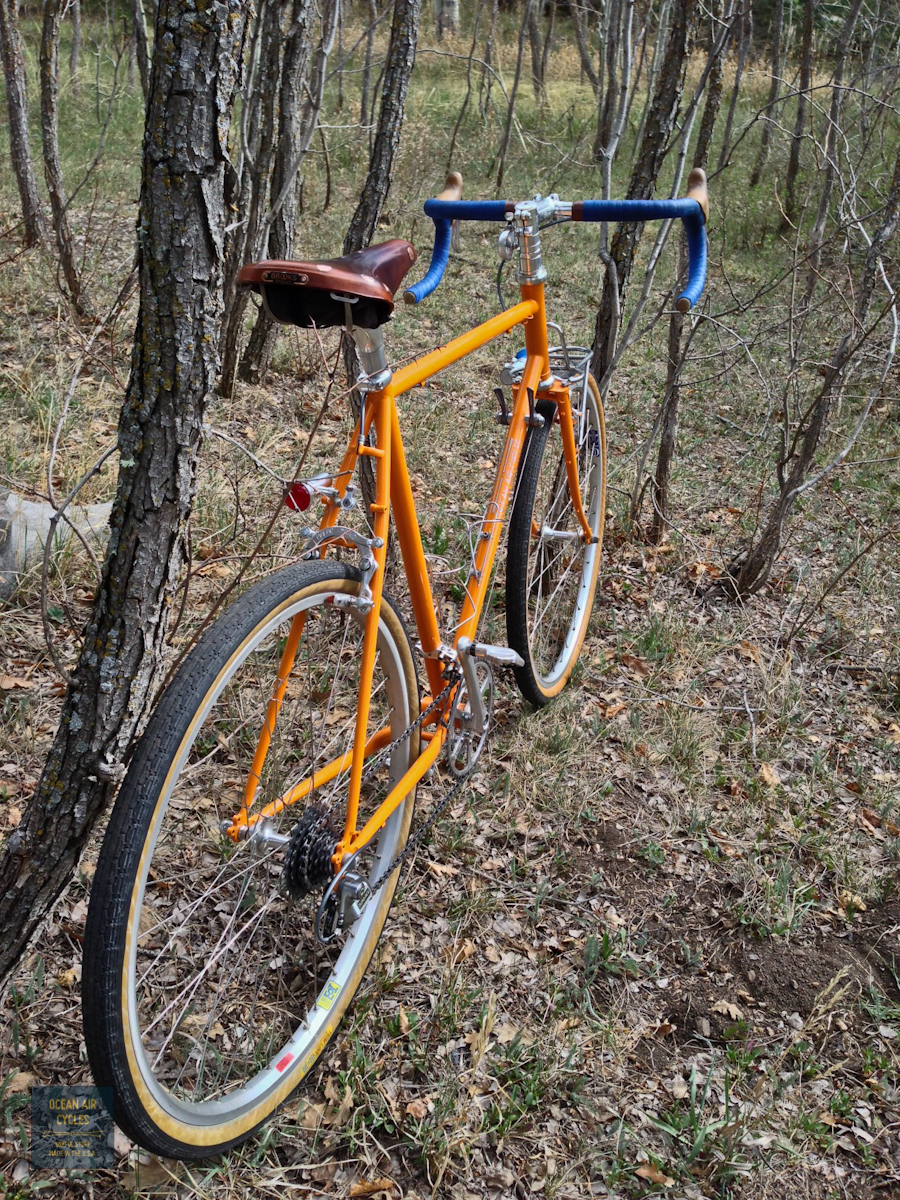
The first small batch of
Ramblers headed out into the wild earlier this year. Most were headed to places that had a slightly long winter this year and reports were taking a bit to come in. I am stoked to be able to share RyanW's Rambler build, first impressions and stoke. His was a really special Rambler with a few custom touches to work through our ability to deliver some non-production details such as; bottle openers, custom brake mounting, rack boss location and color. The pictures tell the story:

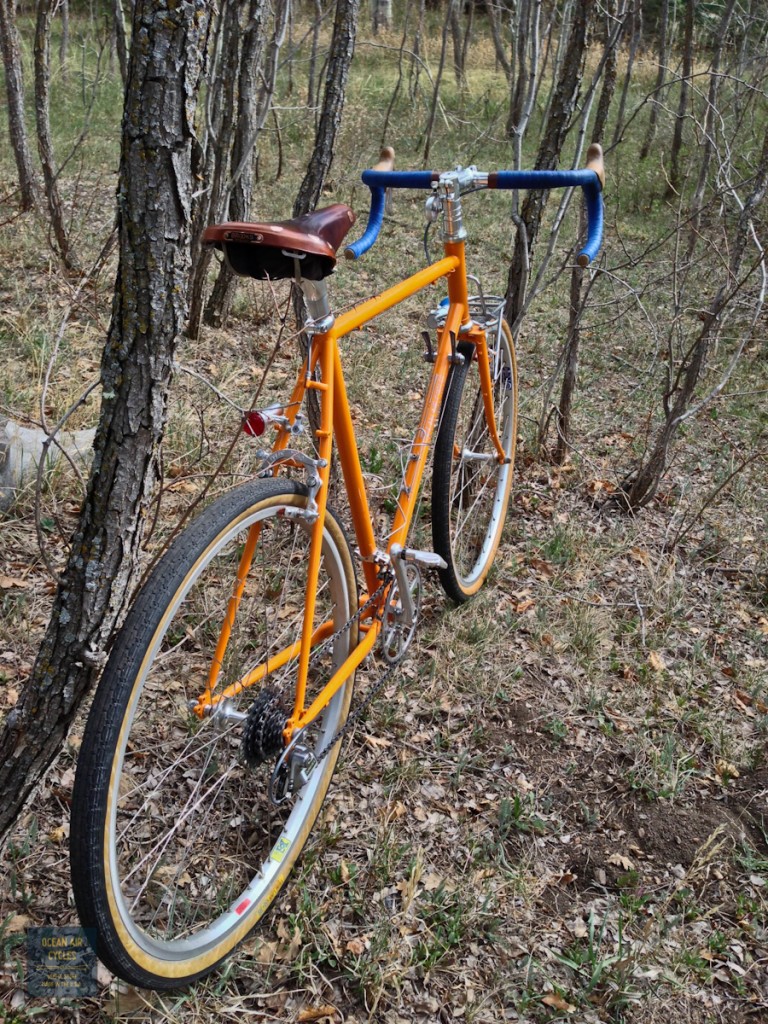


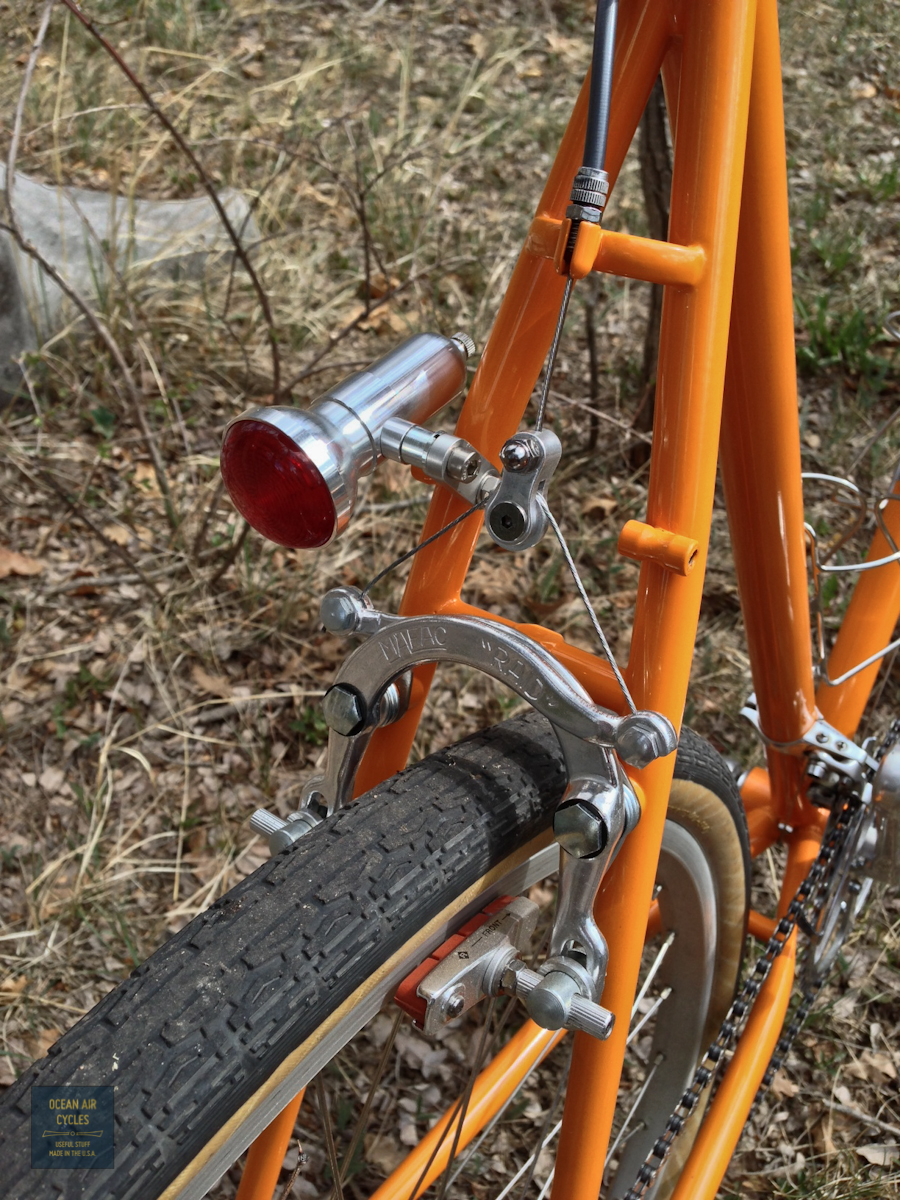
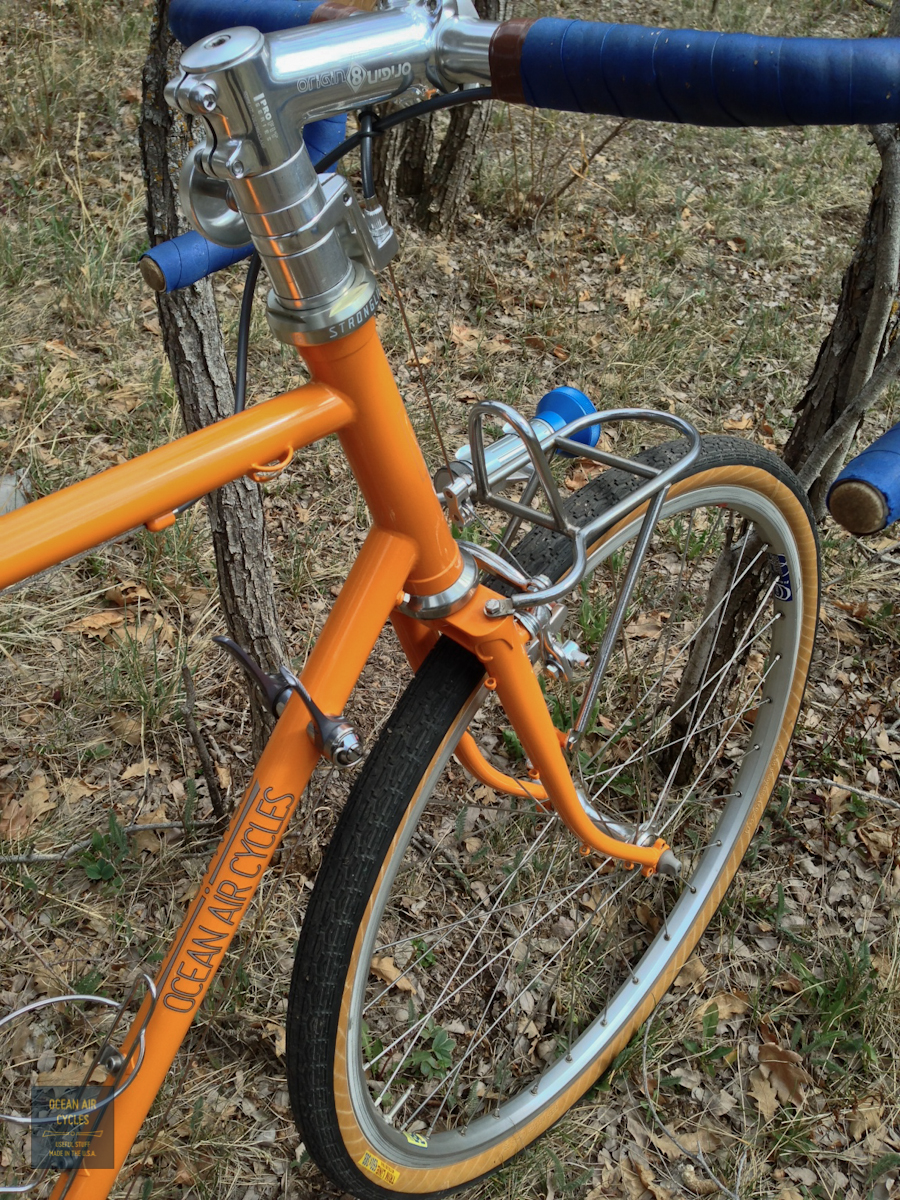
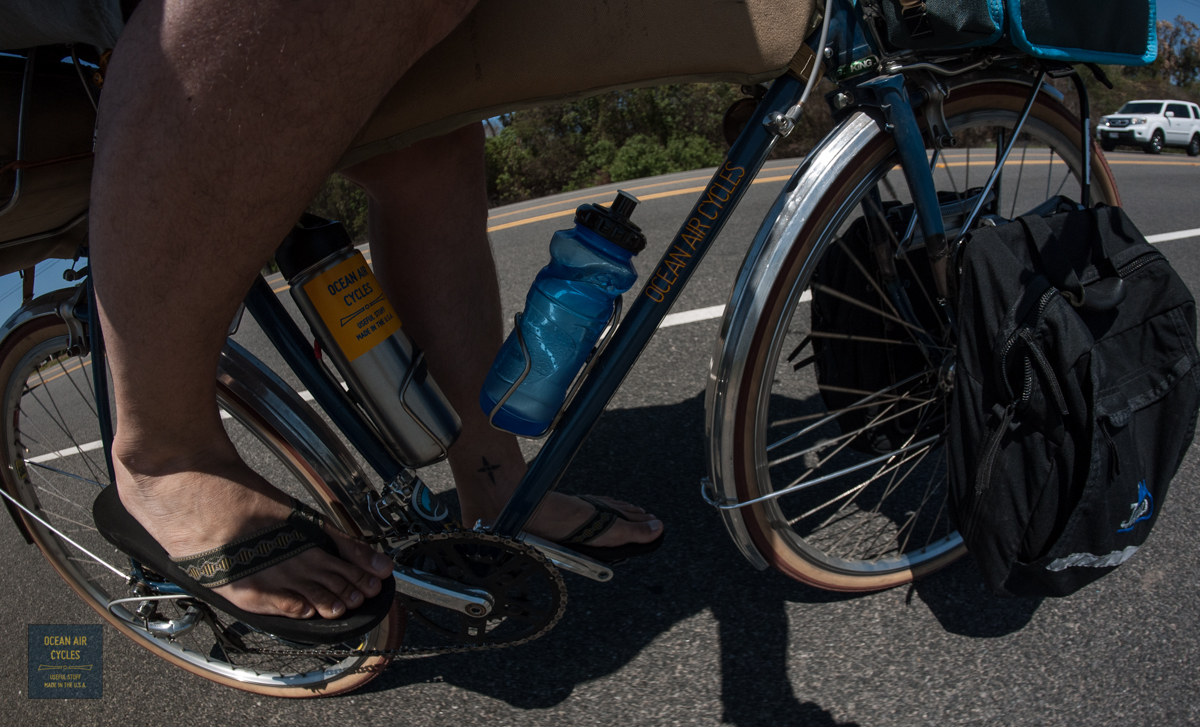
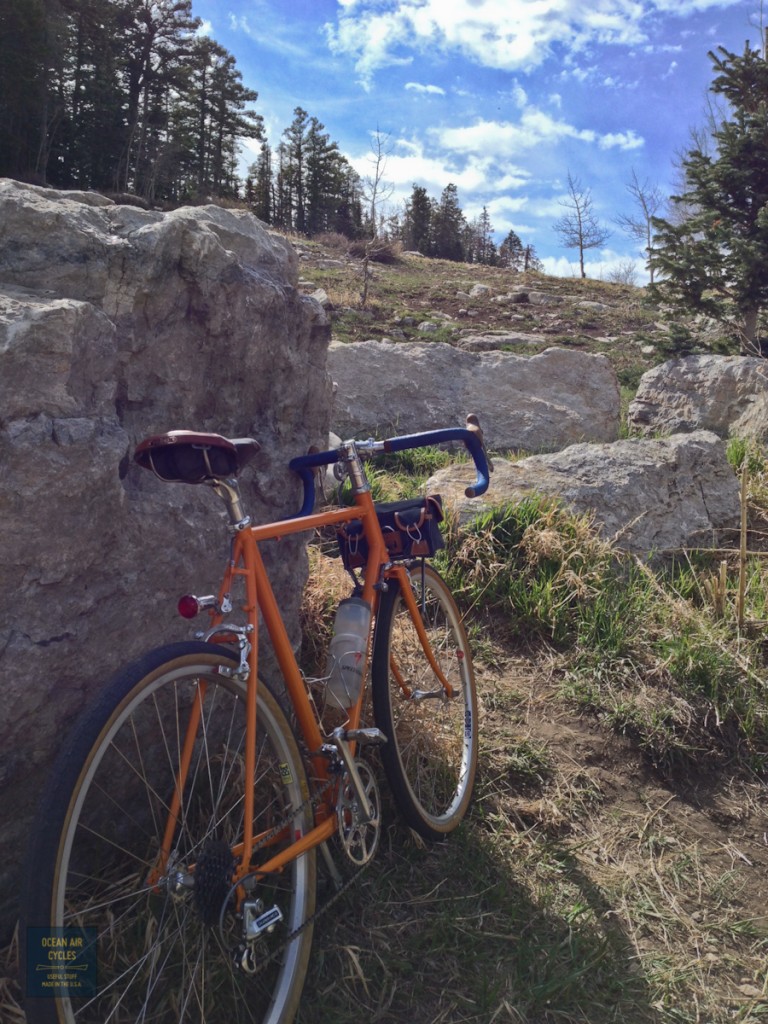 This bike Rambler was coated with a sweet shade of Candle Orange, the fork bosses were located to accommodate a front rack he already had, Bottle opener on the top tube does what it should, and the vintage Mafac Raids are an older version of the same concept the Paul Racer brakes deliver on. Here is RyanW's initial impressions:
"I finally got it together last night and had a grand time alternating between laps around the neighborhood and bottle opener testing ;-)
Today I went up and down the 14 mile 4000' Sandia Crest Road. I'm happy to say that I think you pretty much nailed it! Proper review to come after I attempt the Valles Caldera Double Cross 200K this weekend.
I'll give you some more specific feedback later, but so far the bike hits the sweet spots everywhere it counts. It planes for me and handles perfectly.
It rides great unloaded and with the smallish bag on today's ride. It feels very stable, so I'm optimistic about larger loads.
Building it up, everything came together nicely and I only had to stop once today to toe-in one brake pad slightly."
I am pretty sure the bike will not be the limitation on his 200K this weekend, and knowing the bikes he could choose for the ride I am flattered that he would pick the freshly built Rambler. A close look revels that he had a pretty nice stash of new and vintage parts to build it up. Likewise, he is lucky to travel to Japan and was able to get some pretty cool lights, I am just a little bit jealous.
In case the flood gates open up with questions about further custom options on Rambler orders, I am not sure I will be able to do this on the next round coming in a month. It was fun, but a lot of work, and I will add options like this back in to the mix eventually, but not for a while.
As for Owner Reports, there are a couple more coming, stay tuned.
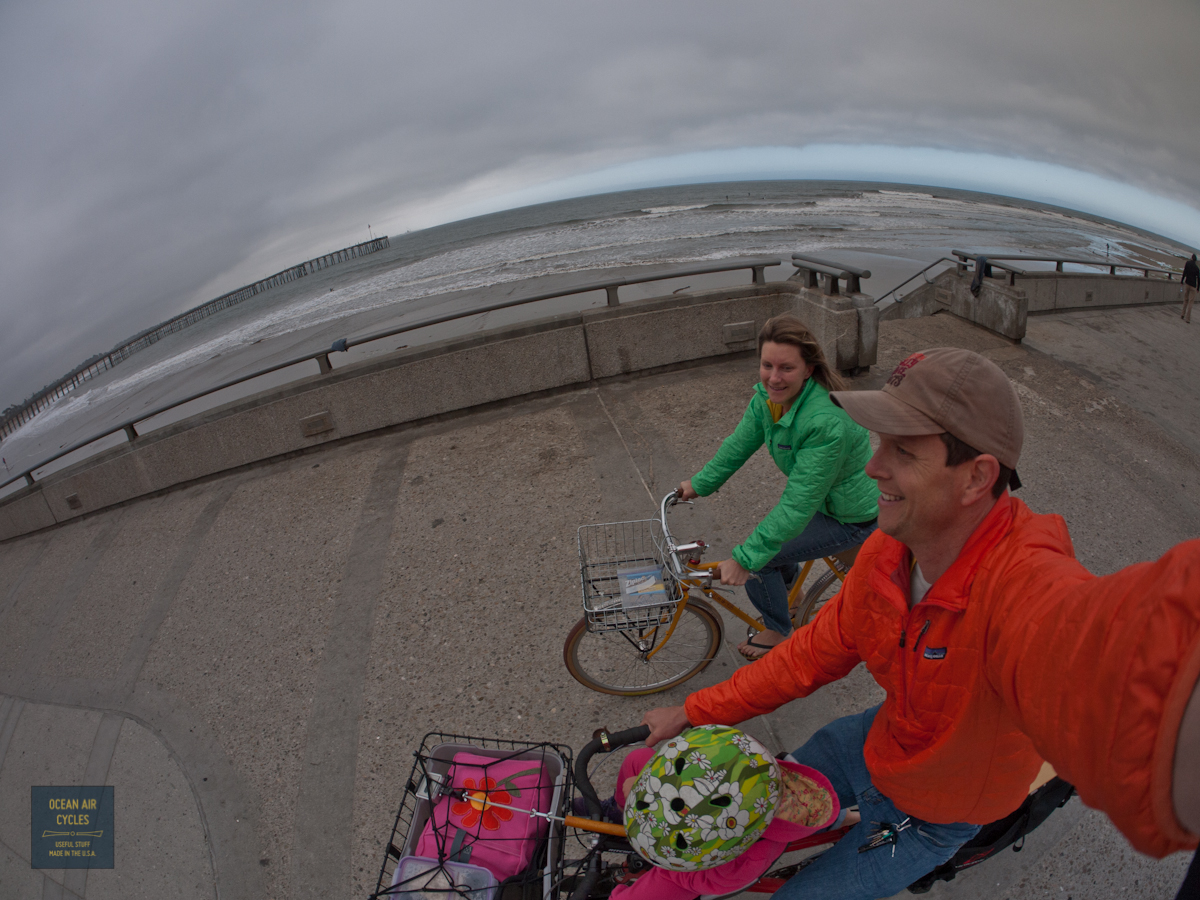
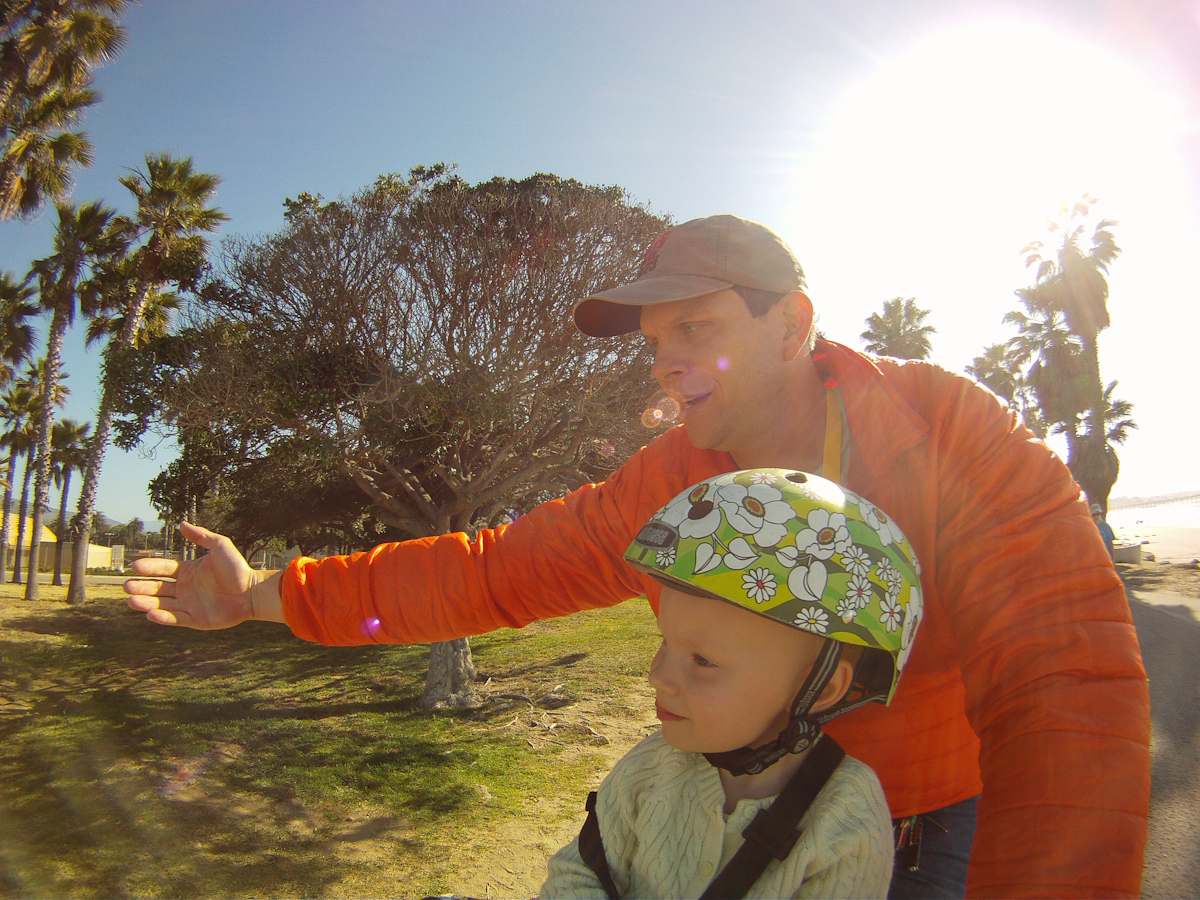
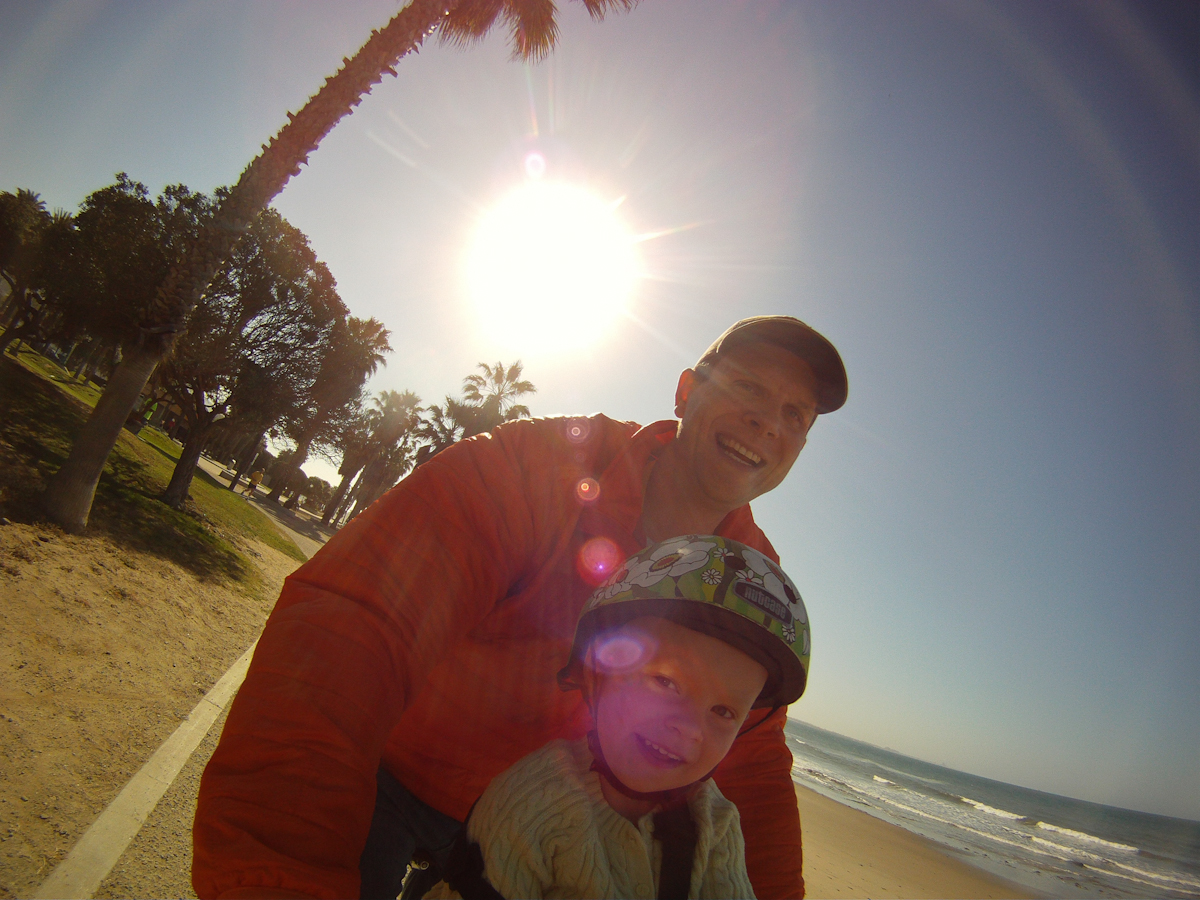
It is pretty hard to do better than a family bike ride in the morning

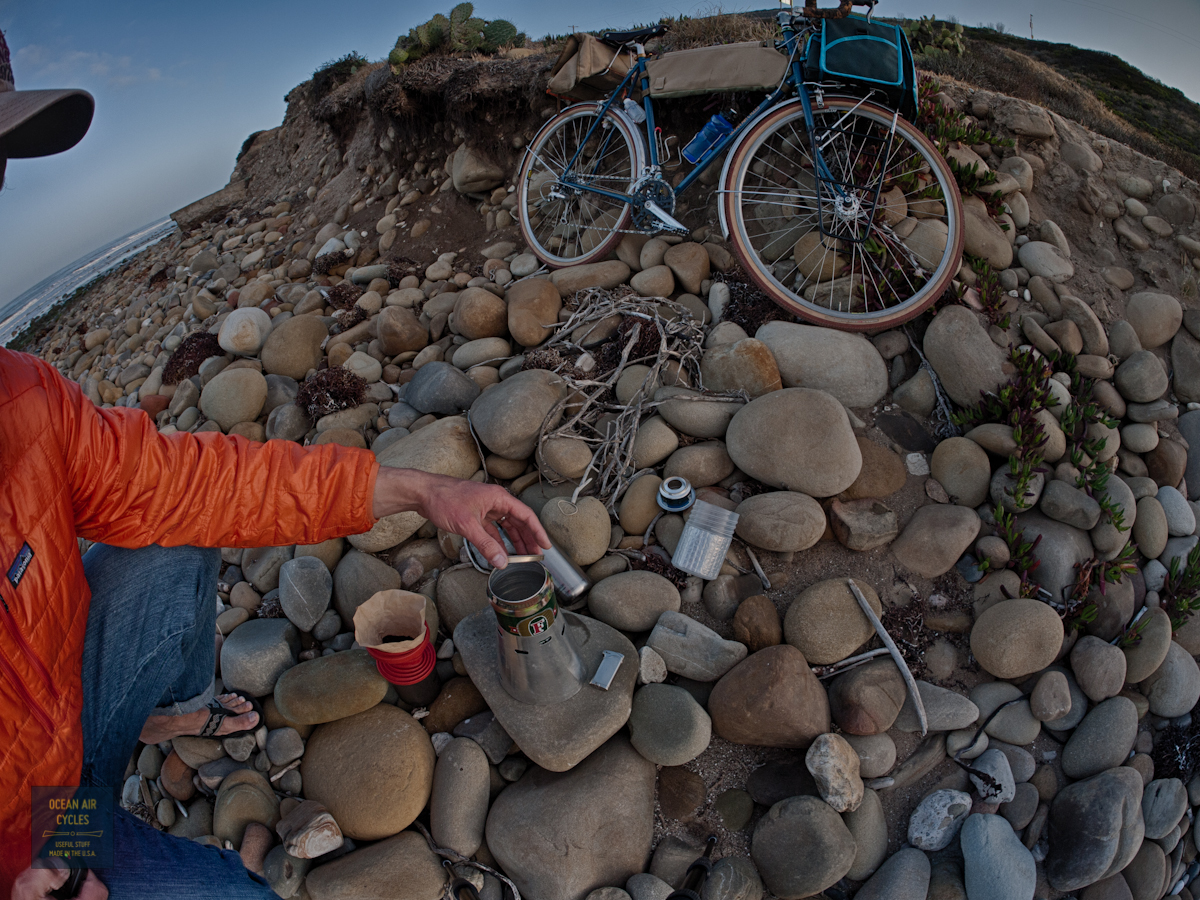
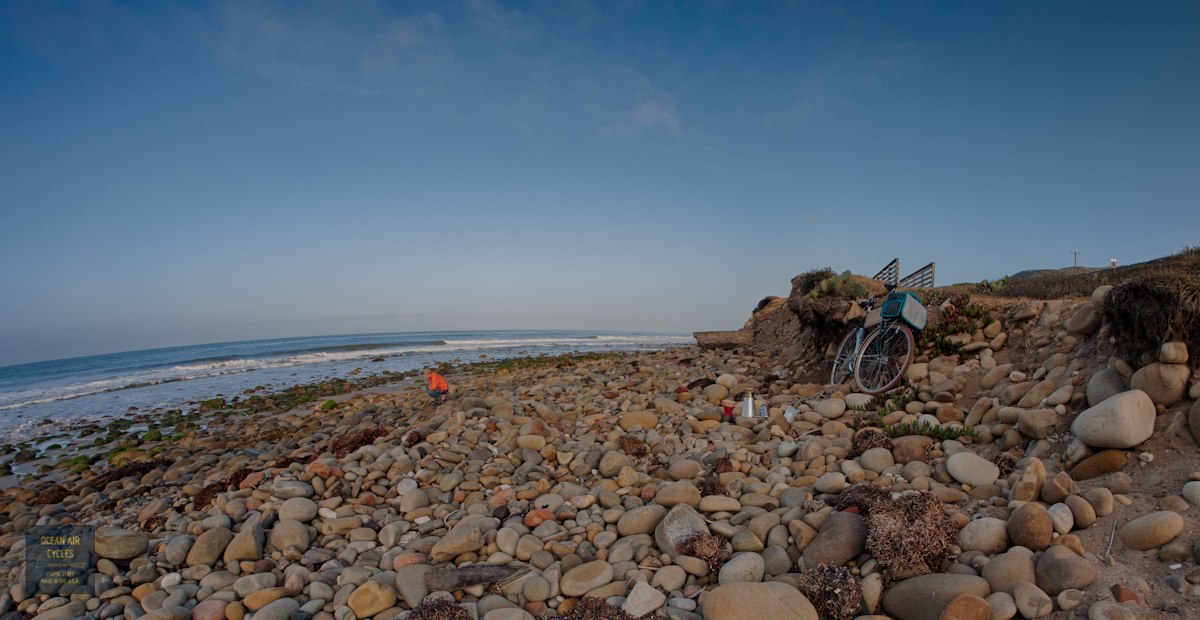
I have been having a ton of fun getting out in the mornings to take a little extra time, boil up my water outside and brew up a cup of coffee. I hope that it is inspiring a few of you to do the same. For me it has been mostly for fun, and partially to rack up some quick hours on some sample stoves.

I have been working with
Trail Designs to take some of their basic stove kits and tweak them a bit for cyclotouring. Cylotouring subjects the packed stove to more vibration, jostling and potential crushing abuse than an average hiking trip.
I first heard of Trail Designs a few years back while doing some research on the
backpackinglight forums. As an aside, there is a ton of good information over there on ways to lighten your load while maintaining the comforts you want to bring with you on outdoor adventures. It seems that the alcohol, in many versions, stove the most popular choice, and the king of ready-made systems is the Caldera Cone. These are often custom-made to fit a specific pot or mug, there are a couple of form factor variations as well as aluminum or titanium versions. For the sake of keeping things simple and cost reasonable I started with their
Sidewinder System and
Caldera Keg. Both of these are complete kits that include the pot, cone, stove, and everything short of fuel and water that you will need to get started boiling water outside.

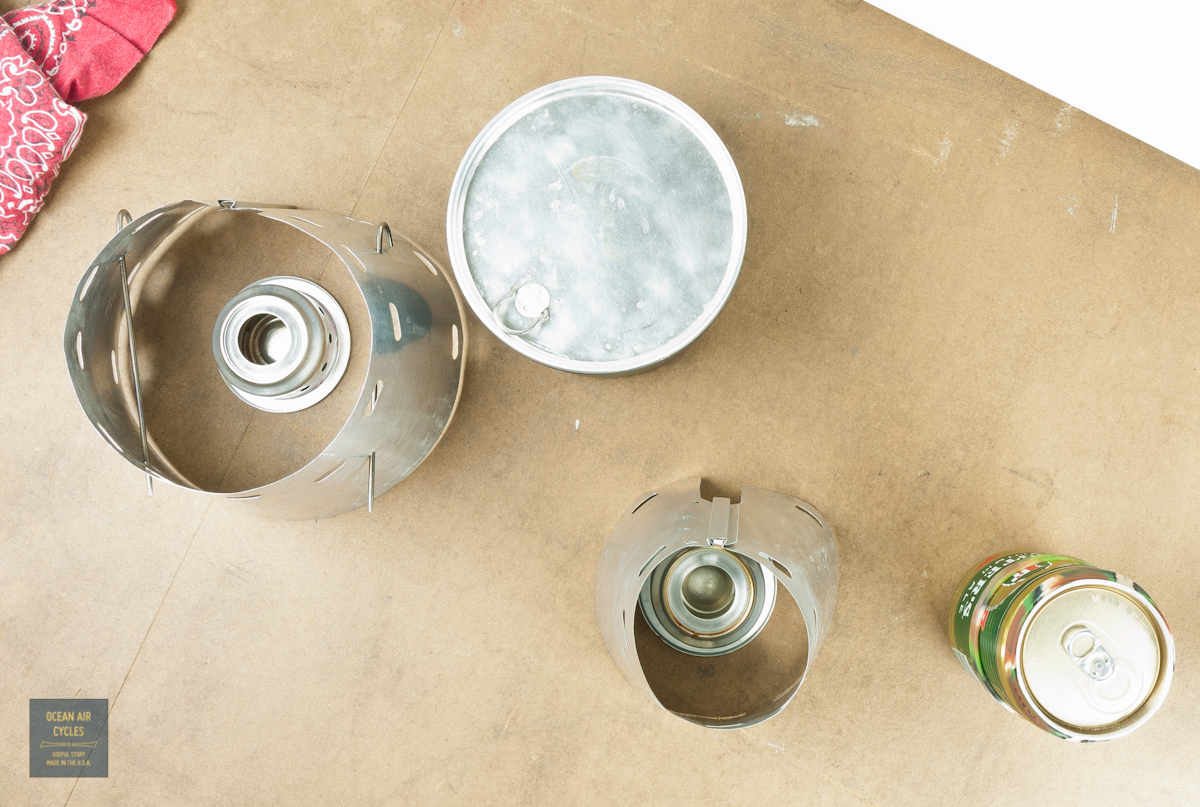
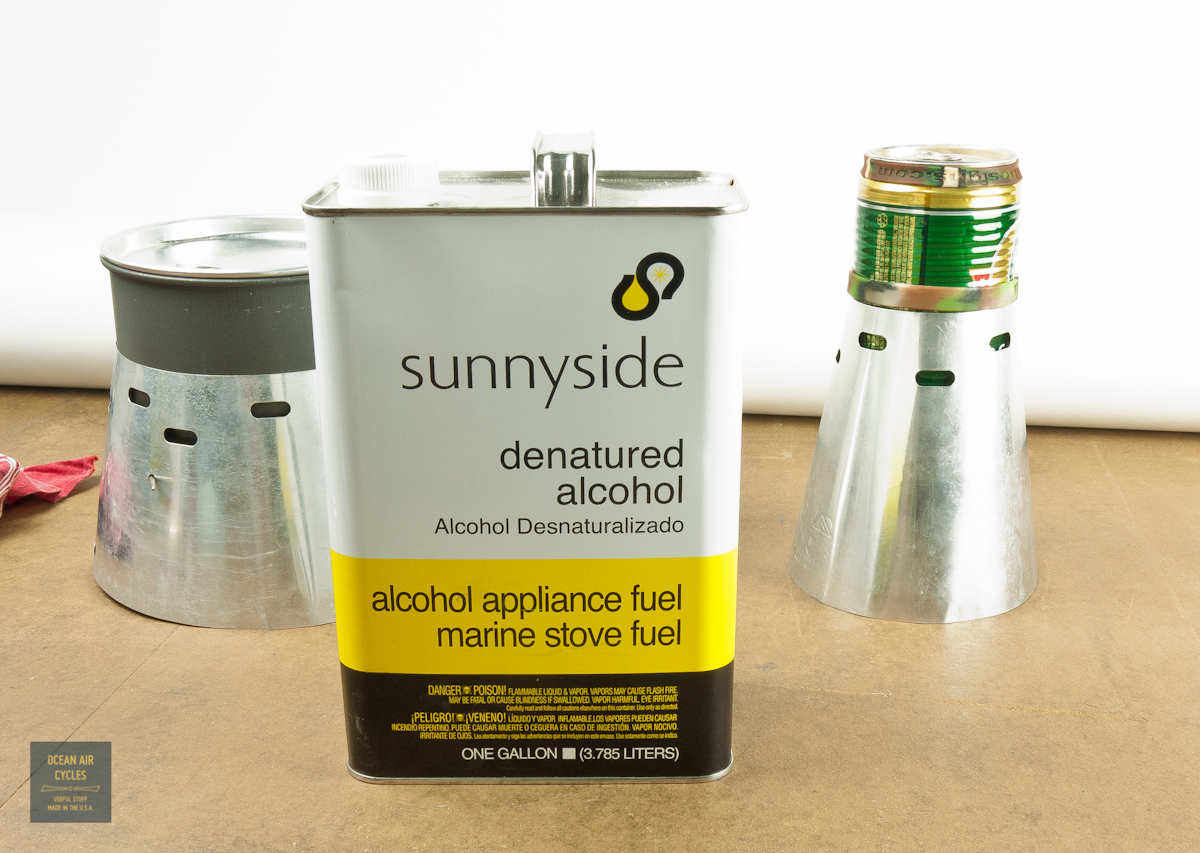
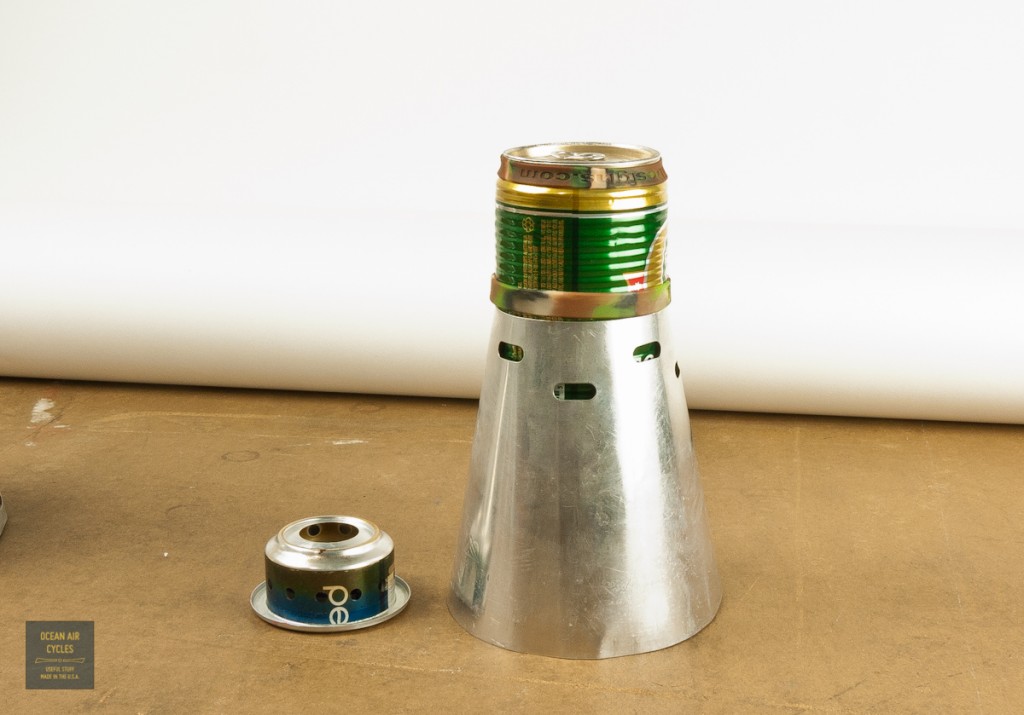
The Caldera Cone system is unique in a couple of ways. The pot stand and wind screen are one in the same. The shape of the cone and location of vent holes focuses the heat, with little waste on the bottom of the pot, contains some heat around the sides, and maximizes efficient burn of the fuel. Efficiency of the burn is huge, resulting in less fuel needed to boil more water, and less fuel that you need to carry. The whole cone / pot assembly sits over the included 12-10 stove.
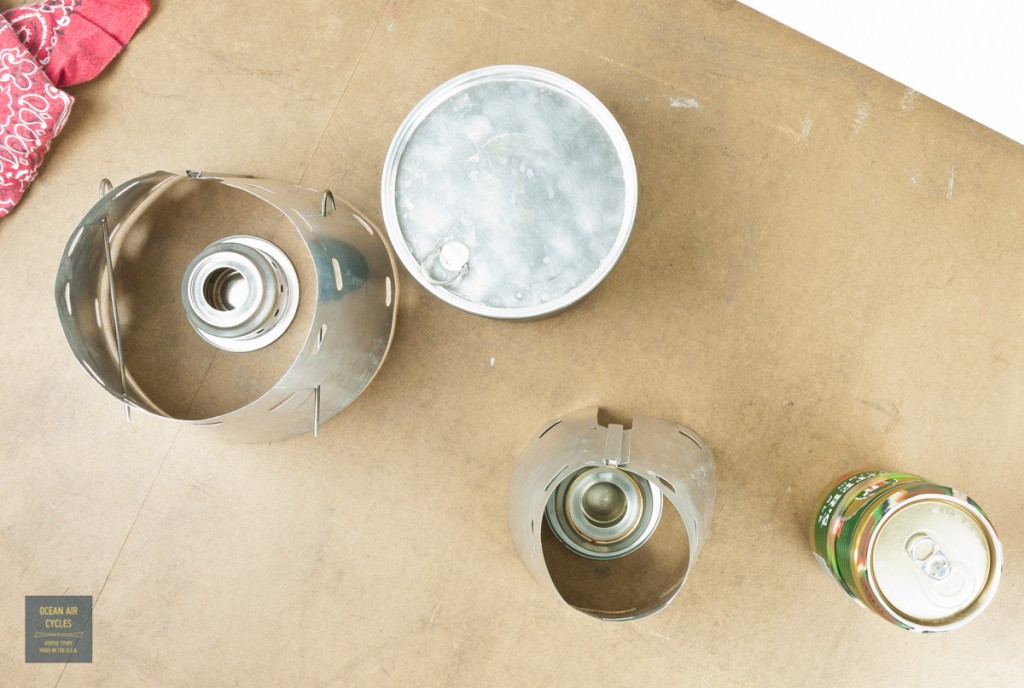
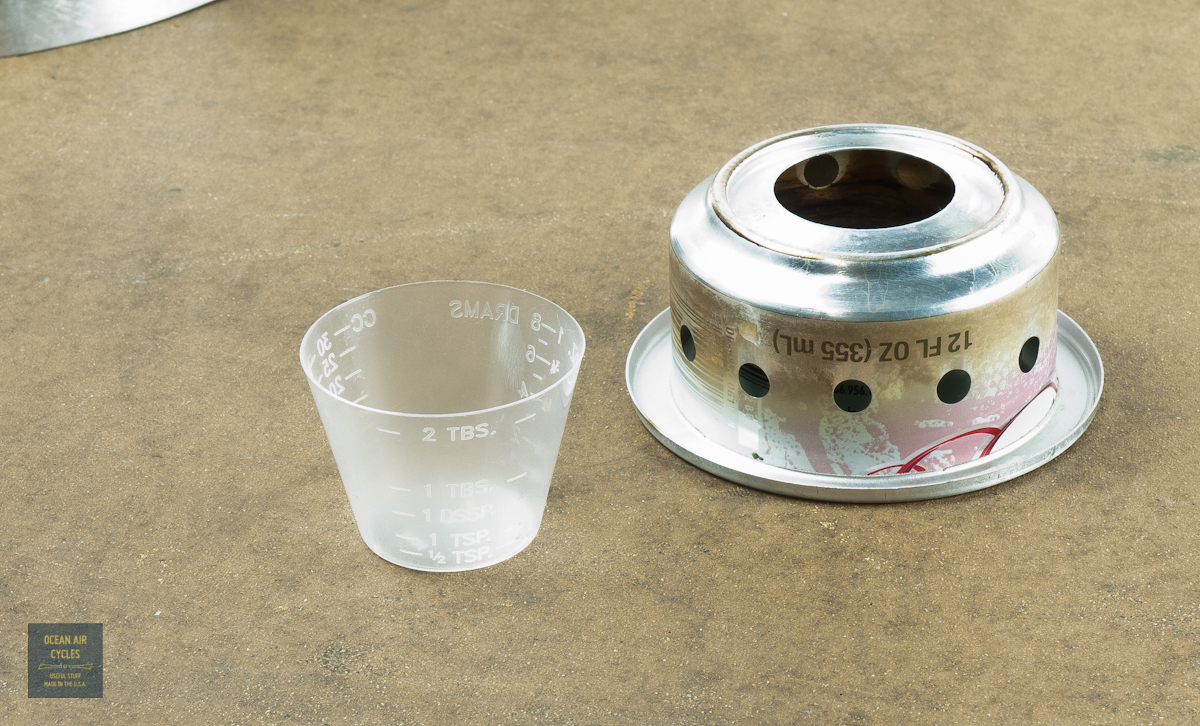
All caldera systems are optimized to work with the 12/10 alcohol stove system. This is an open non pressurized design made from upcycled cans, and a custom integrated priming pan for cold weather

Both systems will bring 24oz of water to boil in a few minutes with about 1.25oz of fuel. The major difference between kits is the volume of the pots, the resulting form factor and weight.
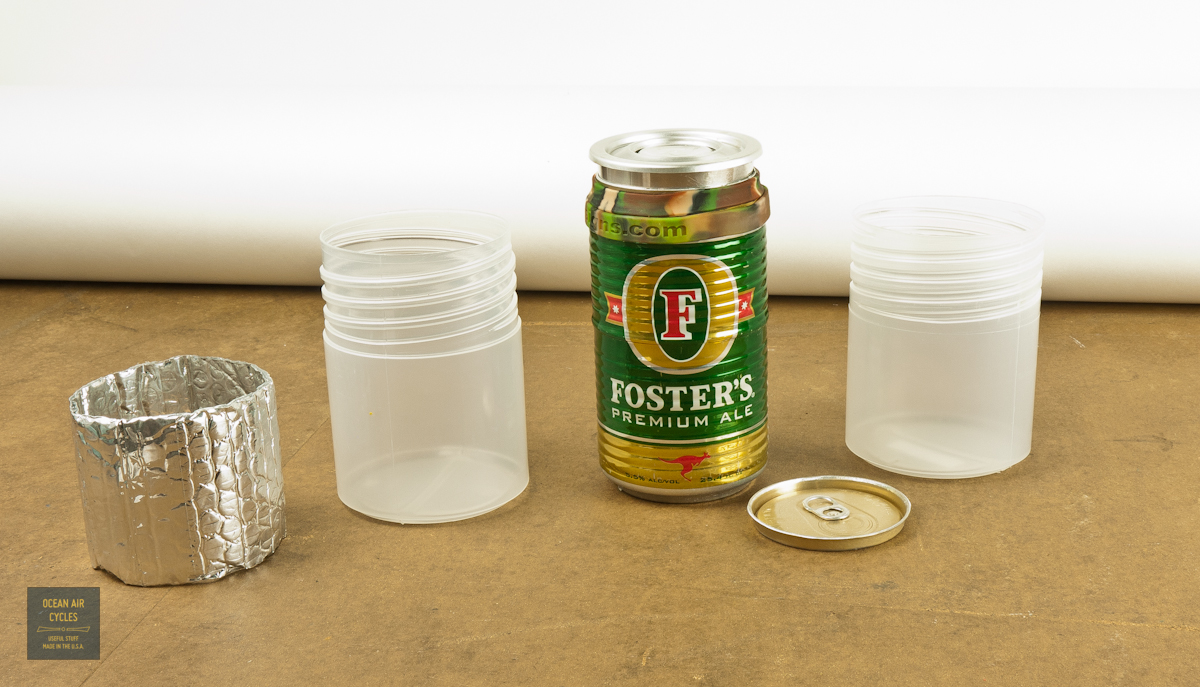
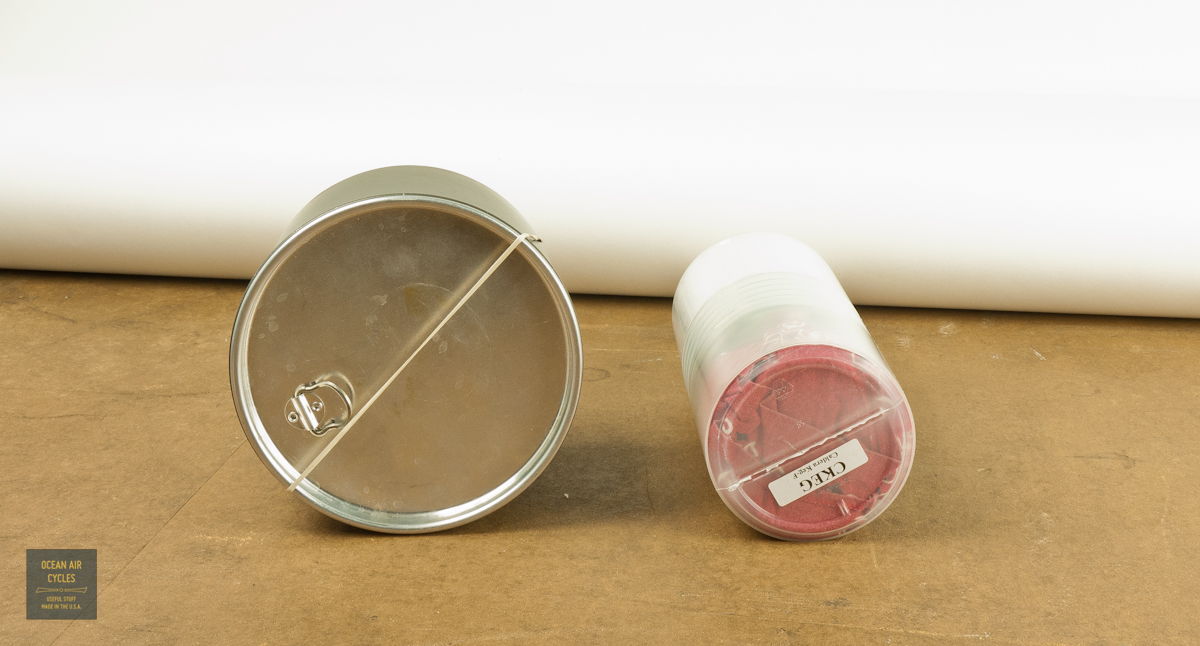
The Keg System is designed around a upcycled Fosters beer can, maxes out with a volume of 24oz of water. The pot has a bulge formed near its center to add strength and a resting point against the top edge of the cone. The Pot, lid and cone weigh a flyweight 84g with the silicone gripper bands in place. The stove is not fragile, but takes some care, and includes a plastic caddy for packing protection.

The Sidewinder kit is designed around a Made in In the USA Open Country 2qt Aluminum pot. This is a much higher volume cook set with a 64oz capacity. This comes at the price of weight, 340g for pot lid and cone. While the jump in weight from the keg system seems large, this system is still 220g lighter than the 50oz JetBoil group system. The upside of the weight gain is self-containment of the whole system when packed, and the ability to boil larger volumes of water in one go, e.g. enough for coffee and oatmeal.
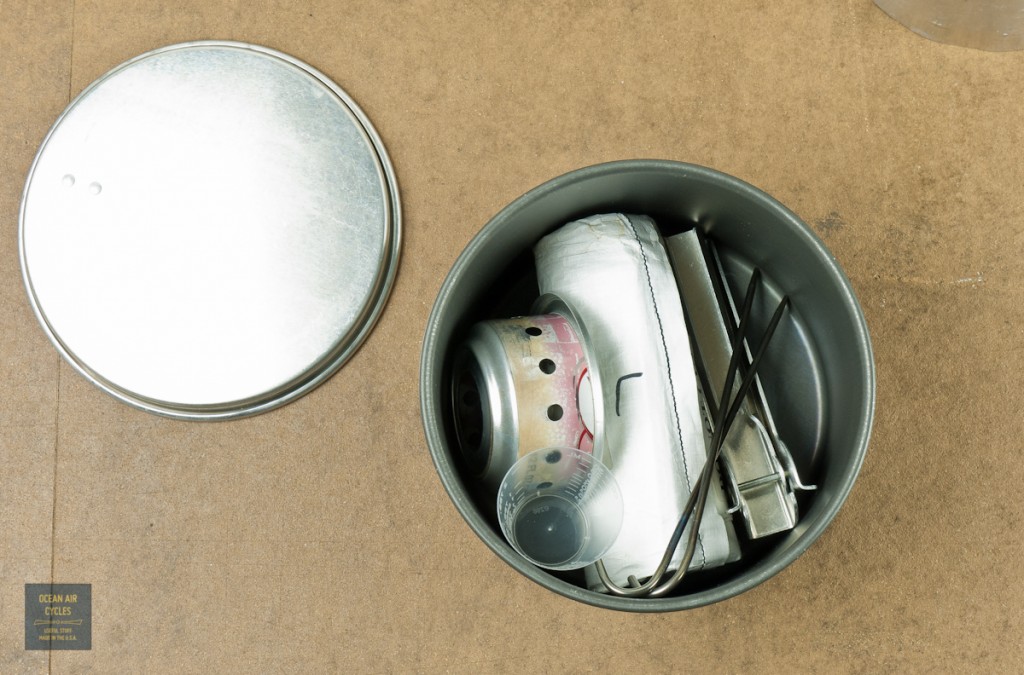
The larger pot has room to spare for my coffee filter cone and some small portions of food if needed as well.

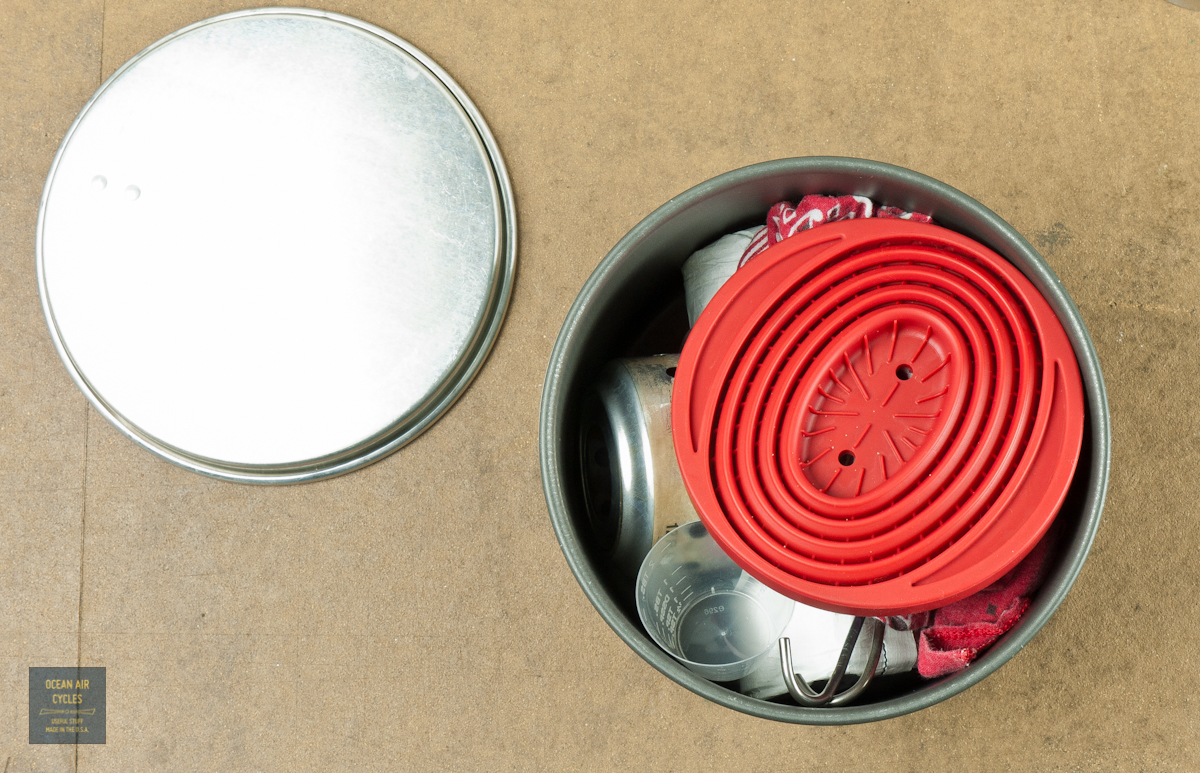
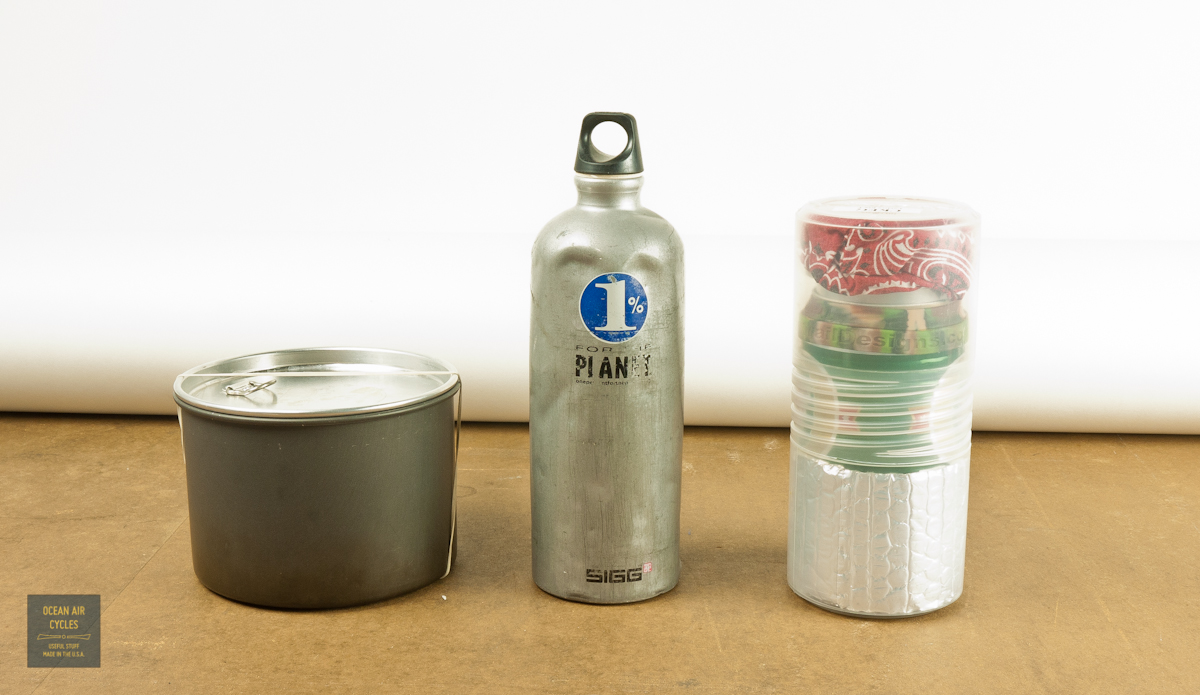
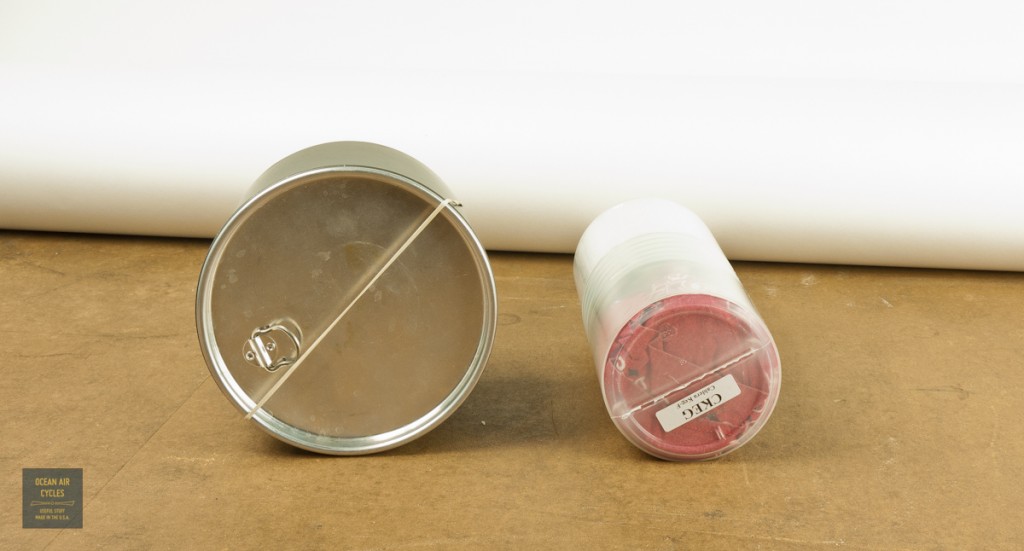
Both of the systems pack up into completely self-contained units. Both are equally portable and significantly lighter than the stove systems you will find at your local outdoor store. Here is the packed up shot with an older 1L Sigg bottle to give you an idea of scale.

The primary fuel for these stoves is denatured alcohol. It is easily found at most hardware or paint stores. You can also use 190 proof grain alcohol if you are so inclined, and the fuel could also be consumed (as in a drink) in a pinch. The denatured variety is no good for your insides, but great for other things like mixing up shellac or cleaning up grease on your bike.

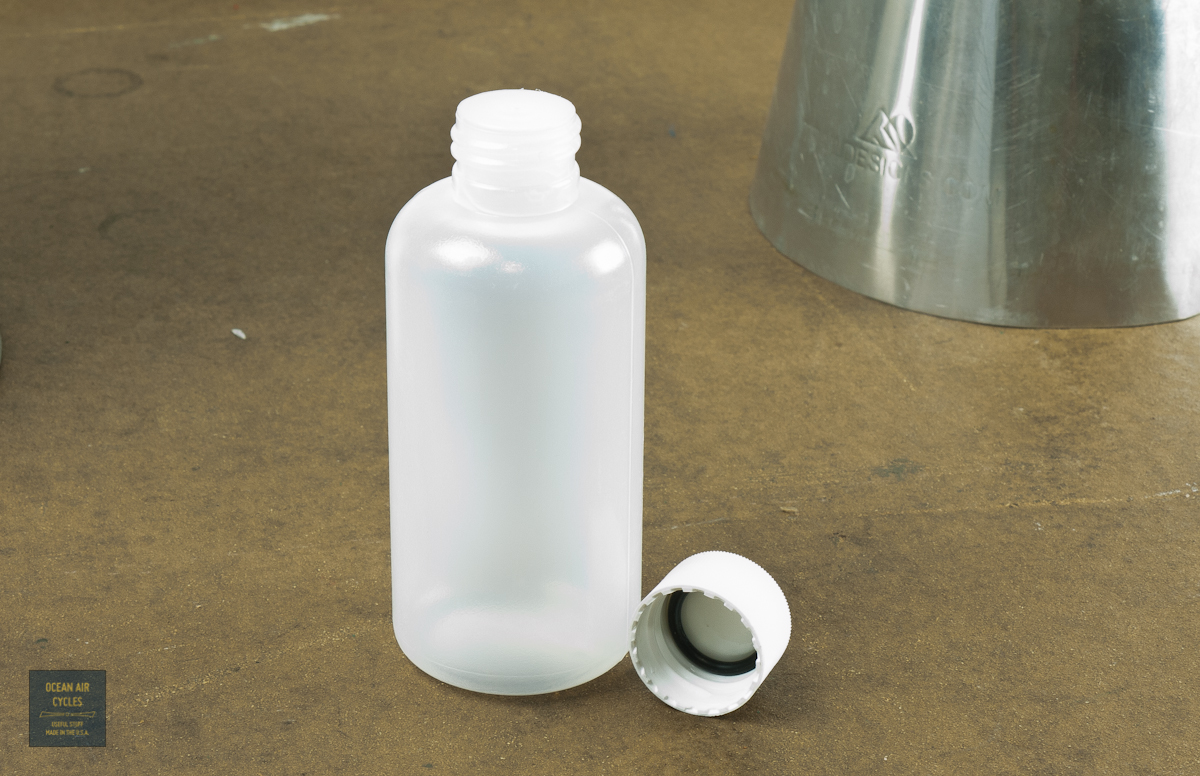
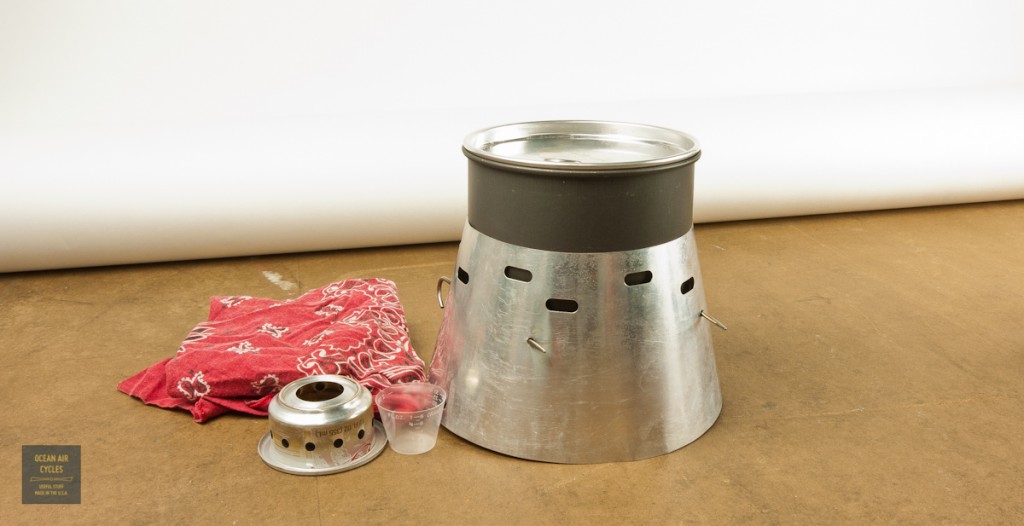
The kits include an 8oz fuel bottle for managing smaller portions of fuel. The 8oz oz of fuel has been getting me through 6 or so 22oz boils for my coffee and should be more than enough for a weekend or overnight trip. The bottle seals with an o-ring and is slightly squeezy for easy portioning into the measuring cup

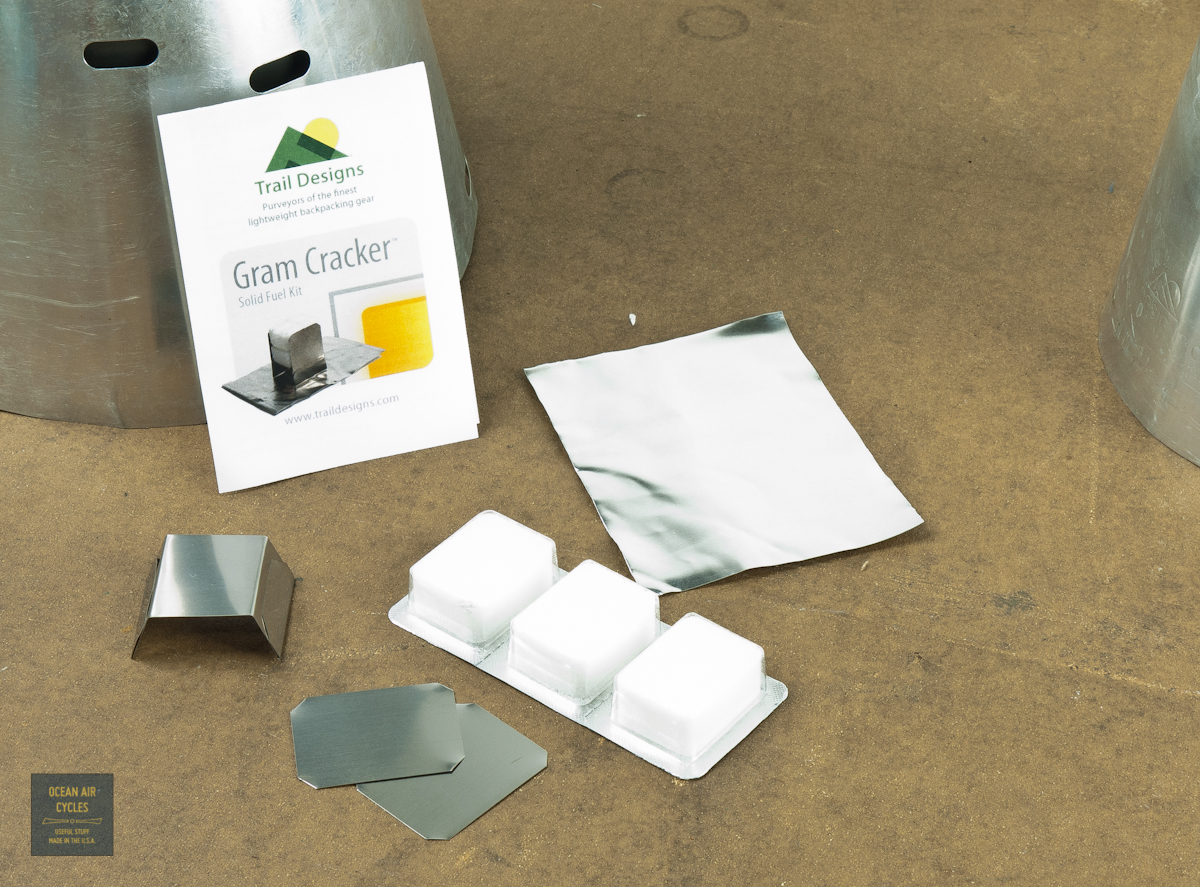
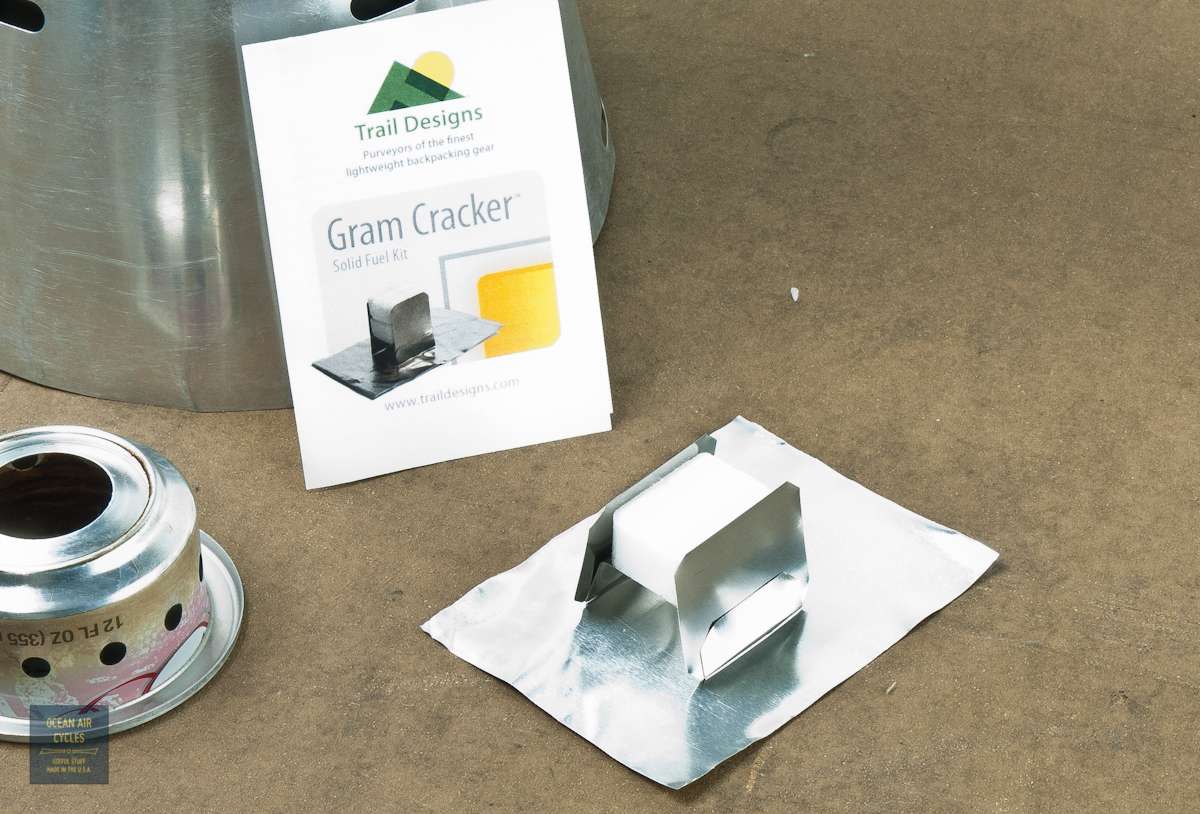
If you are going on a trip that might take that little extra bit of fuel you can buy the Gram Cracker stove that holds Esbit tabs. The stove itself weighs in at 7g, and will optimize the burn of the esbit tab. There are slide in wings that will hold one or two tabs in place, and slightly slow the burn rate for getting the most heat out of each tablet.


Having used a bunch of different stoves and fuel systems over the years of camping, I am completely sold on the Caldera Cone system. They are incredibly light and efficient. The stove itself is silent and burns fuel from a renewable source. Fuel can be bought in bulk, cheaply and there is not as many single use throw away containers as with propane systems. Many of the parts in the system come from upcycled waste products, beer and soda cans. The cones and kits are put together by guys doing what they love in the Sierras.
So what would I change with both or either of these kits to make them better? First thing is add a bandana to each one. It has turned out that is all it took to stop the rattling and keep all the components secure in the kits. For the sake of getting started that is how I will be adding these to the storefront. The basic kits plus bandana. If I had to pick just one it would be the larger pot, I like a big cup of coffee, and tend to eat big. If you are used to average sized solo camp cook sets the Keg is a great super light choice, and fits a little better into most bike bags.
In the long run I would like to work on a single kit that splits the difference in volume and weight. I find the Keg system is good for a single portion at a time, and the pot is bigger than I need for most things. Both work just fine, so good that it may be a while until I have the time to throw at making a dream kit. The guys at Trail Designs can put together a huge variety of custom kits if the Goldilocks syndrome is unrelenting. They also have a titanium version that opens up the option of burning wood for fuel. The Ti is a great system as well, but does come with some tradeoffs, that will take another post though.
When we were working on this project it became apparent that sourcing pots consistently is the biggest hurdle, and the pot is the backbone of the system. Until I have the pot portion sorted out there will be the two basic kits.
Keep an Eye on the store front, they will be going up in the next couple of days.
The stove systems are up now
Caldera Sidewinder Kit
Caldera Keg Kit
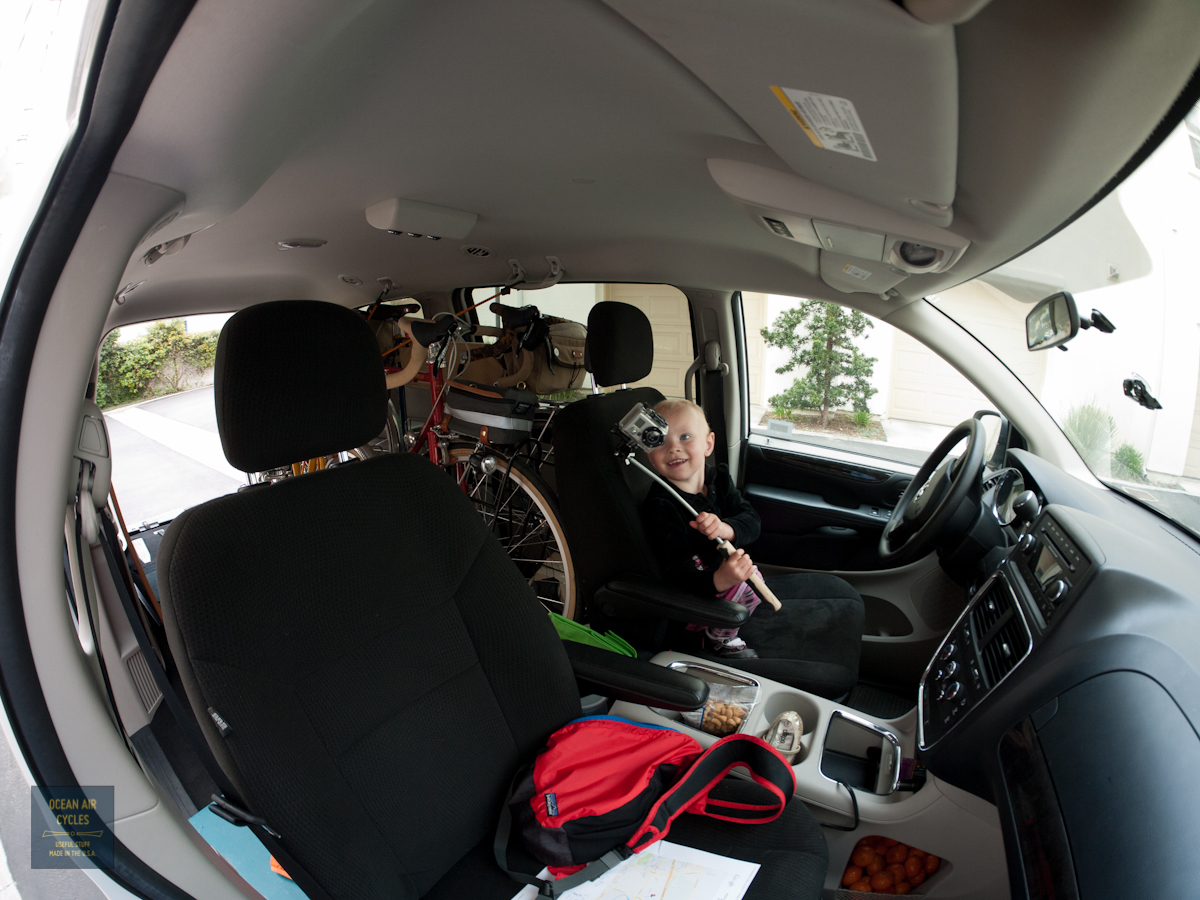
After a year of observation, followed by another year of observation with actual practice with a dummy pole and housing. Today we have our first shots with the camera in the hands of the munchkin!

A little bit of coaching and she had it all under control.

A pretty great start to the day
The Expo was now in the rear view mirror. And this is where the kindness of friends of friends kicked up to a whole new level. Not that it had been lacking, just mentioning it now. Jason, was along for the ride, helped out more than I can thank for and has friends up and down the coast who gave us a place to stay. The next two nights we were living in Belltown.
Exhausted from the show, we were off to find a meal, then settle n with out hosts. The weather had gone back to what I think is normal for Seattle, not bad but damp for sure. The schedule was jam packed over the next two days.
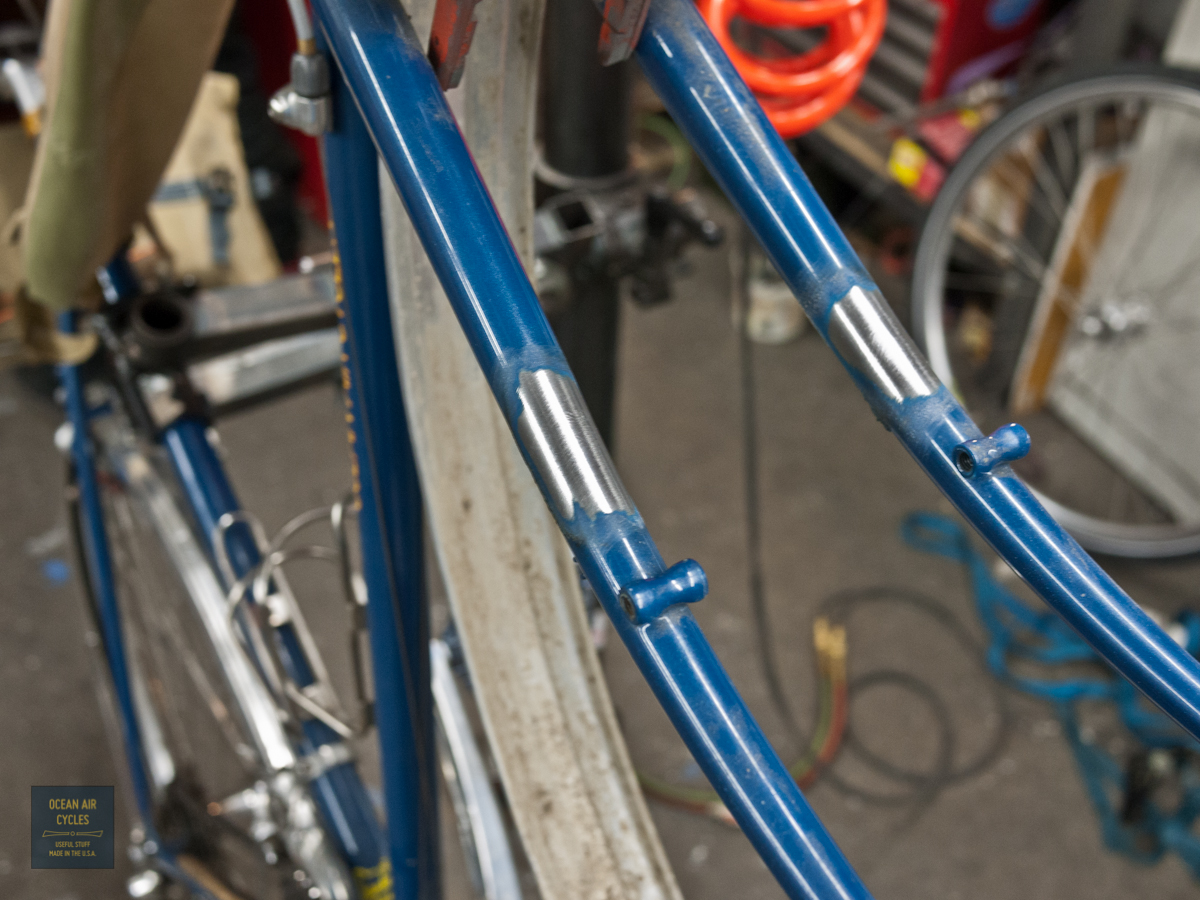
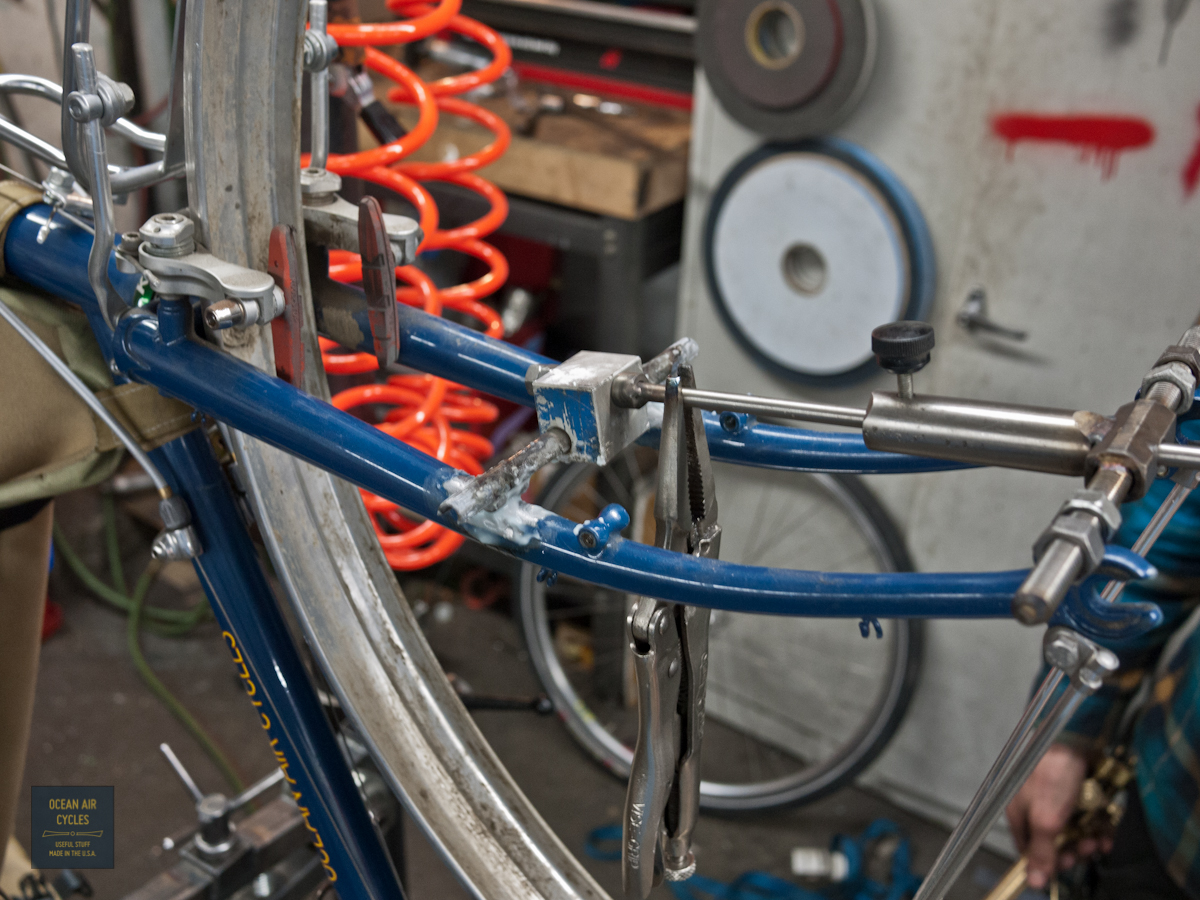
Day one kicked off at the work shop of
Haulin Colin and Garth. I feel lucky to have crossed paths with Machinist / Artist guys who speak the language of bike. When working on prototypes it is invaluable to parter with folks who are on the same page as you. They have helped me out on a few projects in the past and there are still a couple of irons in the fire with them. I was dropping off a Rambler fork so they could have a platform for out upcoming rack project.
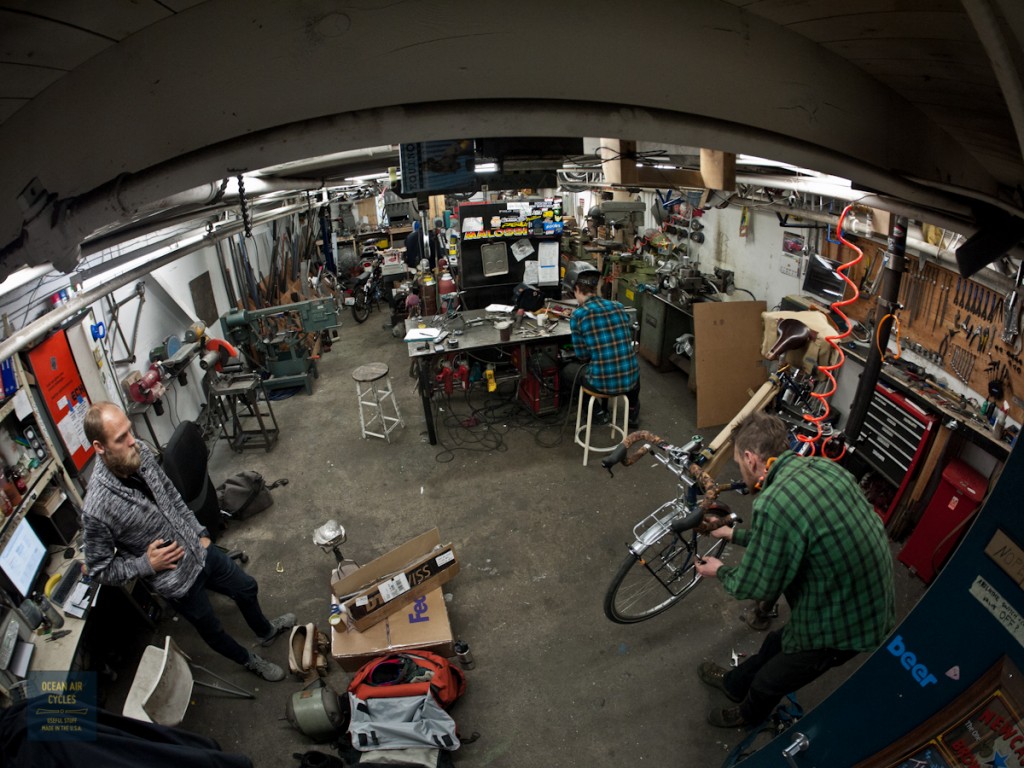
That rapidly evolved into relocating a new set of front fork dropouts on Rambler No.1 to the final design location, HOORAY for no more adapter plates on my bike.


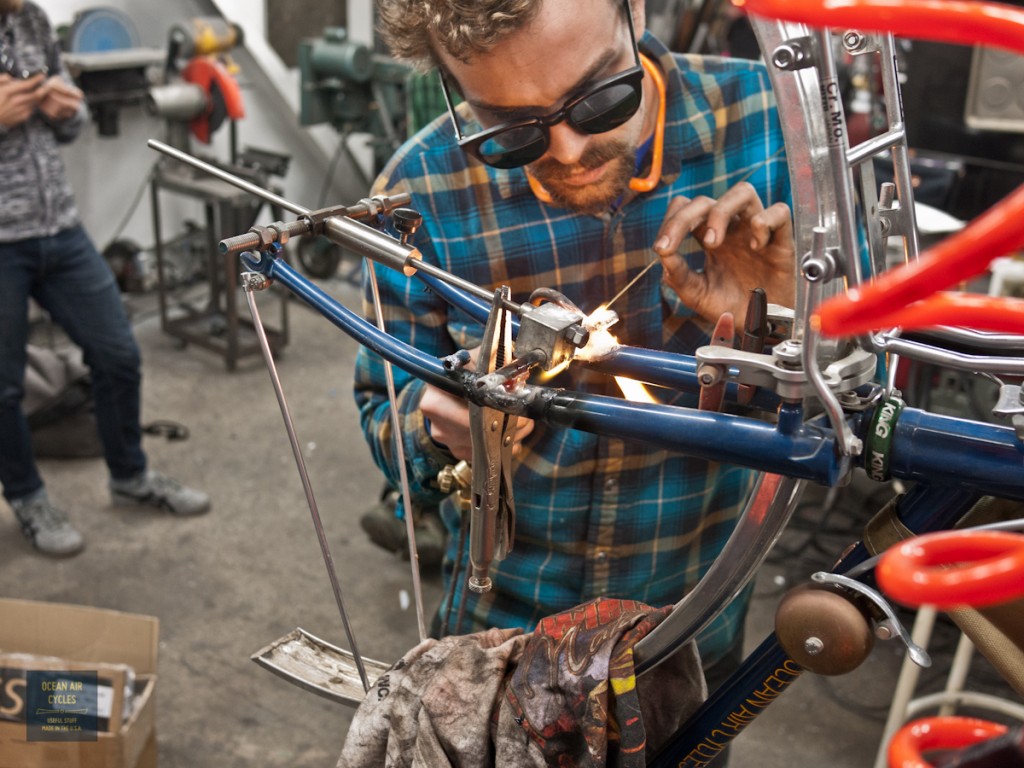
That as most things when you are having fun, ran long. These two are great to work with. It is a rare thing to have machinists that are bot exceedingly accurate and creative. It was time to jet to out next meeting with Martina over at
Swift Industries.

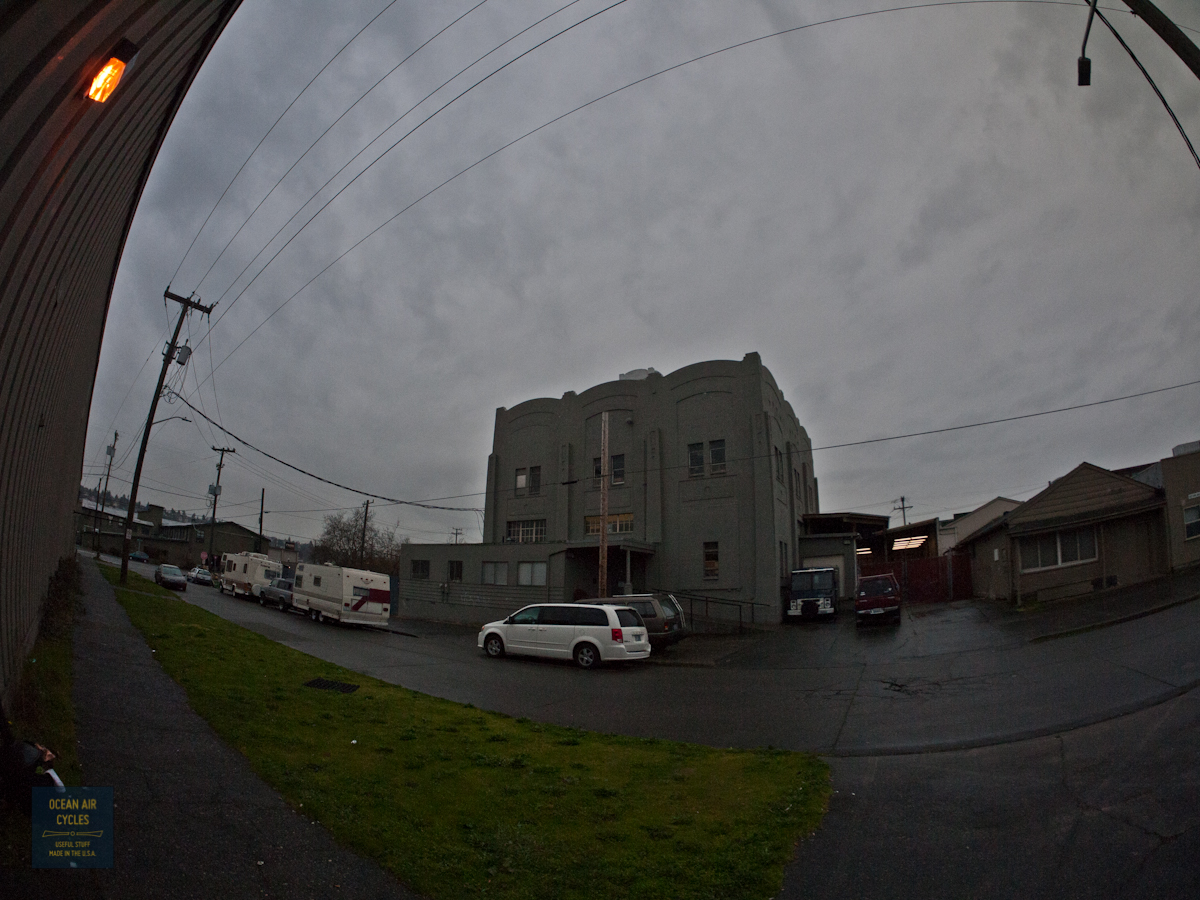
The building was awesome, and I will for ever regret not taking more pictures here. (Jason, if you have any I can use I will put them in ) Martina is another gift to the world of cycling that is still relatively unknown to the masses. The energy she brings to the creation of well thought out, functional, and fun bicycle travel gear has yet to be matched by anyone else I have met, a whole new bar has been set. This trip laid the ground work for a collaboration project that will help to fulfill my dream bags. I am convinced there are a couple of holes in the market with the available gear, and we plan to fill them. By the time we were done it was apparent that a whole day had passed again with skipped meals. Time to eat and crash.
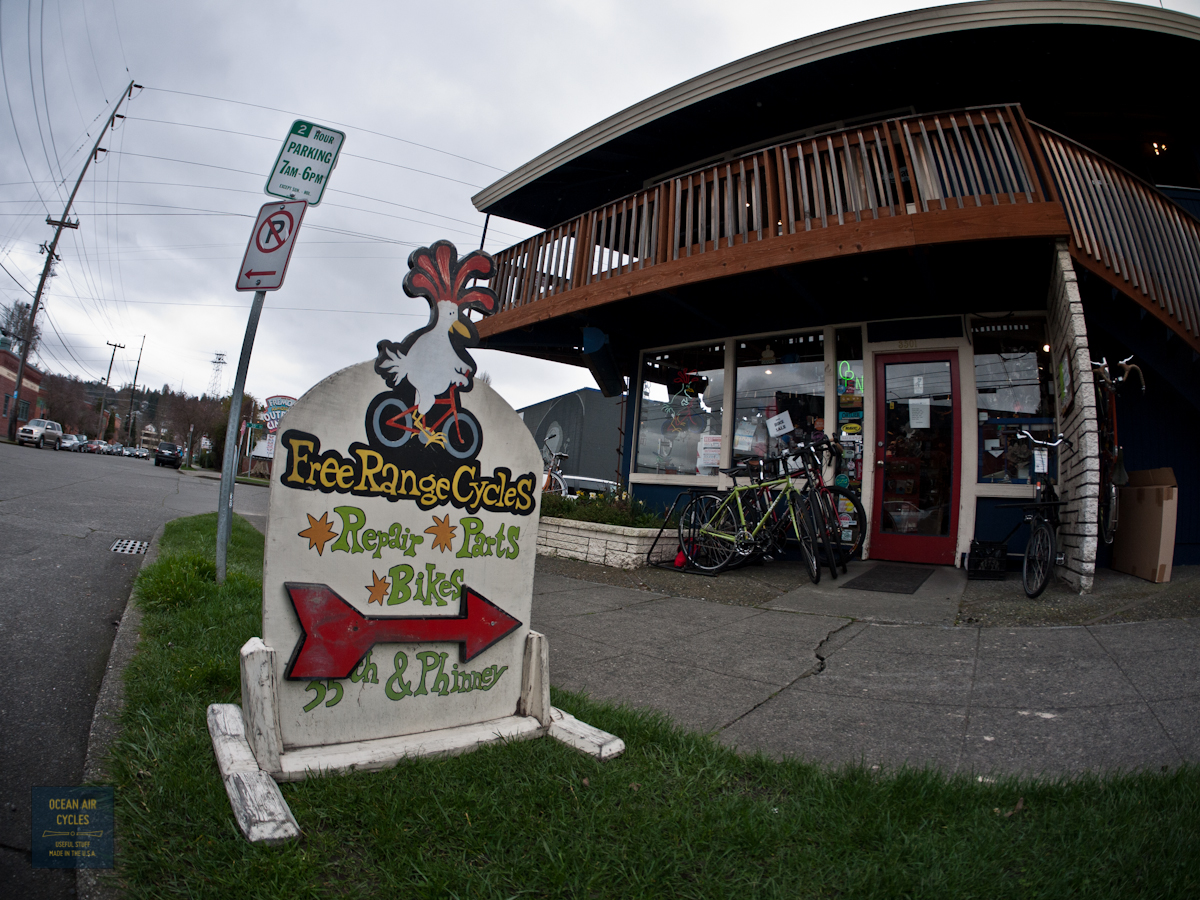
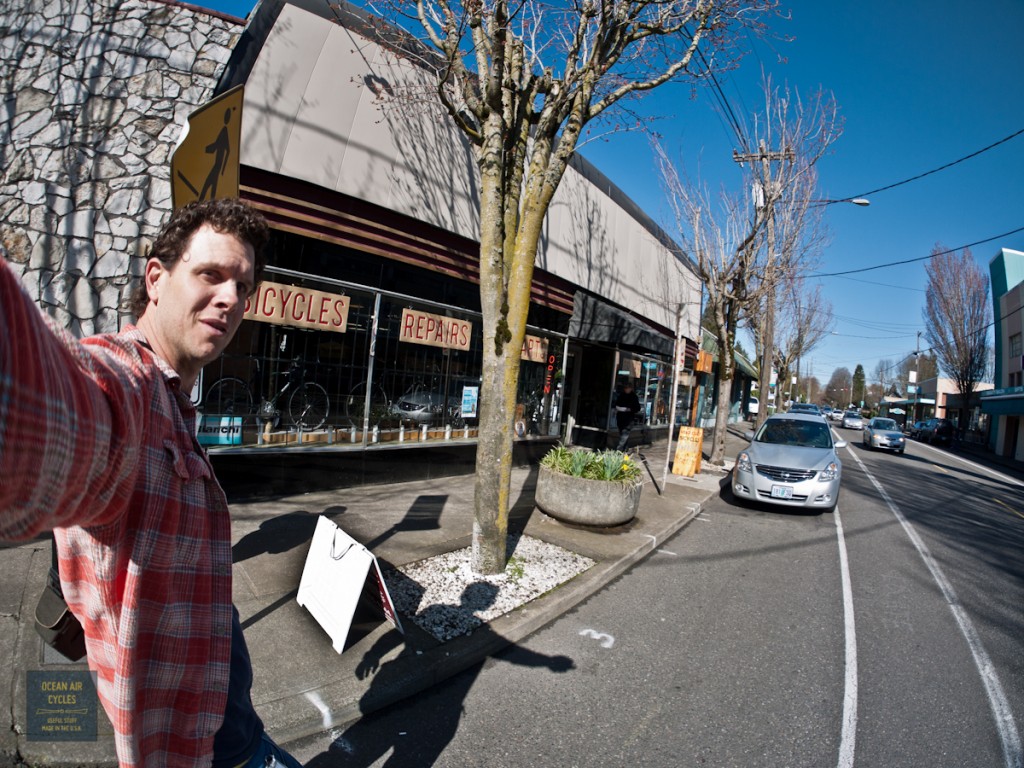
Day two started out with Kathleen at Free Range Cycles. Taking a minute to look back. At the Expo I started asking locals, If you could get a Rambler at a shop in town where would it be? Every single answer was Free Range. I knew I had to find Kathleen and set up a meeting, by lunch time on the first day she had found me, meeting set, and now Was standing in front of her shop.
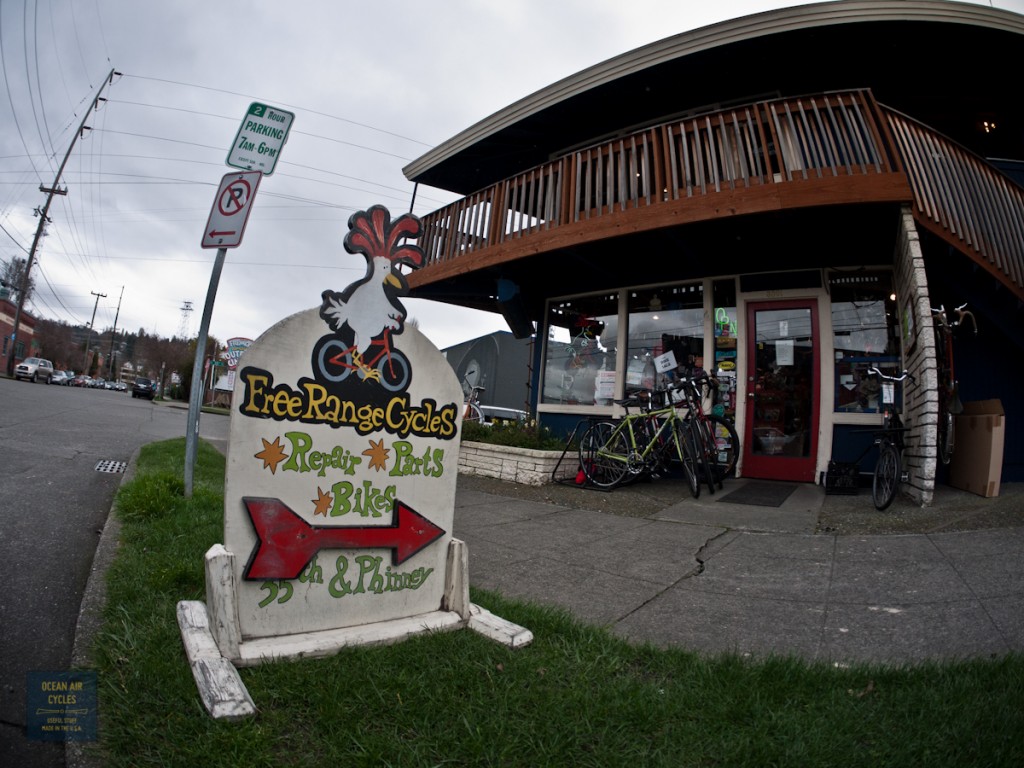
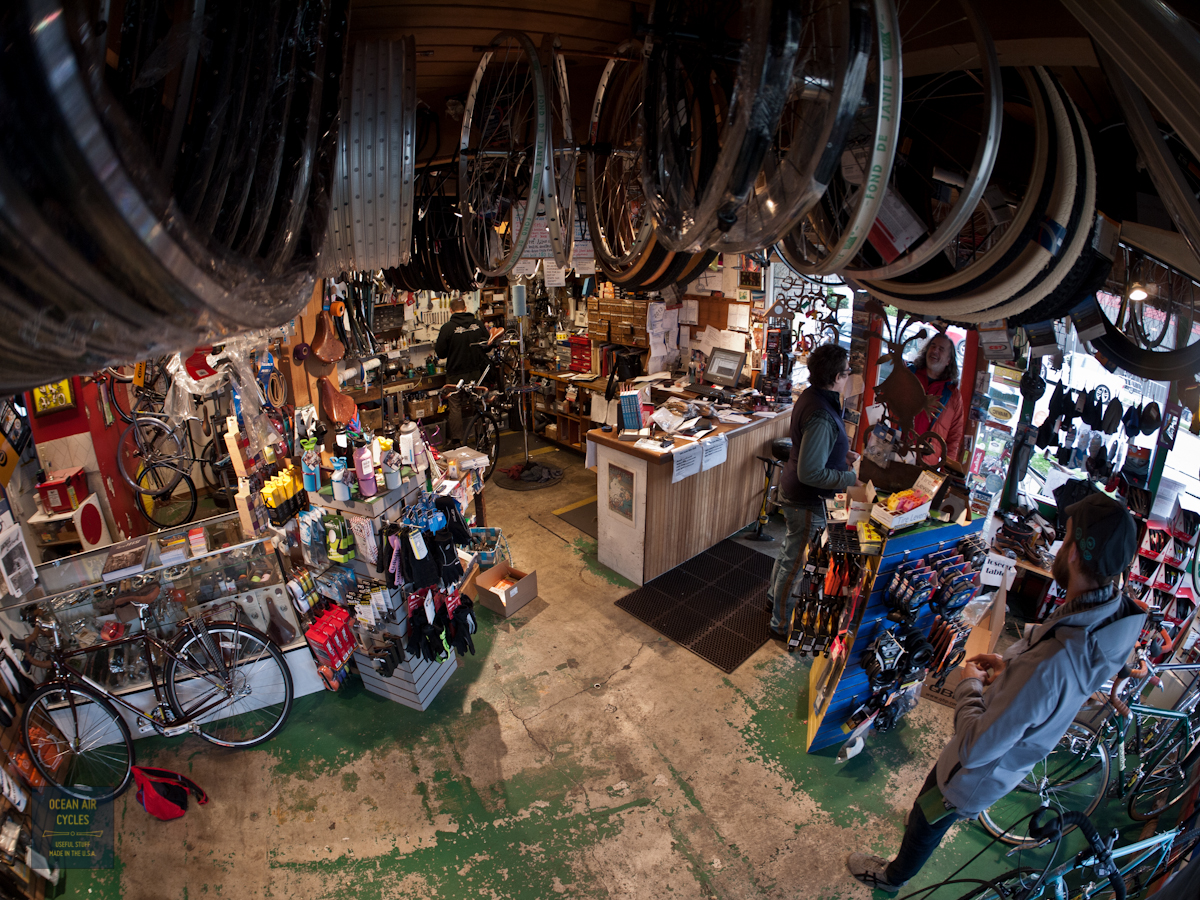
I knew from the first moment that this was going to be a very good thing. As part of bringing a bike like the Rambler into a retail shop, I needed to find places that would know what it is by looking at it, no explanation needed. Kathleen not only sells real world bikes, but rides them every day, Rivendells (hers tucked under the stairs in the pic), customs all the way though to basic rainy day commuter bikes. Not only that but it has the feel of a well run local Bike shop

Well stocked, with the things you need and want for every day riding, with staff who not only knows it, but uses it. We talked for a while, hit it off well, She took a Rambler out for a spin and came back with a pretty big smile. Have I said this is going to be a good thing? If you are in Seattle and want a Rambler, this will be the place to go.
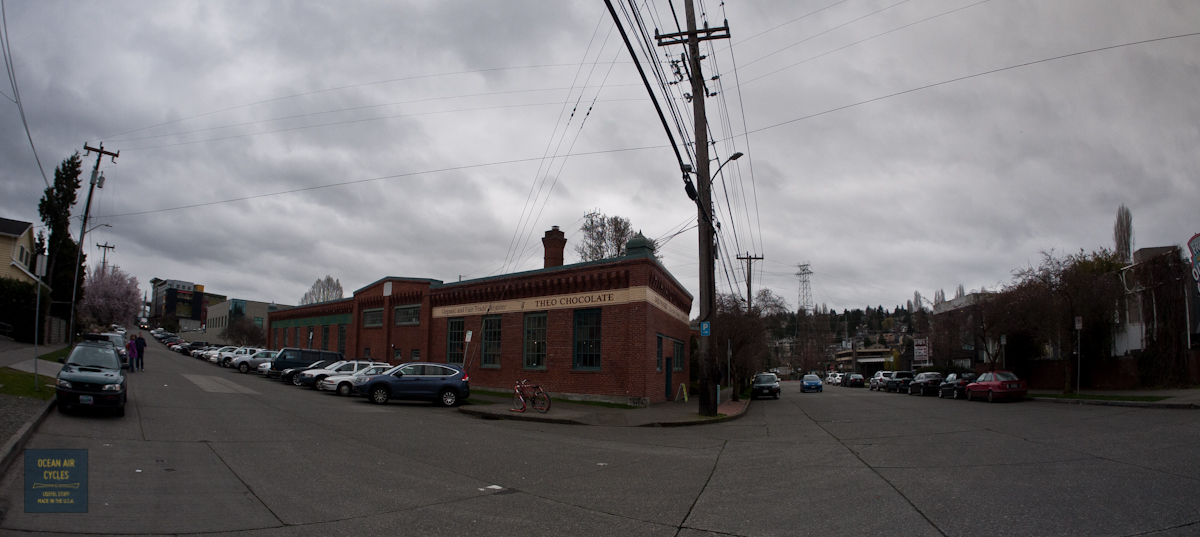
Frosting on the cake was lunch at the brewery across the street. The food was great, the fries incredible, and I look forward to my next trip up. And if you could have frosting on frosting it happened. The corner across form her is the Theo Chocolate factory. Lots and lots of samples, no time for a tour, but we stocked up on supplies for the road and gifts for our ladies.

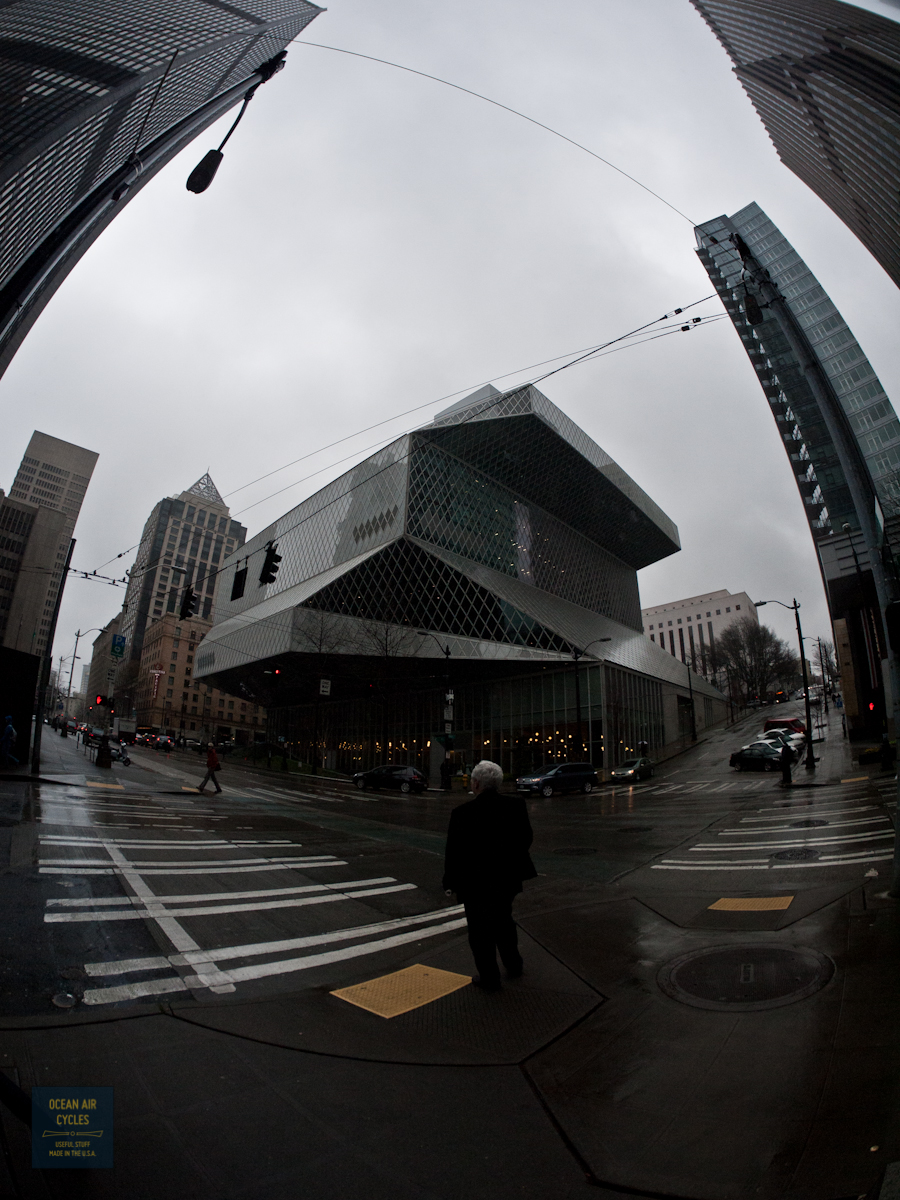
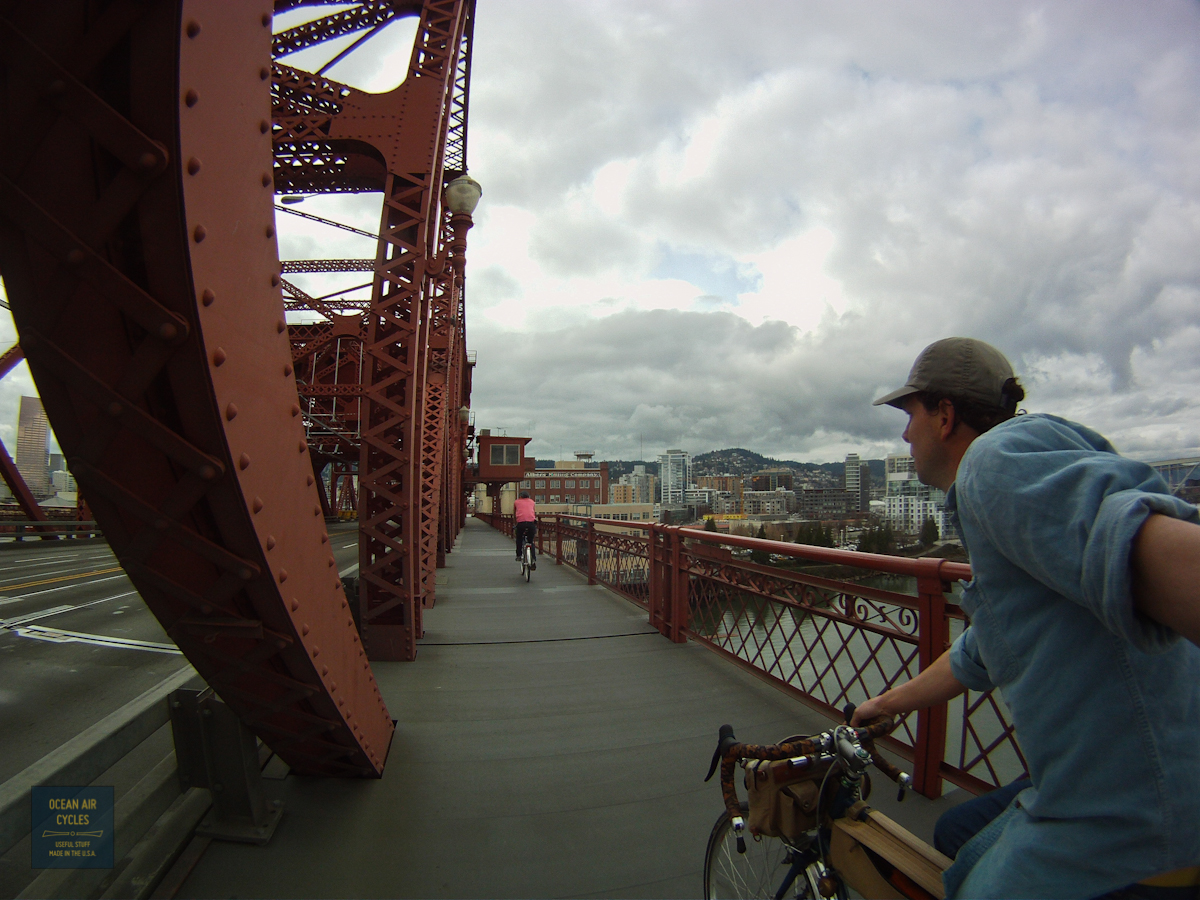
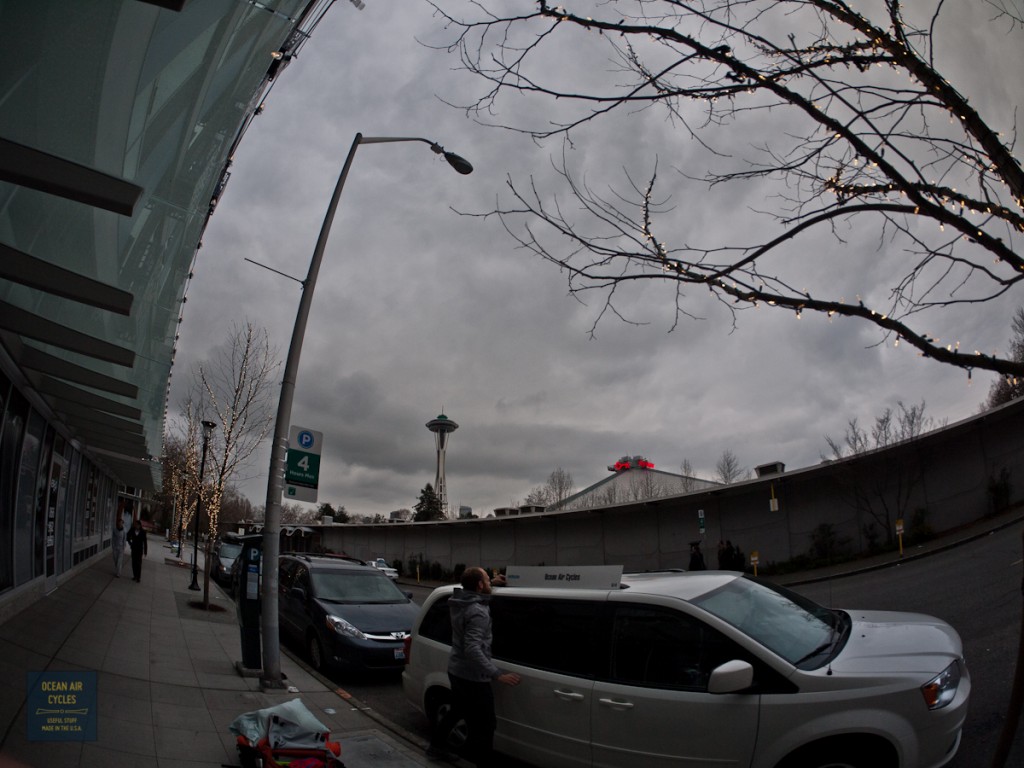
There was time for one last stop on the way out of town and back to Portland. Jason wanted to see the Public Library down town. There is a large place in my heart for good design and fun buildings. This was a surprise for me in so many ways. You could explore this like Alice in Wonderland for hours,


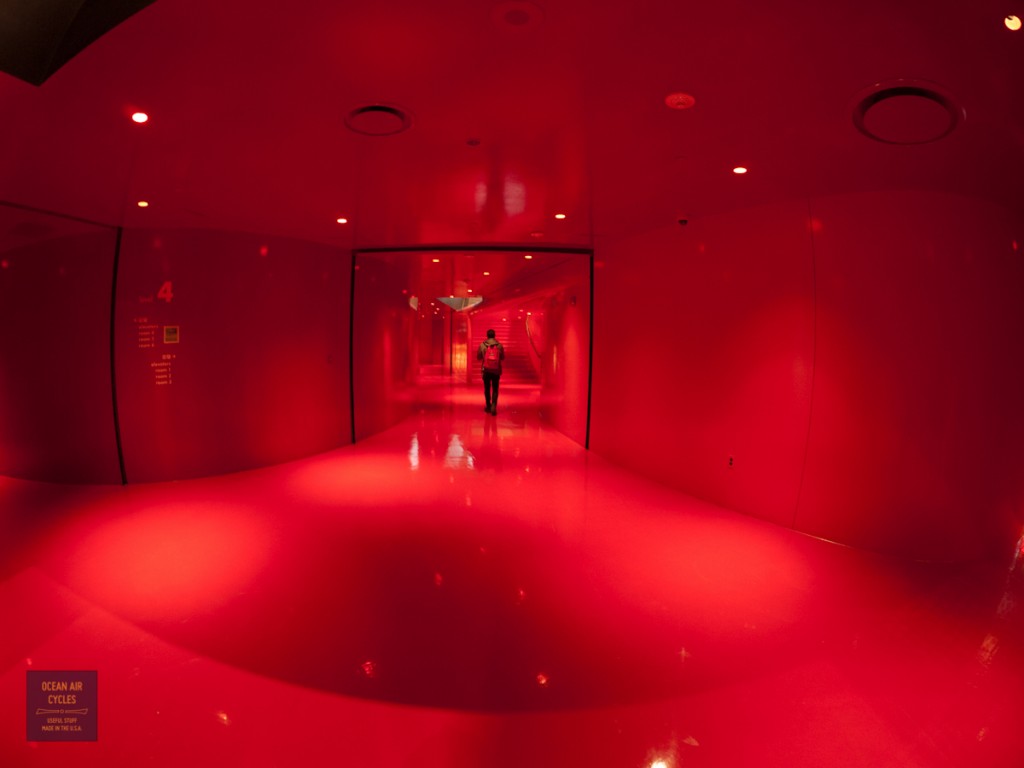
And there were even books, maps and all the other things a library is supposed to have. We were there an hour and a half, time flew, shot a ton of pictures, but it was time to get going back south to Portland.
Thank you Seattle for an amazing time, the Cascade Bike Club does an amazing job, I will be back.
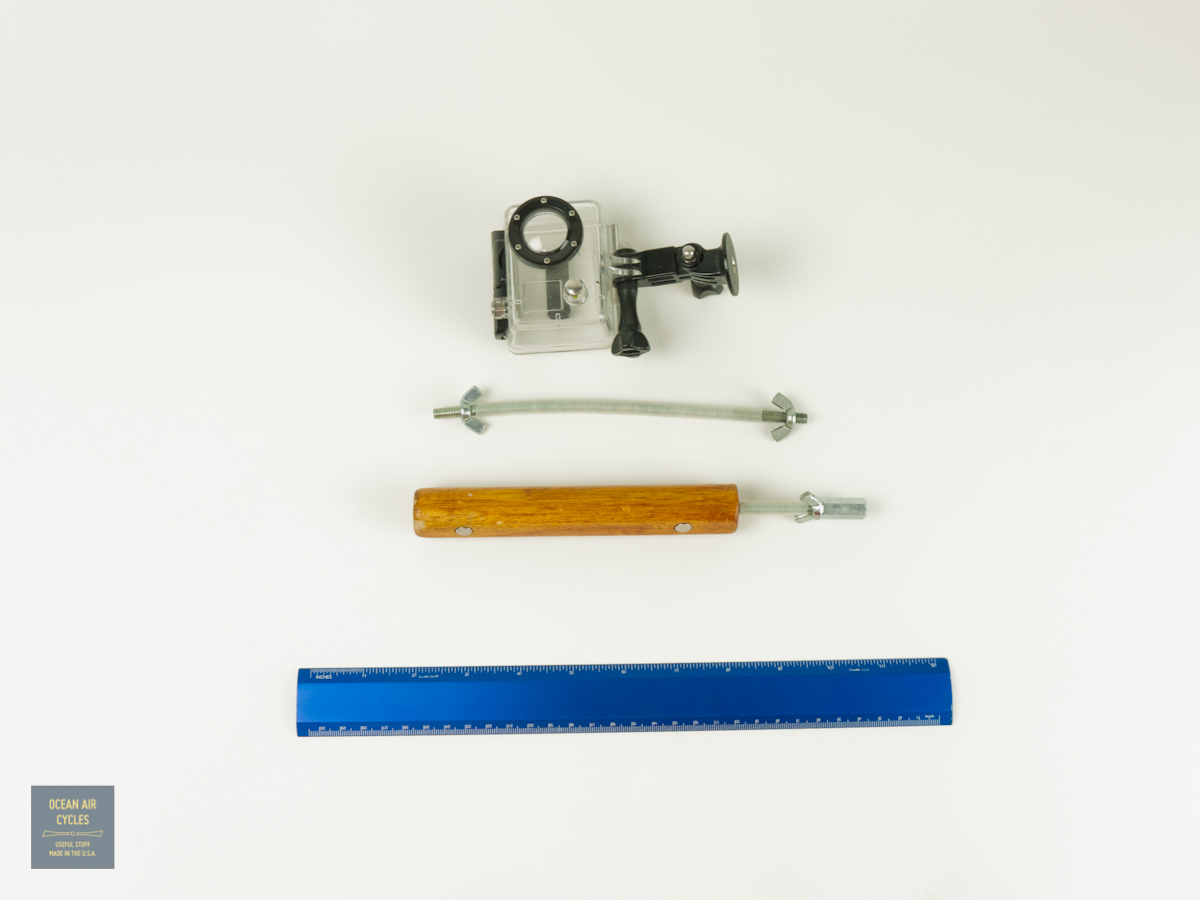
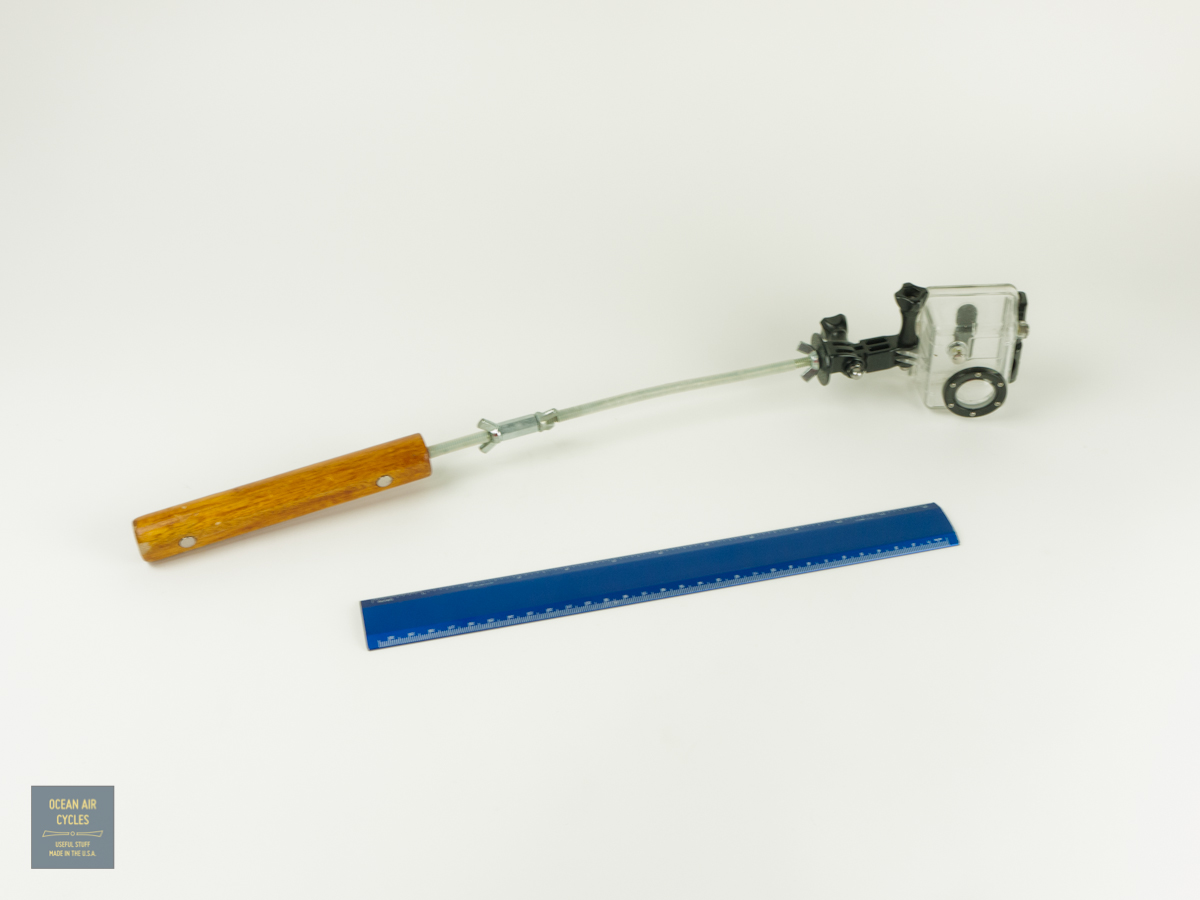
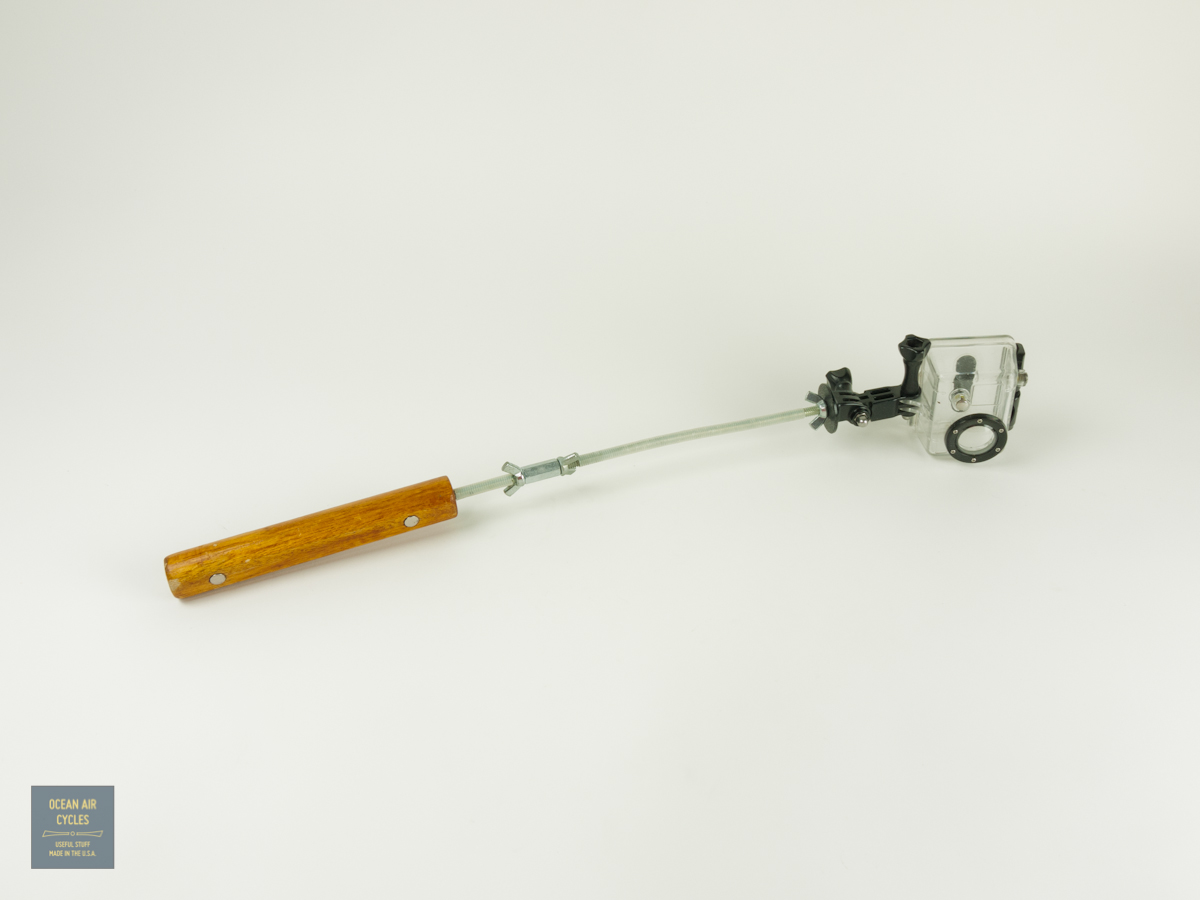
Lately I have been getting some inquiries about the pole cam system I was/am using to get some of the shots I was with the GoPro camera over the last couple of years. I worked out a portable system that would allow me to shoot point of view style, but from angles away from the body and not having the hand holding the camera in the shot. There were quite a few revisions. Most of them worked just fine, but the overall length was best carried in a frame bag. To overcome that I ended up segmenting the pole. Here is a peak at my latest compact version.
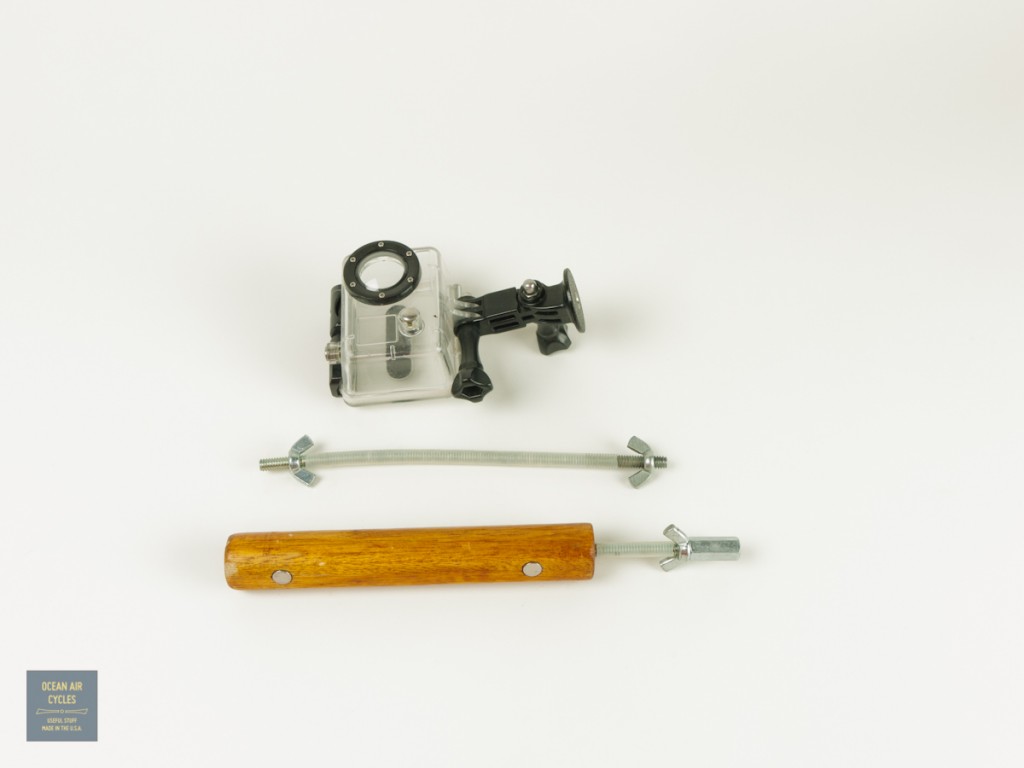


Key Features:
- The pole moves the GoPro about 12 inches from your hand
- The pole breaks down into sections about 8 inches long
- Additional extension pieces can be used for added length
- 1/4" 20 threat will work with existing camera tripod mounts and accessories
- Rare Earth magnets in the handle allow for quick mounting to sign posts, fence rails, guard rails, etc. The world is your tripod
- Hand shaped wooden handle with flat side for indexing camera orientation and durable shellac finish
As with a bunch of things these will be added to the storefront in the coming weeks, with a street price around $30. If you are interested drop me an email through the contact page.
As for capturing the images, I set the camera to grab stills every 2 seconds, trigger it, hold it out to get a series of shots, then turn it off that simple. It is the same basic process for video or riding past it mounted to something. An easy and portable way to get more creative shots with you GoPro while on tour this summer.

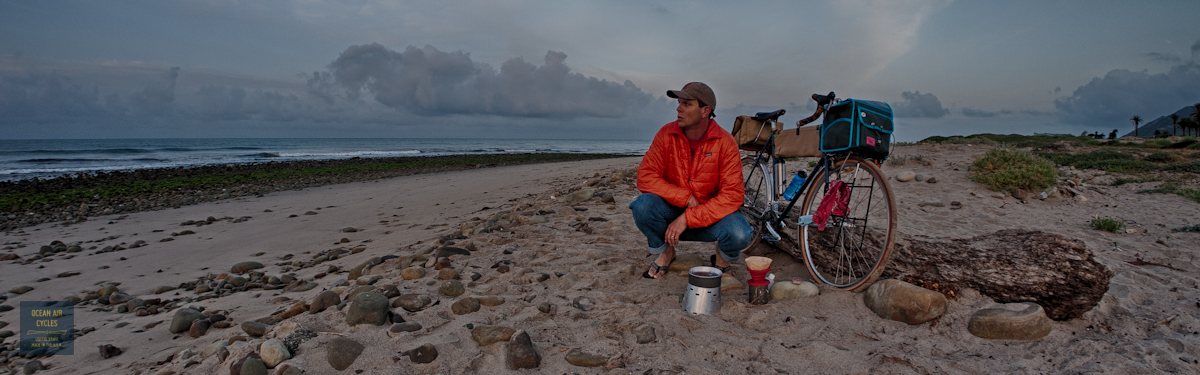
The night-cap version, still digging out today, and that is a good thing
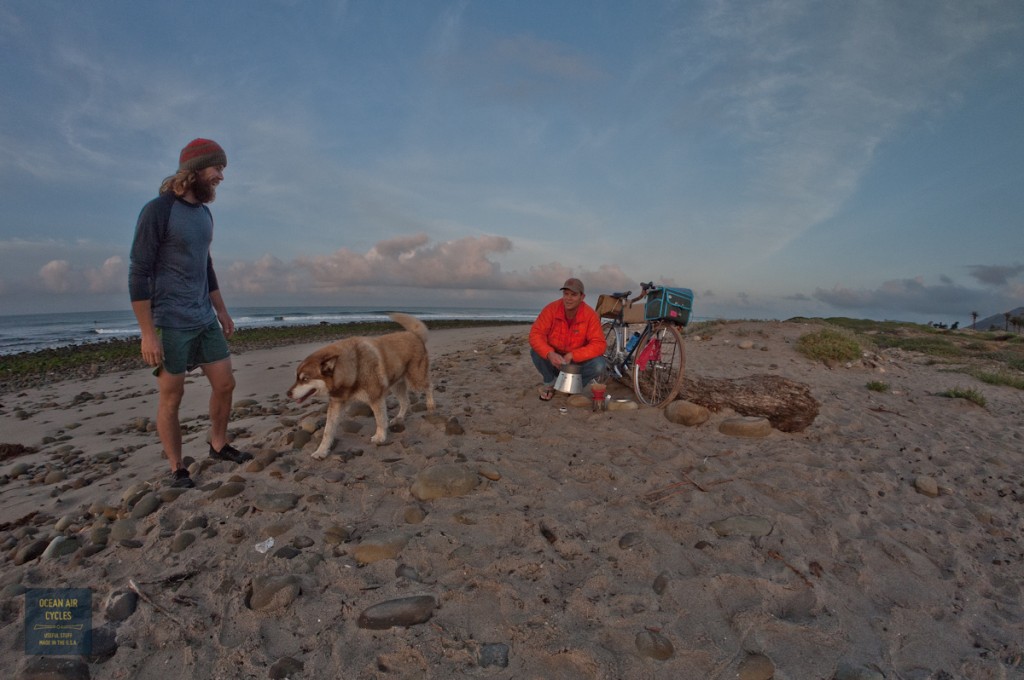
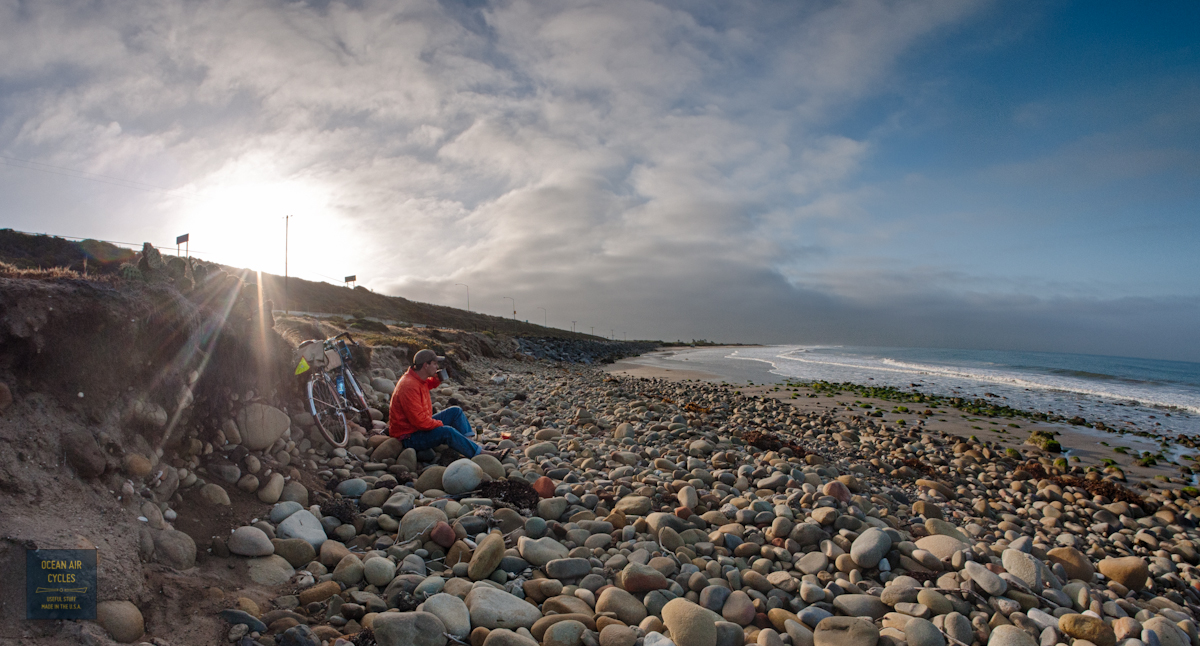
made the time this morning as usual to take 30 minutes of personal time, brew some coffee, make some photos and cross paths with friends. This time mike was out running with Red, but we made rough plans for a ride next week and possibly an overnighter in a month.
Whether it is brewing coffee on the ride, just riding, a surf a walk what ever make the time to get outside, it is amazing how much better your day will be for it.
It has been almost a month now since getting back from my multi week trip up and down the west coast in the pursuit of getting the word out about Ocean Air Cycles and the Rambler. I have had such a mass of pictures it was hard enough to keep up with it on the trip and I have been putting it off until now. The catalyst for the trip was the Seattle Bike Expo, with a whole mess of diversions. The trip went well, very well, and that is part of why I have been buried for weeks now trying to keep the business up to speed. Thank you to everybody out there who has been keeping my busy!
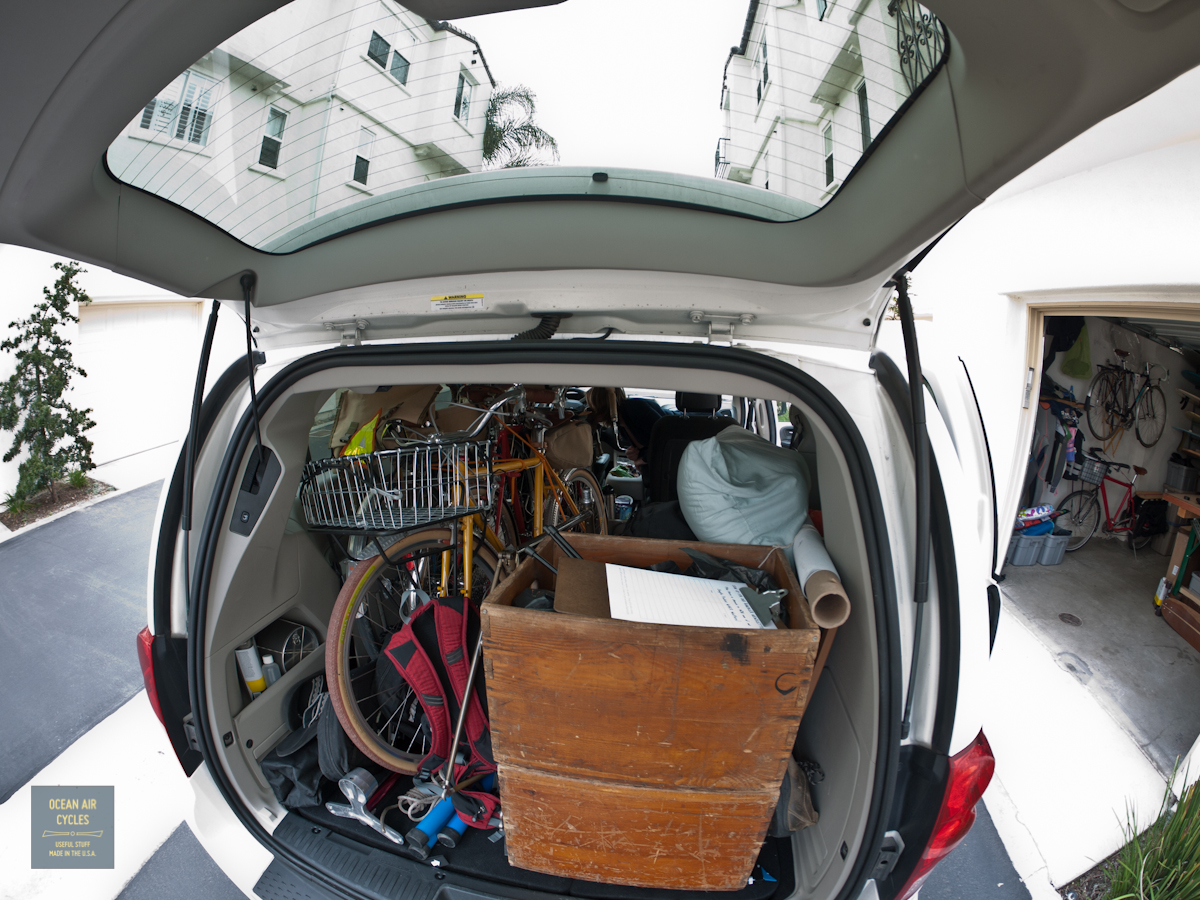
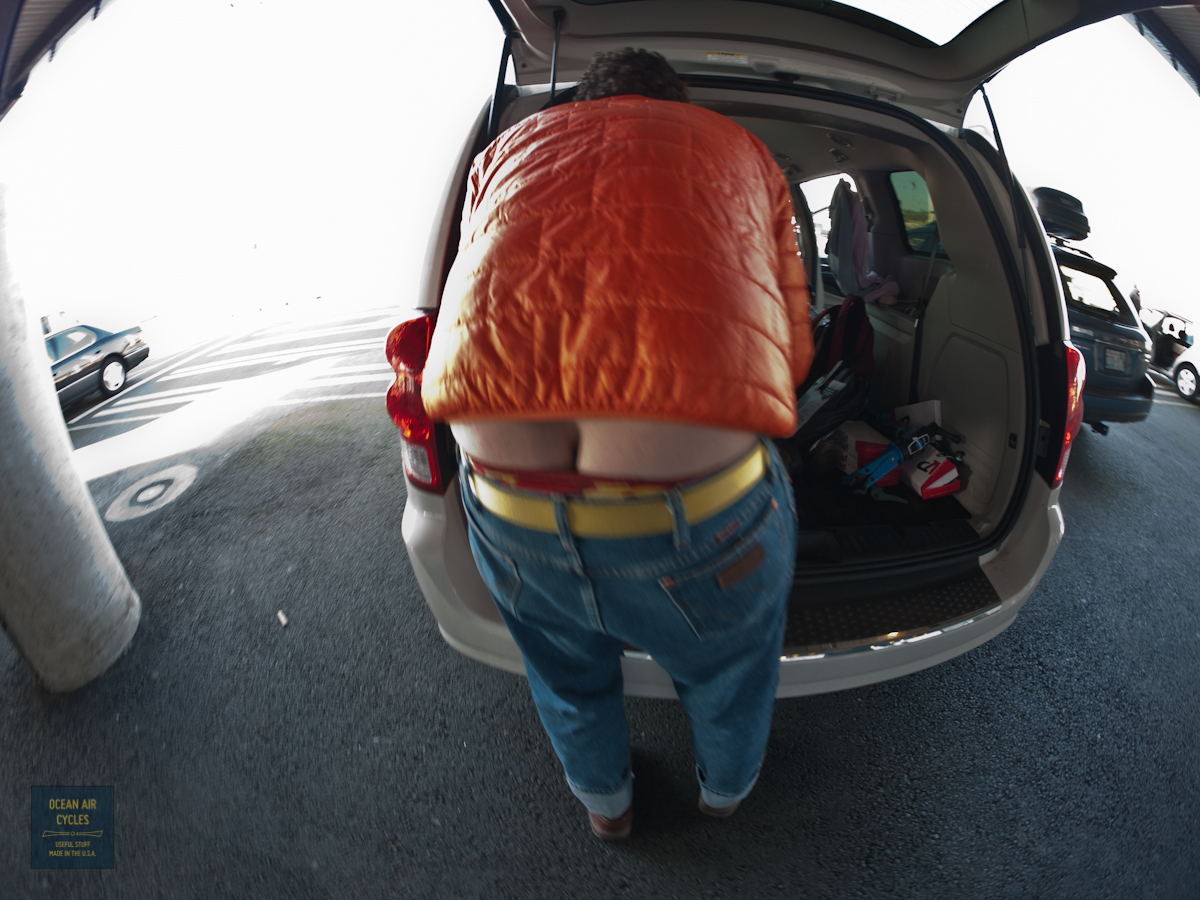
Things started out by sorting and cramming 3
Ramblers and a show booth's worth of stuff

into the back of a rented mini van

Saying goodbye to the Munchikin (Photographer in training)

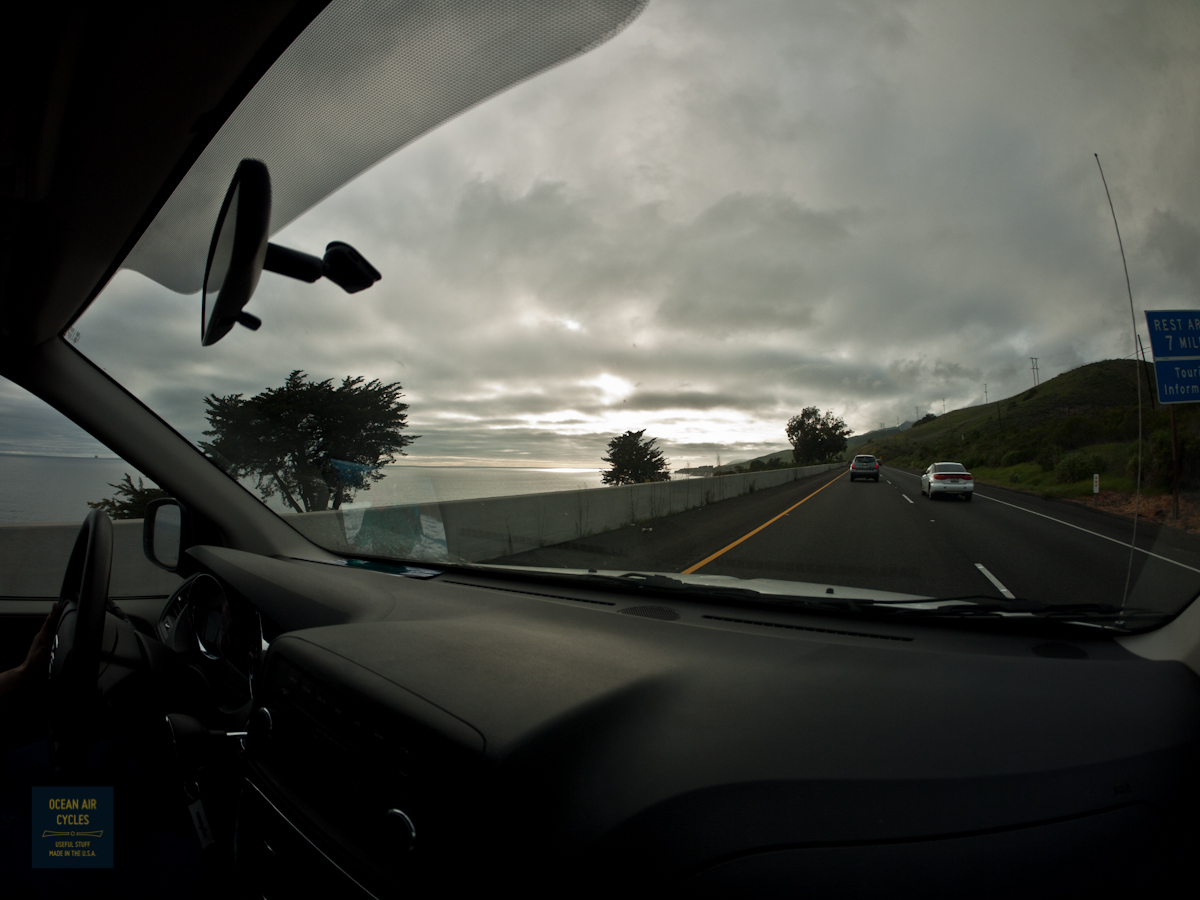
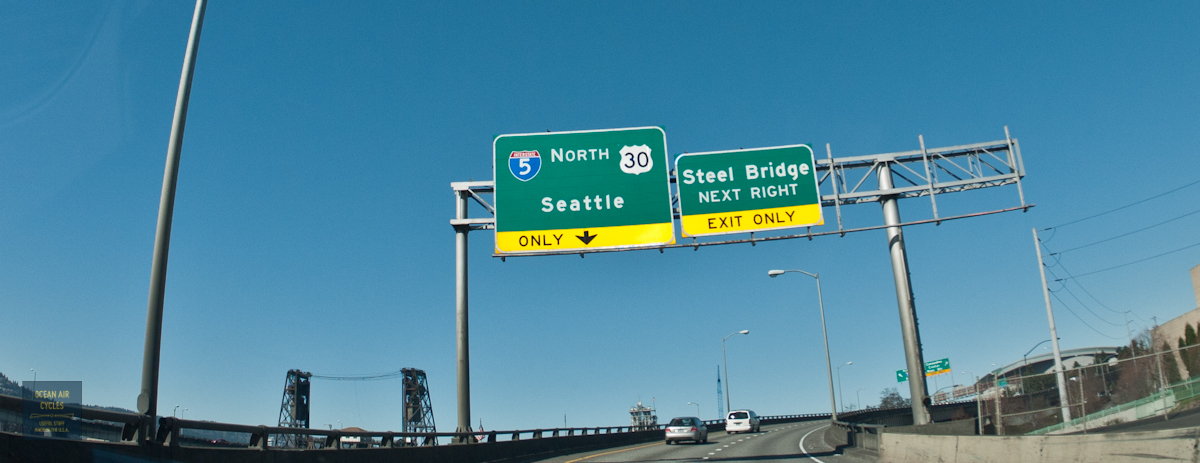
And starting leg one of the long drive north.

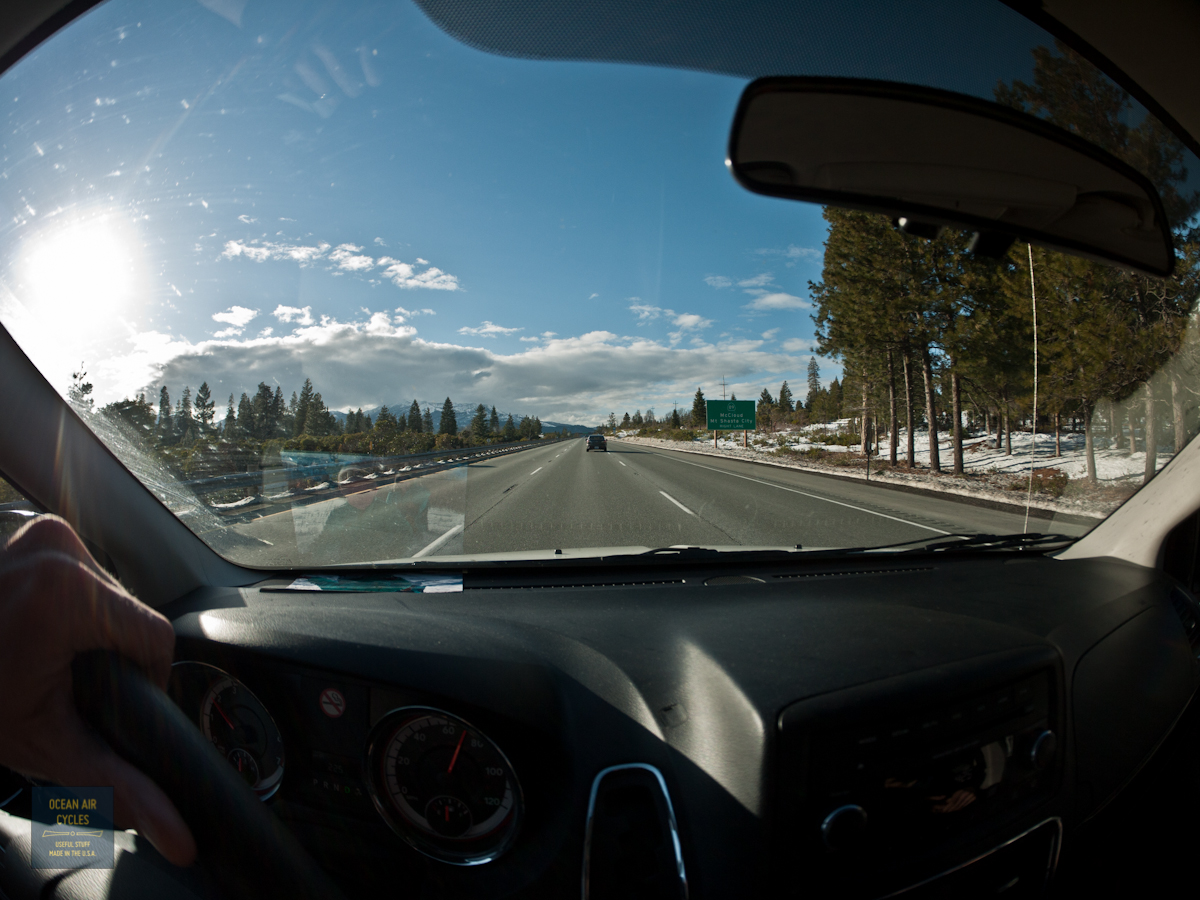
Leg one stopped in Oakland where I picked up Co-Pilot Jason.

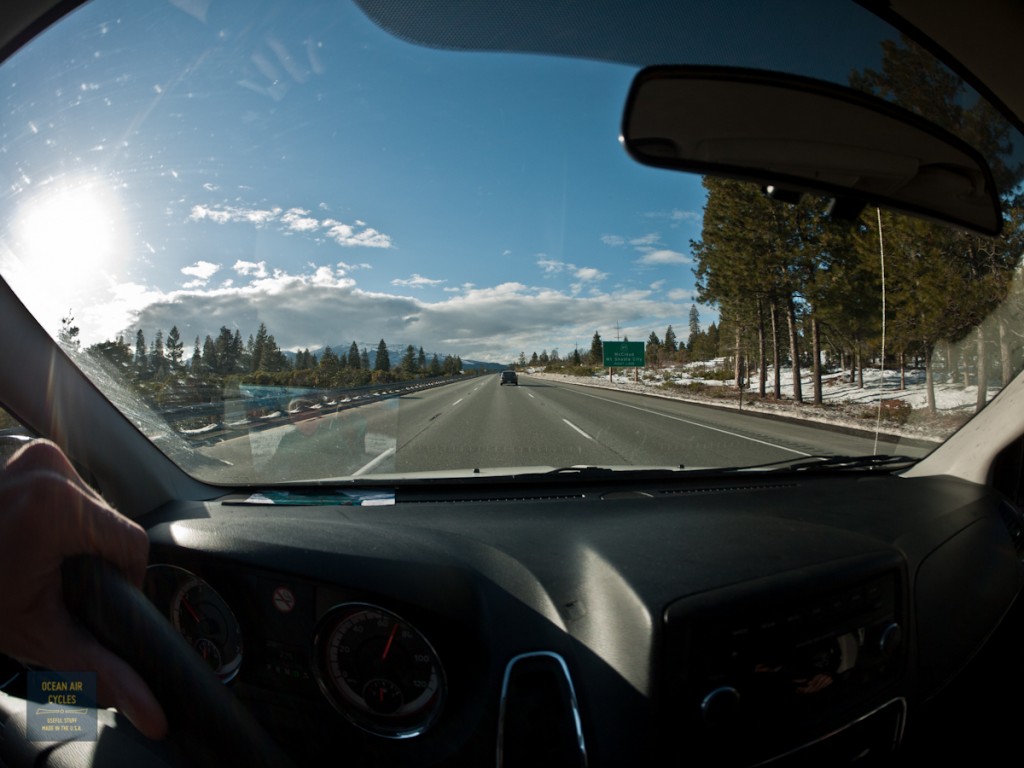
We worked through the night getting Rambler No.4 ready for the trip. It looked like we had possibly dodged the impending snow storm hitting the PNW. Last year I was stuck in 10 inches of snow in central Oregon. We had an uneventful trip this time, but did see snow passing through the Shasta area.
We made it to Portland late, passed out, woke up to coffee with
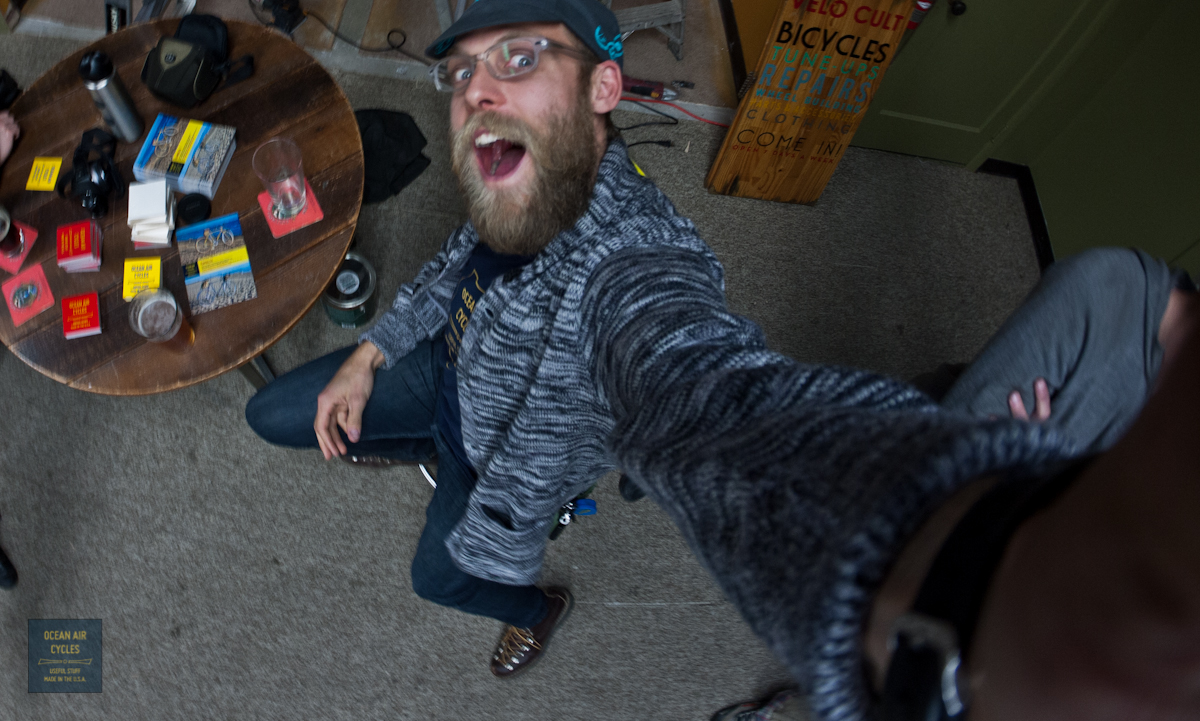
Russ and Laura, then had more coffee at
Velo Cult
before heading to Seattle to pick up Aly at the air port.

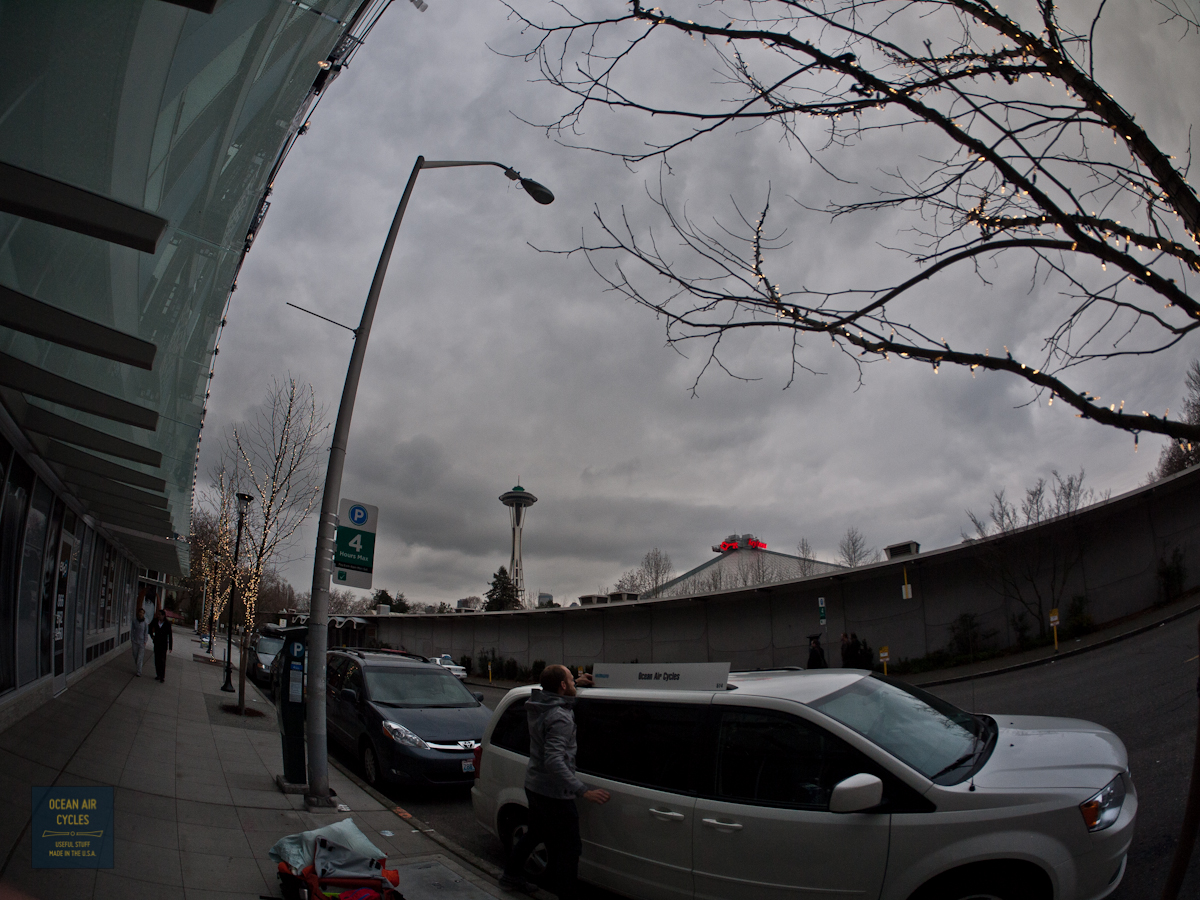
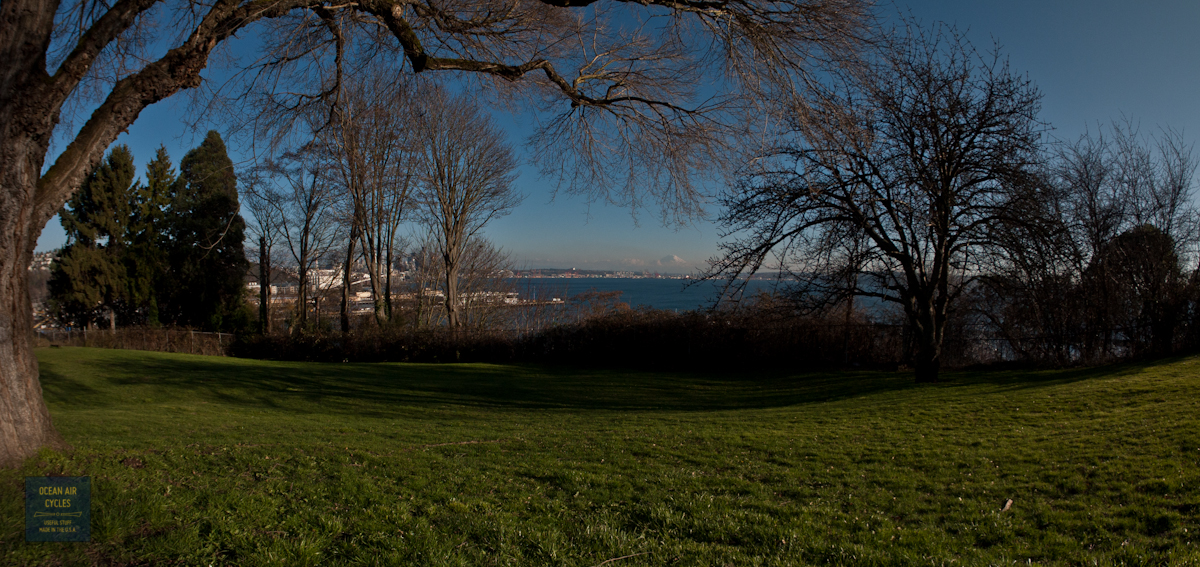
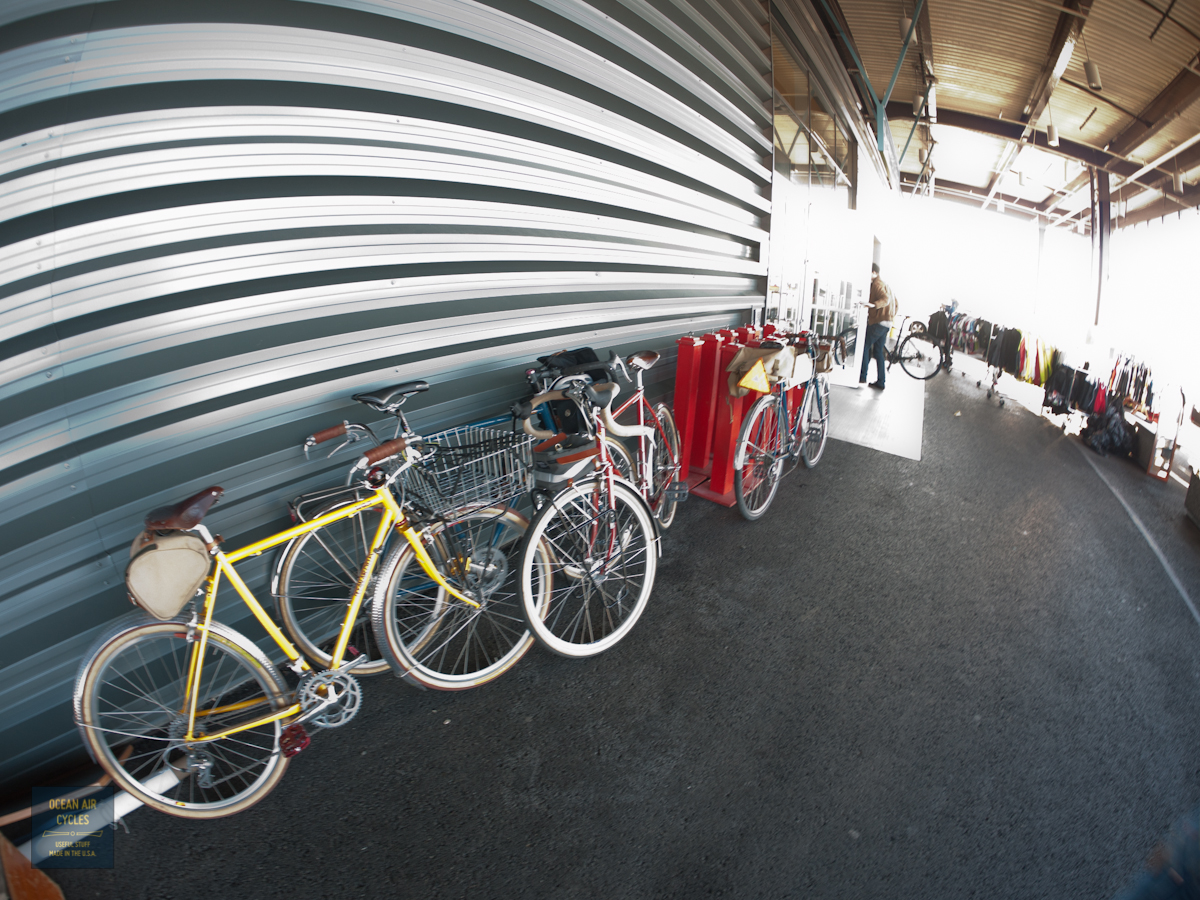
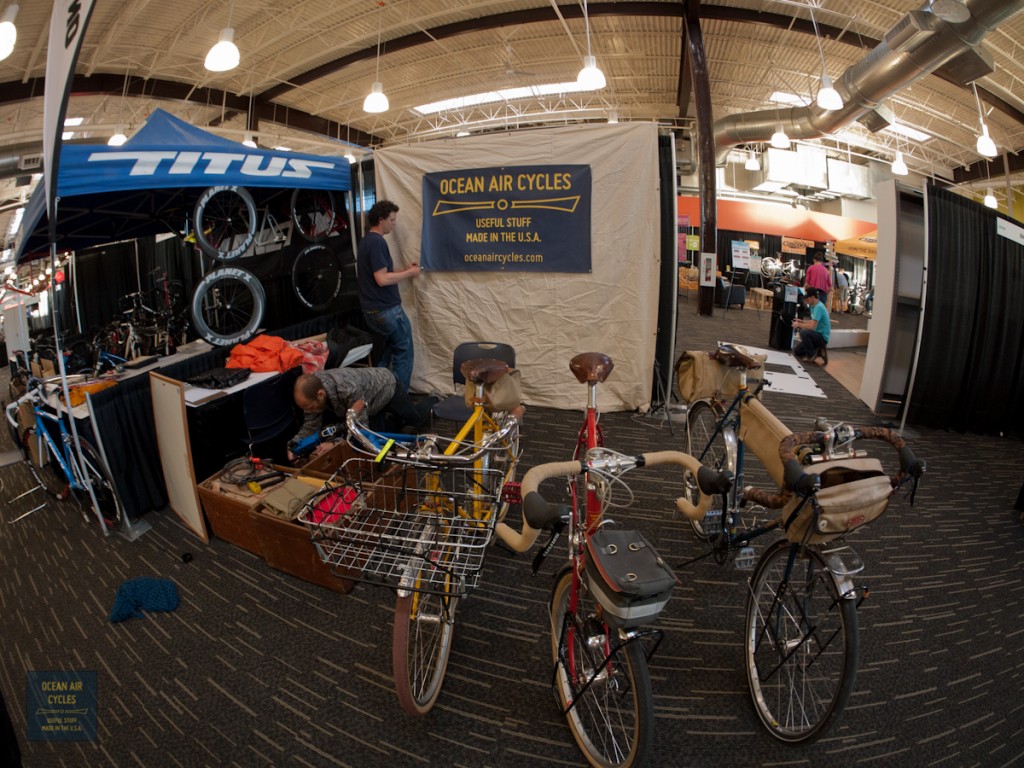
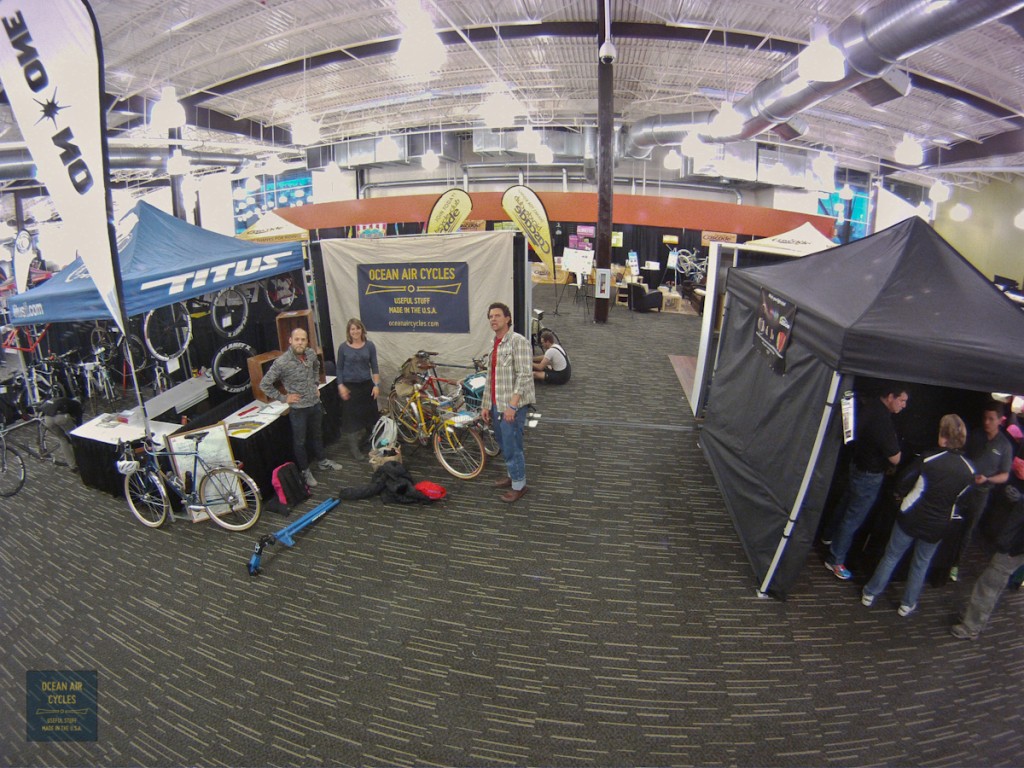
After 3 days of driving and jamming to get things read, not even counting all the days / weeks of prep, we were really there and unloading for the expo. Well almost there, we get lost finding the ramp to the expo and found this park with an incredible view.

Then we made it to the ship terminal to unload. The folks at the Cascade bike club were incredible from start to finish.

Somebody thought it would be funny to shoot this, so it must be good enough to share, right?

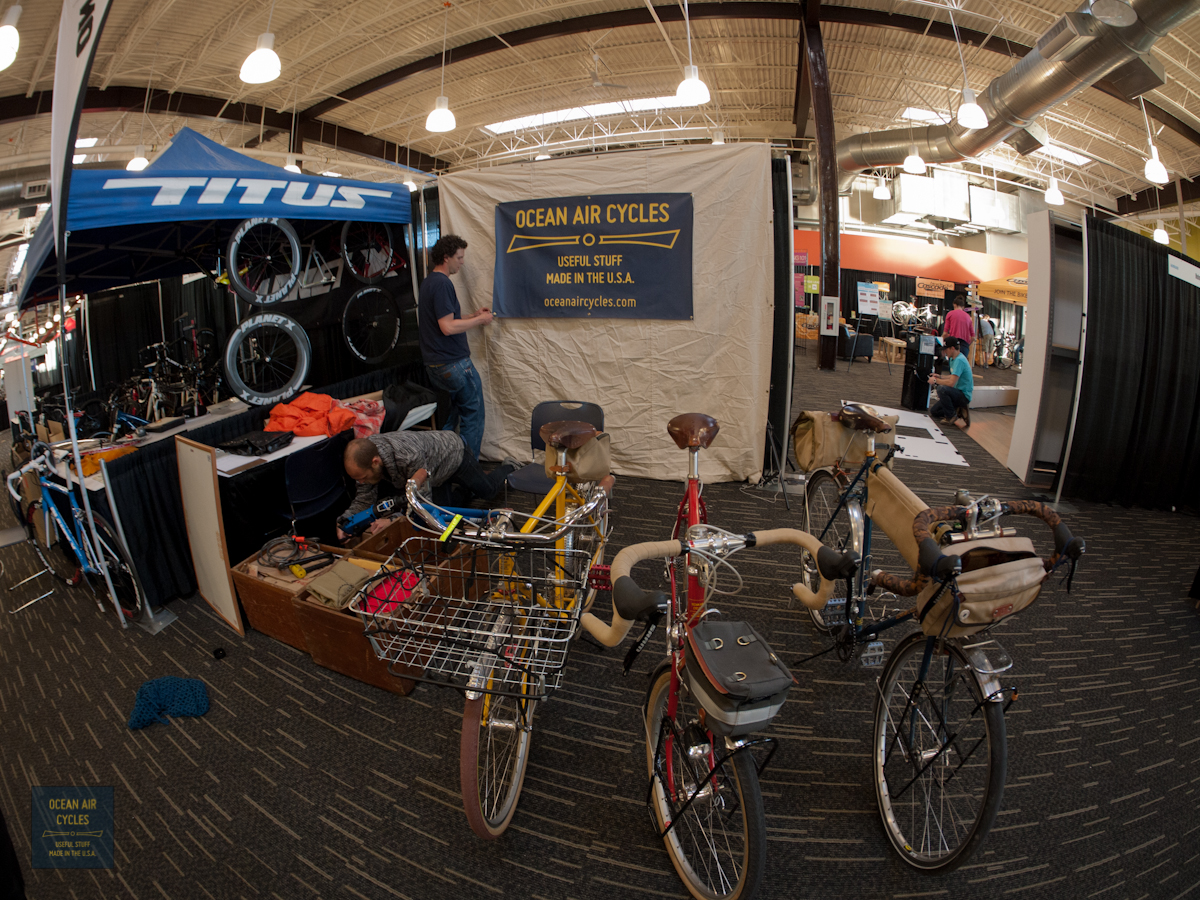
Set up went quick, thanks to lots help, from the back of the van to the booth, there is no way I could have pulled this off alone.
Home to bed, and then the next day started. Aly was able to get one shot in early

And it was off to the races. I was able to take one short break, but it was a really long day for all three of us. I met tons of new people, put faces and handshakes to internet friends and customers, and made the initial connection for what will be our first retail outlet. Day one was a huge learning experience, mostly listening and a bit of explaining. I was energized and fried at the same time.
There was dinner and a crazy party in the basement of a building down town. I was too tired to keep shooting pictures. That proved to be one of the hardest parts of the trip. The times that you are really busy making memories and connections the camera is often still in the bag. Day two was a repeat, then Aly took off for the airport with her uncle, Jason and I loaded out, and Part one of the journey was complete. Seattle was awesome, with a few days to go. If the weather was always that nice I think I could live there, at least for a bit.
 Hopefully this weather holds for a bit, I does not get much better than this.