Earlier this week I headed out with a couple of buddies on a two day tour on the central coast of California. The trip was originally conceived by two different friends who ended up having to pass on the trip, and that is a shame, as it was a fantastic ride. Mike, Jefe and I met up Monday Morning to take the Surfliner (Amtrak) up the coast to the small coastal station of Surf. Day one was the ride to Buelton, camp overnight, and then over the mountains and down the coast home. Pictures, as always will tell most of the story:
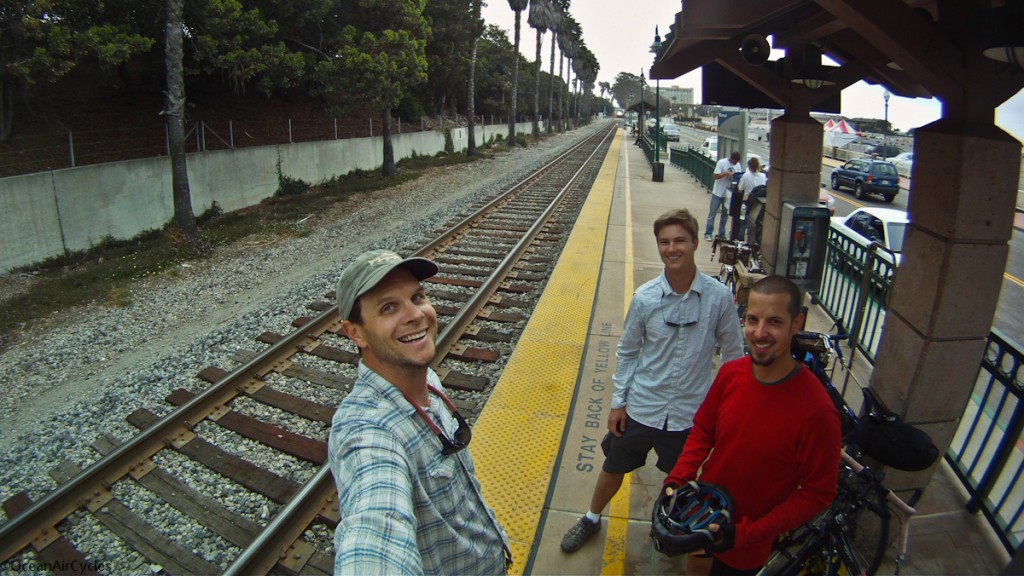
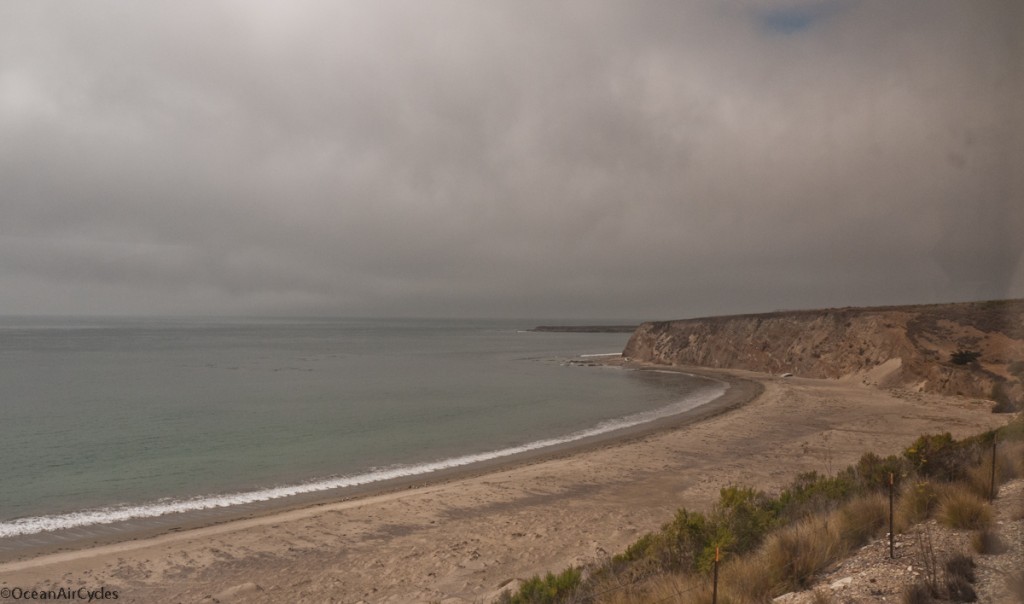
View of "The Ranch" from the train, this strech of open coast is all privately owned and off limits for most of us. I dream often of being able to ride and surf there. Beautiful open land, the way this stretch of coast has been for hundreds of years.

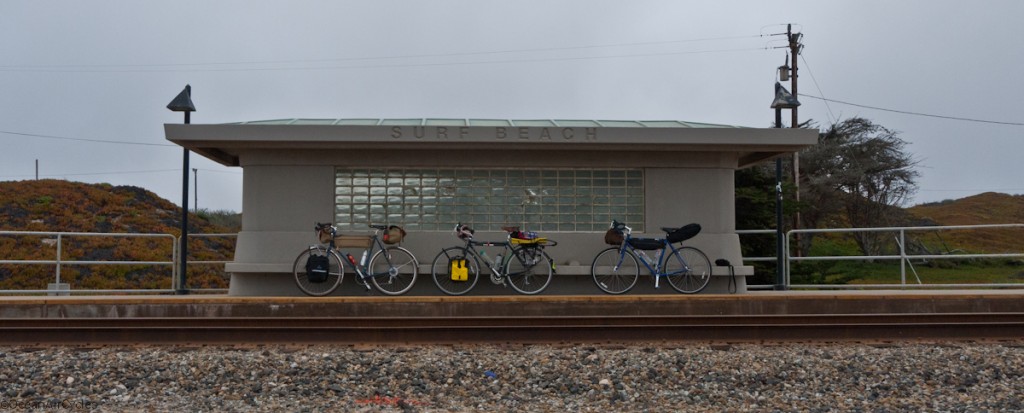
Surf Train Station, no Cell coverage, nothing but you, the beach and a road out. Not a place you are likely to end up by accident.
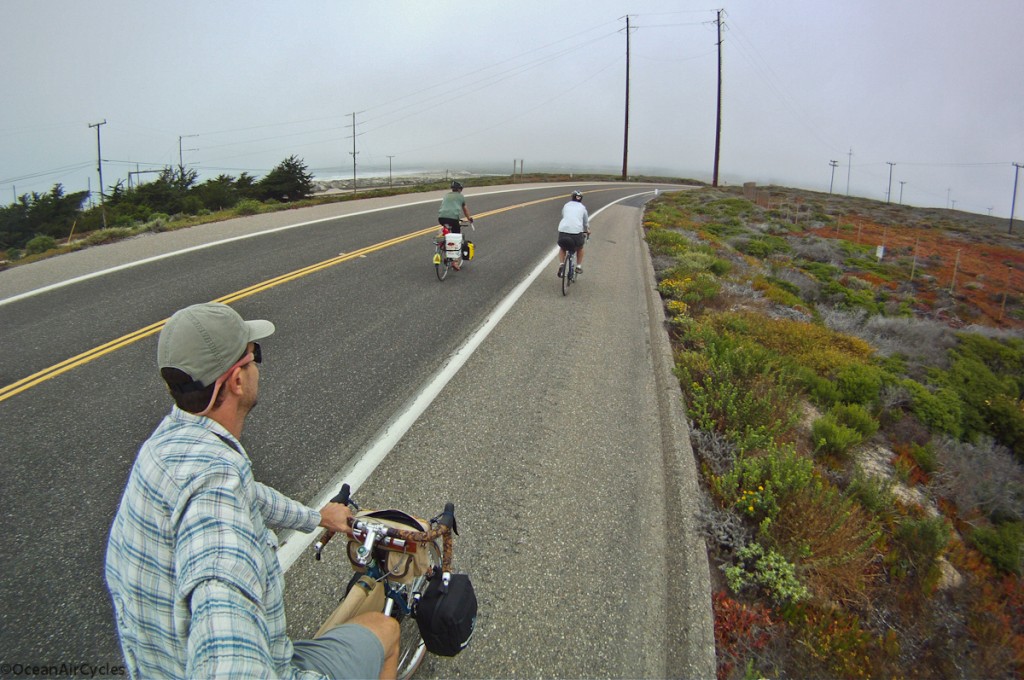
Out of the coastal fog, through Lompoc and heading down Santa Rosa rd. This is an incredible example of the hundreds of miles of country roads the California central coast has to offer.
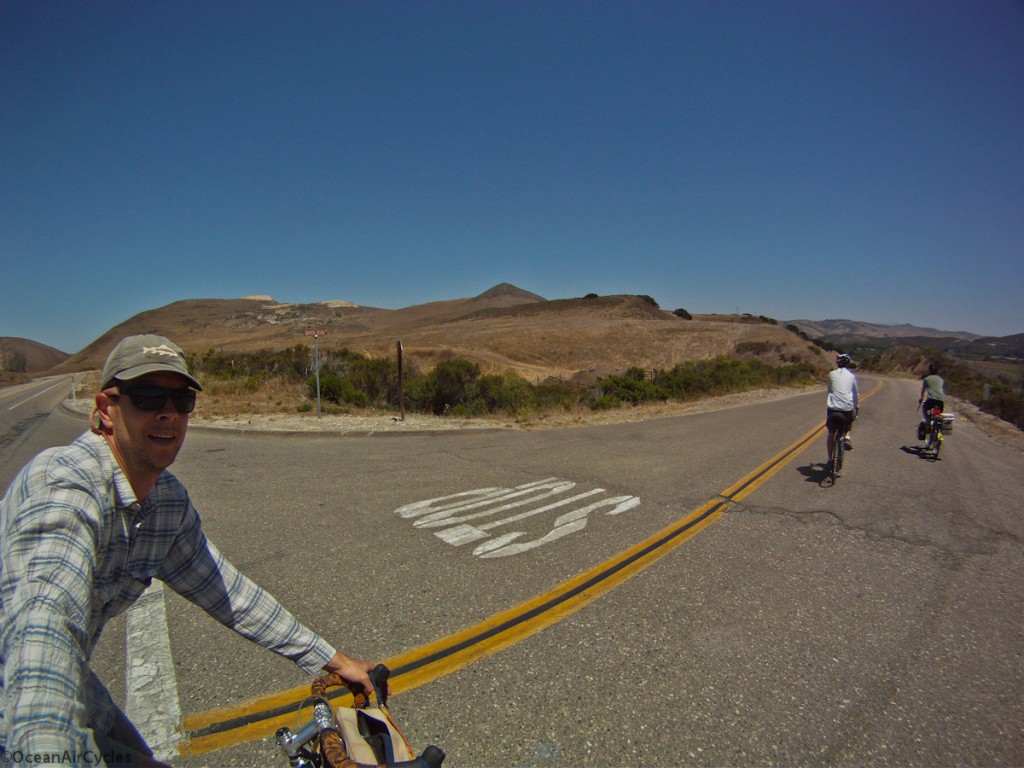
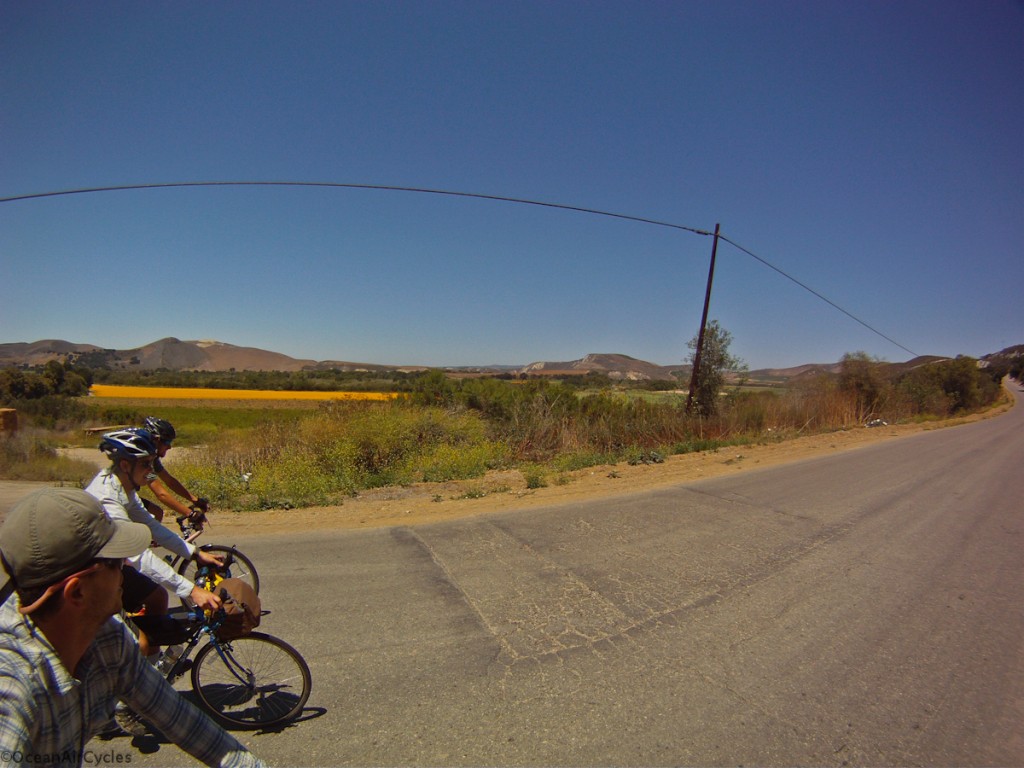
Yes it was hot, and consensus was clear, it was time to stop and sample the local "grape juice"!
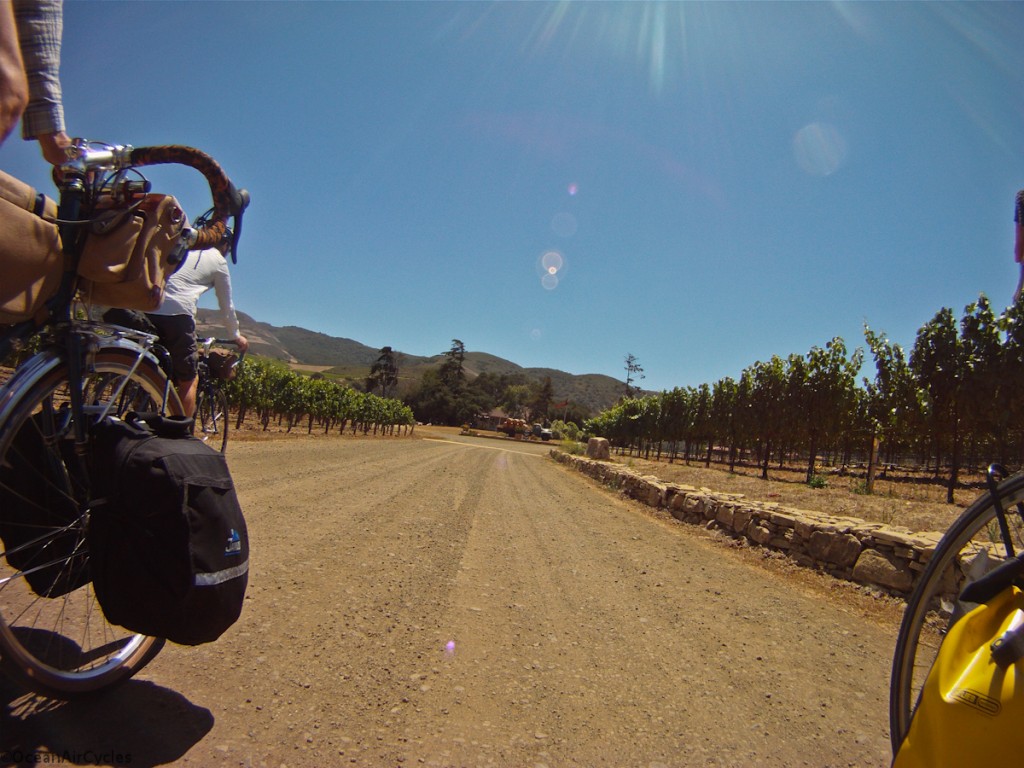
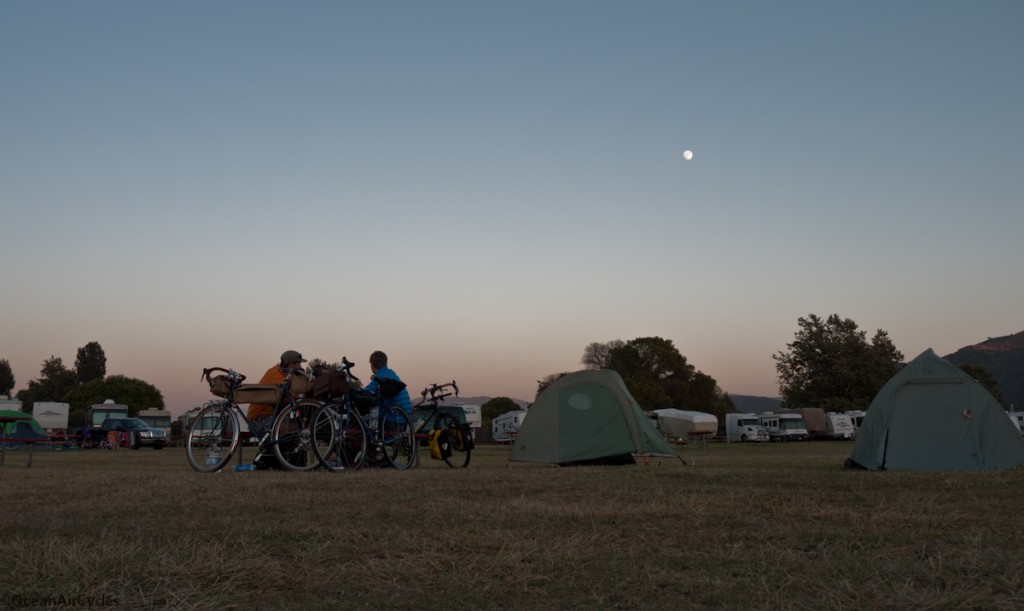
To help keep things light we ate in restaurants, Buelton is home to a few good ones, and we picked Firestone Brewery. Sorry no Pics, hunger was over riding the creative side of the brain. The Burger was fantastic, I could have had two, but logic prevailed. The Flying Flags campground was pretty nice. Although, next time we all agree that we would rather push a little further into the ride for the first stop.
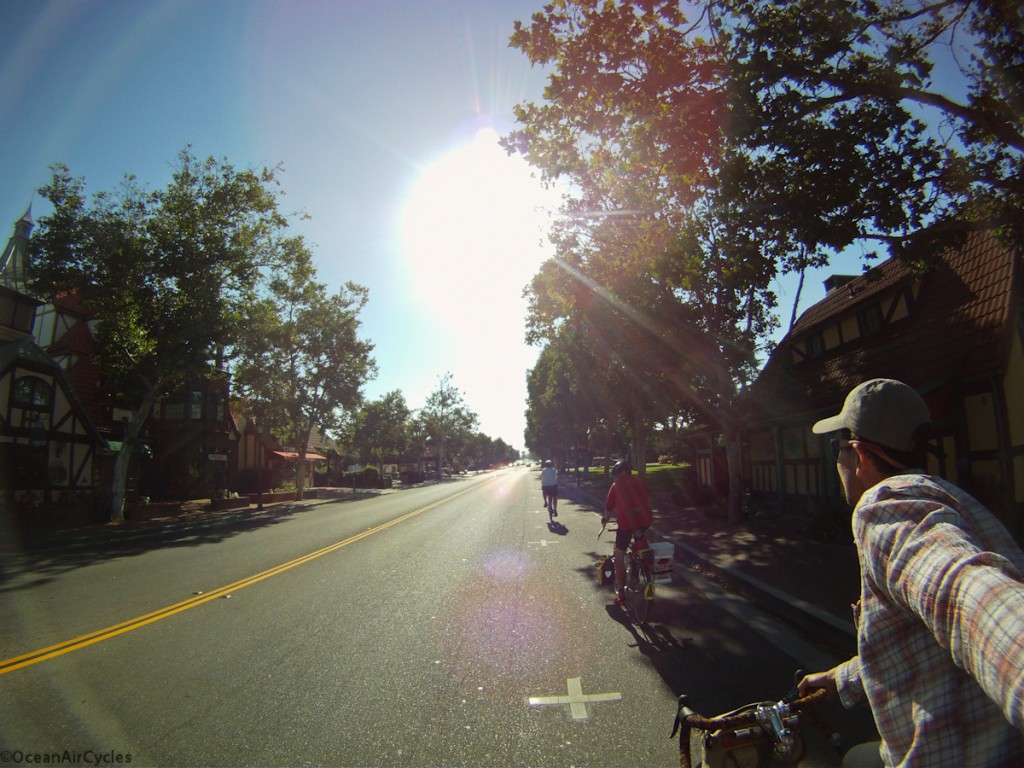
The next morning started with a few miles to wake up and grab some breakfast in the next town of Solvang. The whole town is Dutch themed, one of those places you have to visit to really understand. Bellies full, we pushed off.
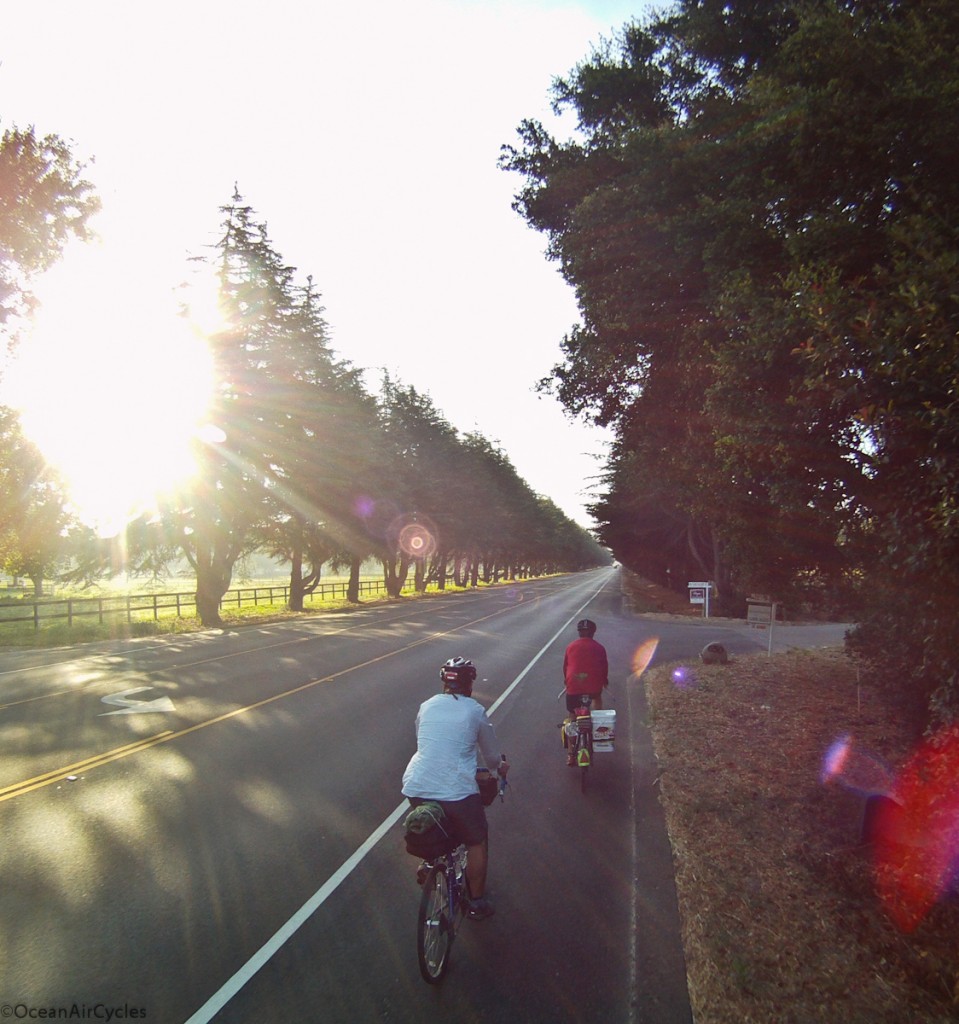
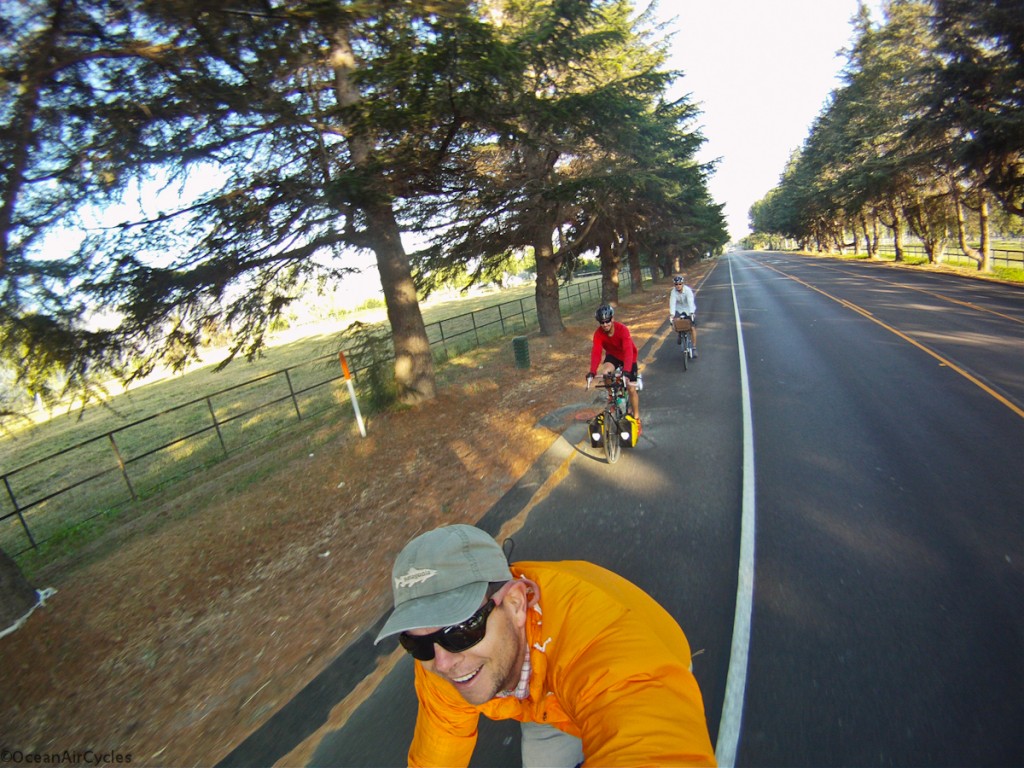
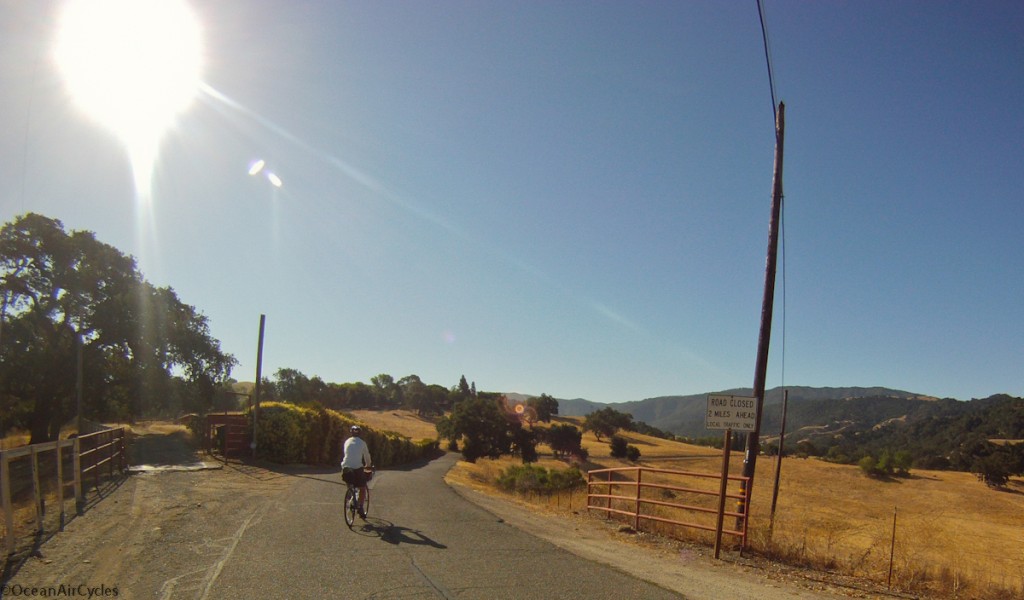
This was the start of the real climbing on Refugio Rd., 4 miles of sustained 10-14% grades. The legs were willing, the heat was climbing, and I will admit, that I opted to hike-a-bike through plenty of sections. I was carrying too much weight for this leg of the trip. I had looked at the map and elevations, but did not really appreciate it until I was all the way immersed. It was hard going up, I was focused on making the top, and the camera never came out for the next hour.

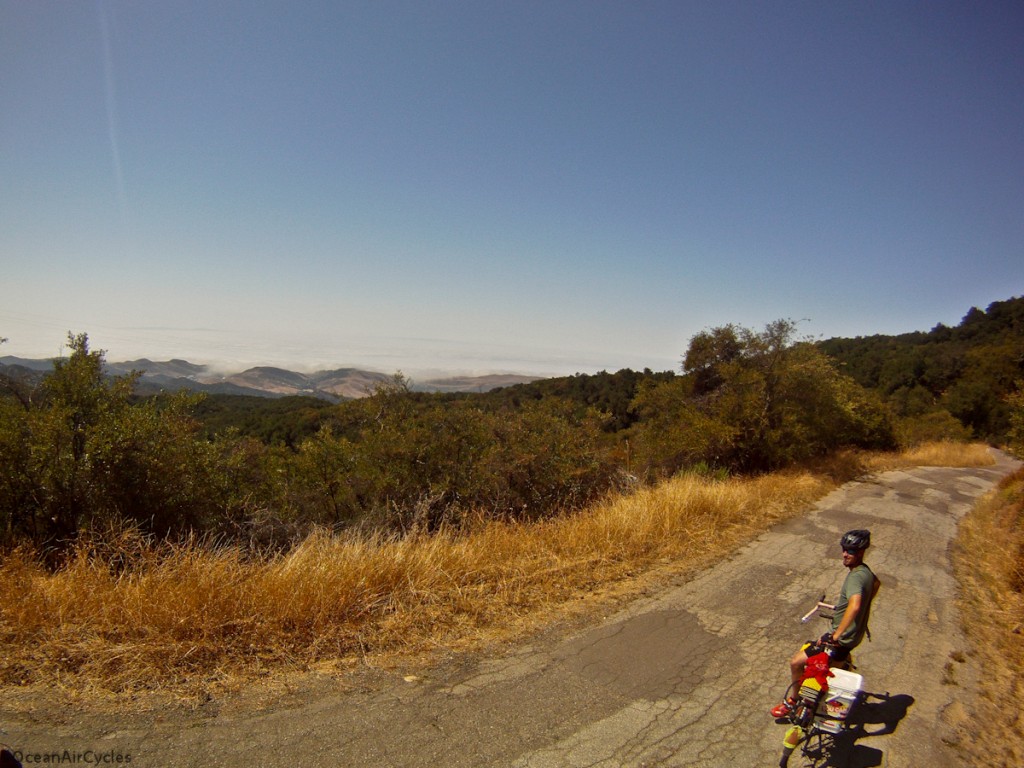
Over the top and well above the coastal fog. At the break between the fog and horizon you can just make out the top of the channel islands. The ride down was a blast, but Refugio Rd is in terrible condition, many potholes. I elected to keep my hand on the bars and not fool around with the camera.

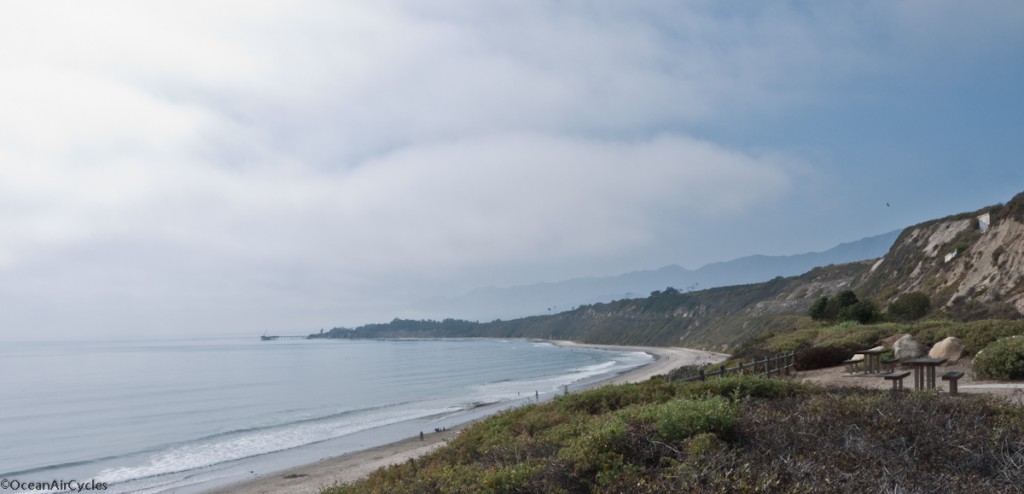
Heading into Santa Barbara. As we worked our way South East along the coast, we were flirting with the edge of the fog bank the whole way. The summer temperatures were cool and crisp, but the regular tailwind never made an appearance.


The last view back up the coast before the final 10 mile push home.
The trip was perfect, the company, weather, terrain etc. This is sure to be a stepping stone for more local rides like this. The whole thing was comfortably pulled off in just over 36 hours. I could have brought less, we could have done a few things differently, but it all worked out. My legs are the only part that is not in a state of recovery this week. I am still processing my thoughts on the trip and will be sharing them over the coming weeks as I make some changes in my gear. The Rambler continues to exceed my expectations for this type of riding, and we are all looking forward to getting back out there.
Thanks Mike and Jefe for helping to make it all happen.
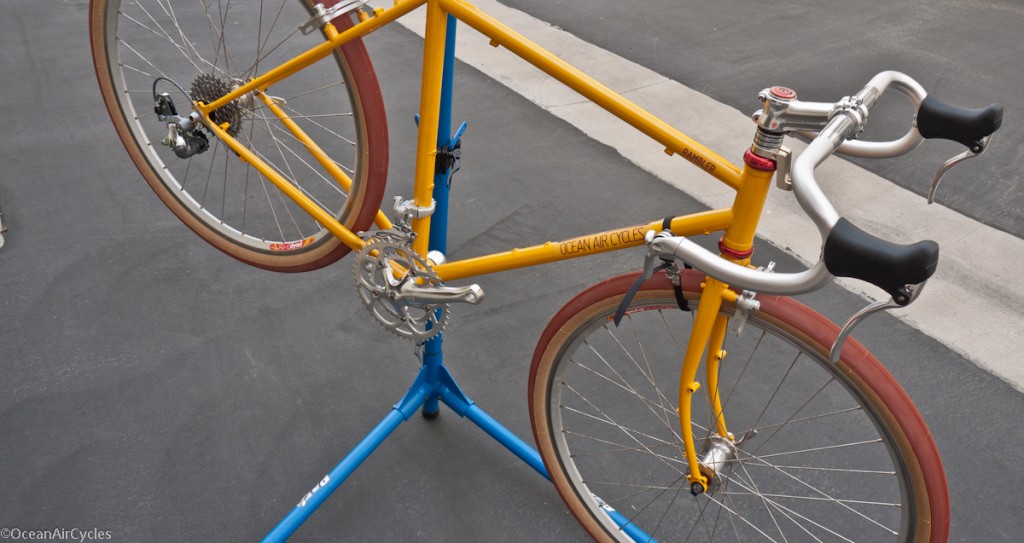
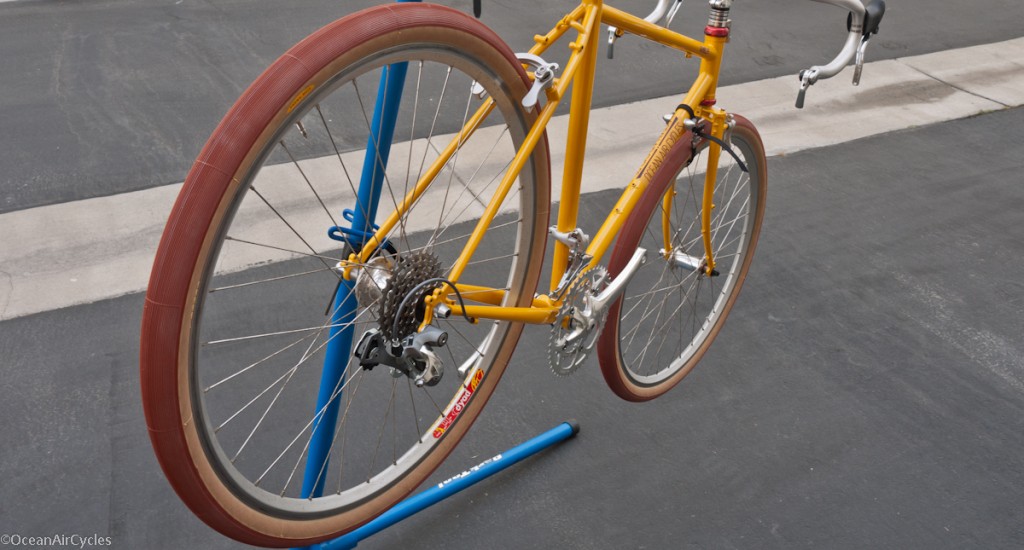
Rambler No.3 is now fit and built up to what it will most likely be for a while. I still need to sort out the racks, but am stoked on how it turned out.

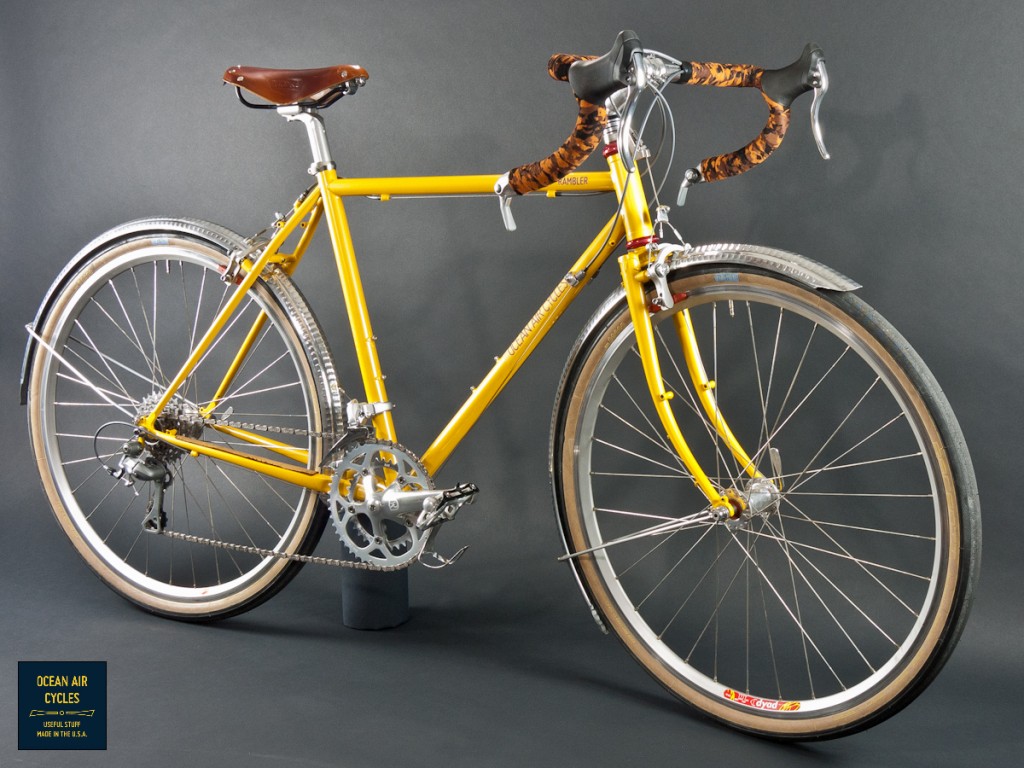
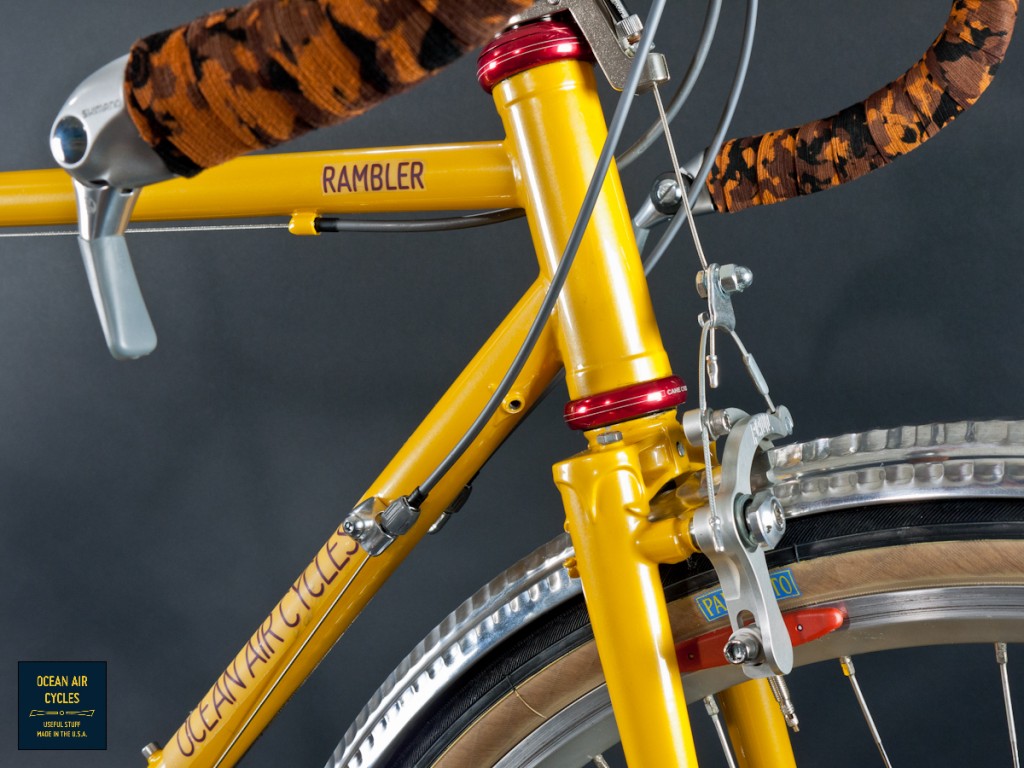
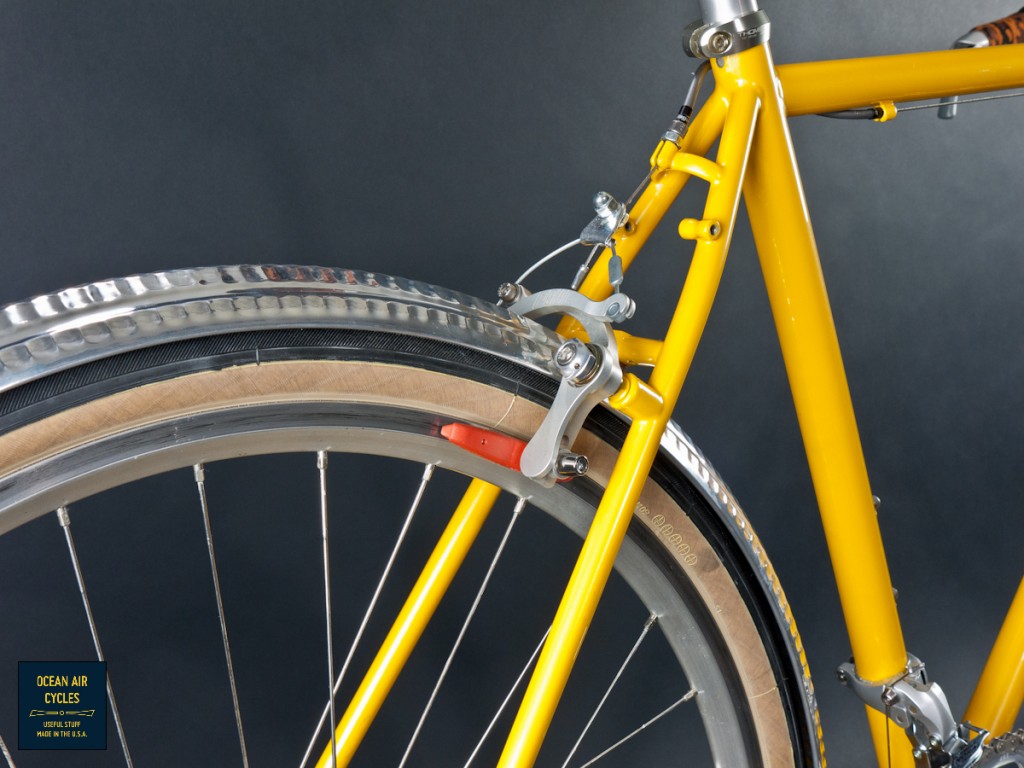


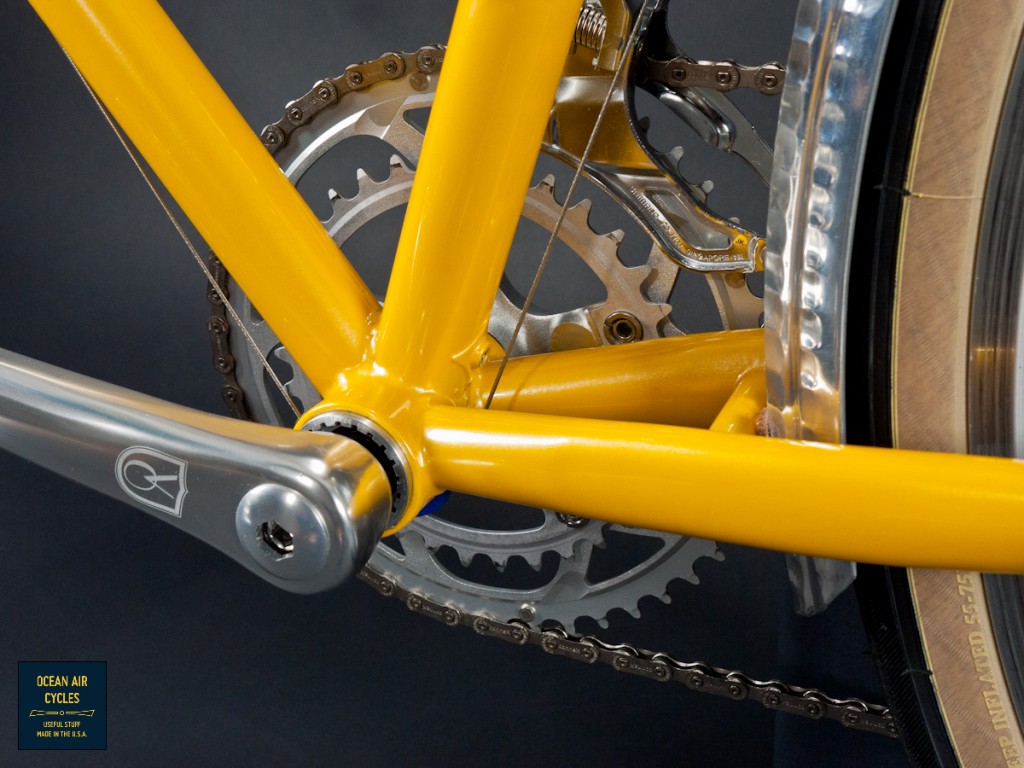
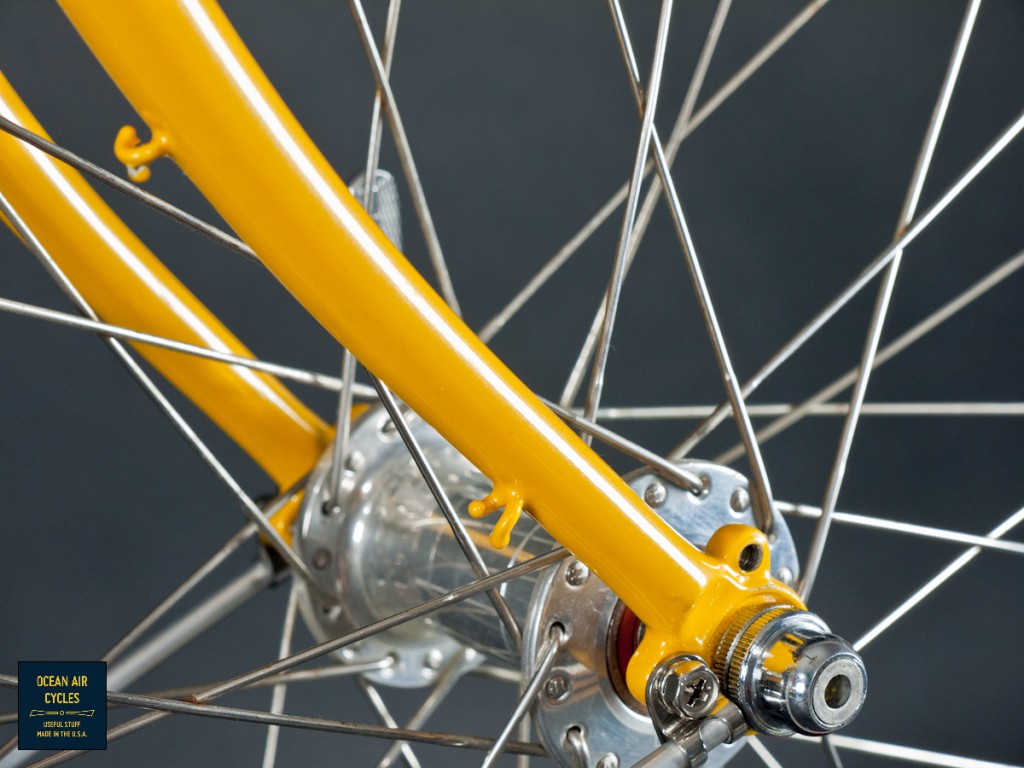
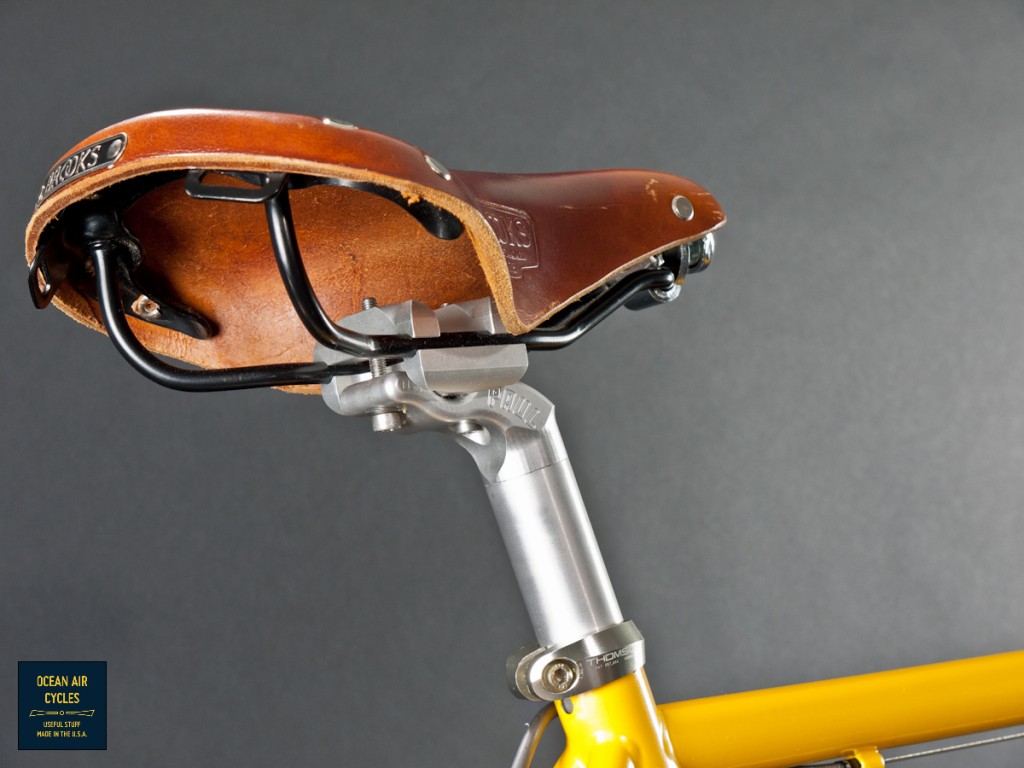
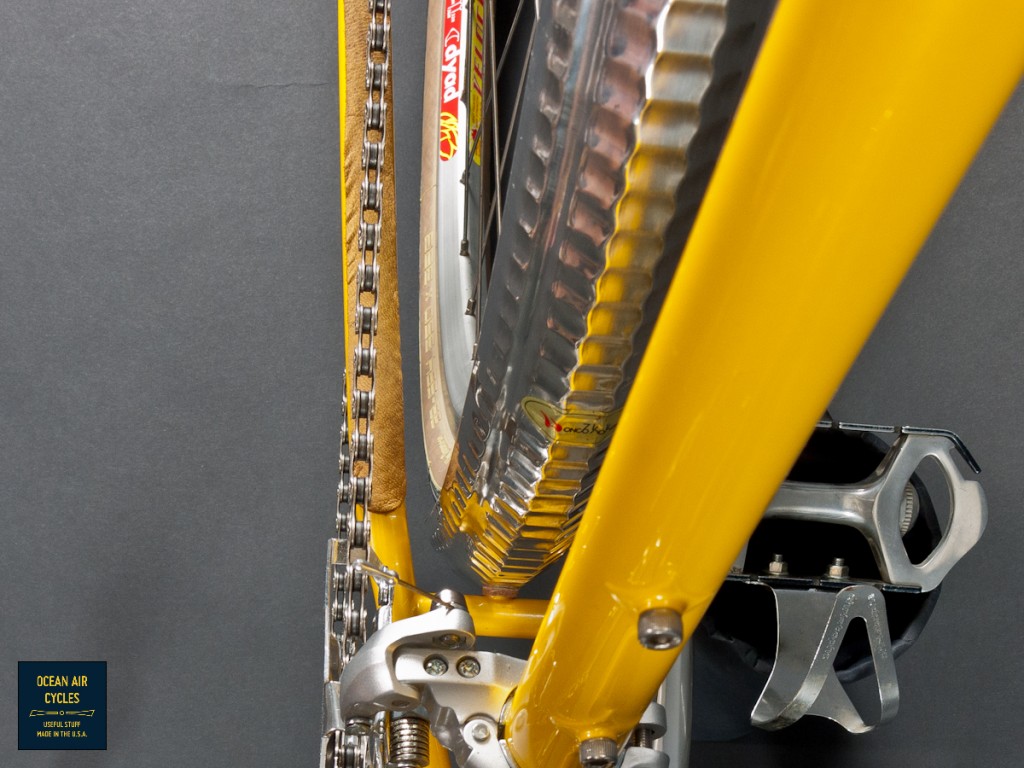
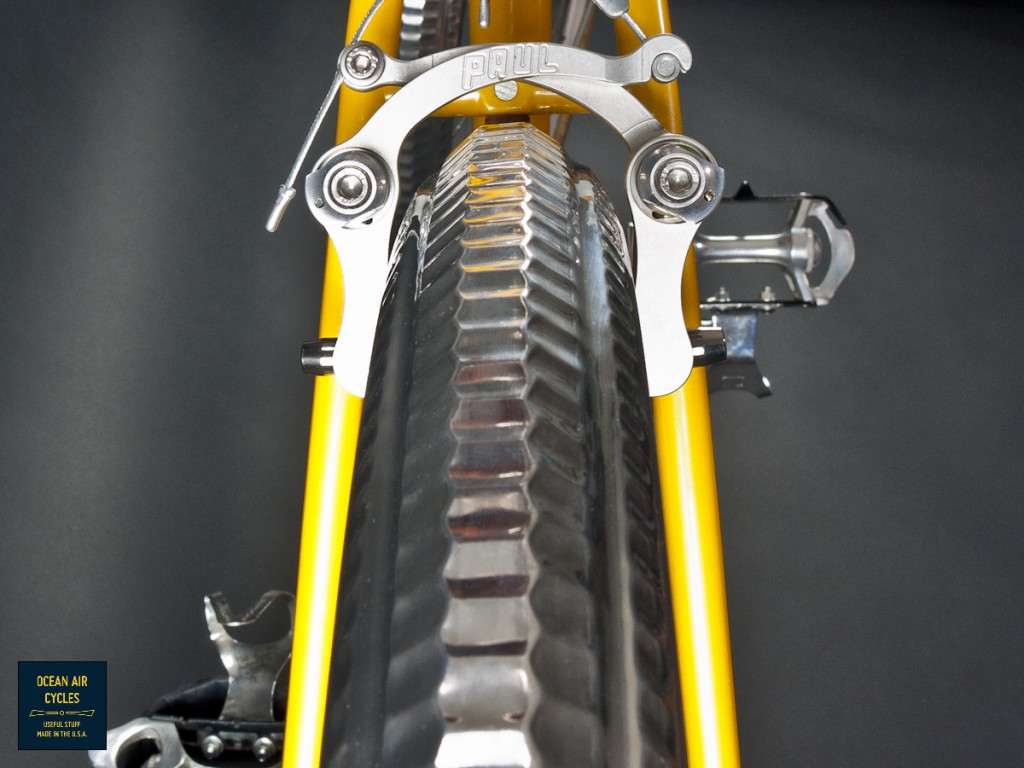
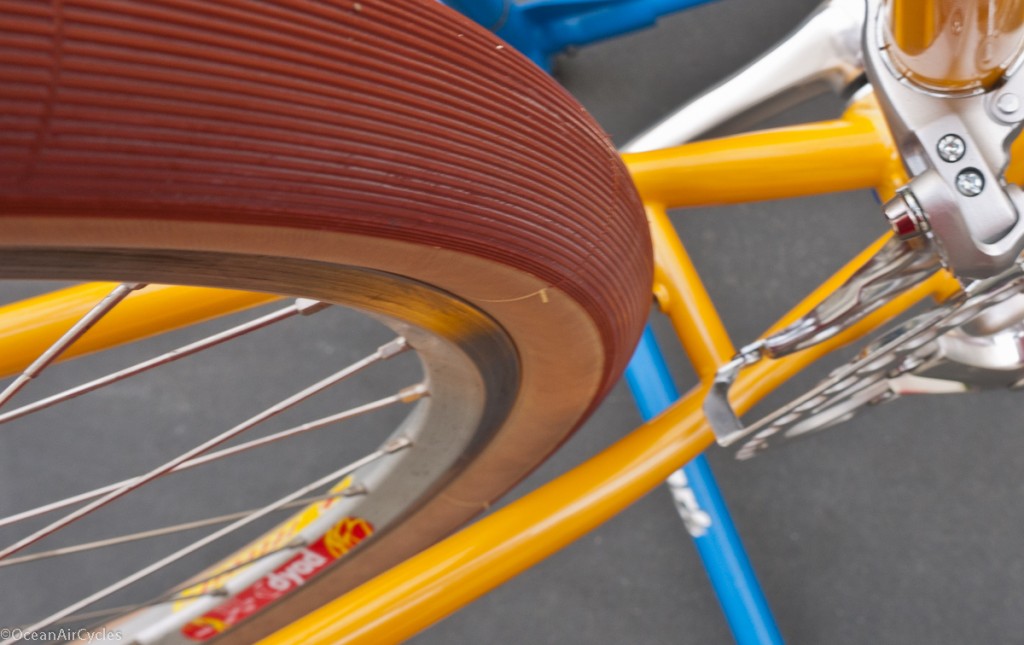
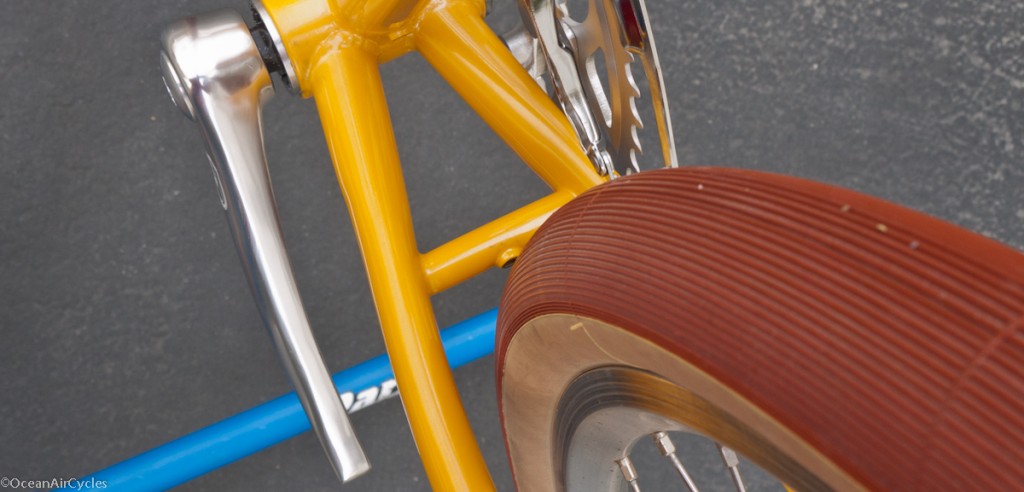
After riding the bike a bit with the Hetre tires, they just felt to big and cushy for the nature of the bike. One lap around the block with the Pari-Motos and I knew it was a perfect match for such a little bike. The hammered Honjo fenders are the 50mm offered by Velo Orange, and are a perfect fit for the 38mm tires. The verdict is still out on how the HWY 1 handlebars will be for the long haul, but I thing the shorter reach is a good thing. The pictures tell the story of the frame details, lighting wire provisions, rack and fender mounts, etc.
Having been in the business of designing and making things most of my post college career, I will never cease to be excited every time a project comes together. Having this bike in front of me to make the pictures, for my wife to ride, and to make available for other people to find joy in cycling is incredible. Thank you for the opportunity to deliver a product that works, and might even be a game changer for some people. Finding small bikes that work and fit well, like the one above is not easy, and I plan on changing that.
The current work space is pretty big, but I still have to rotate the functionality to one tasks at a time. This week has been photo studio. The cutting table gets cleared off, lights and back drops come out, and the product gets cycled through. Here is Rambler No.3 with the bars wrapped.
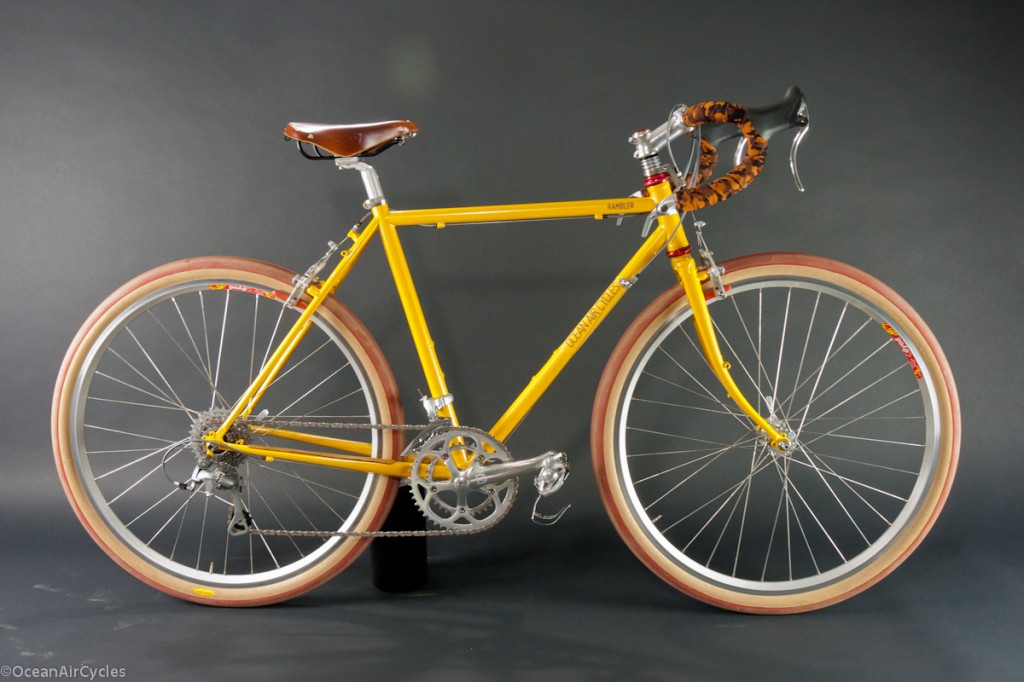
I thoroughly enjoy getting to have a hand in every aspect of this venture, including the photography. Yes it keeps me pretty busy, but I love the work. Next week, back to wrenching and sewing.
We have been getting out on Rambler No.3 for a few test rides. There will probably be a couple of minor adjustments to the cockpit, but it is pretty close to spot on.
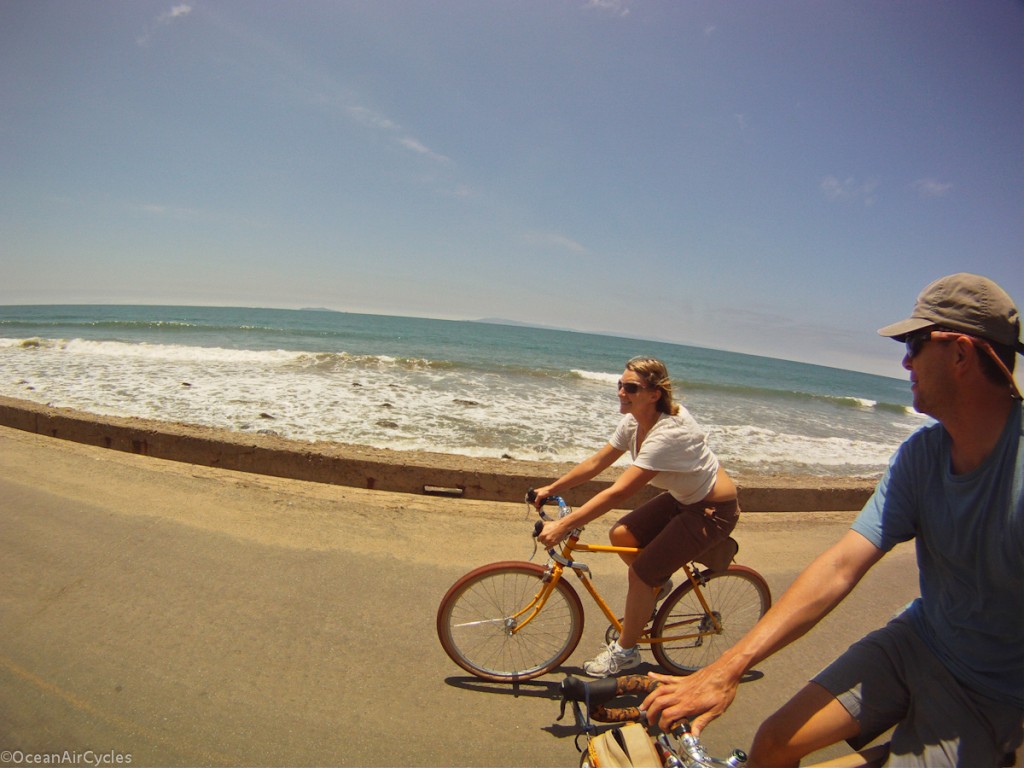
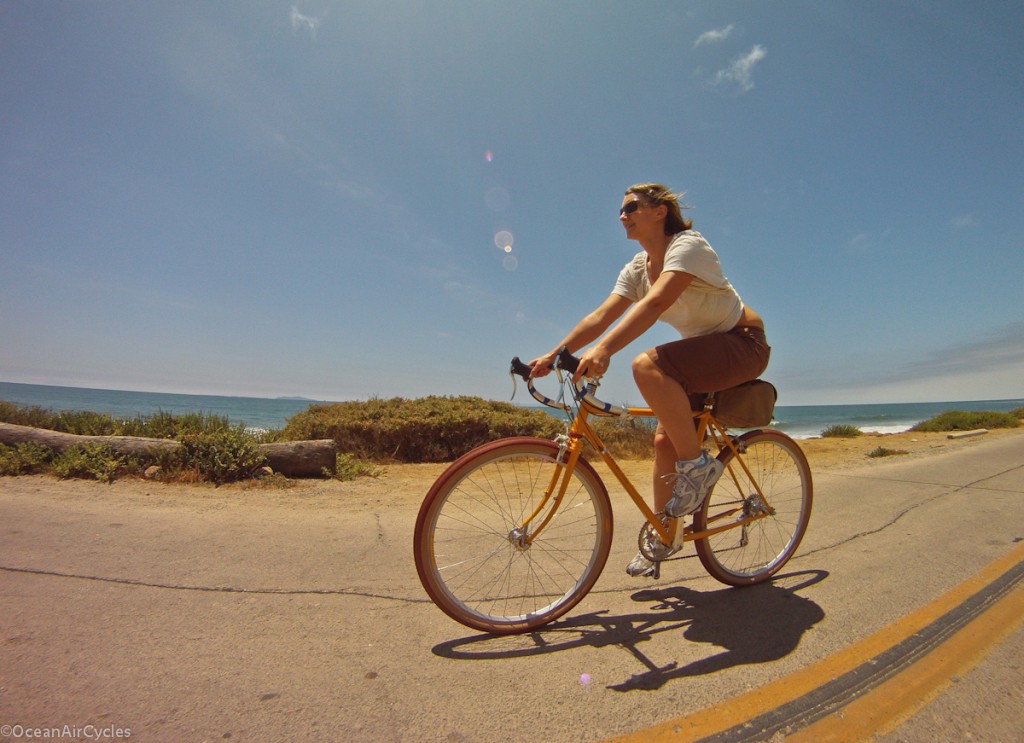
After years of trying to find an off the rack bike that will fit my wife and smaller friends properly it looks like we have a winner. A common problem with many smaller frames is an overly long top tube combined with a steep seat tube. IF the rider is even able to get the saddle into the proper position with a conventional seatpost, the reach to the bars is usually far too long. The most common fix is to push the saddle forward and throw on a super short stem. Unfortunately this often results in too much weight on the hands, possible knee pain and a generally poor fit for the smaller riders.
The 51 Rambler solves this issue with a 51cm top tube and 73deg seat tube angle. This keeps the drop bars at a comfortable distance with a properly positioned Brooks saddle. After more modern shop bike test rides, and a few vintage offerings that have passed through our stable, this is the first time ever that I have had her on a bike with drop bars and seen a smile.
The next step is fine tuning a few things, wrapping the bars, likely swapping out the Hetres for PariMoto tires and getting her Honjo fenders dialed in. More pictures soon!

 A couple of years ago the Rambler was a hope and dream off in the distance
 The ride has gotten started and is coming around the corner fast

The current $75 discount for Rambler Newsletter subscribers ends tonight. While there will be Ramblers for a long time to come, I can assure you they will not be getting cheaper. Think of all the bikes you have passed on and what you could have gotten them for back when you first thought, "God I would love to have that bike", but did not pull the trigger.
This is you chance to make sure it does not happen to you this time!
Part two of how I have been racking up the front end of Rambler No.1. Yesterday you saw the Mark's rack from Nitto. That rack is a great handlebar bag support and for occasional small loads. When I know I will be hauling more volume, and need the panniers, I go with the Bruce Gordon Low-rider rack. Hand welded with aircraft grade 4130 steel in Petaluma, Ca, these racks are IMO the best bang for your buck in front pannier racks. The design is rock solid, the price fair at around $180, and it will likely be the last front low-rider rack you will ever need to buy. If you do need to get rid of it, the used market has been around $120 for as long as I can remember. Here is Rambler No. 1 all racked up:
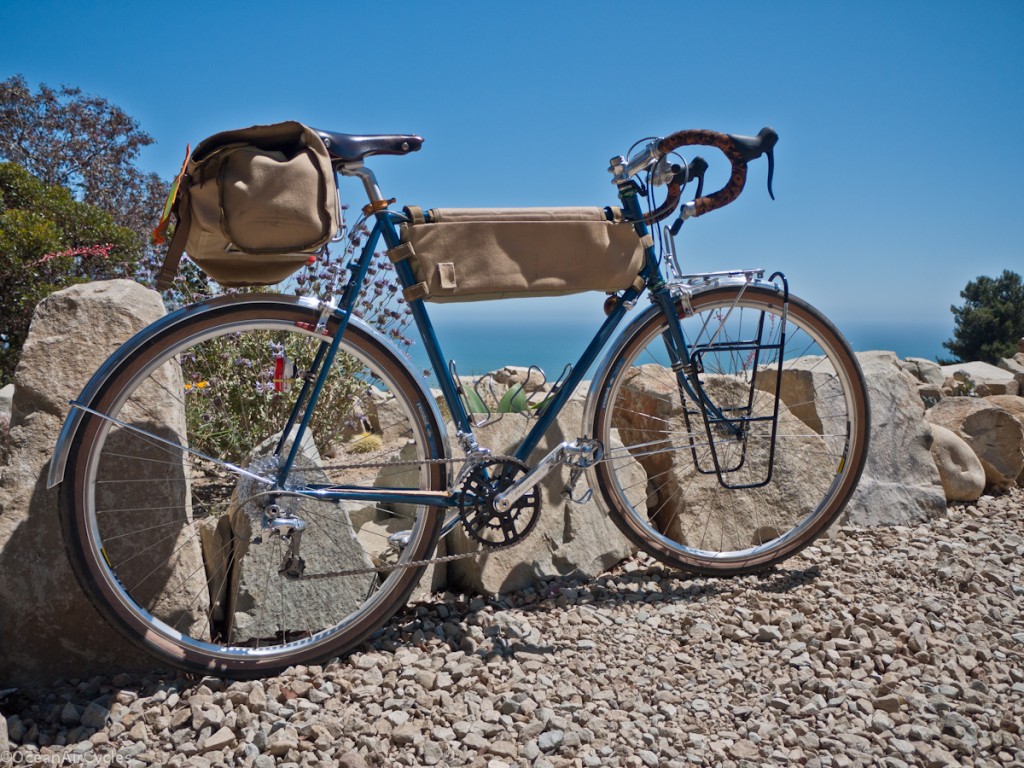
The way I have it set up you can quickly take it off and on without having to alter the position of the upper rack at all. The upper rack mounts to the inside of the fork, the low-rider to the outside. Two nuts at the top and two bolts at the dropout and you are ready to go. Production Ramblers will have the hourglass mount located higher than my sample so that this rack will bolt up right out of the box.
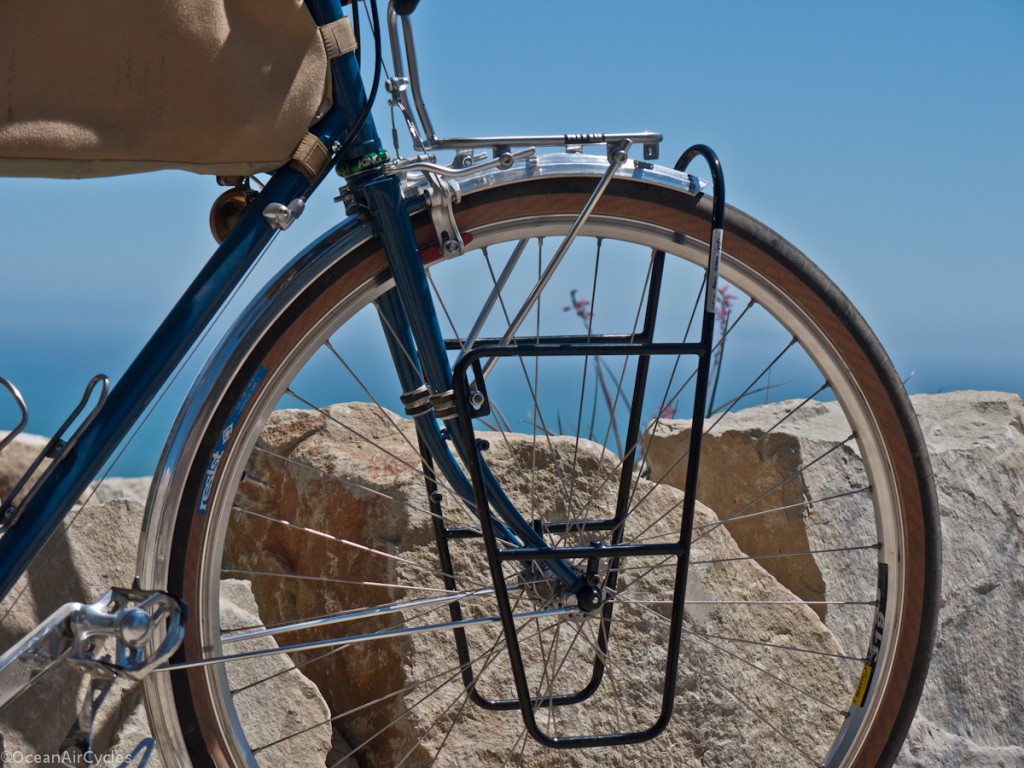
The space between mounting points provides plenty of clearance between the top cross bar of the low-rider and the support struts for the Mark's Rack. Easy on and easy off for the panniers.
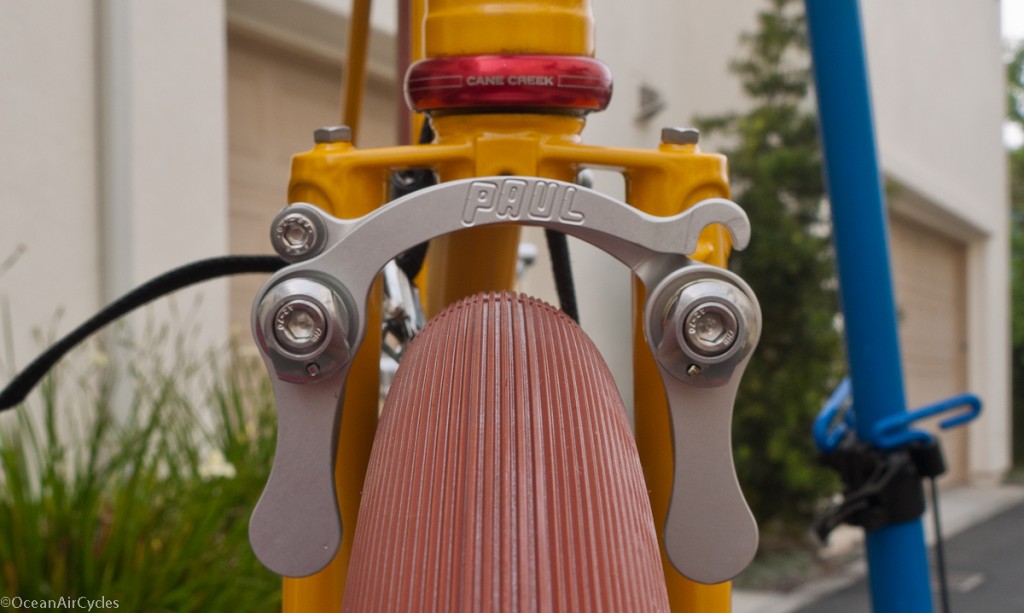
The Rambler while a well handling bike with no load aside from the rider, is designed to ride well with a modest front load. As part of the design there are integral rack mounting points: two eyelets at each dropout, two mid fork hourglass mounts, a hole drilled through the crown at the traditional brake mounting point and two M5 bosses set into the shoulders of the fork crown. One of the questions that keeps comment up with the Rambler is what front rack do I recommend. In particular a rack that will work well with the rack mounting bosses located in the shoulders of the fork crown. While popular among custom bikes of this genre, this mount is less common on production bikes. By providing for two upper mounting points, the rack can be more stable and have redundancy. In the case that one upper mount should fail, loose a bolt etc., you have a second mount in place helping to prevent the load from crashing into the front tire. Trust me, loads into the tire are not a good thing. Solid rack mounting helps to keep things where they belong and you rolling safely.
The most versatile and well made small front rack on the market at the moment is the 'Mark's" rack produced by Nitto of Japan, and designed by Rivendell employee Mark Abel. This rack is made of brazed CrMo steel with a nickel plate finish for long corrosion free service. The mounting has provisions for four struts and a center bracket to the crown. These options allow it to easily mount to just about any bike as a strong and attractive solution. I have been using it on the Rambler with the central mount to the crown and the two front struts connected to the mid-fork. I recently replaces the central mount to the crown with two aluminum struts between the rack and the upper crown mounting points.
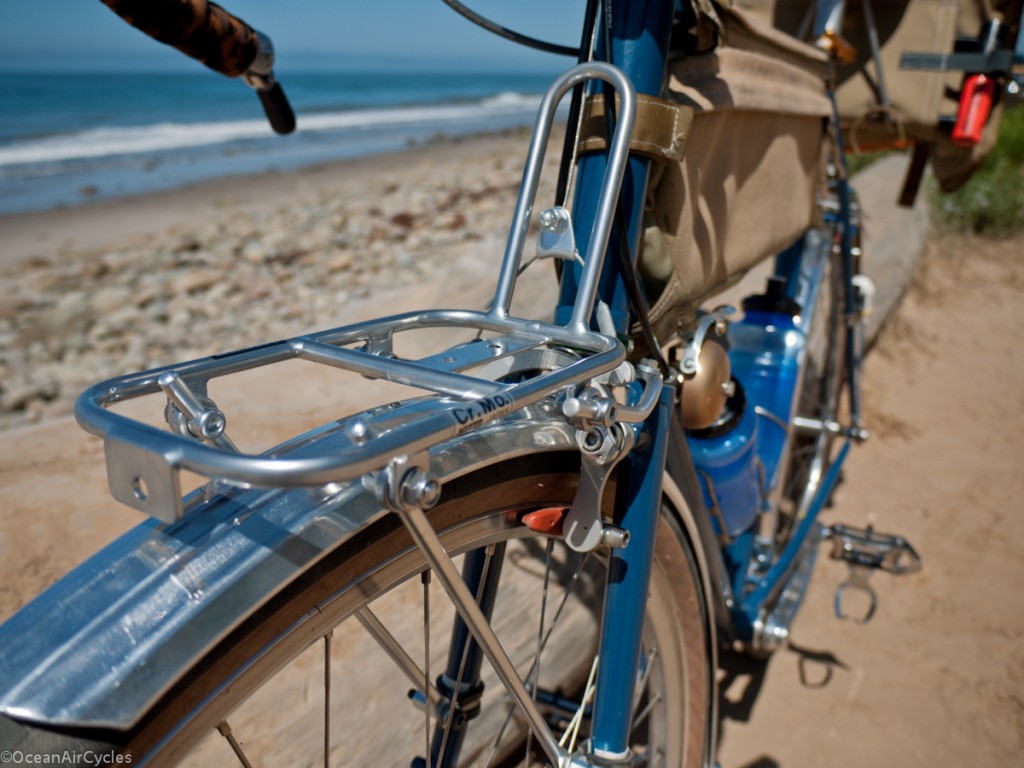
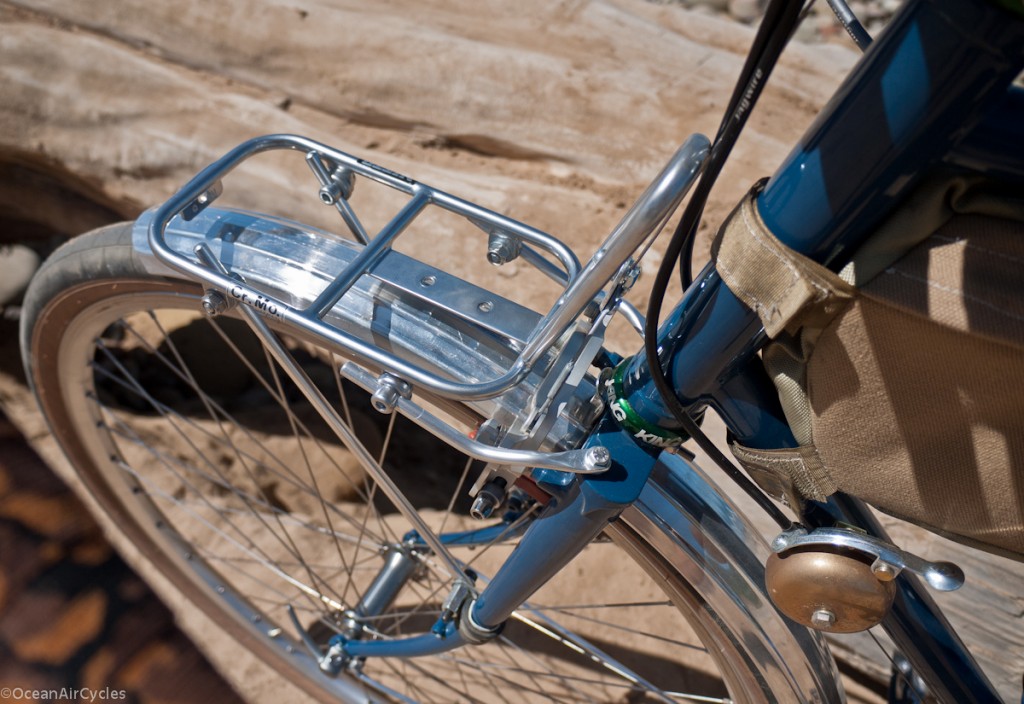

With the mount to the center of the crown the rack was stable, now it is rock solid. I had to reshape the supplied mounting struts a bit, hammer and bench vise. After trimming things to length it all bolted right up. While I knew it would fit fine, it is exciting when a plan comes together. Next, since I have a habit of fiddling with things, I will work out a way to attach the fender r added support and fine tune the fit.
The way I have it set up I can quickly install/remove the Bruce Gordon low-rider pannier rack. I will have a pictorial of this process in the next week. The keen of eye will notice that I have all of this mounted to a band clamp on the mid fork. Production Ramblers will have the hourglass mounted such that the racks will bolt right up. So far little details like this are all that needs to be adjusted between the samples and production. Testing continues, but I am ecstatic with how these are turning out.
One of the fundamental requirements of pushing the limits of the Rambler in the real world is load testing. As the test pilot, this can get interesting. I have both a vested interest in the success of the design as well as keeping my teeth. As much as possible I try to keep the loaded riding practical, i.e. running errands that need to be done anyway. Today I found some of the limits of load distribution while also pushing the boundaries of a prototype saddle bag support.
[caption id="attachment_2841" align="aligncenter" width="640"]
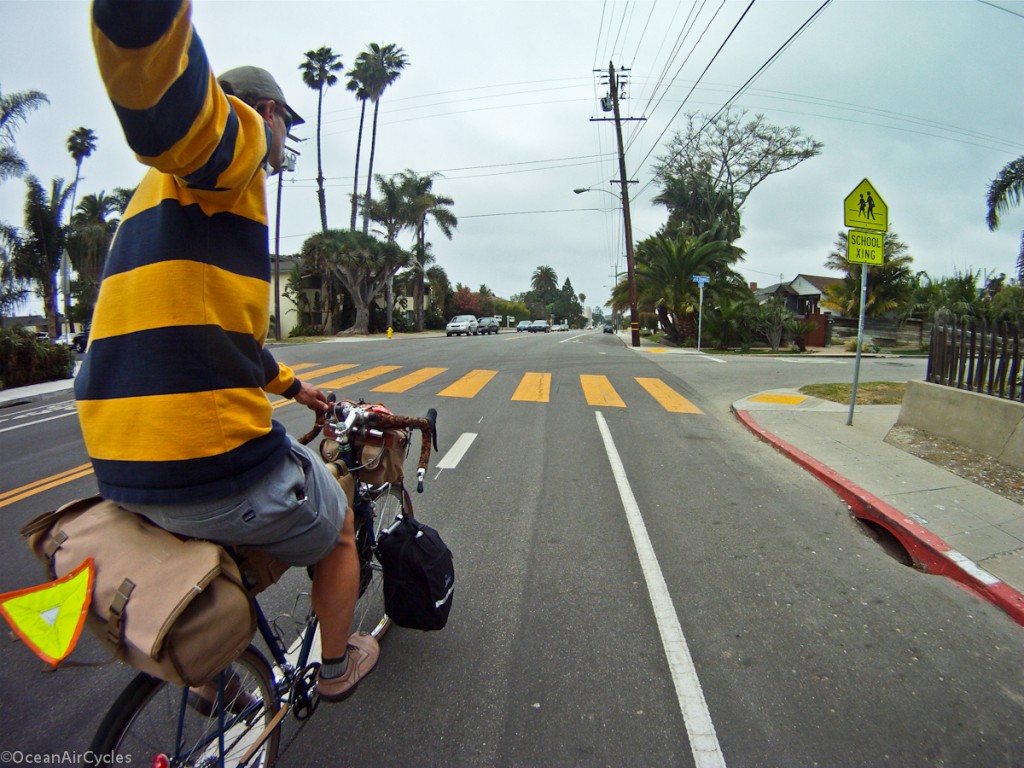
I notice a couple of high vis patterns here[/caption]
Through a series of stops the load progressively pushed higher. I am hitting the scales at about 220lbs right now, the racks add another 3 lbs or so, the empty bags are close to 4lbs and then there is the camera gear at 3-5 lbs. Today's final grocery stop added 40+ lbs of stuff.
[caption id="attachment_2842" align="aligncenter" width="384"]

Yes, we eat like hippies.[/caption]
With load testing the bag support in mind I put all the juice, milk, liquids and potatoes in the rear bag, just over 30lbs. There are a couple of observations. The saddle bag support held the load fantastically without transmitting any twist to the saddle the way a Bagman has in the past. This load did push the upper limit, where the handling of the bike was diminished. I could feel excessive flex in the rear of the bike, and while nothing broke, after a mile or so I stopped to redistribute the load. The sensation was more of a tail wagging the dog, with twisting of the frame from the rear as the load swayed. I moved roughly half of the rear load to the panniers and everything went back to normal for the 10 miles remaining. I could even ride well enough with no hands.
This confirmed my design optimization of keeping the front end stiff enough for stability with moderate loads and the rear end compliant for both pedaling and road quality comfort. With or without load, I am ecstatic with the handling of the bike, and managed to hit 98% of my design goals on the first pass. While not wanting to put a weight limit on the bikes, rides like this help me to clarify the outer boundaries, and are fun too. There is something primal yet fun about pushing the limits of our creations and having it work.
Aside from the usual ride the heck out of the bike sort of testing that needs to happen, I am also enlisting the services of a lab to test the frames and forks to EN standards. This is to ensure that the designs OAC puts out there will exceed the European standards for racing and trekking bikes. These standards are more stringent than those set forth here in the US, and help to ensure that these bikes will not only function as hoped, but meet the strict minimum standards loading and fatigue. Today the pedaling fatigue tests started, and this is what the frame looks like in the testing machine.
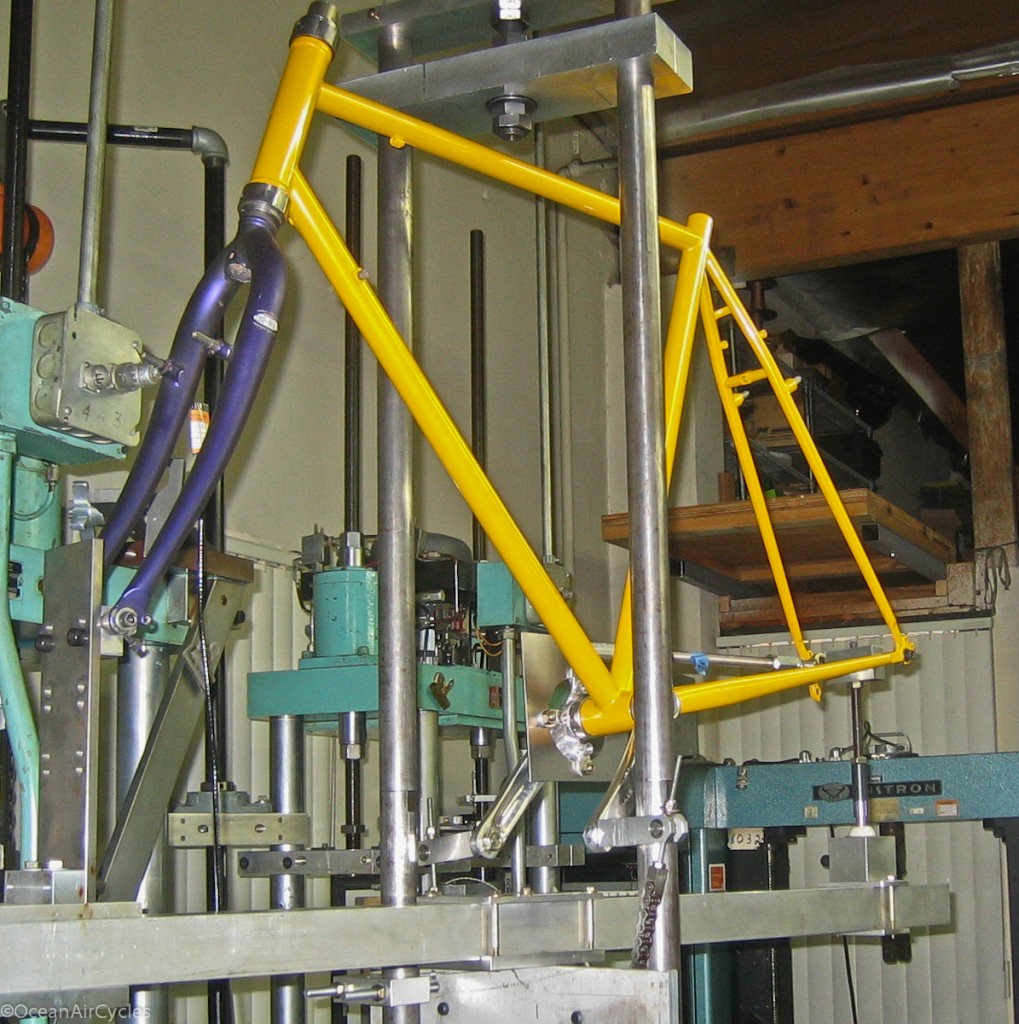 This test will run for about a day, and then we move on to impact and fork fatigue and impact. The lab while closer than most is still a few hours from OAC Headquarters. This makes coordination of me being there a bit of a challenge, but the goal is to be there and capture some video to share as well.
This kind of testing will be integrated into our ongoing QC processes as we move from testing into production. It is just part of the full program to ensure that the frame set you buy to build up into the bike of your dreams will be everything we here at OAC designed it to be. This kind of testing, while being the smart thing to do is not mandatory in the industry depending on how a company markets its frame sets. Many companies do this, I also believe many do not. Those that do seem to put it out there, brag about it, or at least mention it. It should make you, the rider, wonder what has been done to make sure your current or future bikes are what you hoped in terms of material performance.
I know I will be keeping everything as transparent as possible, so that you all out there can have confidence with any of our bikes between you and the road .
 View of "The Ranch" from the train, this strech of open coast is all privately owned and off limits for most of us. I dream often of being able to ride and surf there. Beautiful open land, the way this stretch of coast has been for hundreds of years.

 Surf Train Station, no Cell coverage, nothing but you, the beach and a road out. Not a place you are likely to end up by accident.

 Out of the coastal fog, through Lompoc and heading down Santa Rosa rd. This is an incredible example of the hundreds of miles of country roads the California central coast has to offer.

 Yes it was hot, and consensus was clear, it was time to stop and sample the local "grape juice"!
 To help keep things light we ate in restaurants, Buelton is home to a few good ones, and we picked Firestone Brewery. Sorry no Pics, hunger was over riding the creative side of the brain. The Burger was fantastic, I could have had two, but logic prevailed. The Flying Flags campground was pretty nice. Although, next time we all agree that we would rather push a little further into the ride for the first stop.
 The next morning started with a few miles to wake up and grab some breakfast in the next town of Solvang. The whole town is Dutch themed, one of those places you have to visit to really understand. Bellies full, we pushed off.


 This was the start of the real climbing on Refugio Rd., 4 miles of sustained 10-14% grades. The legs were willing, the heat was climbing, and I will admit, that I opted to hike-a-bike through plenty of sections. I was carrying too much weight for this leg of the trip. I had looked at the map and elevations, but did not really appreciate it until I was all the way immersed. It was hard going up, I was focused on making the top, and the camera never came out for the next hour.
 Over the top and well above the coastal fog. At the break between the fog and horizon you can just make out the top of the channel islands. The ride down was a blast, but Refugio Rd is in terrible condition, many potholes. I elected to keep my hand on the bars and not fool around with the camera.

 Heading into Santa Barbara. As we worked our way South East along the coast, we were flirting with the edge of the fog bank the whole way. The summer temperatures were cool and crisp, but the regular tailwind never made an appearance.

 The last view back up the coast before the final 10 mile push home.
 The trip was perfect, the company, weather, terrain etc. This is sure to be a stepping stone for more local rides like this. The whole thing was comfortably pulled off in just over 36 hours. I could have brought less, we could have done a few things differently, but it all worked out. My legs are the only part that is not in a state of recovery this week. I am still processing my thoughts on the trip and will be sharing them over the coming weeks as I make some changes in my gear. The Rambler continues to exceed my expectations for this type of riding, and we are all looking forward to getting back out there.
Thanks Mike and Jefe for helping to make it all happen.


