Earlier this week I landed a Brooks Swift in trade for a B17 I had on a bike that sees only occasional use. This presented me with the opportunity to take some side by side comparison shots. The pictures tell a good bit of the story (L toR Berthoud Touring, Brooks B17 and Brooks Swift:
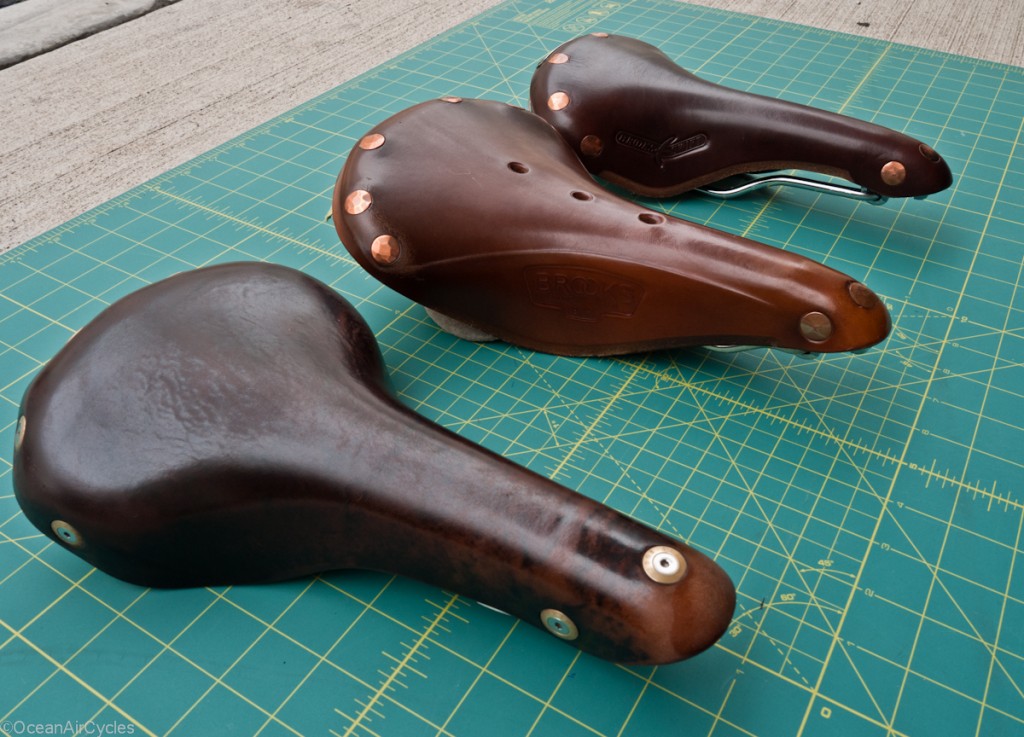
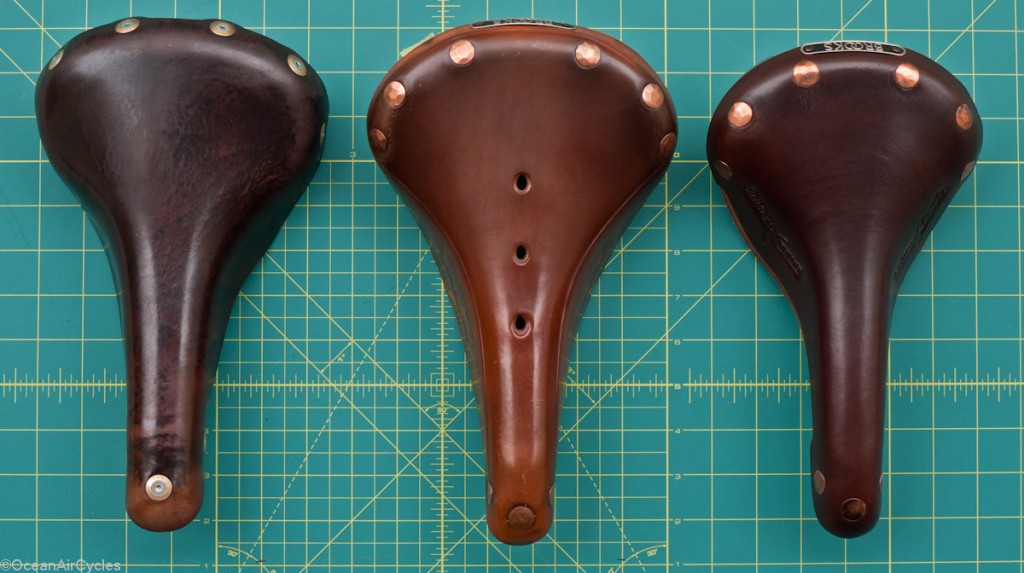
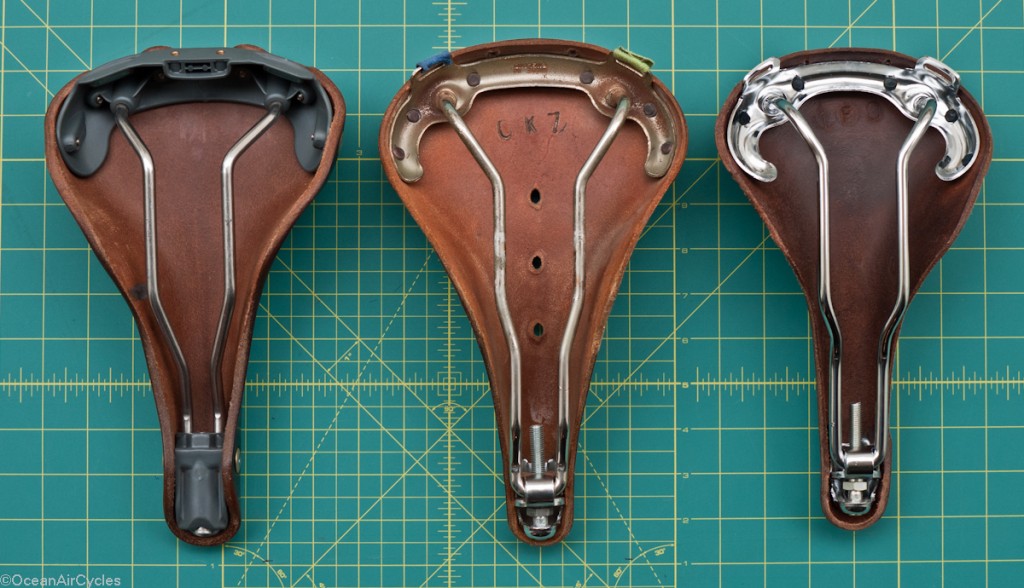

The Bi7 is a few years old with about 7K miles on it. The Berthoud is now two years old with about 5k miles on it, and the Swift is fresh out of the box. All three saddles have a similar plan shape that I prefer, the relatively wide flat rear with a quick drop and taper through the nose of the saddle. I am pretty big at 6'3" and 210 lbs, and the wider saddles provide adequate support for my sit bones while the arrow nose reduces the chance for thigh rub. Also, all three saddles have steel rails. While the general shape is similar, the overall dimensions vary as shown:
| Saddle |
Weight (g) |
Length (mm) |
Width (mm) |
| Berthoud Touring |
509 |
278 |
158 |
| Brooks B17 |
557 |
285 |
170 |
| Brooks Swift |
504 |
273 |
153 |
The one thing that the stats do not clearly indicate is the flatness of the rear portion, or more exactly the way the flatness drops off outside of the four central rivets. The B17 and the Berthoud both remain flat almost to the outer edge of the saddle. The Swift while flat in the center, drops off in a taper towards the front and sides, leading to a much narrower fit than the dimension may let on.
In the picture showing the rails, I lined all three up with the forward most point of rail mountablity in the same position. When on my bikes all three are pushed back as far as they can go. With this position my sit bones hit just forward of the second rivets from center. Thus while there is some variation in length of the rails on the three different saddles it is kind of moot point for how I have them on the bike.
While I have only logged 50 miles or so on the Swift I can say that I love all three equally but different. The B17 is perfect on bike where the bars are at or above saddle height. The wider rear better accommodates the wider stance of my sit bones when in a more upright position. I also find that the B17 is much more comfortable with thinner shorts and a chamois adds more bulk than is needed. The Swift is more suited to bikes where the bars are below saddle height. The narrower contact patch adequately supports my sit bones with my torso rolled forward, yet the drop off at the corners and narrow nose keep the pressure off of places where you do not want it. So far I have only ridden the Swift with my Ibex knickers that have a chamois, but based on my initial impressions I look forward to this saddle when things warm up a bit and I get back to my normal shorts. The Berthoud is my Goldilocks saddle. I have had it on every bike in the garage, bars high or low it was comfortable. The sweet spot was with the bars at saddle height on the Roadeo. I am hoping that with some break in the Swift will be as comfortable.
The Swift is on the Roadeo for break in and experimenting with the bars set below the saddle. I am looking forward to putting the miles in with this one.
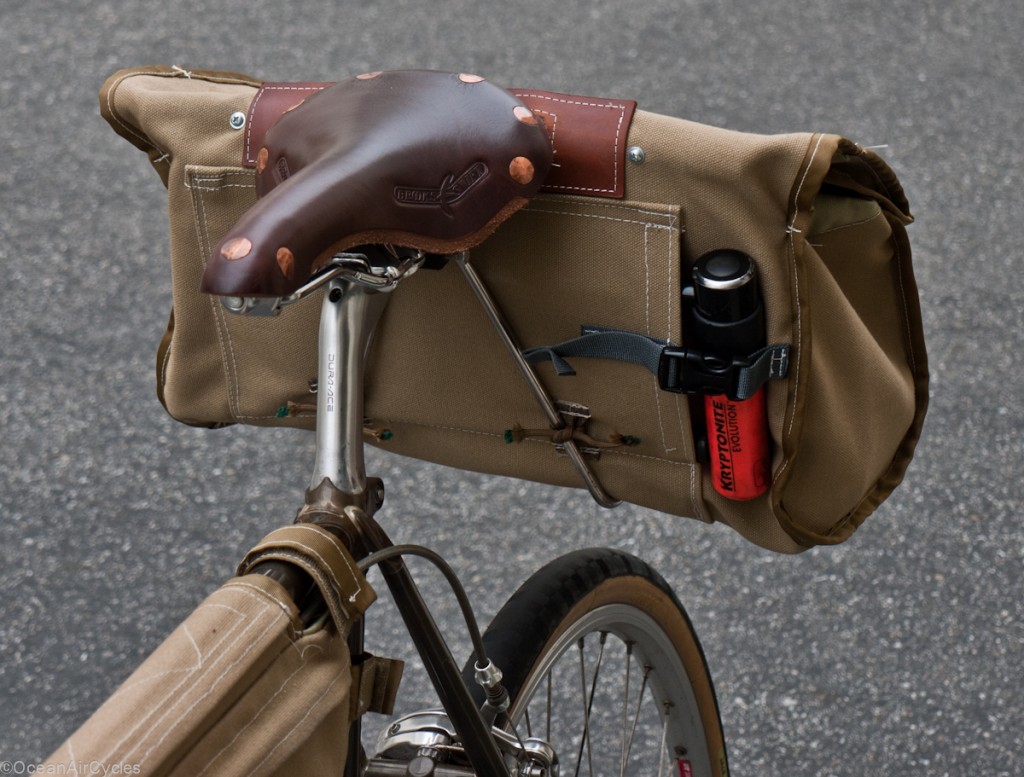
The traditional mounting of the bag to the bike with leather straps and a dowel is still hard to do better. Is light, strong, and relatively quick to get on and off if needed. In the last post I mentioned my pet peeve with the buckle design, and now that my saddle bag design is in motion it was time to move on to the straps. Many of the traditional strap designs that are still on the market today have the keeper integral with the buckle. This will hold fast, but not lay flat around the tight bends the system uses. The buckle stands proud rubbing against the bag and gear.
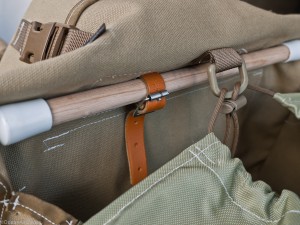
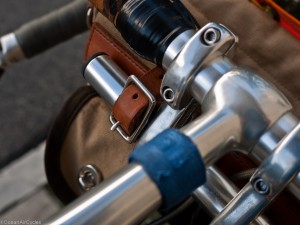
While this has worked for decades, and years for me, have had failures, and it made for some very long days. Looking through what had been done before, I decided to go with a keeper that is soft, integral to the strap and holds the tag end of the strap flat to the bag.

After completing one prototype yesterday I was still mulling over the design and made another set to put on my Acorn Hobo Bag.
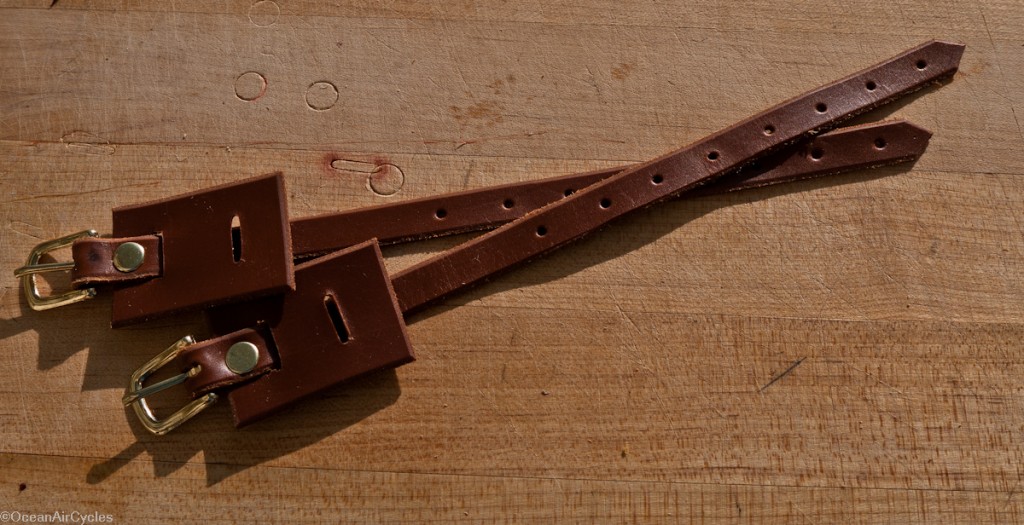
I oiled them up, dried them overnight and mounted them up this morning.

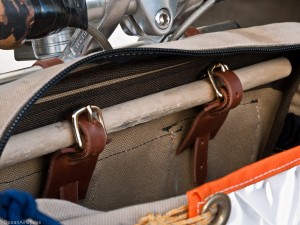
There are no pokey sharp corners going after the cargo. The tag ends are nice and flat, out-of-the-way. The first impression is really good with these. The leather I had on hand is a little thin for straps, but I will keep an eye on them.
Now to make some time for "Testing"

Not trying to re-invent anything, just use an appropriate design, and sometimes the tried and true really do work best. Other offerings never sit as flush as you would hope, and have even worn holes in water bladders and such. Yes, that was a very long day to find out the 2L of backup water had been dripping down the road behind me. The above is a test piece, as I refine the idea to meet the needs for mounting bicycle luggage.
From the first day I strapped my first carradice on my bike I have had ideas bouncing in my head on how to make it less historical in design and more of what I wanted it to be. Yesterday I was out of bed before 5 and drew out the preliminary sketch that has been fermenting in my head for months now. All day jamming between the baby's naps and all the other things life throws at us, and the results are really good.

With my Carradice Nelson Long flap I alway found myself wishing for either a little more space, or that the thing was not as floppy with stuff only in the side pockets. Solution, the pockets are gone, and the bag is 2 inches wider. I resolved the hunt for a place to store the U-Lock that has become a part of our daily lives, great security, but how to carry the heavy things and get to them with ease when needed. The bottom is double layered, with a pocket to slide in a stiffener, preventing sag of small items around the BagMan support. I used the long flap design and internal skirt, they work great. Leather was used only to prevent chafe at the saddle, otherwise it is nylon and clips, no more fiddling with buckles in the dark. I have had a love / hate relationship with my Bag Man over the years, but have settled in with it an a slightly modified state. I relocated the traditional mount to the seat post with two dedicated attachment points to the rack, and the bag is rock solid on there.
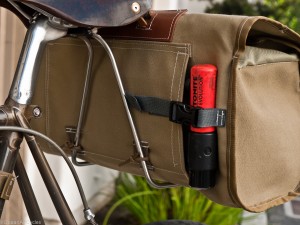

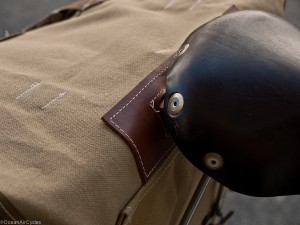
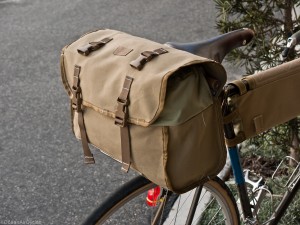
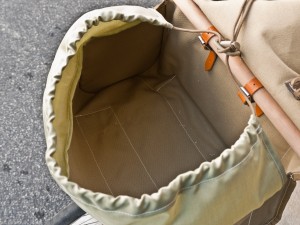
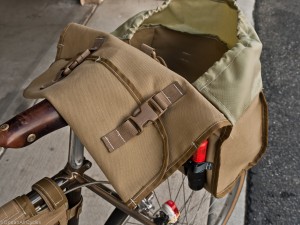
There are only a few minor things I would adjust, but I am really happy with the finished product. I can start making this on a custom basis if you are interested. Prices Start at $150, and I can tailor the bag to your specific rack or support. The link for contact is at the top of the page.
Thanks to my wife's patience and her dad for babysitting for us in the morning. Also, thanks to Jacque, the new old sewing machine is a joy to use.
New To Me May 17 2011, 0 Comments
This morning's adventure was an incredible Craig's List score, Singer 66-16, restored

Best part is the seller, Jacques, restores these for fun and releases them back into the wild. He threw in the button holer, a bunch of accessory feet, an extra motor and an original singer oil can. Even better is the offer for help if I ever need it.
THANK YOU Jacques!!
This one will be going on a 64cm Rivendell Atlantis and is ready for some touring action.
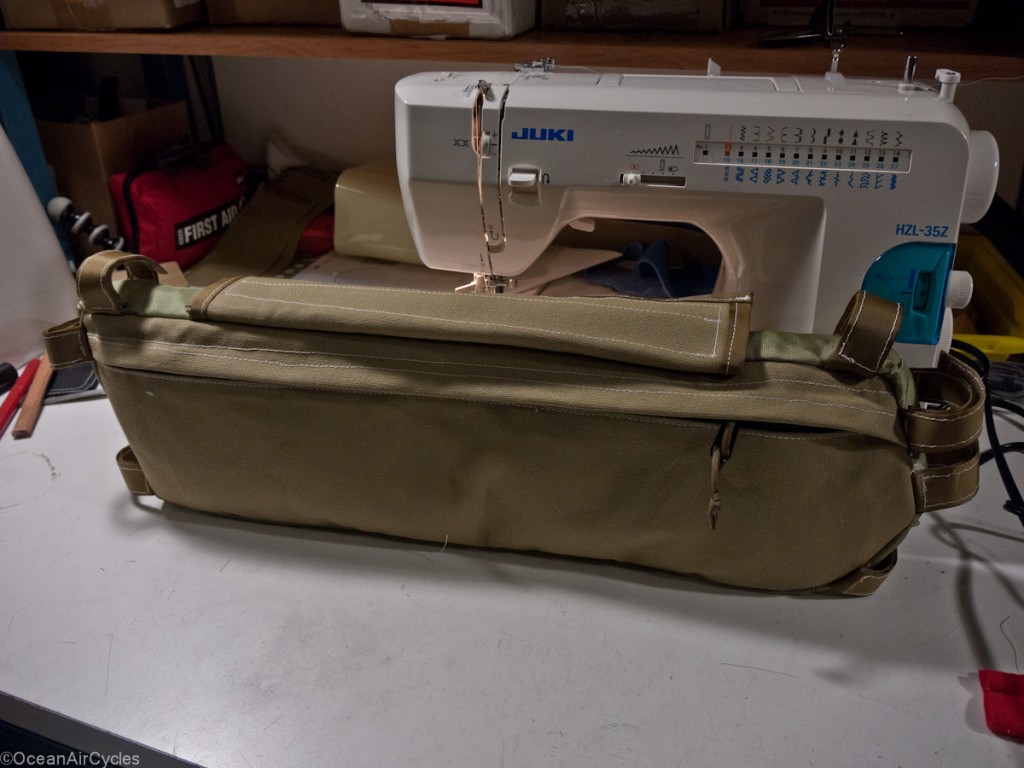
It is only a little bigger in each direction than the one I use on my Roadeo, but 1/2 slimmer to accommodate the possibility of down tube shifters in the future. Perfect for a water bladder, tent poles, or other long skinny gear that otherwise might be lashed down.
At least most things, and maybe new twists on old themes. I was at the local used book store the other day. Every now and then I stop in to see if something new has shown up in the areas I like, and ran across Gail Heilman's bicycle touring book. While skimming through this one I ran into a line of bags from Velocipac I had not seen before.

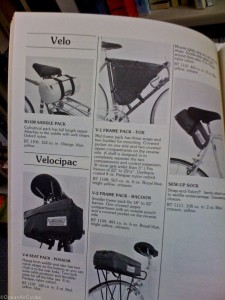
It seems they had made full triangle frame bags for a while.
This really shows the limitations of the internet as a catalog of all things. Today there are a few companies out there making bags like this for Lightweight MTN Bike touring, and me taking the canvas approach. But when you search the history of the things there is a big jump from the Swiss Army bike bags to the modern jumping right past things like this. Some other interesting bags of the era were made by MountainSmith under a BikeSmith label, and a local Ventura company was making bags under the Kangaroo label. It is near impossible to find good information on either company's lines.
There were other bags that were quite interesting too, maybe a few good ideas I could incorporate into other bags. Nothing new, just recombining old ideas to suit my needs.
The long and light pole cam 1.0 was upgraded to a wingnut for the jam nut today. This makes the removal of the GoPro attachment much quicker.
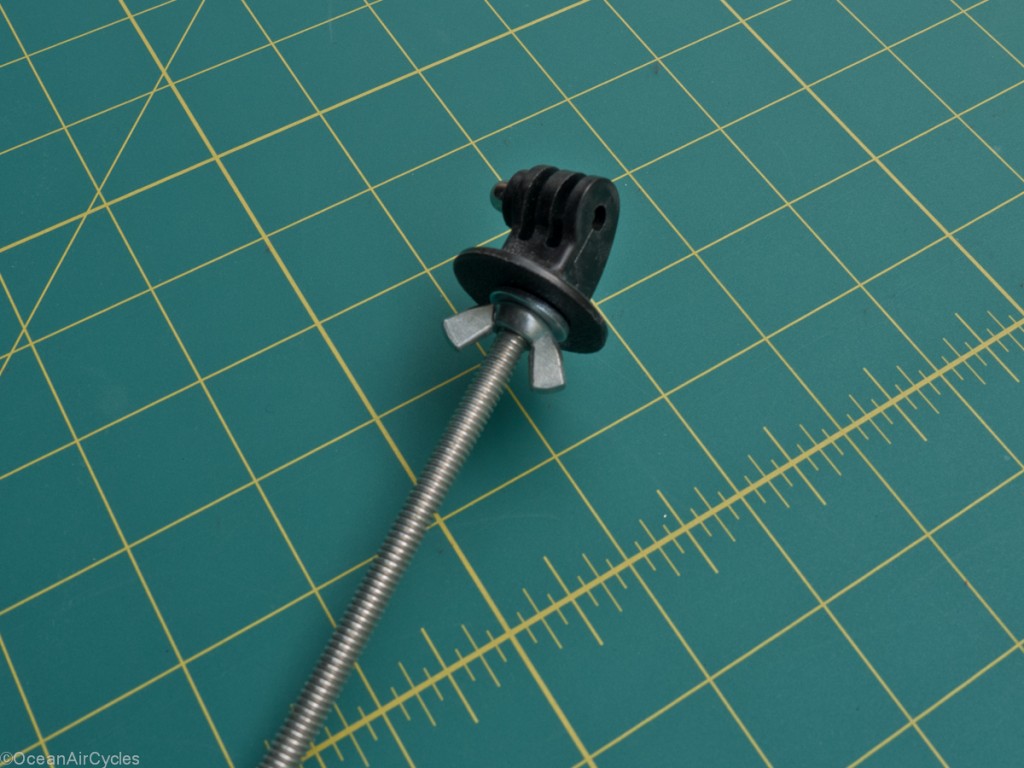
While at the hardware store I also picked up some thicker all thread to make a short and stout model capable of slinging the GF1. It went together well enough, but I will be shopping for a lighter ball head mount.

These are pretty good for prototyping, the all thread needs something to cover the edges though, I am thinking thin tubing?
One of the challenges of being the photographer and the model is getting the camera far enough away to capture the angle of view you a shooting for while still being able to control the camera. Often times is will use a combination of tripod, remotes and timers. Other times, as readers likely know, I use the low tech solution of keeping my arm stretched out as far as I can without dropping the camera. This past week I put a little time into fleshing out a pole mount for the camera.
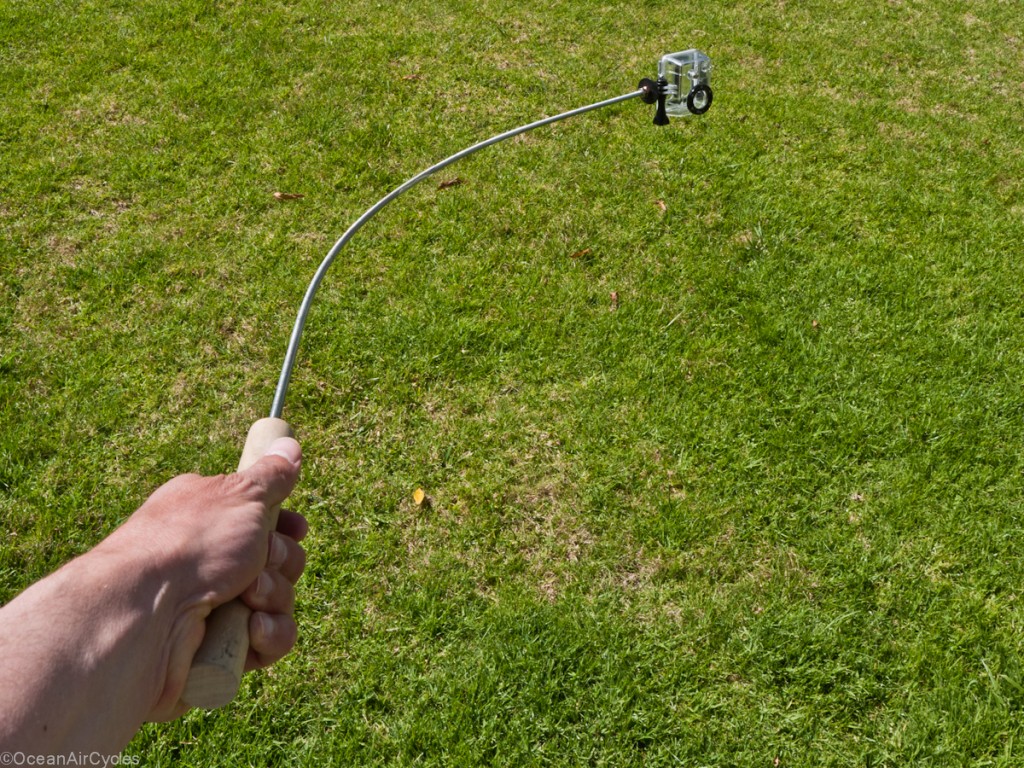
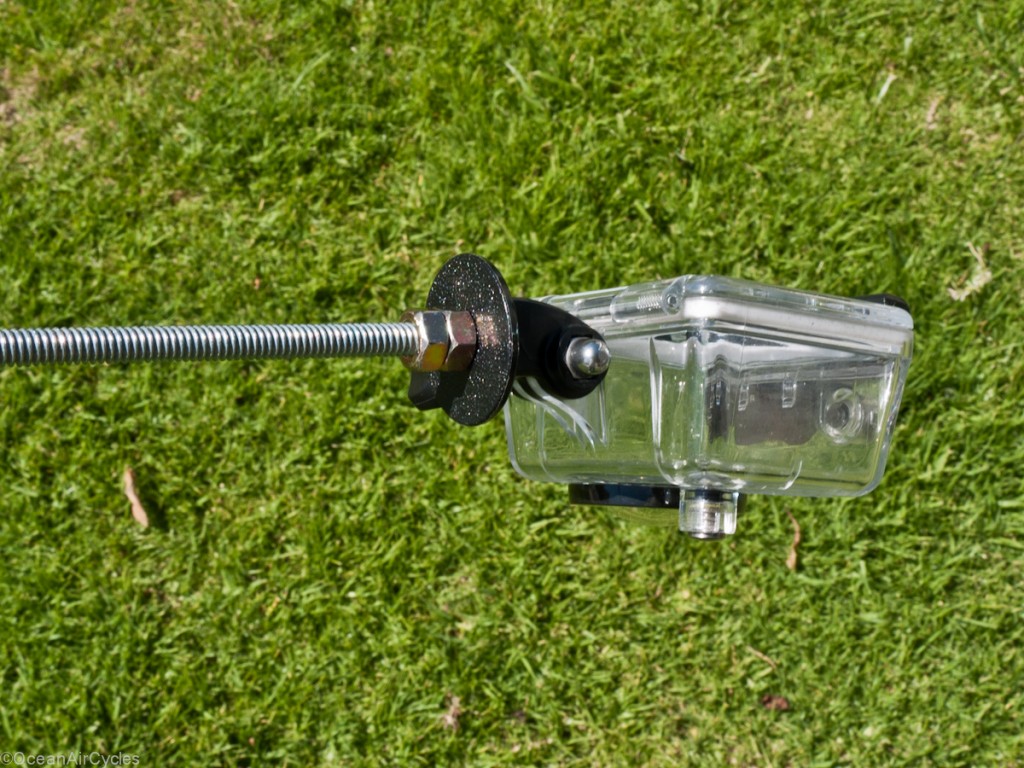

Version 1.0 has been going pretty well. Materials list includes; 1/4 - 20 all thread, a piece of scrap dowel and a couple of cinch nuts to keep the mount secure at the camera end. It is a little whippy, but more than stout enough for the GoPro. The bend in the first picture is cold set using an old 26" wheel as a mandrel. The length works well for the Xtracycle. I am not sure how to carry it on my other bikes, and now I have a shorter version on the project list as well as a stouter model for the GF1
What do you put in a frame bag for daily use? Today it was my Houdini jacket, one dozen eggs and two avocados.
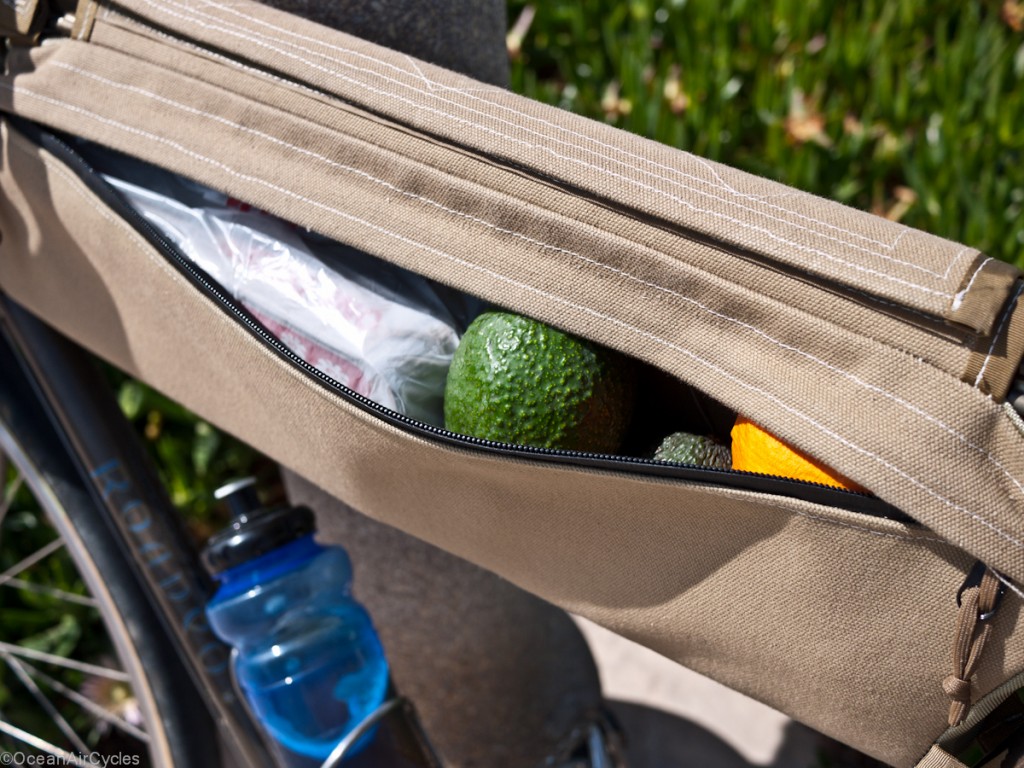
Most days is has my Gorillapod with extended legs as well as the Houdini,
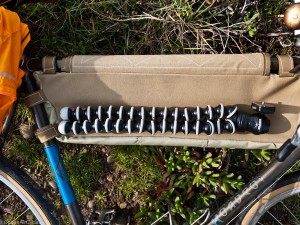
On longer rides can get a 2L Platypus bag of water in there with the jacket and a first aid kit with room to spare (I still need to grab a picture of that). The most asked question by people on the street suprisingly is, "do you keep a fly rod in there"? and if I was going camping it would be the perfect place to keep the tent poles.
When I first made the bag I knew it was going to see more than touring duty, but it turns out to be incredibly useful every day.


 The Bi7 is a few years old with about 7K miles on it. The Berthoud is now two years old with about 5k miles on it, and the Swift is fresh out of the box. All three saddles have a similar plan shape that I prefer, the relatively wide flat rear with a quick drop and taper through the nose of the saddle. I am pretty big at 6'3" and 210 lbs, and the wider saddles provide adequate support for my sit bones while the arrow nose reduces the chance for thigh rub. Also, all three saddles have steel rails. While the general shape is similar, the overall dimensions vary as shown:


