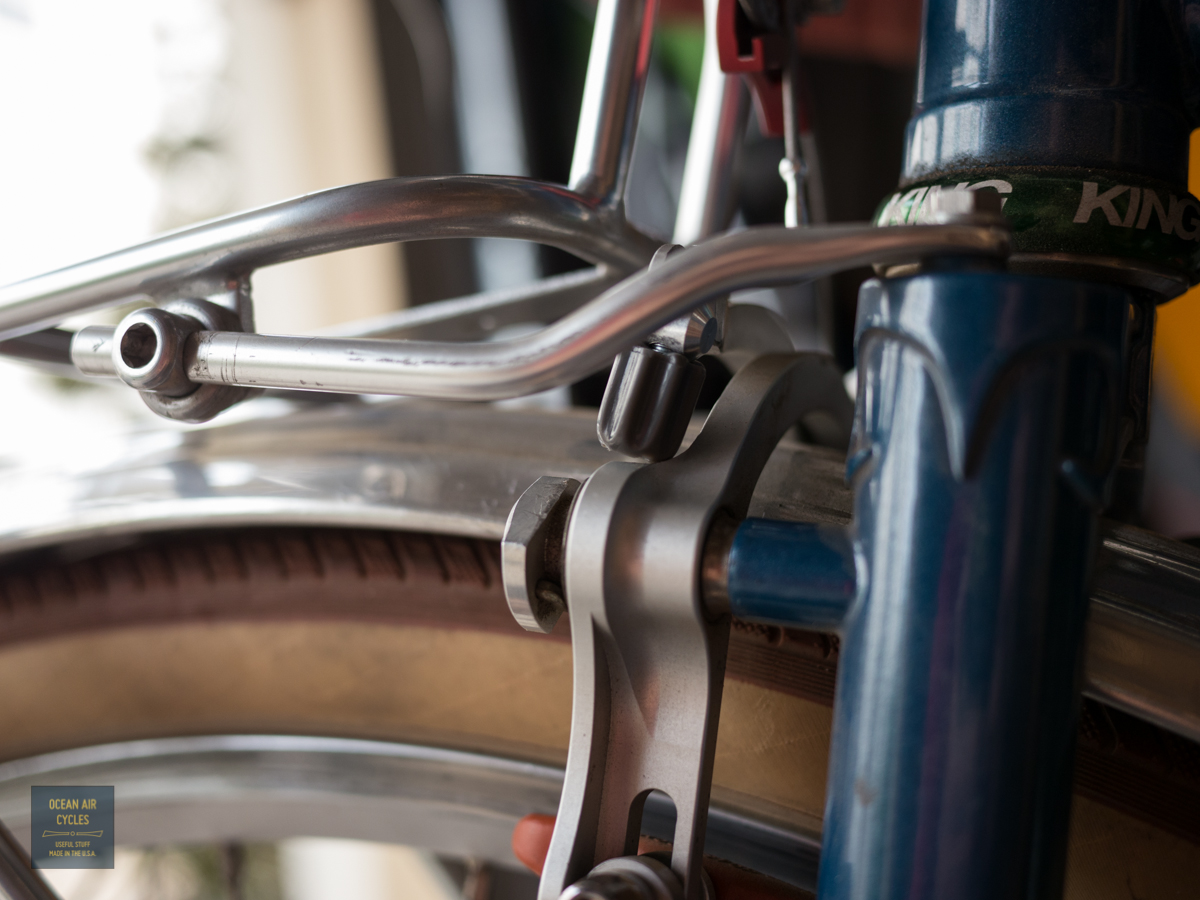
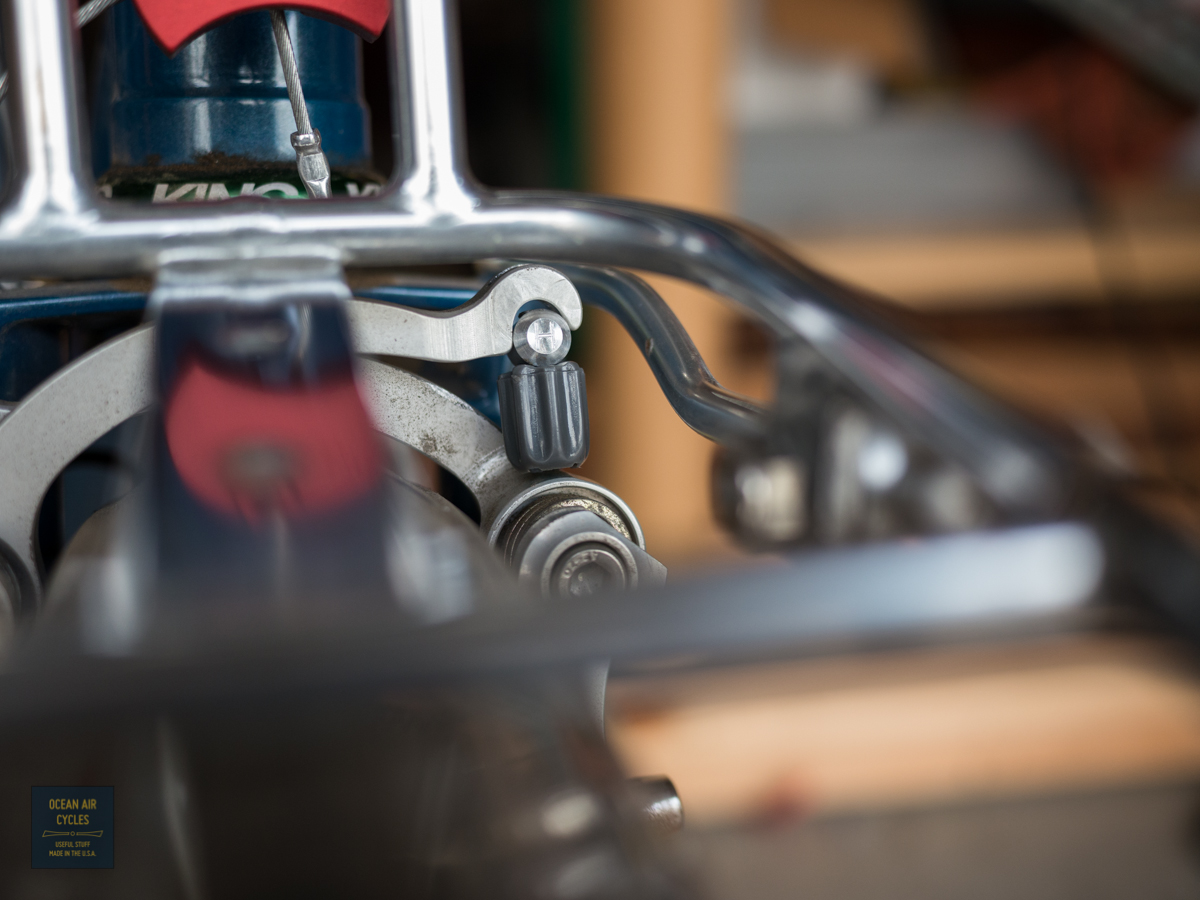
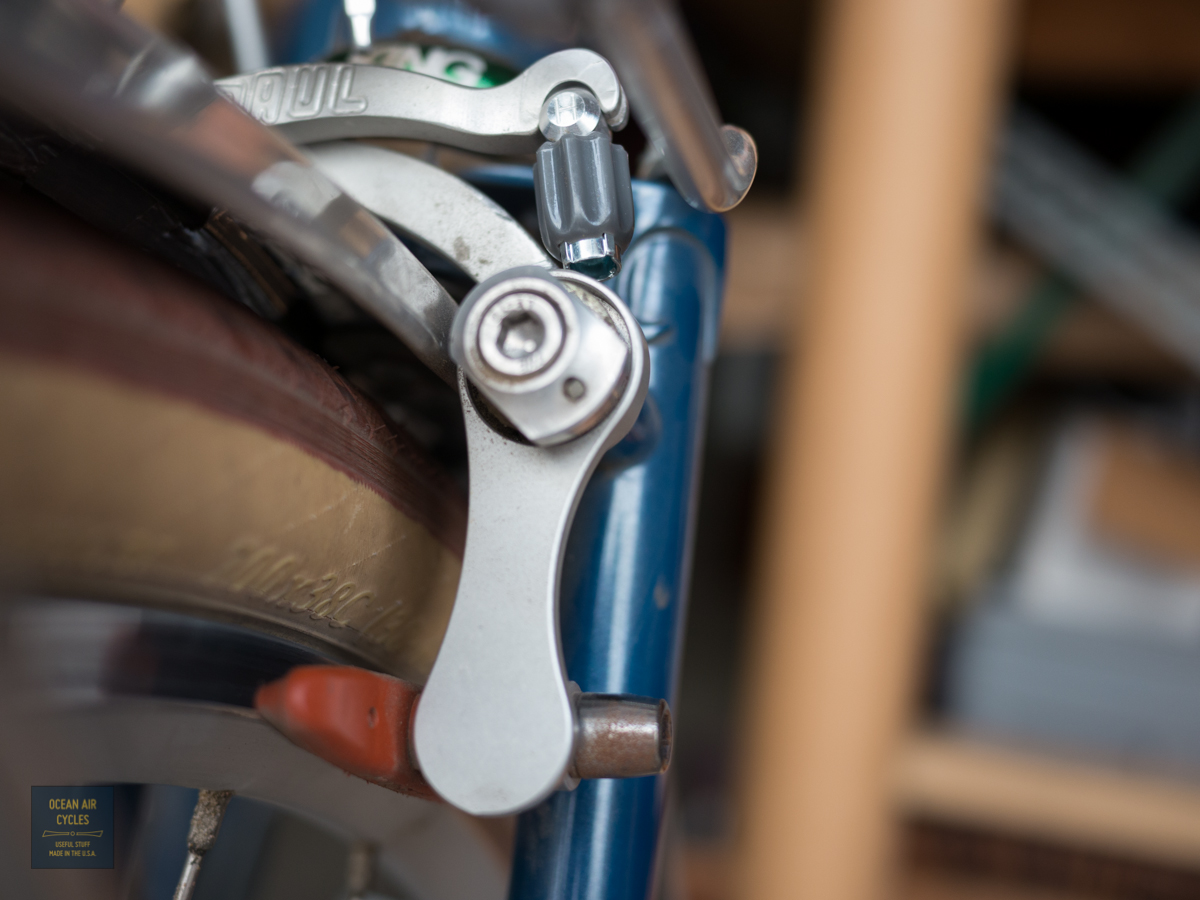
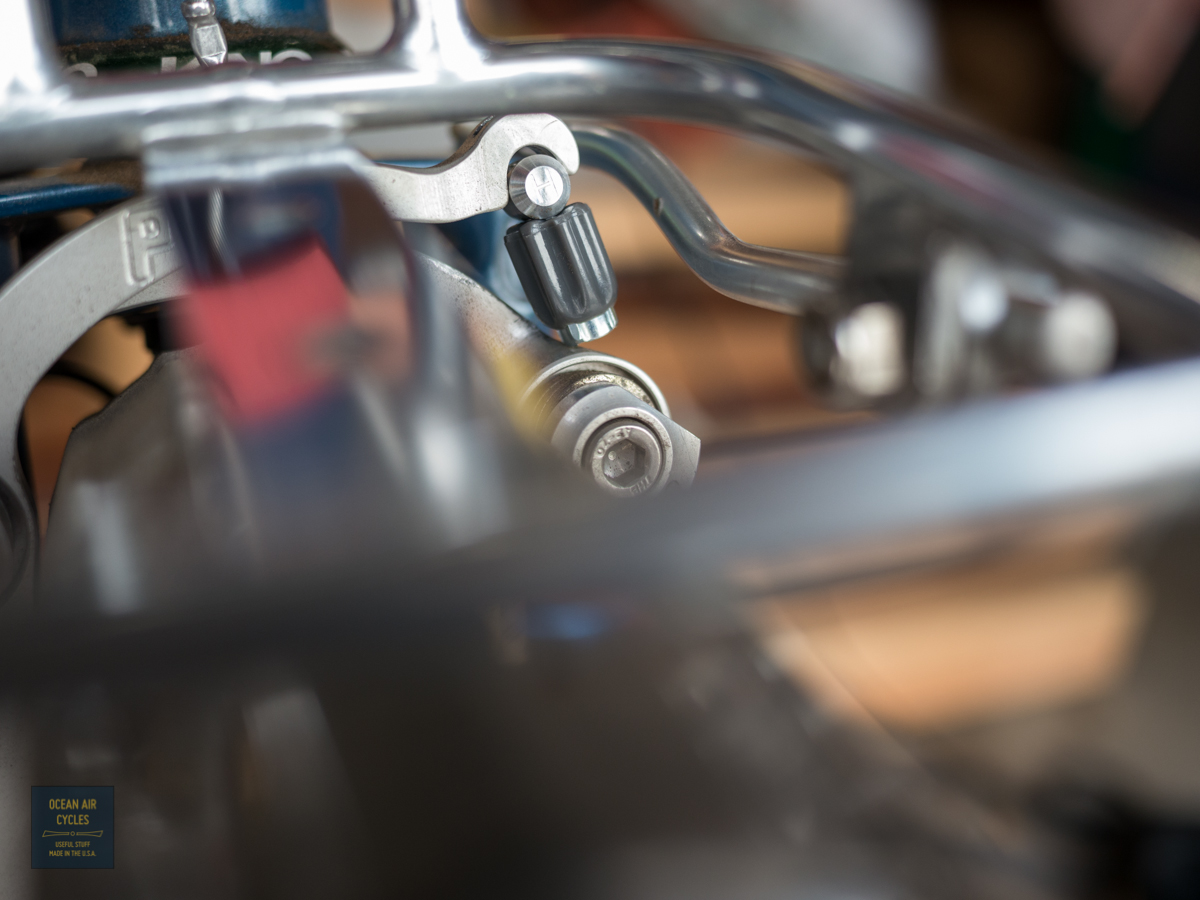
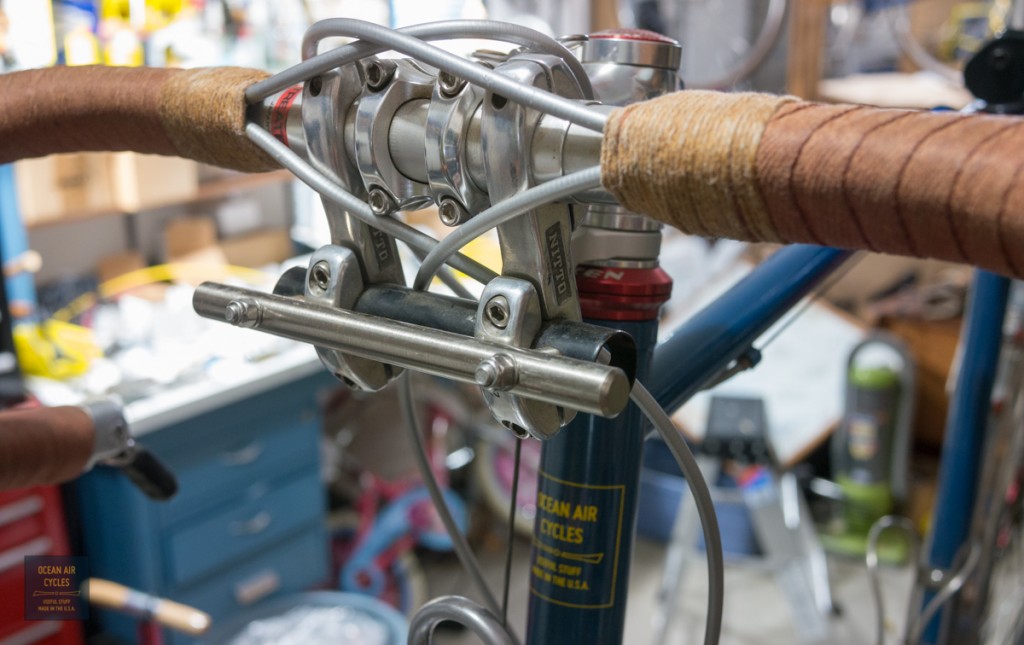
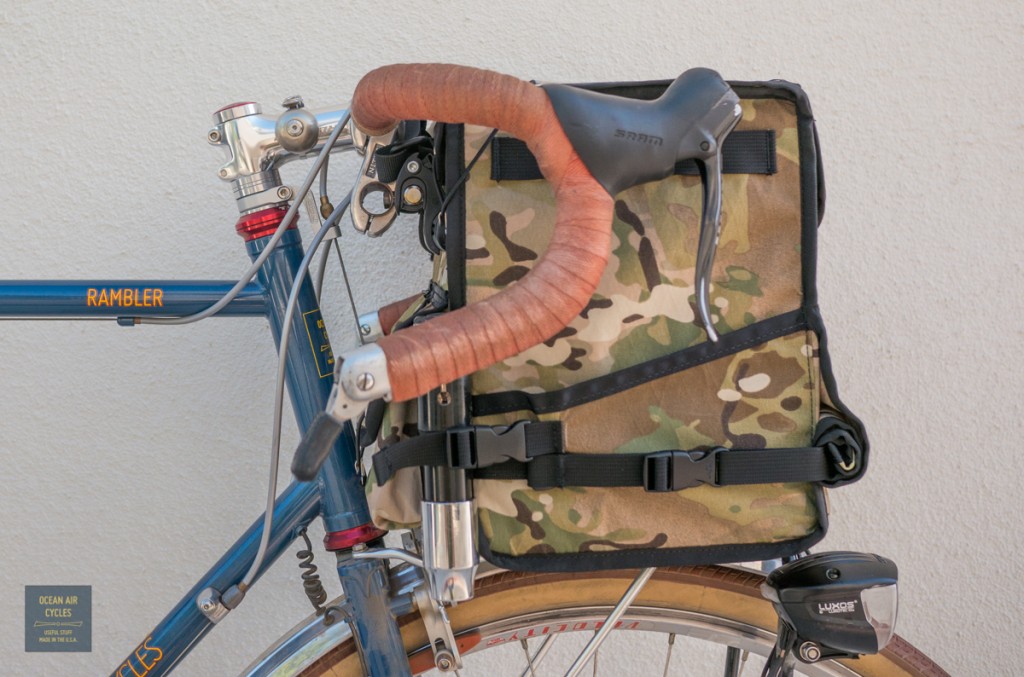
With the first batch of Docena bags landing at their new owner’s this week, I wanted to share a bit about the hardware hack I have been rolling with for over a year now. I opted to engineer a rock solid quick release system around commonly available pannier hooks. They are cheaper, lighter, faster on/off and familiar to most cyclists outside of the french rando historical reenactment scene. Likewise, I hacked a Nitto Lamp holder two with an old MTB handlebar and 10mm cabinet pull to male the handlebar side of the mount. I wholly believe convenience and safety are key tenants as part of my quest to bring front loading bikes to the mainstream, getting there with familiar hardware can only help. Here is a pic of the end hard mounted to the handlebars.
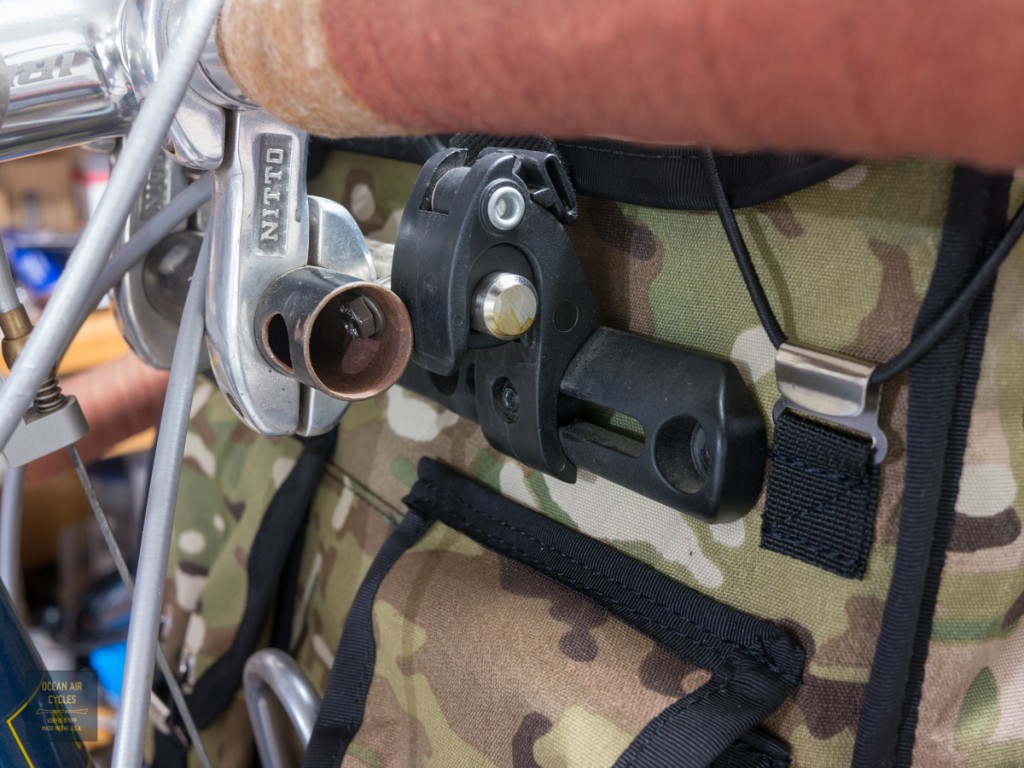
 The next step is prepping your pannier hardware of choice. I went with Ortlieb because the locking mechanism is simple and strong. The mounting rail adds a bit of welcome rigidity to the bag, and there is little weight penalty with the molded plastic structure. I mount the bare hooks on the 10mm “decaleur” rail to get them centered.
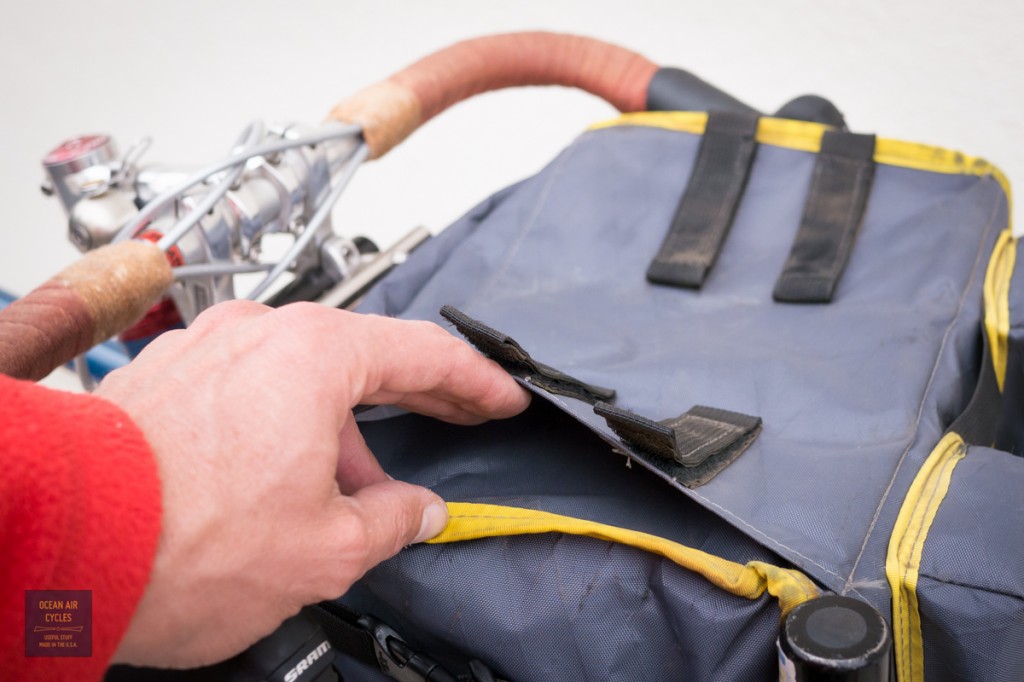
 Put the bag on the rack and make sure the height of the mounting rail works out with the space between Docena rear pockets and the top flap.
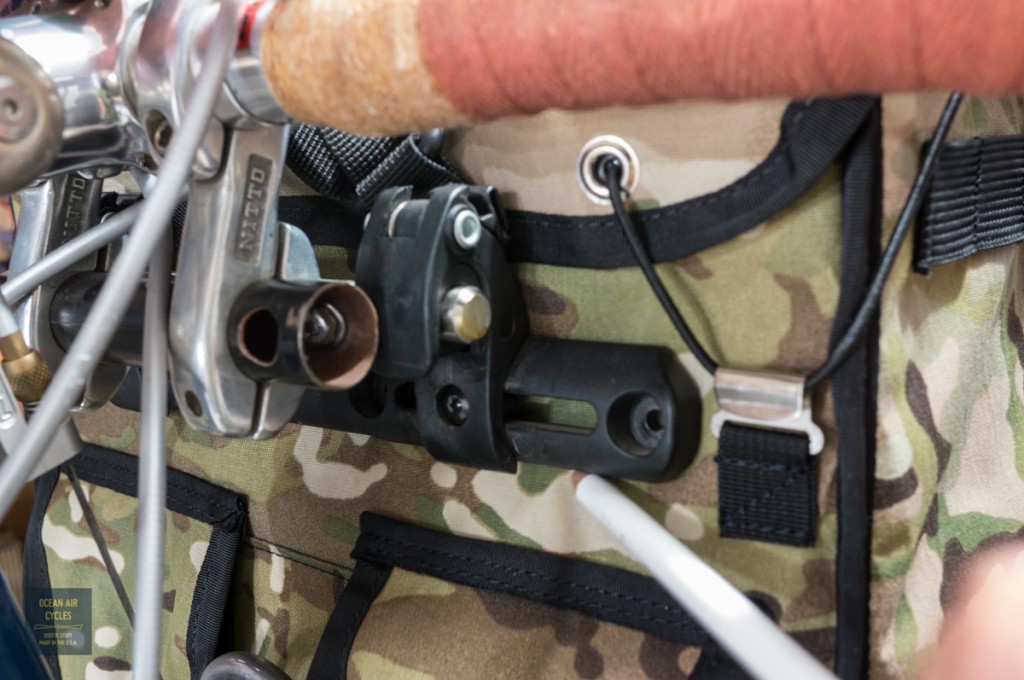
 This is a place where the adjustability of the Nitto mount hack really shines. there are miltiple degrees of freedom in moving the mounting rail forward, back up and down by simply rotating around the two clamping axis. With two rotating axis you end up wiht a reasonable amount of adjustment. In the last few months the Nitto Lamp holder 2 has also shown up on our shores in a variety of mounting bracket lengths. Once happy with how it all lines up, mark you horizontal line on the bag at the bottom of your bracket
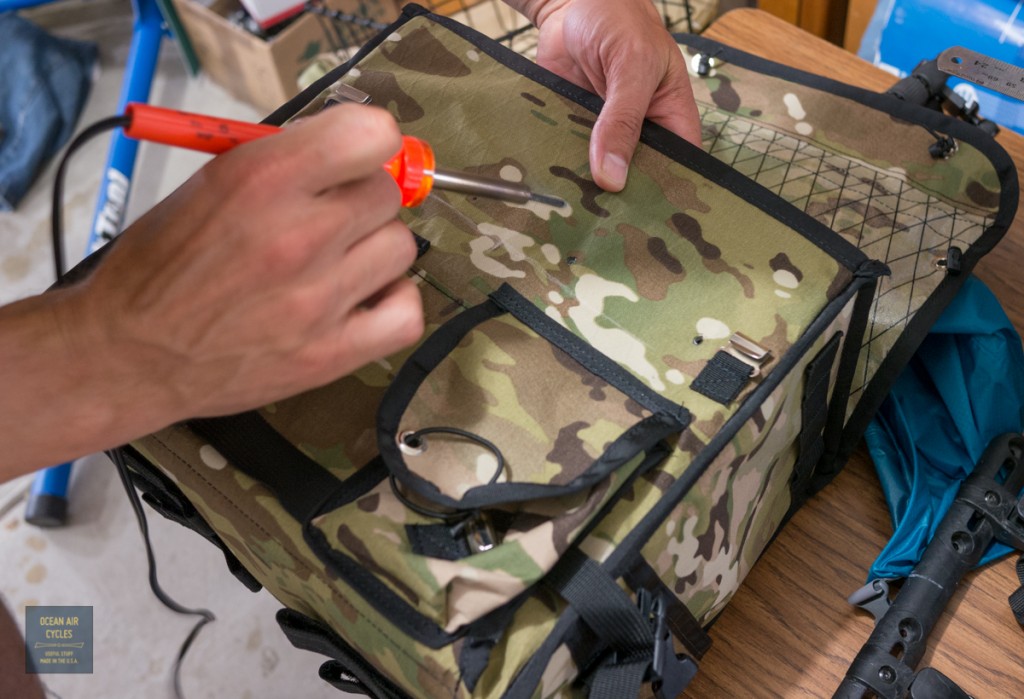
 Taking the bag over to the work bench, use a ruler to locate and align the center of the rail to the center of your bag. This is the start of where you will want to be as careful as possible. Measure twice and be certain of every step.
 From there I set the rail into position, and mark the mounting holes.
 I use a hot soldering iron to make the holes and sear the material from fraying in a single pass. I have also seen this done with a hot nail. Use some common sense, do not burn your fingers being careless about the process. This is best done with the stiffener fully inserted in the final position. You will want the holes to pass all the way through and fully engage the bag and coroplast stiffener.
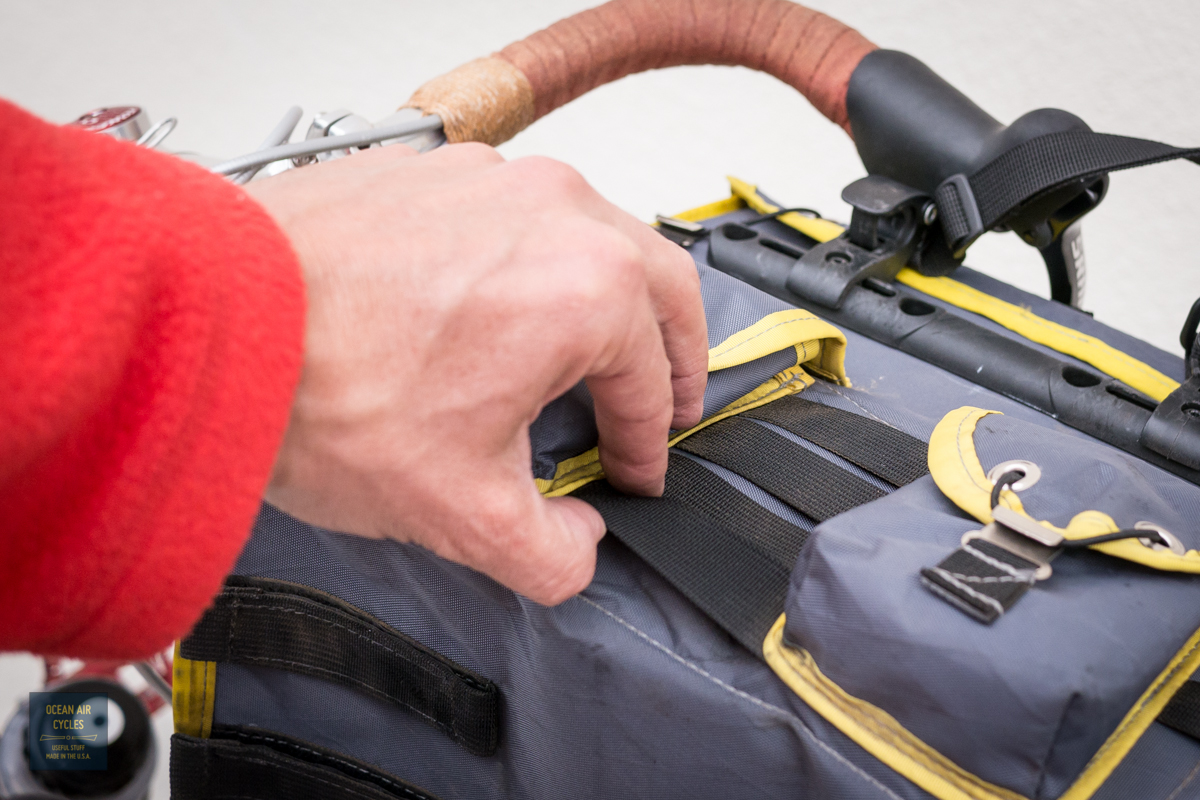
 My picture of the mounting hardware turned out terrible. I will insert one from the next bag I set up. It really is the most straight forward step, just nuts and bolts. That is it. From there the nylon strap goes over the tombstone on your lower rack, and the pannier hooks grab your hacked decaleur just like the panniers most of us are familiar with. If I know I will be leaving the bag on, or riding for long periods off pavement, I take the time run the bottom velcro straps through the rack. Honestly though, I do not use them for most of my day to day riding.
 Based of feedback from other riders using Swift bags the Berthoud decaleur for threadless stems is also a good solution. There are a variety of off the shelf solutions that will get you where you want to go. My hack above works better than most IMO, shaves a bit of $$ and feeds your inner maker monkey. At some point we will offer a packaged solution, but there are a few other projects ahead of it in line.
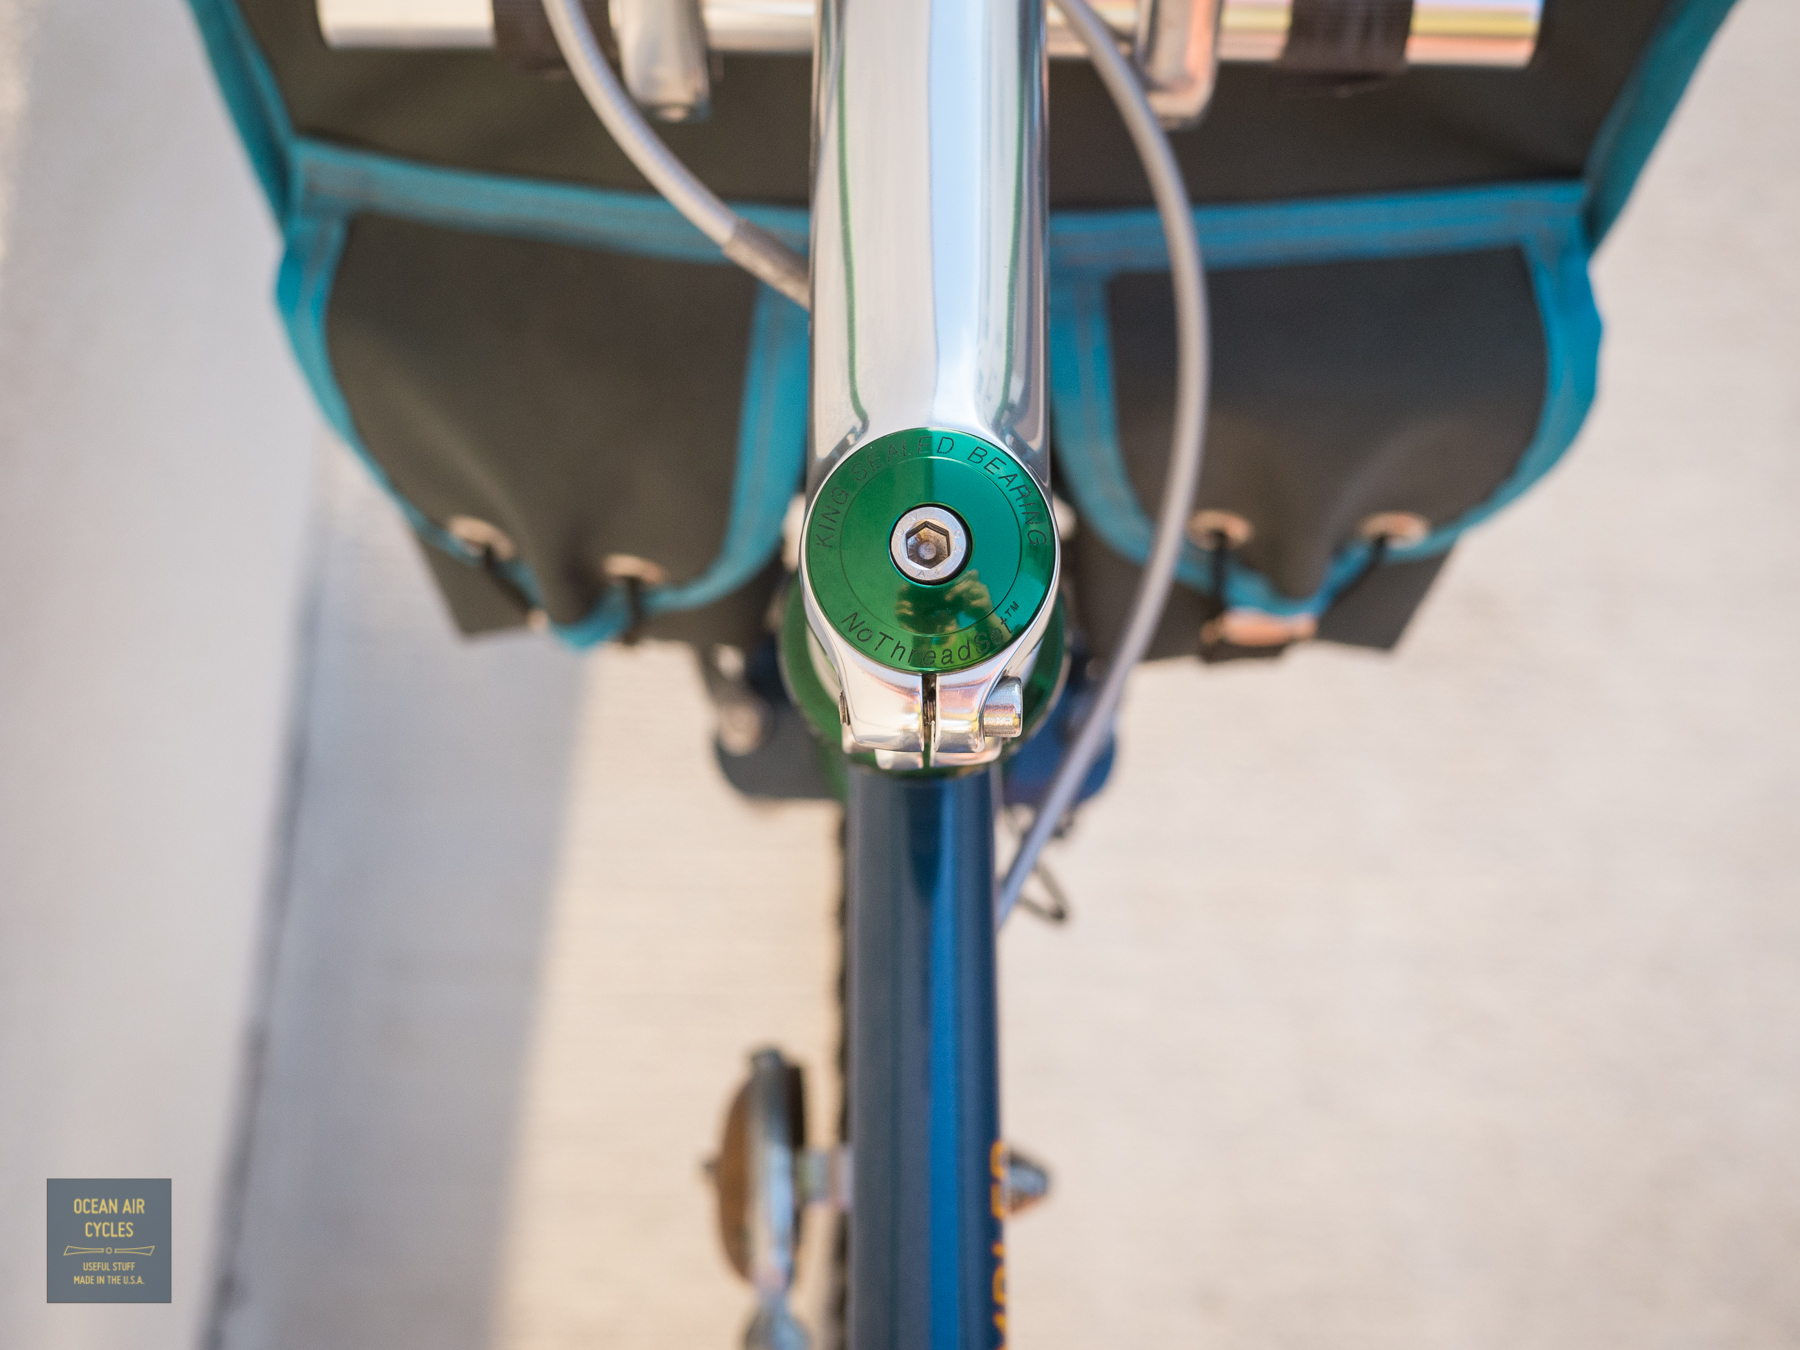
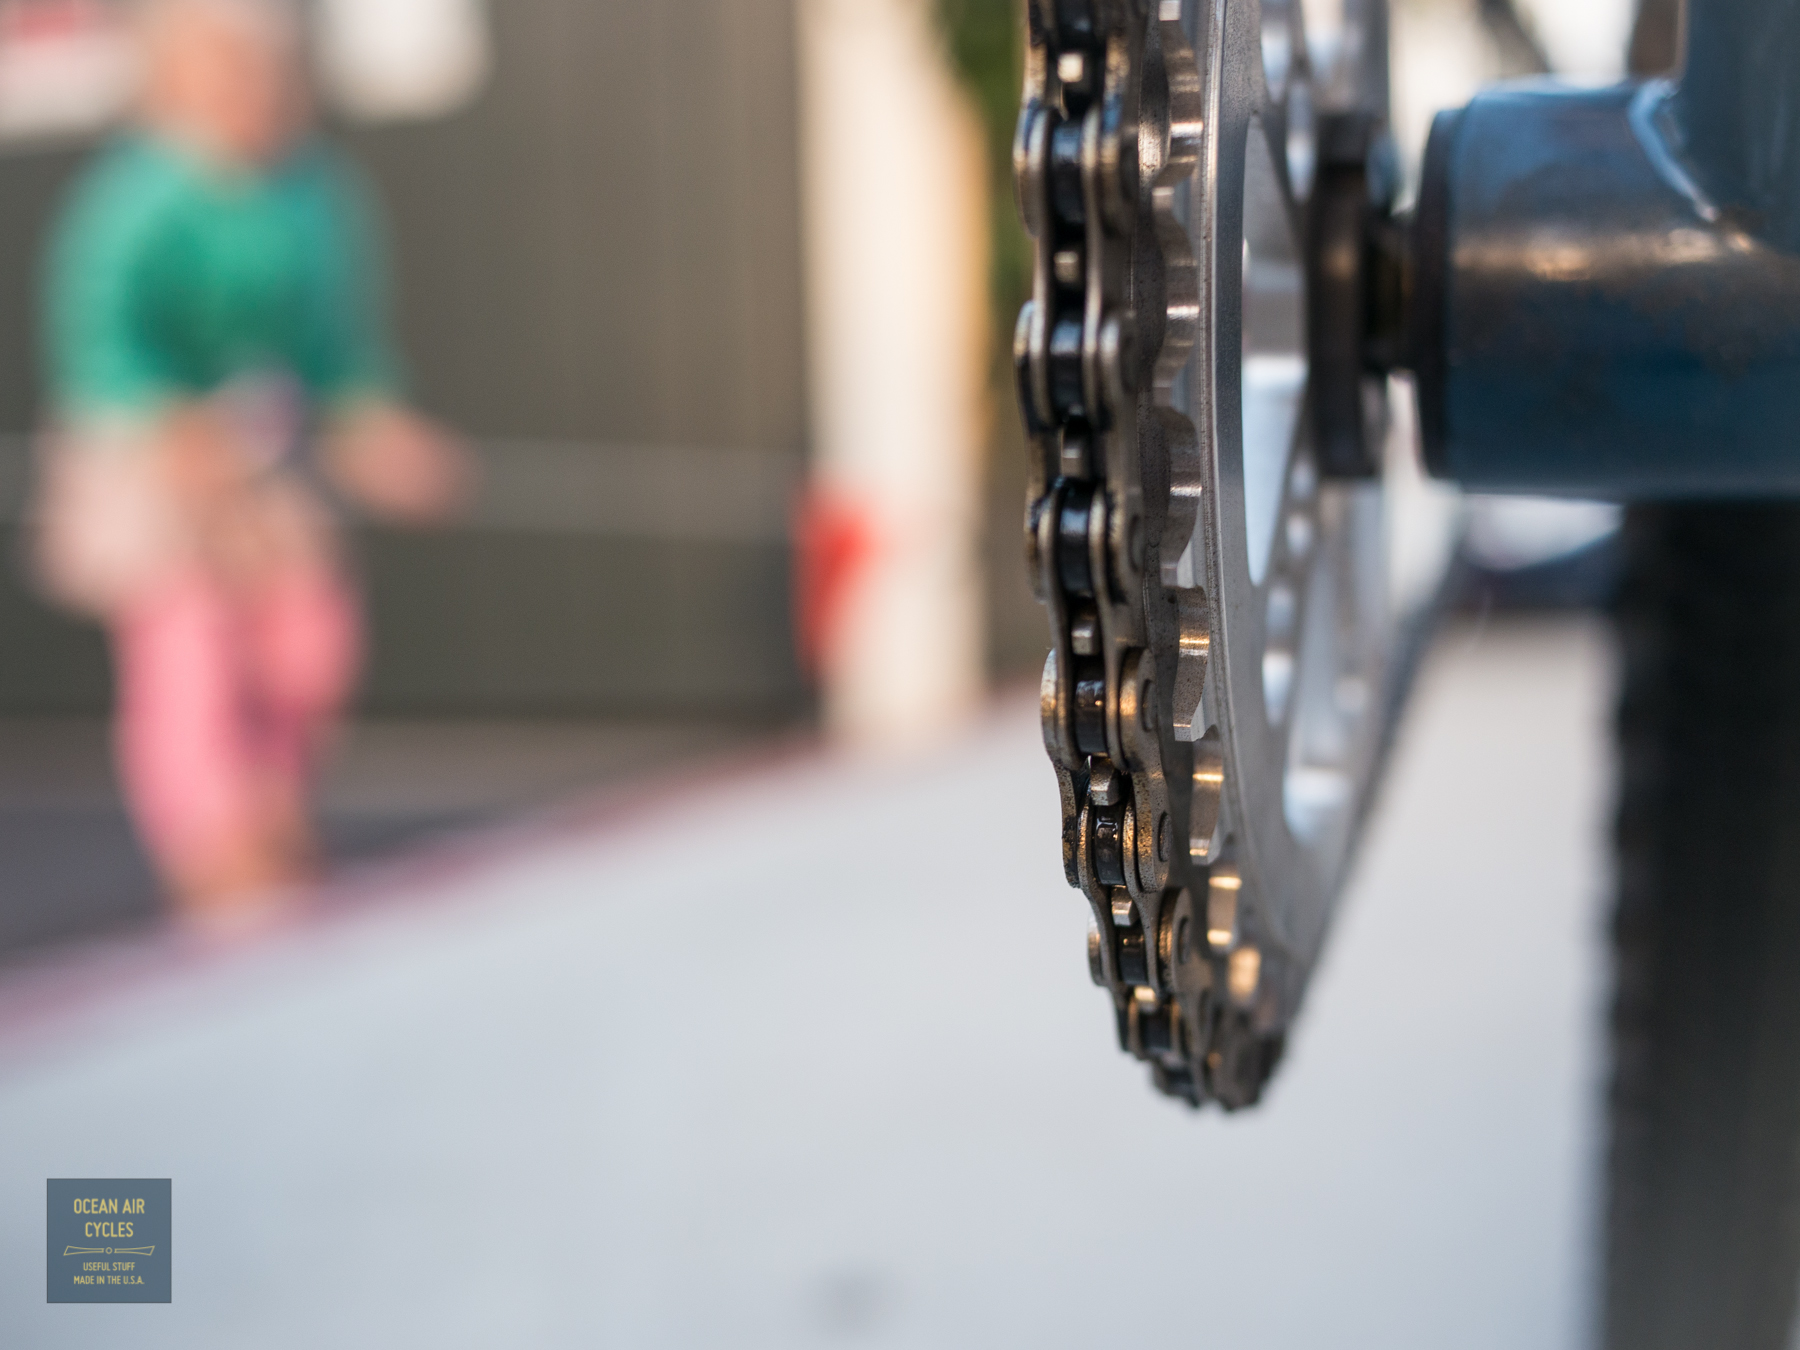
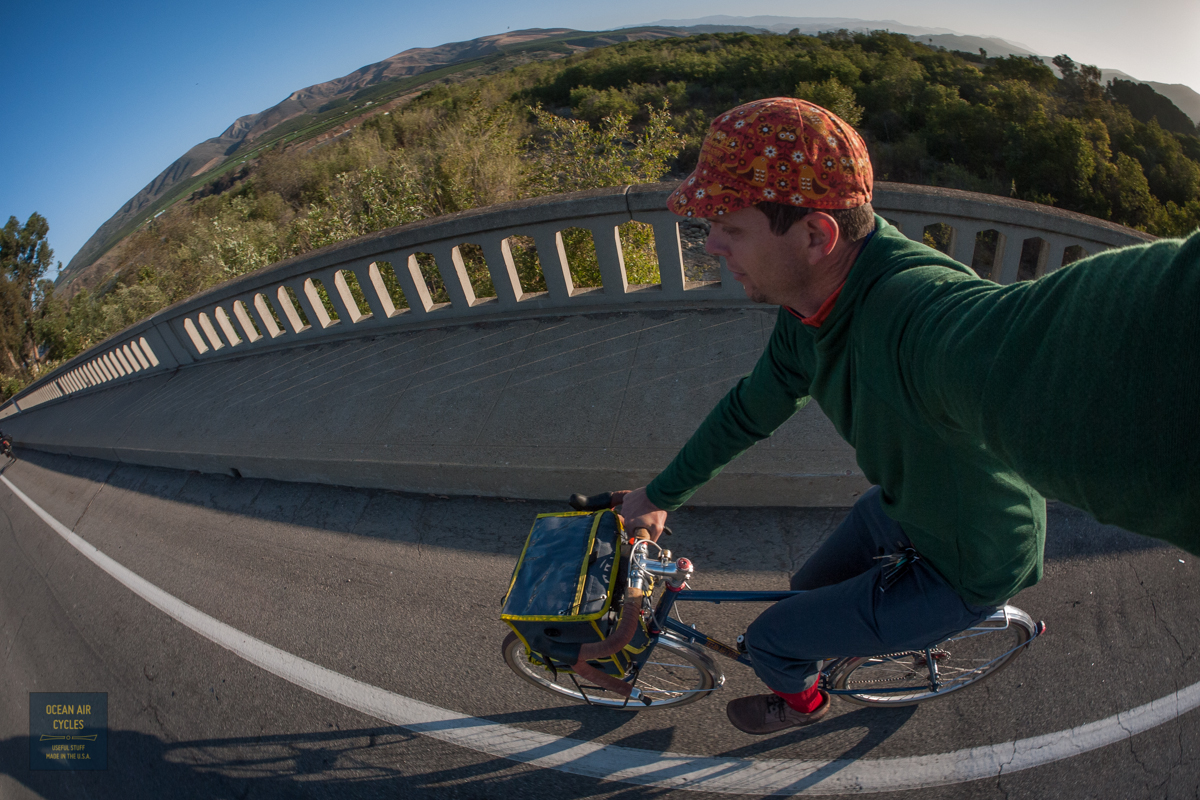
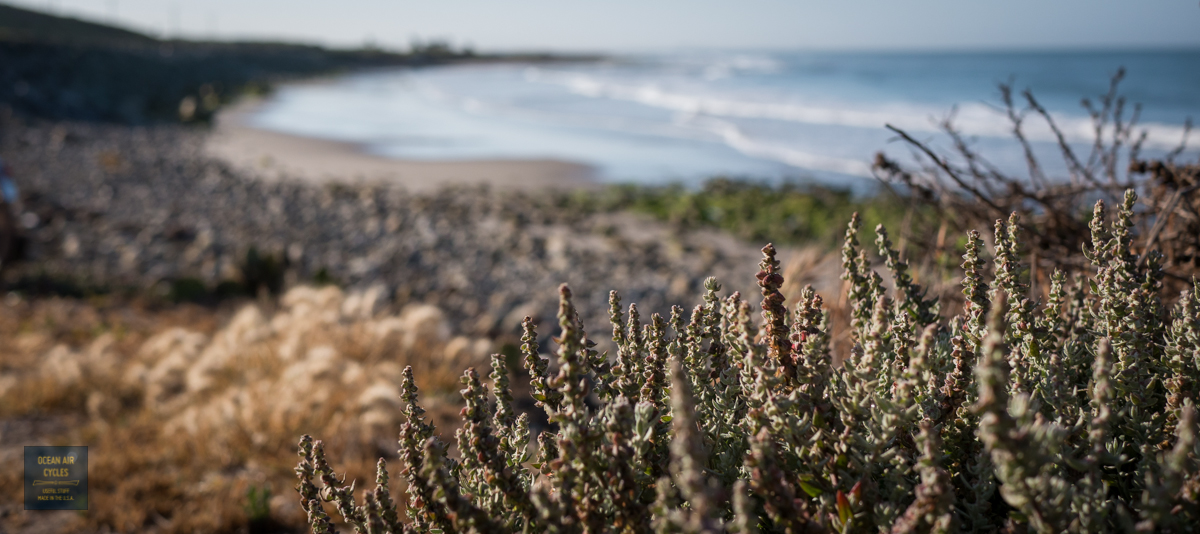
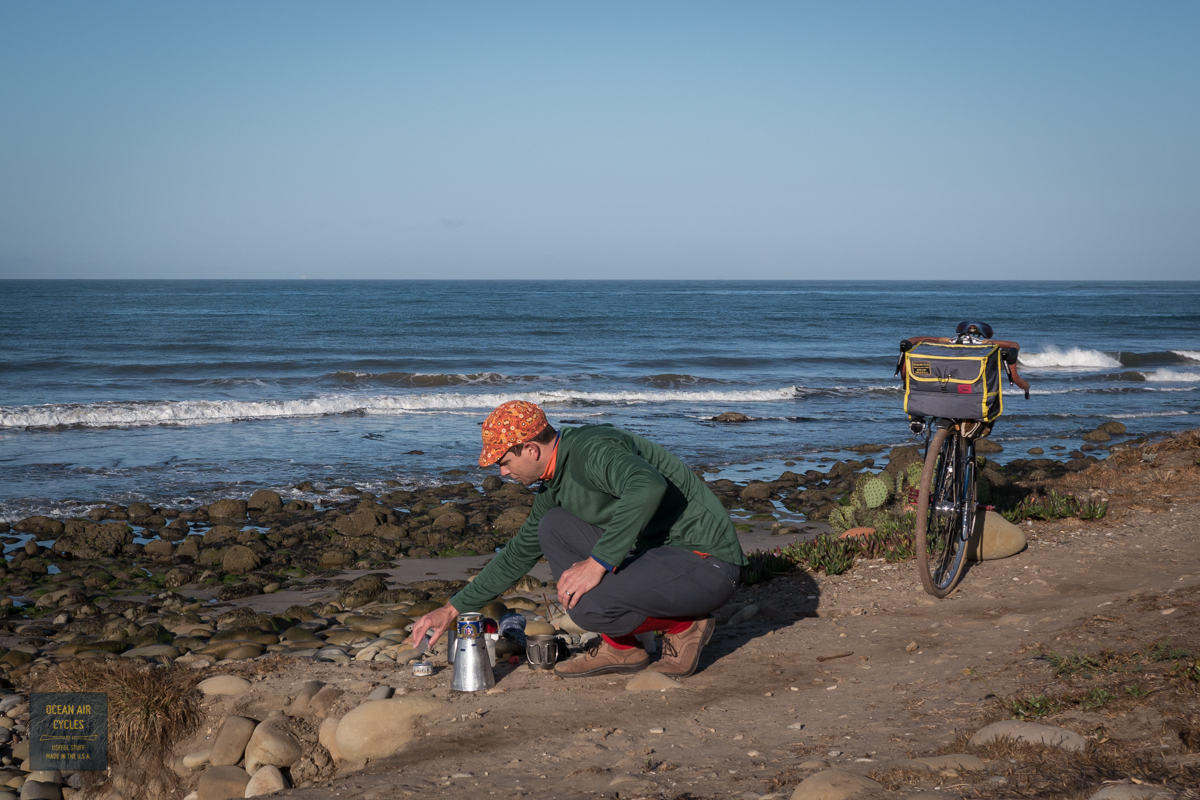
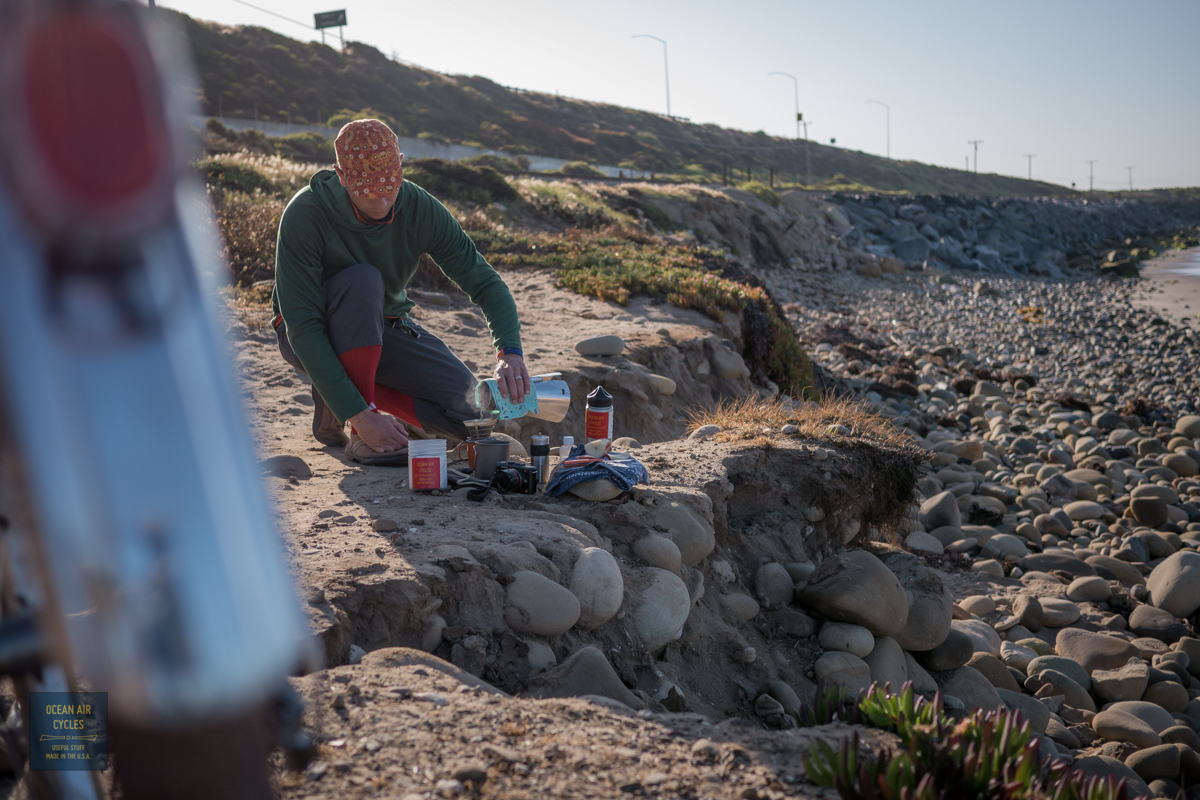
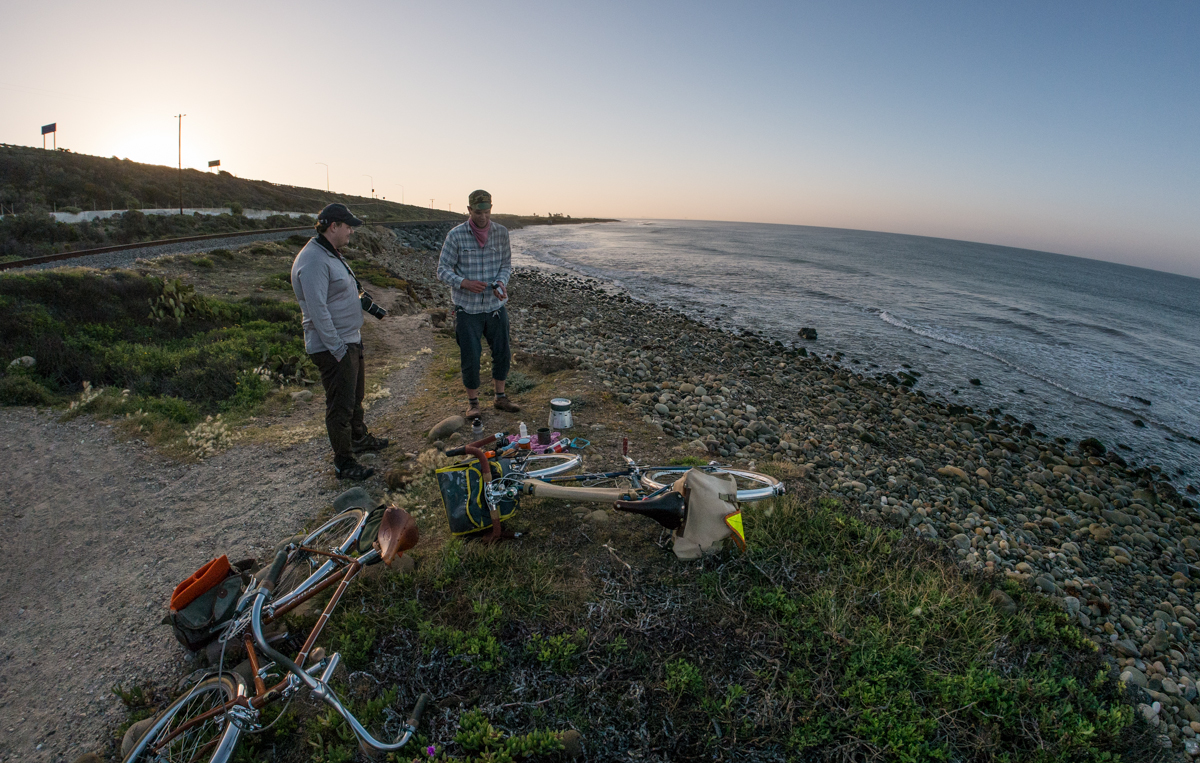
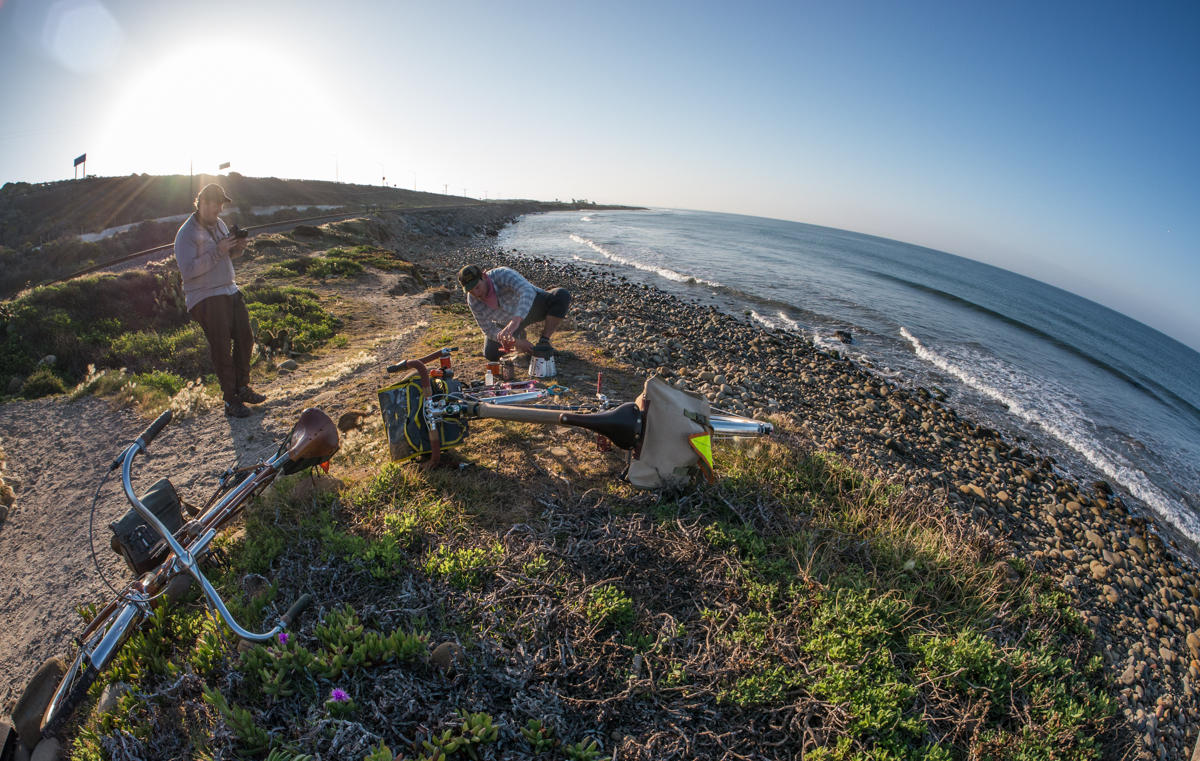
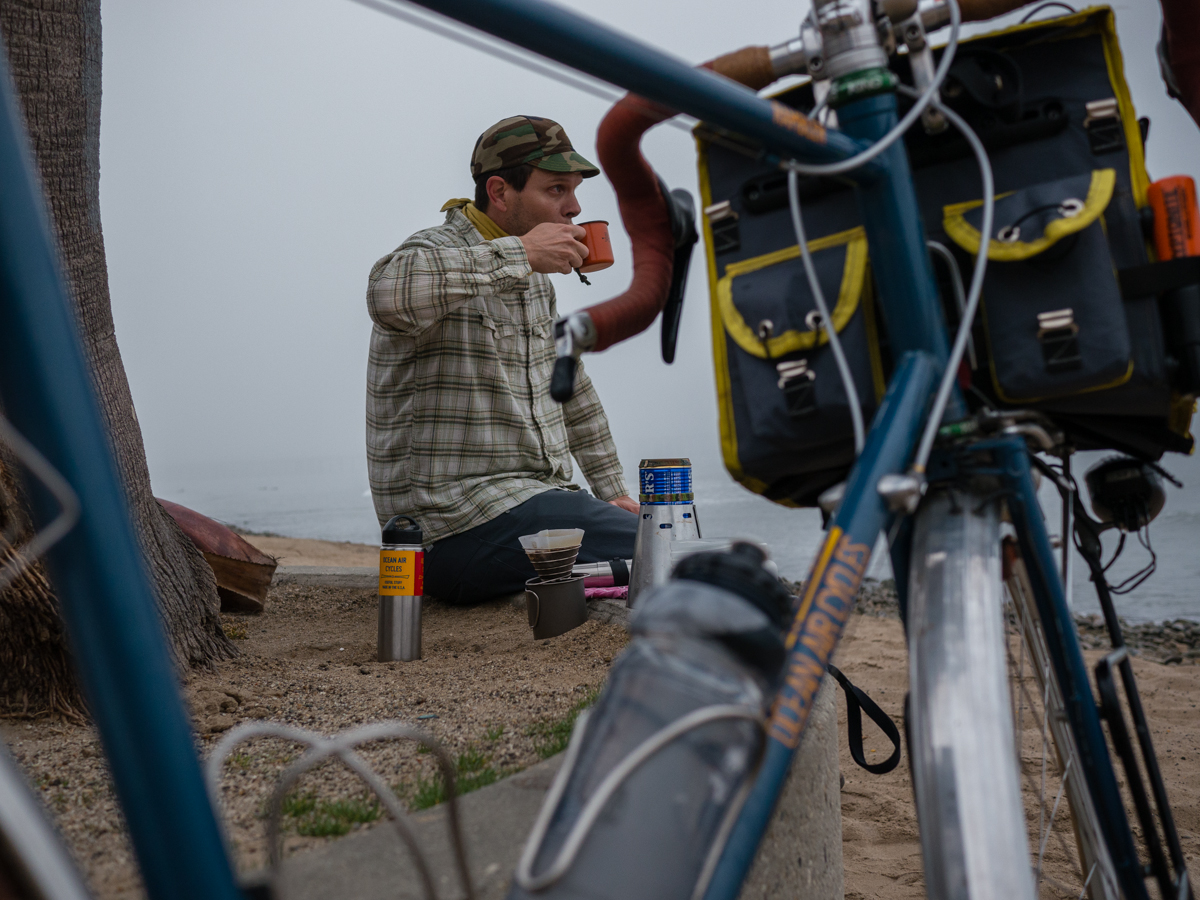
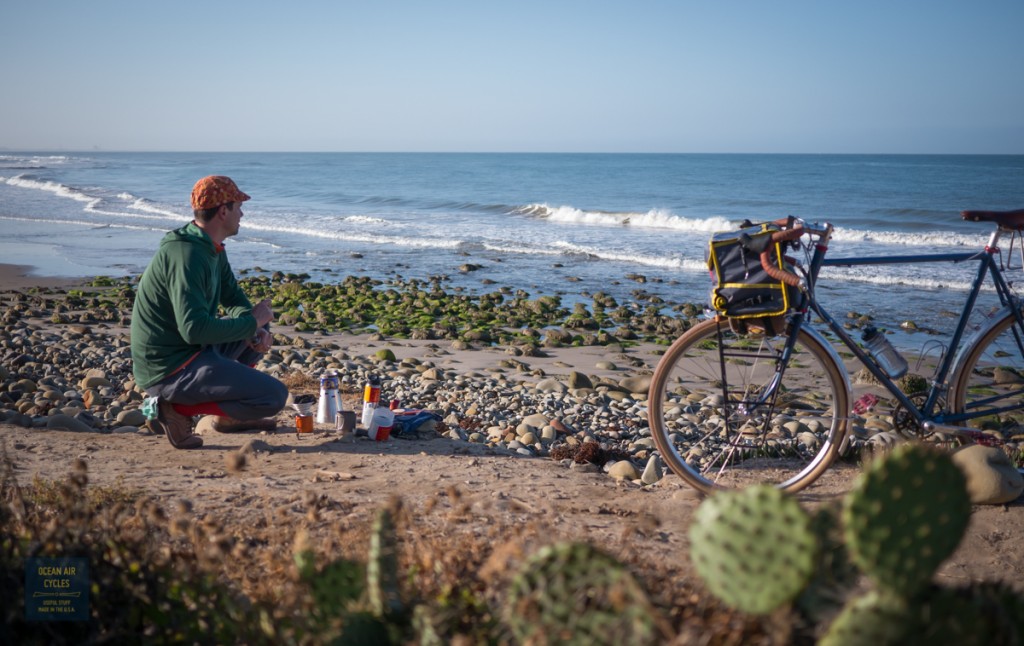
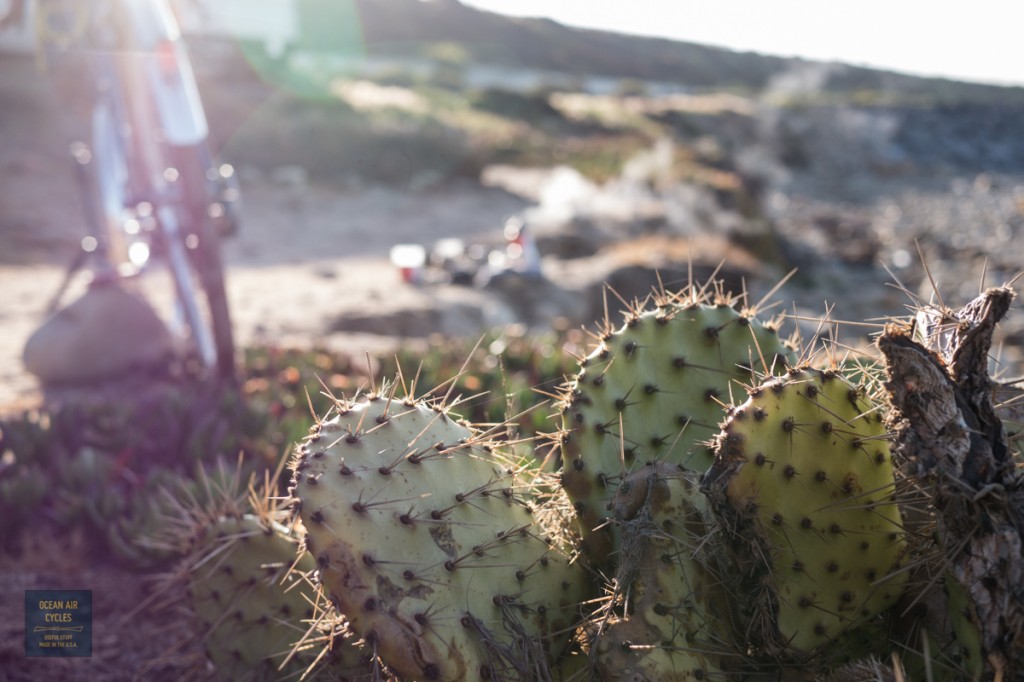
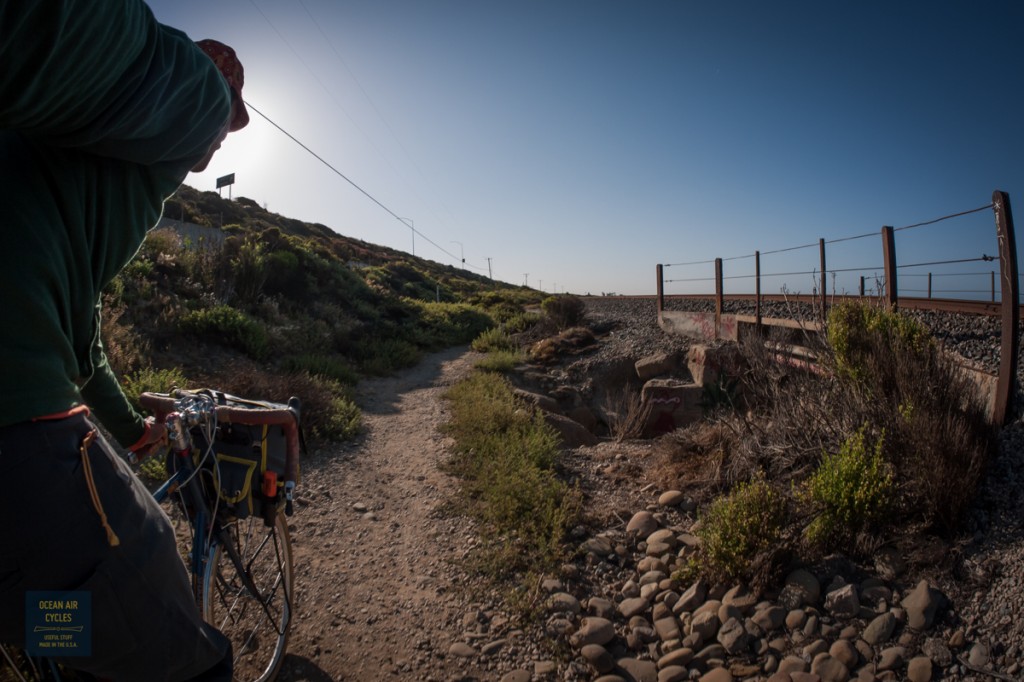
This morning was fantastic for a quick ride to the beach to brew up a cup. Our regular summer weather is filling in, which means alternating days of fog and clear. Every time I get out and do this, then look at the pictures, I am reminded of why we work so hard to live here.
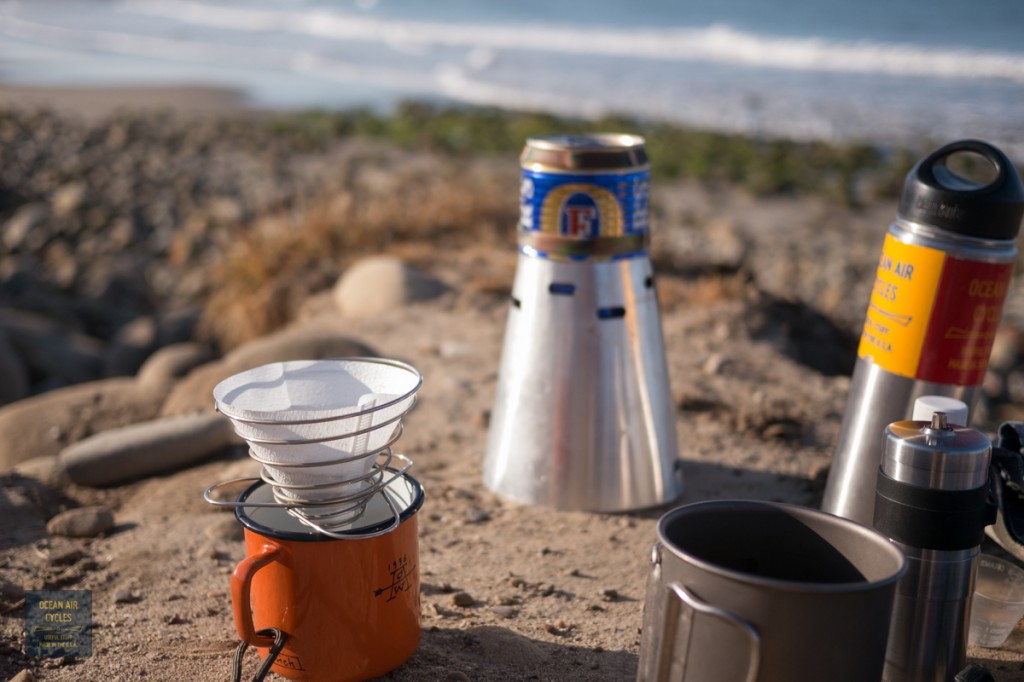
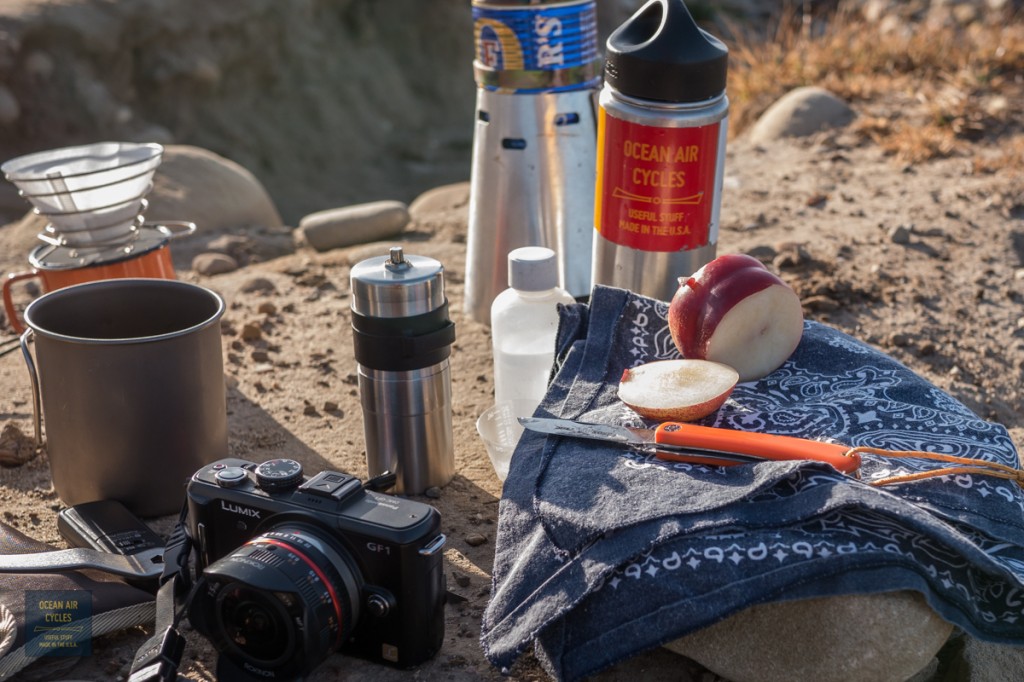
A word about the product placement in the pictures. All of the gear, clothing and stuff in the pictures are things that I use weekly or daily. Some of it we sell: Caldera cone stoves, Farm and Field Knives, Rambler, Bandanas, LTD Edition Caps etc.. Selling this stuff is what affords the ability to make these mornings happen, and we are grateful for your purchases and support. Some of the gear I buy just to use. Both the knickers and shirt in this ride are from SWRVE, and are top notch products that I will sell some day when we grow to a retail location. Choosing to support small innovative business will often get you better products as well as help keep the local economies rolling. My purchases are all heavily based on a bias for value and craft, consider what you see as recommendations. If you ever have a question about something you see and like, do not hesitate to ask for more info.


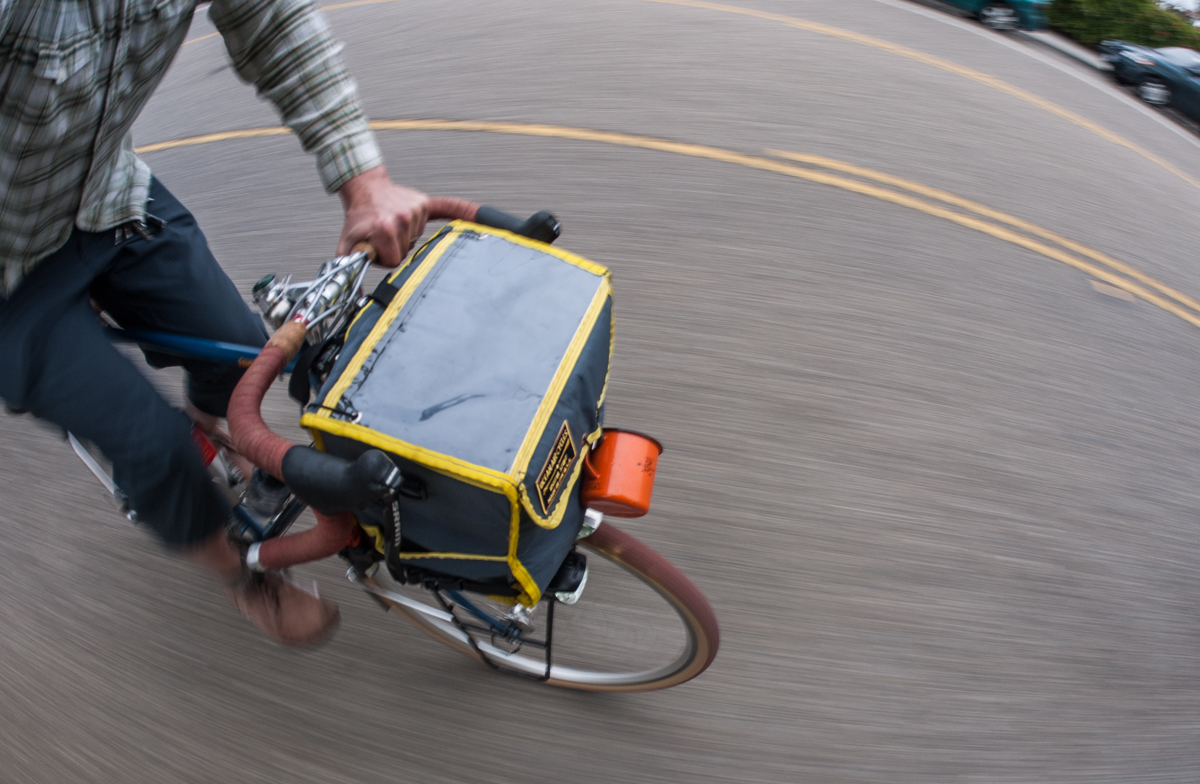
What is a Demi-Porteur bag?
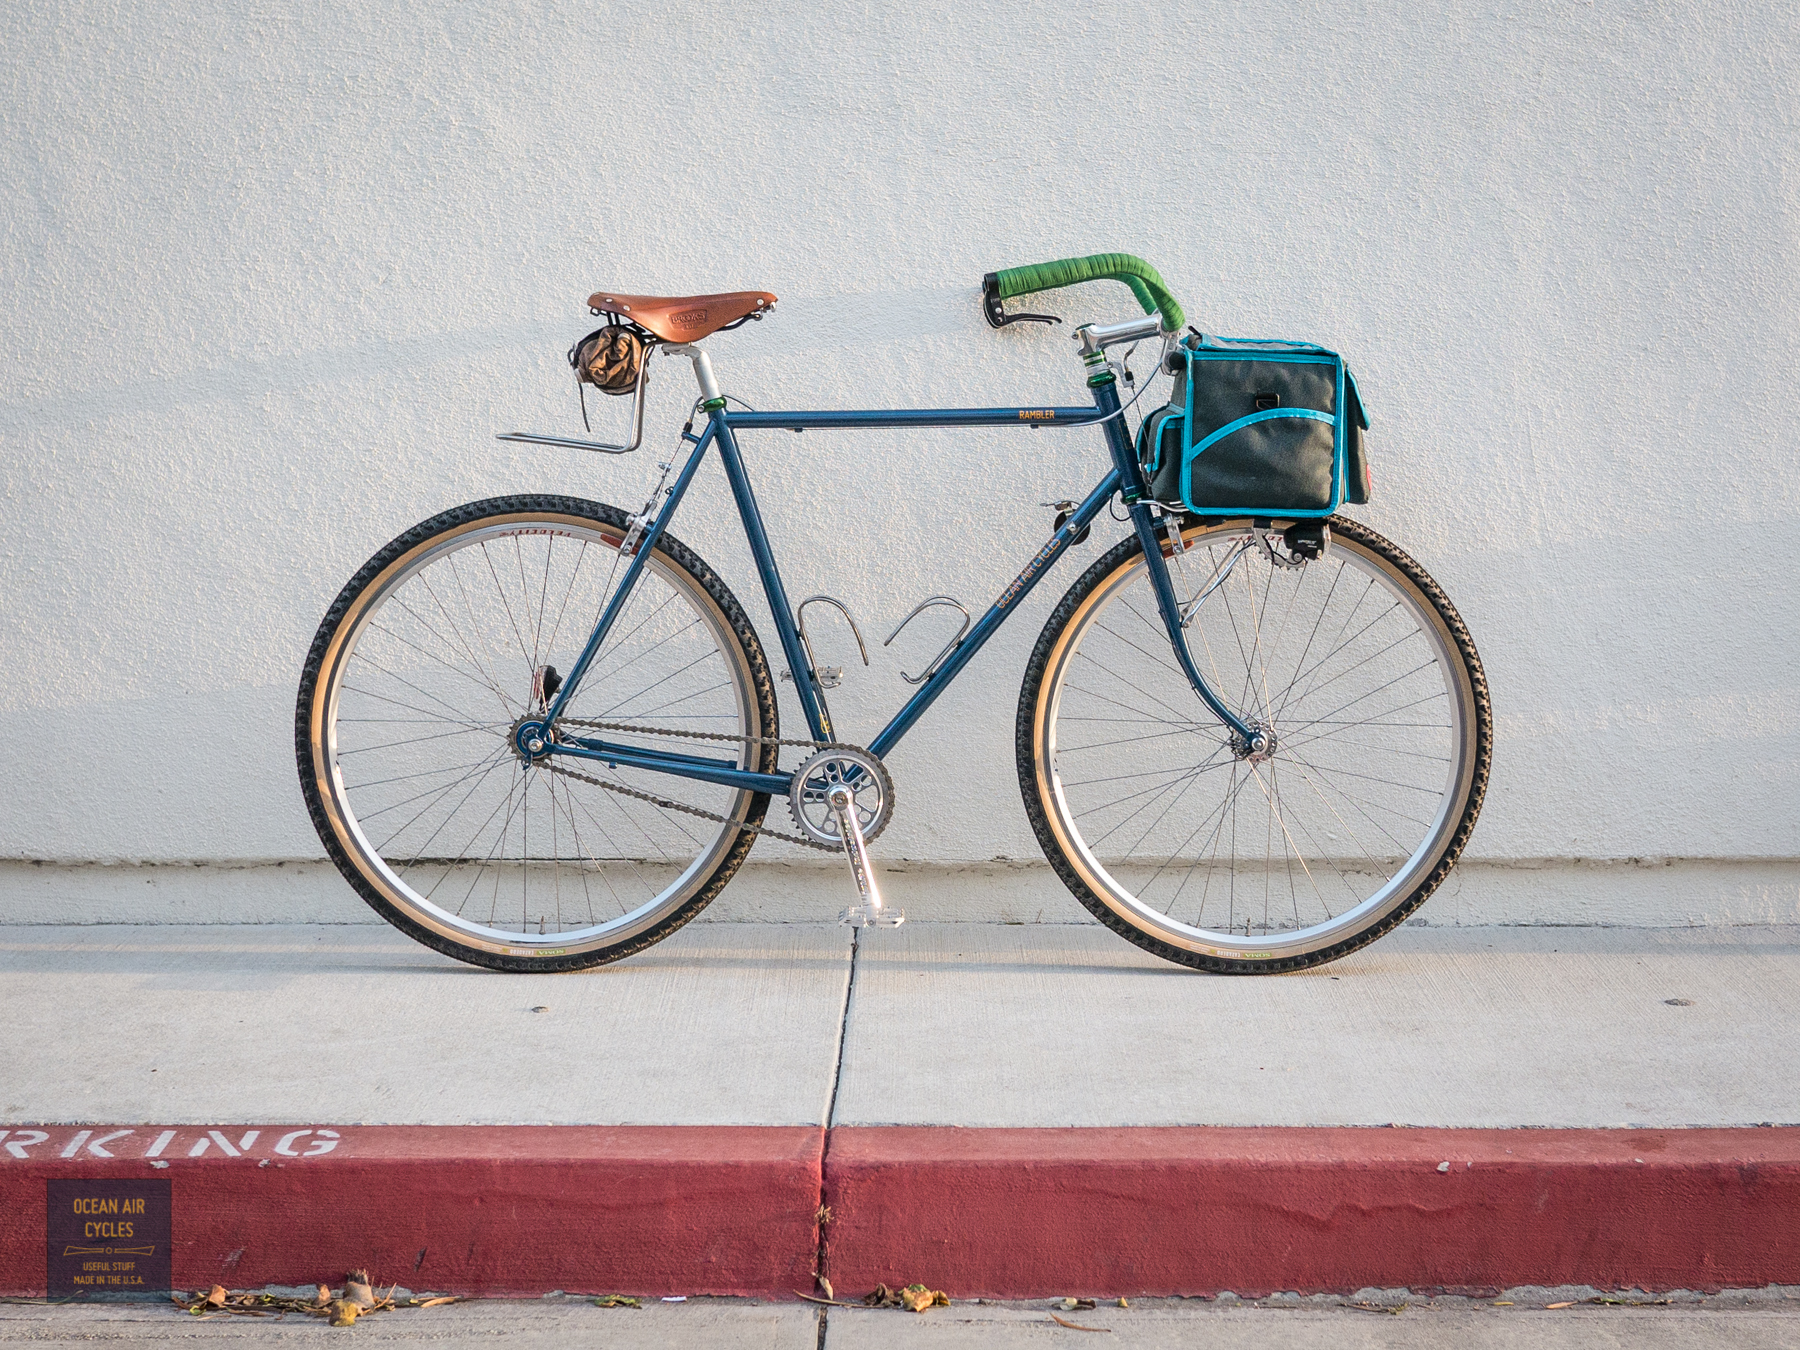
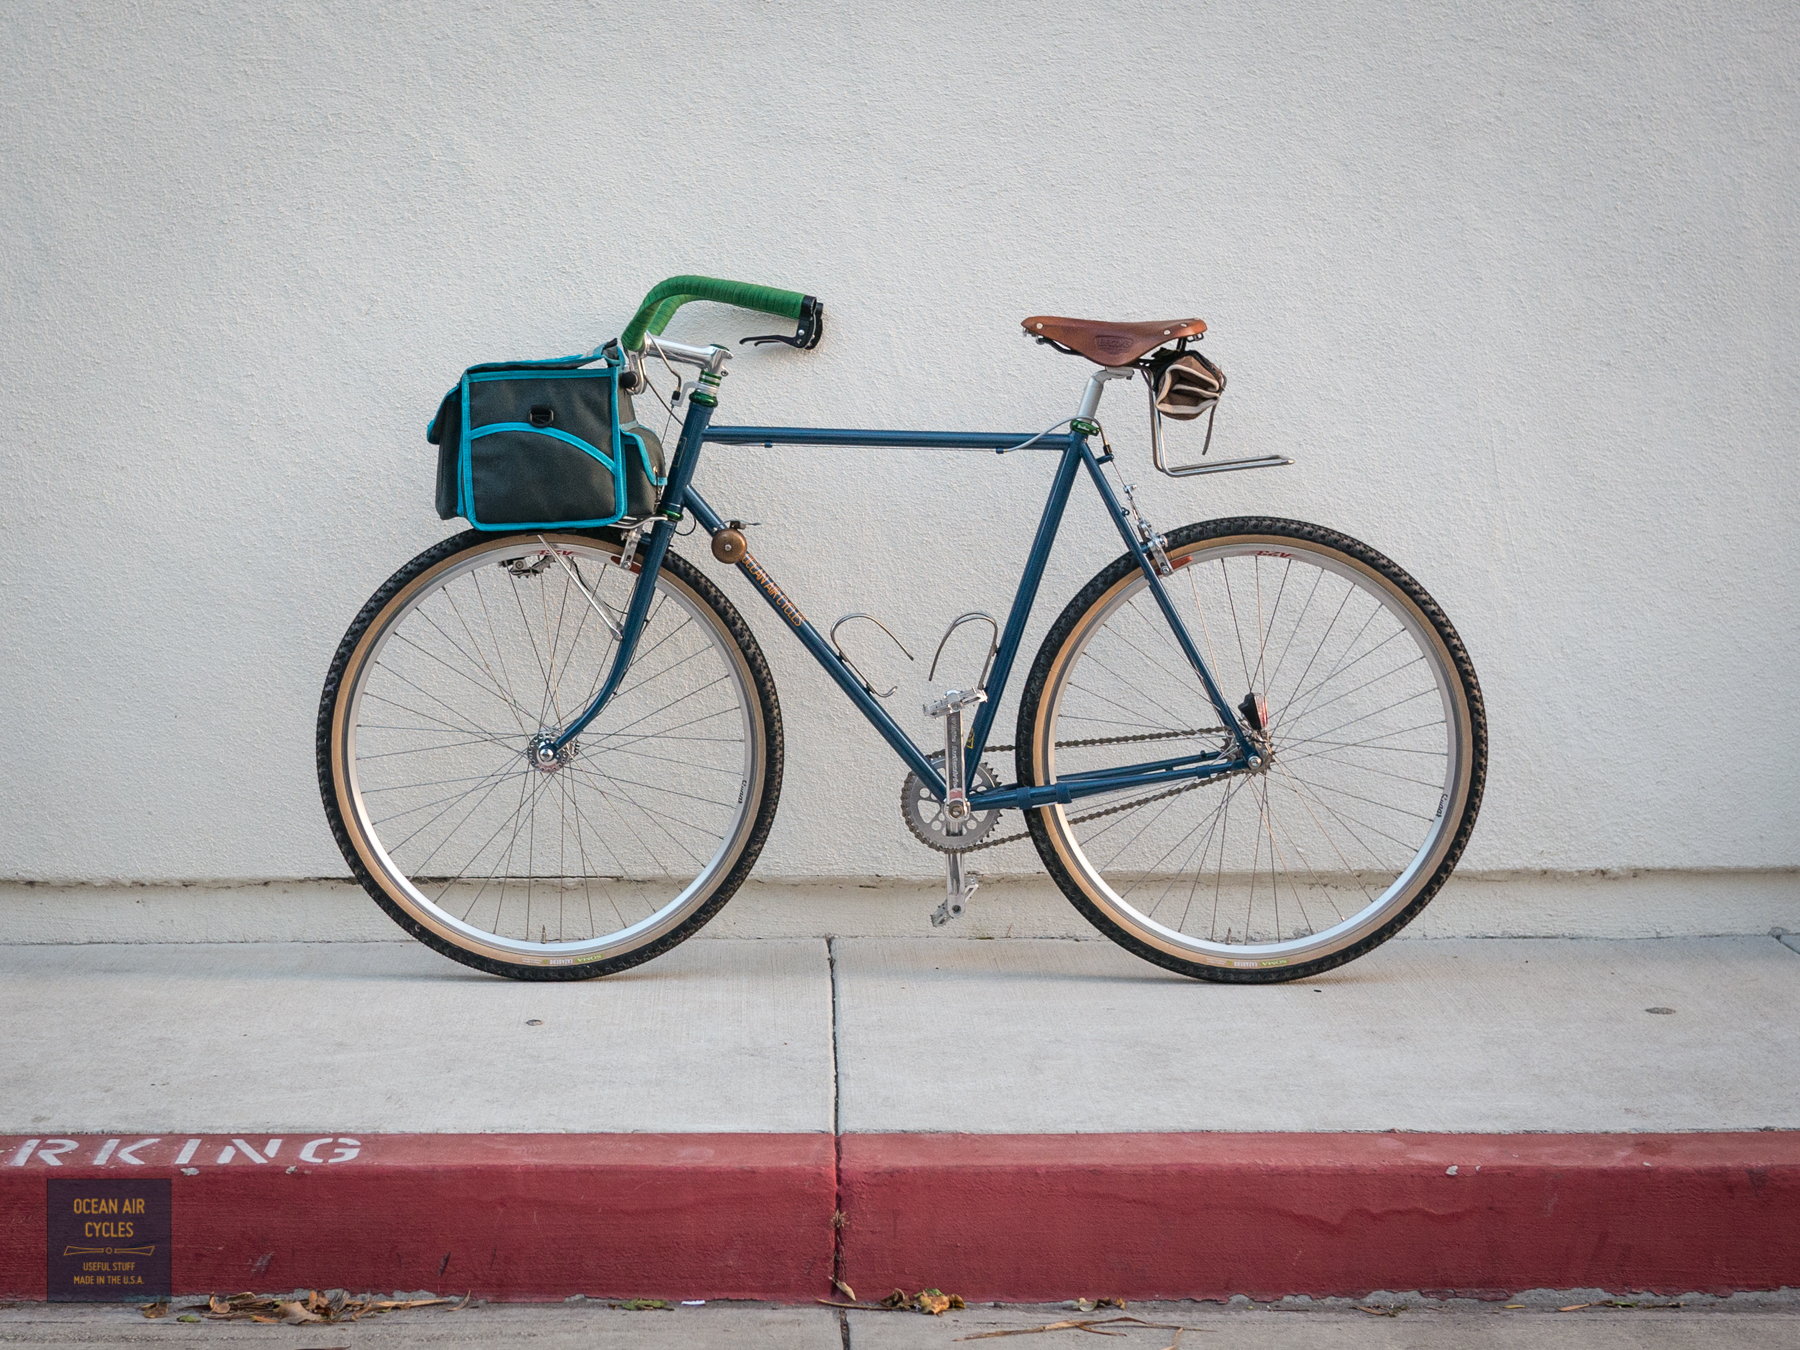
Ever since moving to a bike optimized for a front load I started to push the envelope of how much went in the upper bag vs. panniers. The goal being that the upper bag would accommodate 90% of my daily bike trasportational needs, and the panniers only come out for groceries, camping trips, etc. I keep a regular rotation of tools and clothing layers with me all the time. Add to that things that vary per ride like camera gear, meals, coffee gear, post office runs, etc. I needed maximum volume and flexibility. Starting with the basic form of a traditional randonneuring bag, I pushed some of the dimensions and features without going so far that it became a full porteur bag.
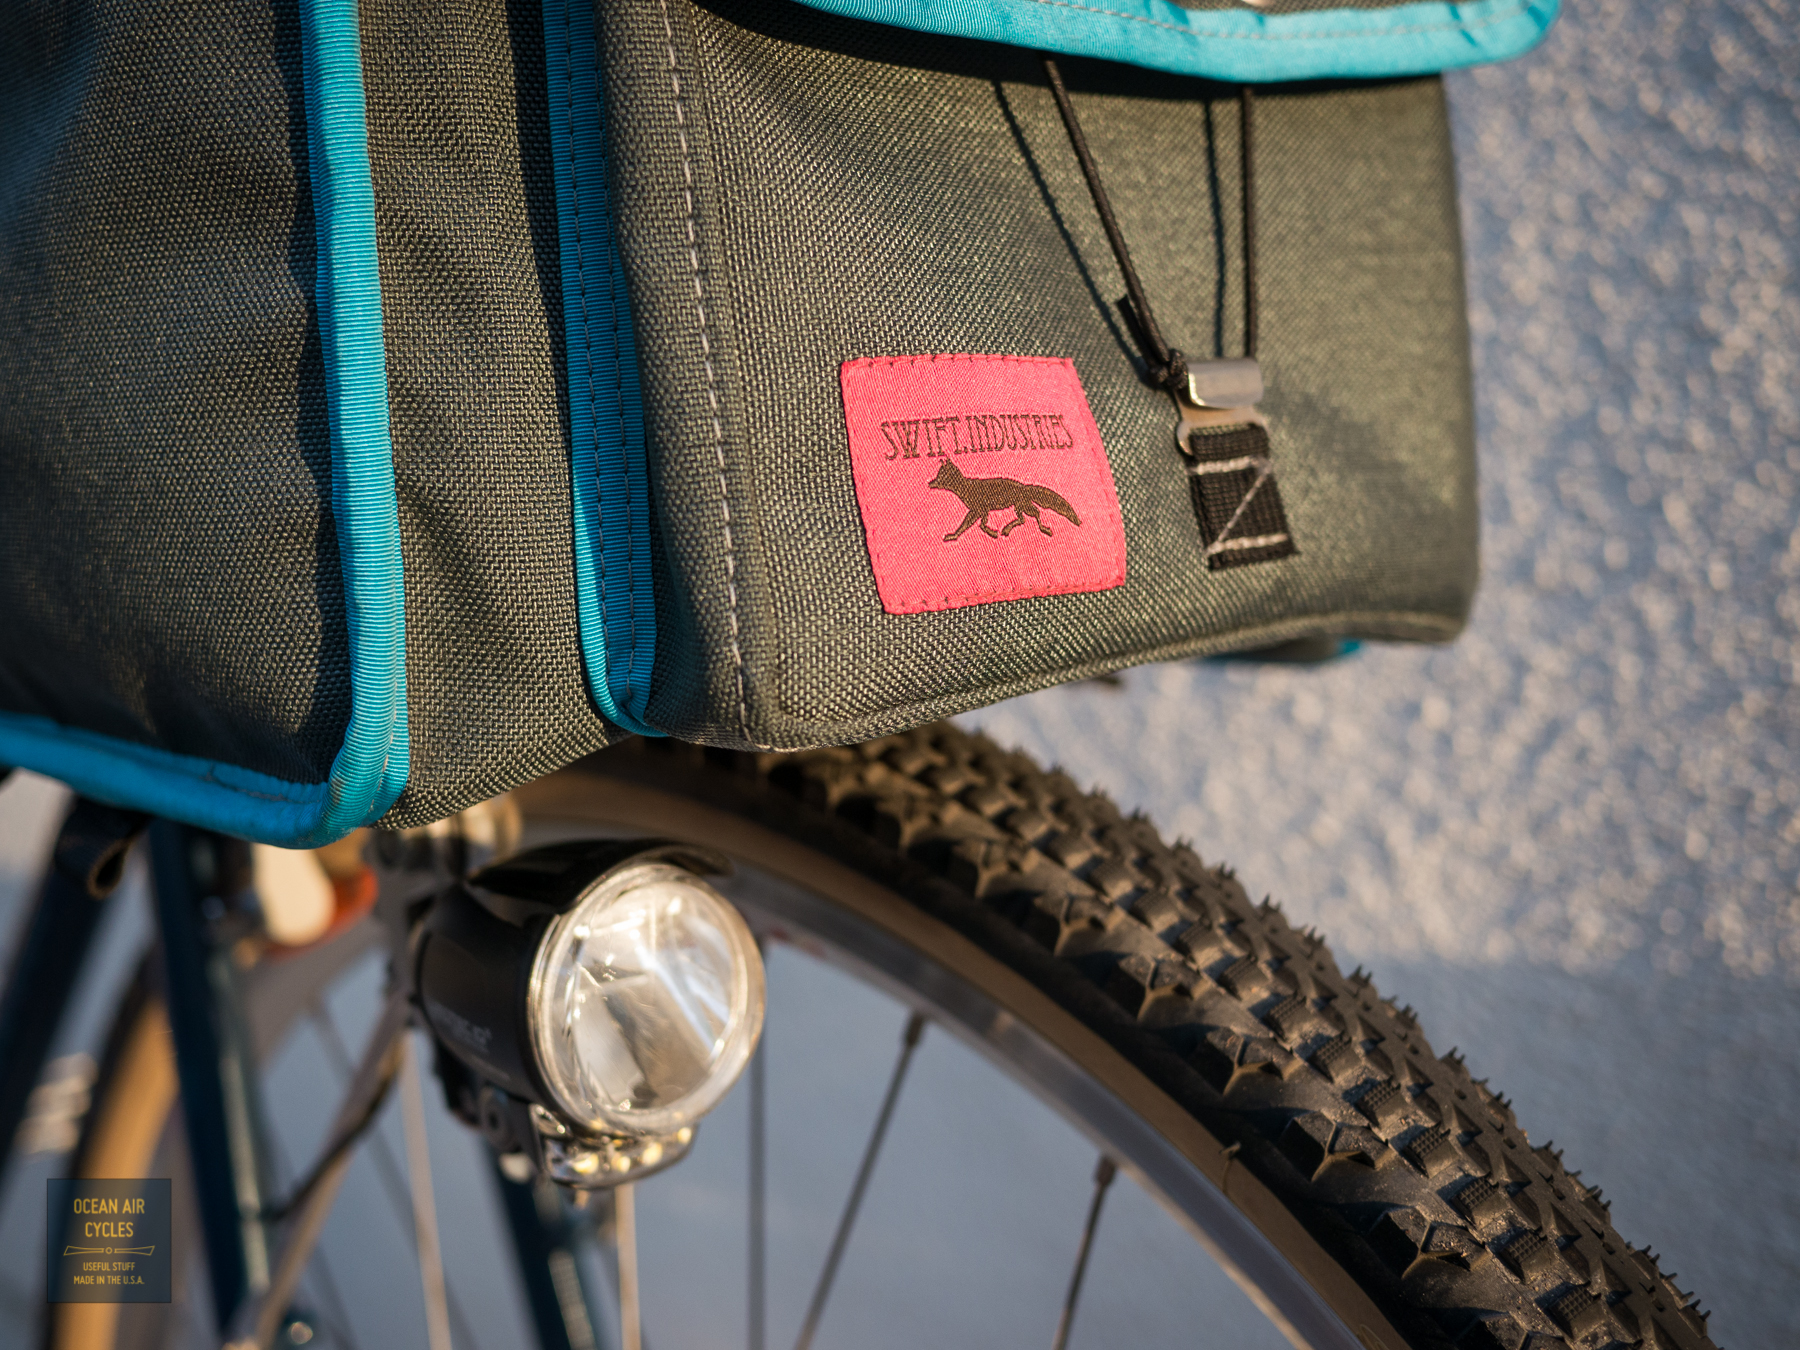
While pushing the boundaries of size and volume I also wanted to shave some weight. The first place I made the weight cut was with material. The design is able to use all of the strong points of the Dimension Polyant XPac, and avoid most of the features that are considered the material’s downside. XPac is a three layer laminate, pack cloth on the outer faces, with a mylar center and a cross weave of aramid fiber on the bias for added load capacity and tear resistance. XPac does not like to be forced into compound curves or situation with high abrasion. The boxy shape takes care of the first. Abrasion is generally minor on the bag as it is surrounded by the bars and rack. The material is highly water proof and light for the amount of strength.
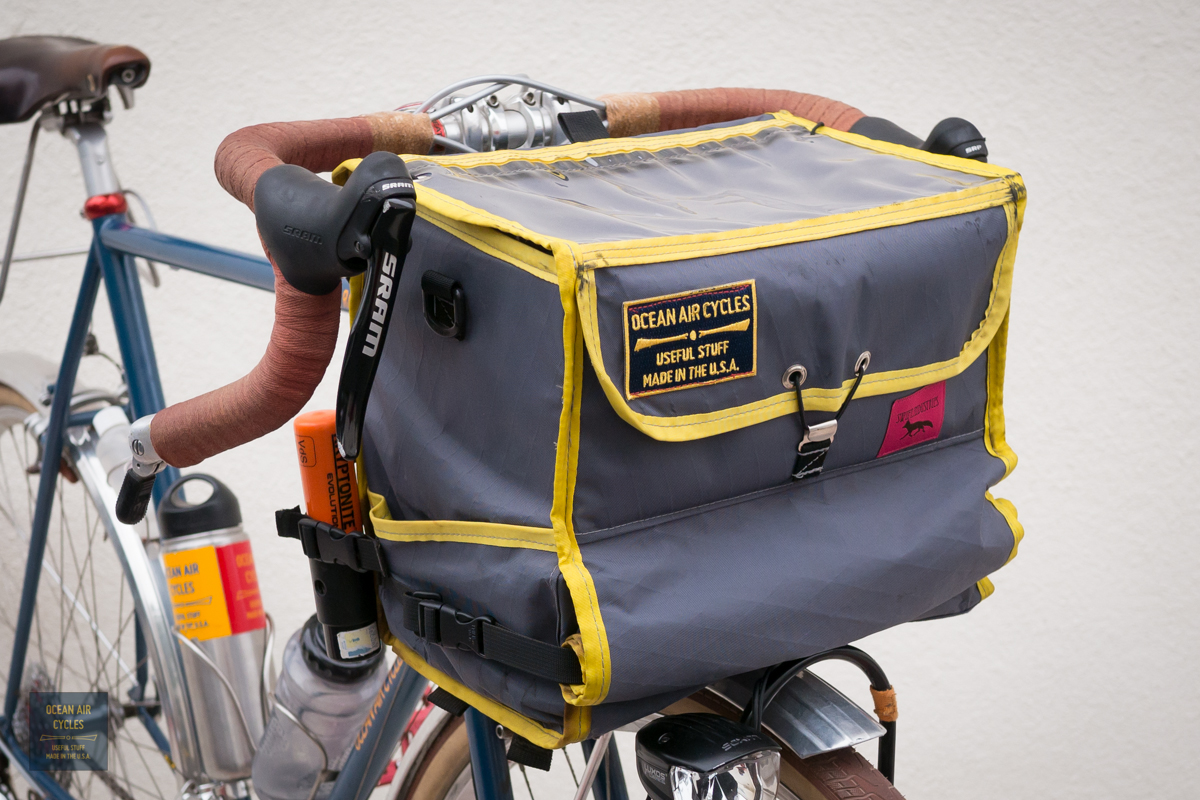
The bags being made by Swift Industries came the closest to what I was going for. I reached out to Martina during last year’s trip to Seattle. We hit it off well, and after a bit of back and forth communication, modifications of the overall dimensions and nailing dow the details, the first production sample hit my door. Honestly, it was everything I had envisioned. If the full Docena project never made it off of the ground I would still be using this as my primary bag for years to come. Soak in the picture set, and then I will hit you with the details:


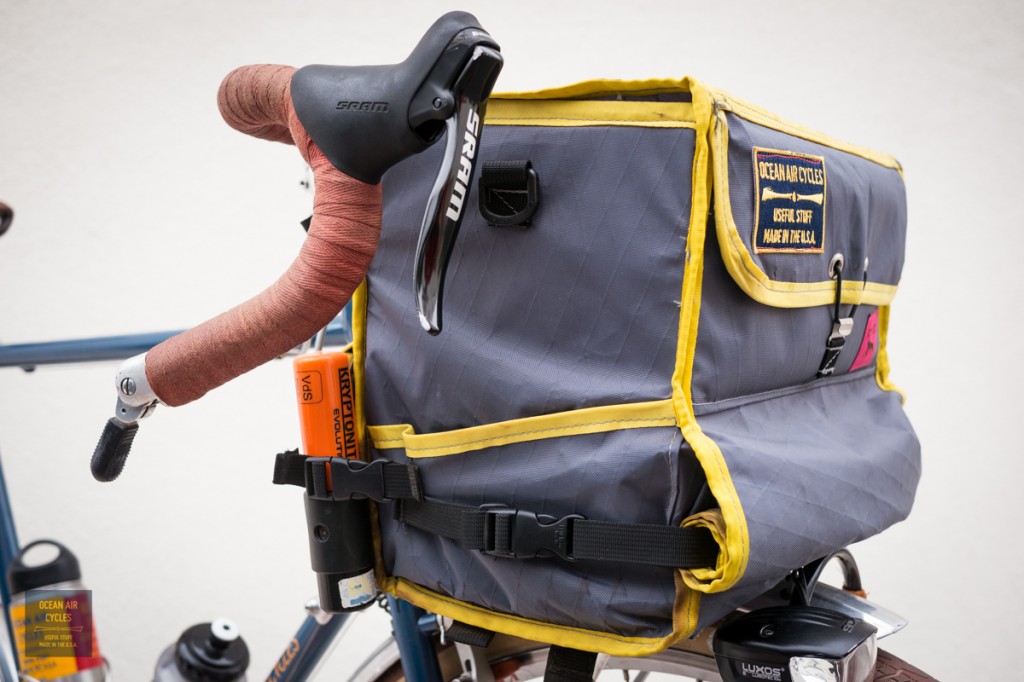


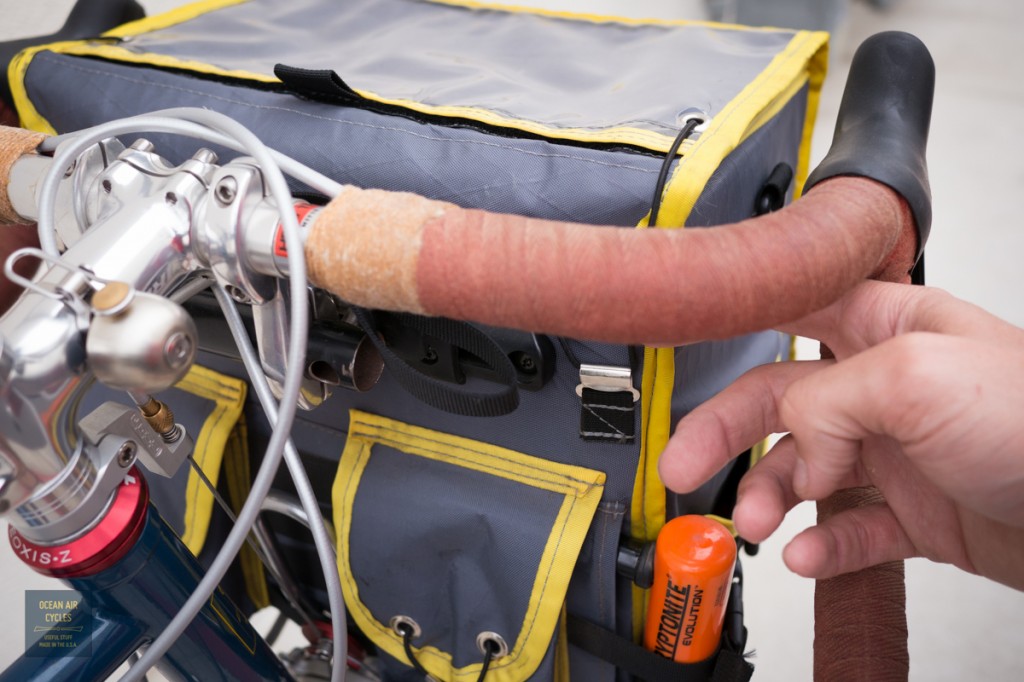

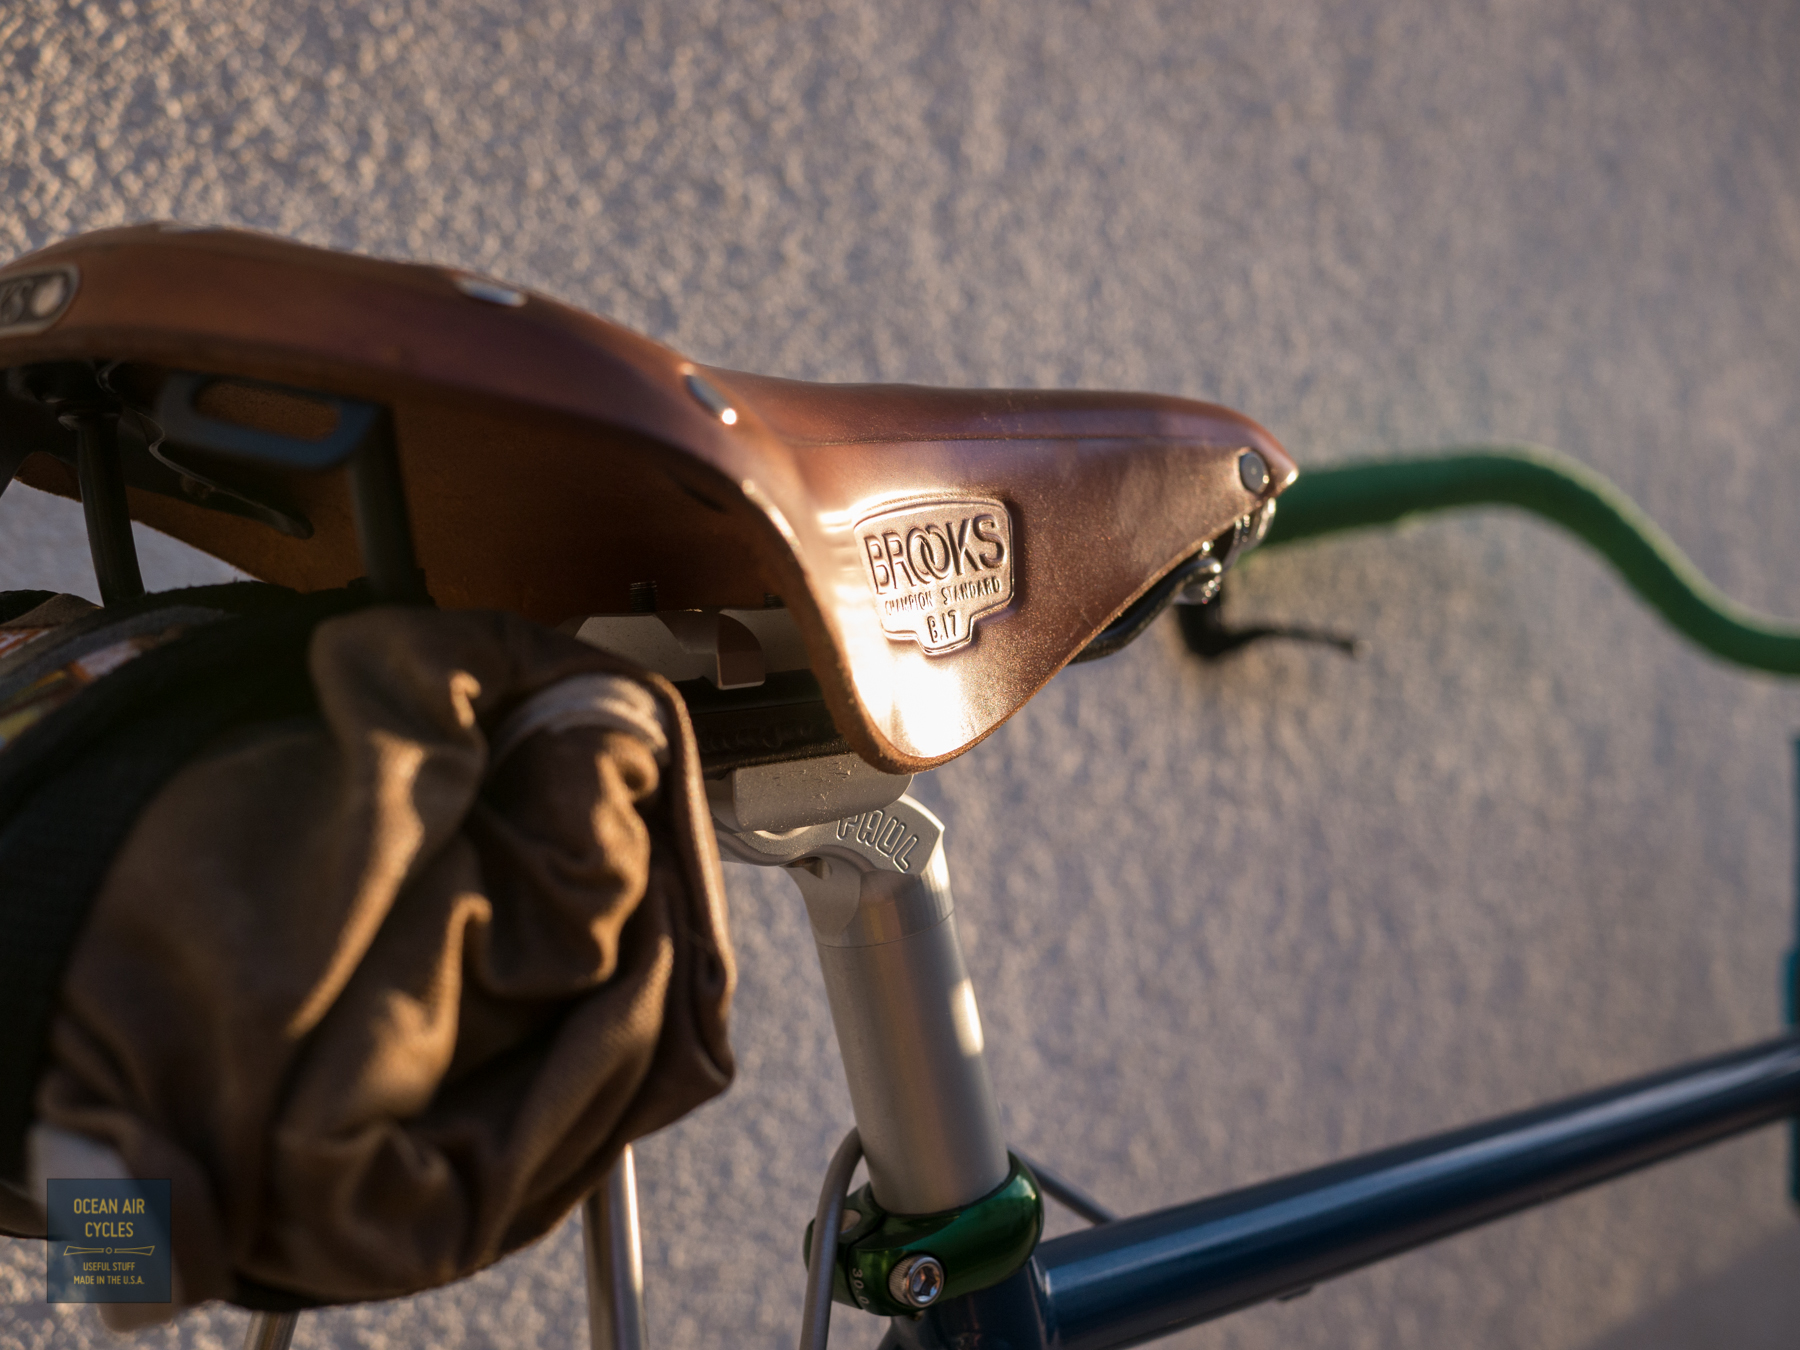
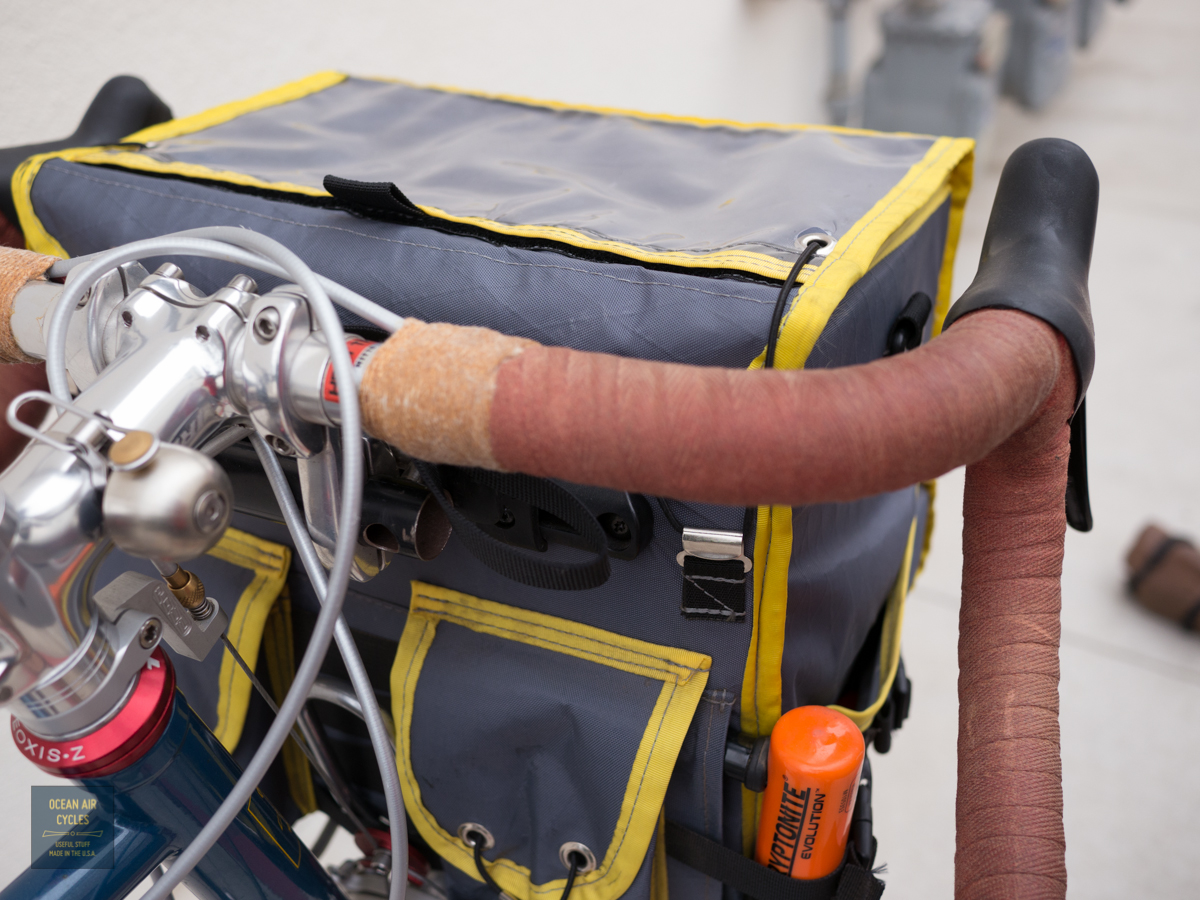
 By Rando Bag standards this is a huge bag. It is both tall and wide. Wide enough to fit 1 dozen eggs, and deep enough front to back to fit a second dozen as needed. Overall dimensions of the main compartment are 28cm tall x 21cm deep x 30 cm wide. There is 37cm of space between the inside faces of my break hoods, while I do not have any problems with finger rub, I would not use the bag if yours are any narrower.
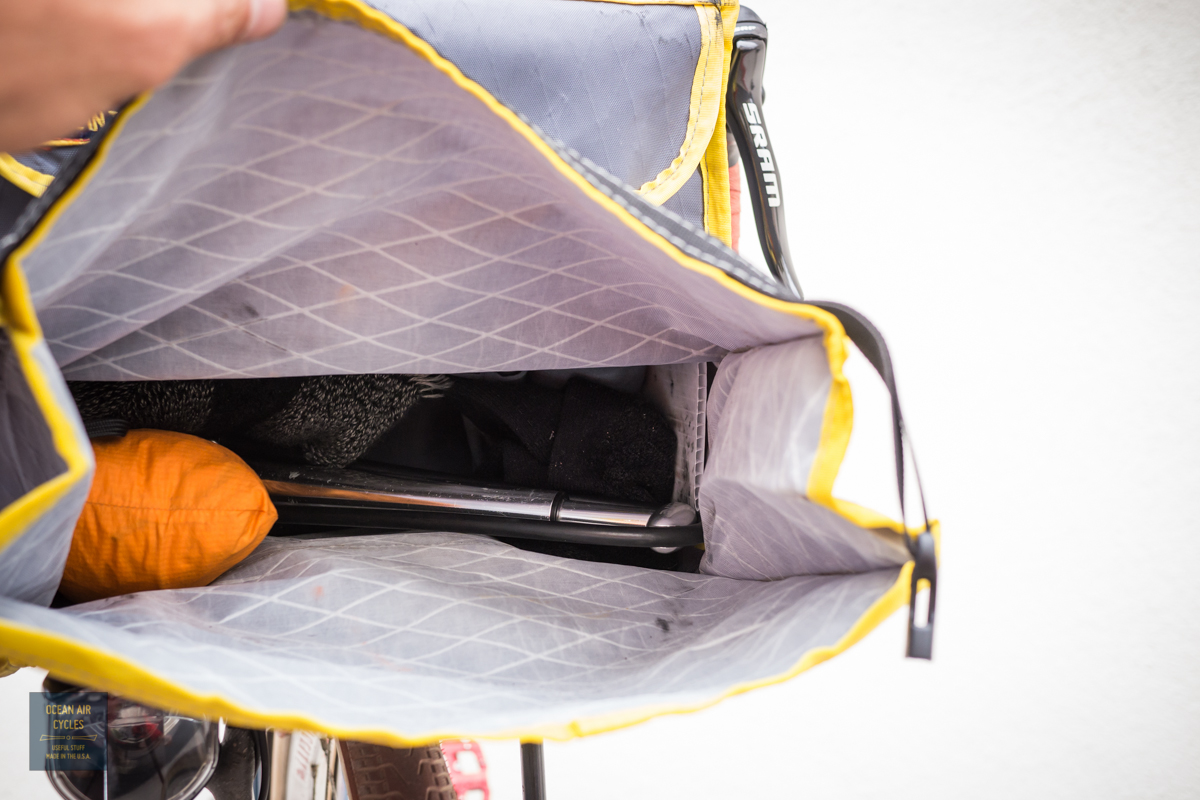
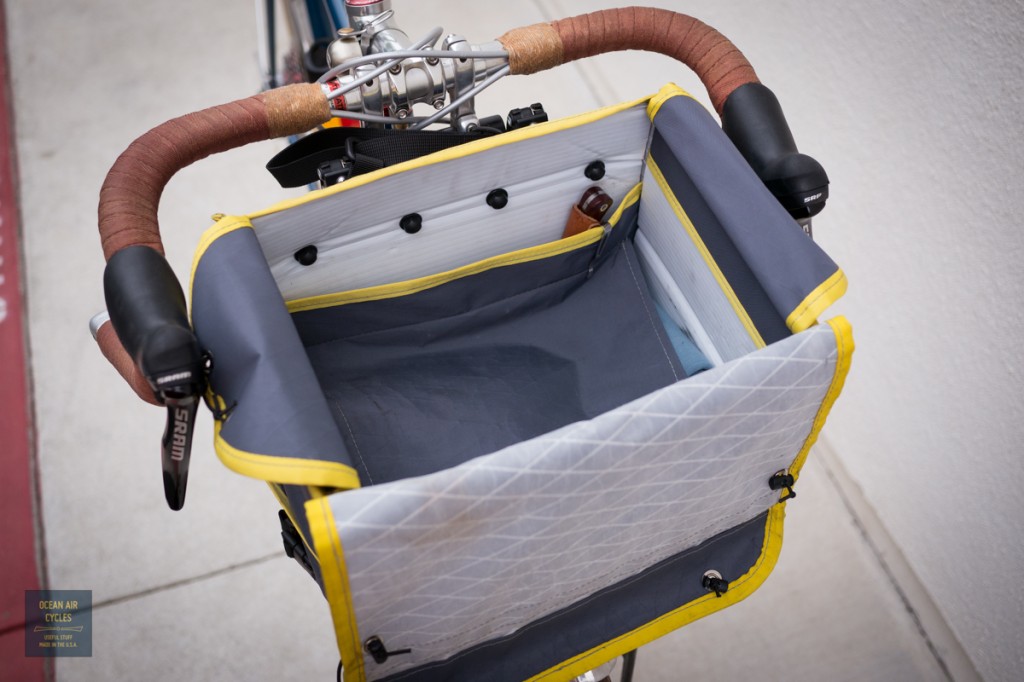
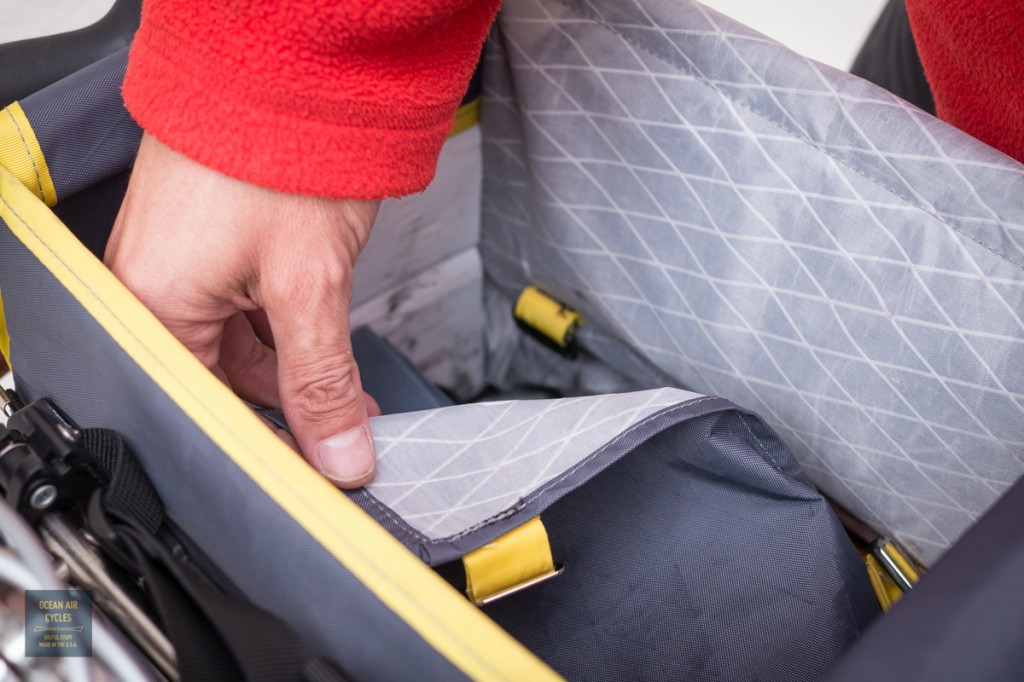
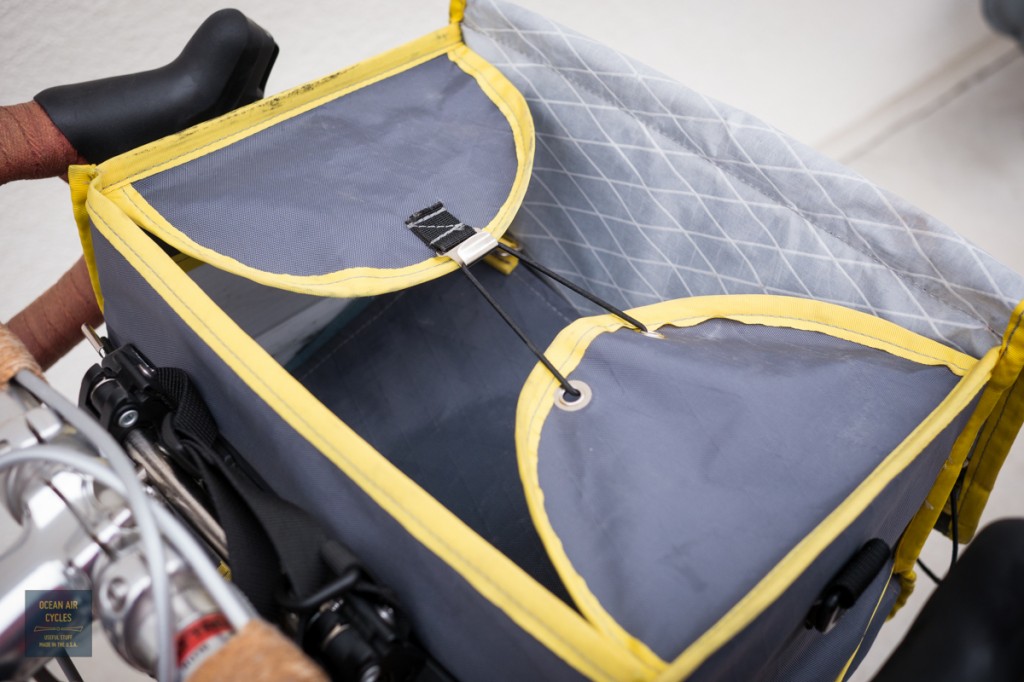
The main compartment has a removable partition to keep your loads separate. Tall bags can quickly become cluttered and challenging to get stuff off the bottom. The everyday stuff like pumps, warmers and wind breakers stays on the bottom, things I want regular access too is on the top; snacks, camera gear etc. This could easily split a change of work clothes on the bottom, lunch up top etc. The partition can be removed much like an old hiking backpack to accommodate bigger items as needed. There is also a roll closure front for getting to the bottom load without having to enter through the top. .
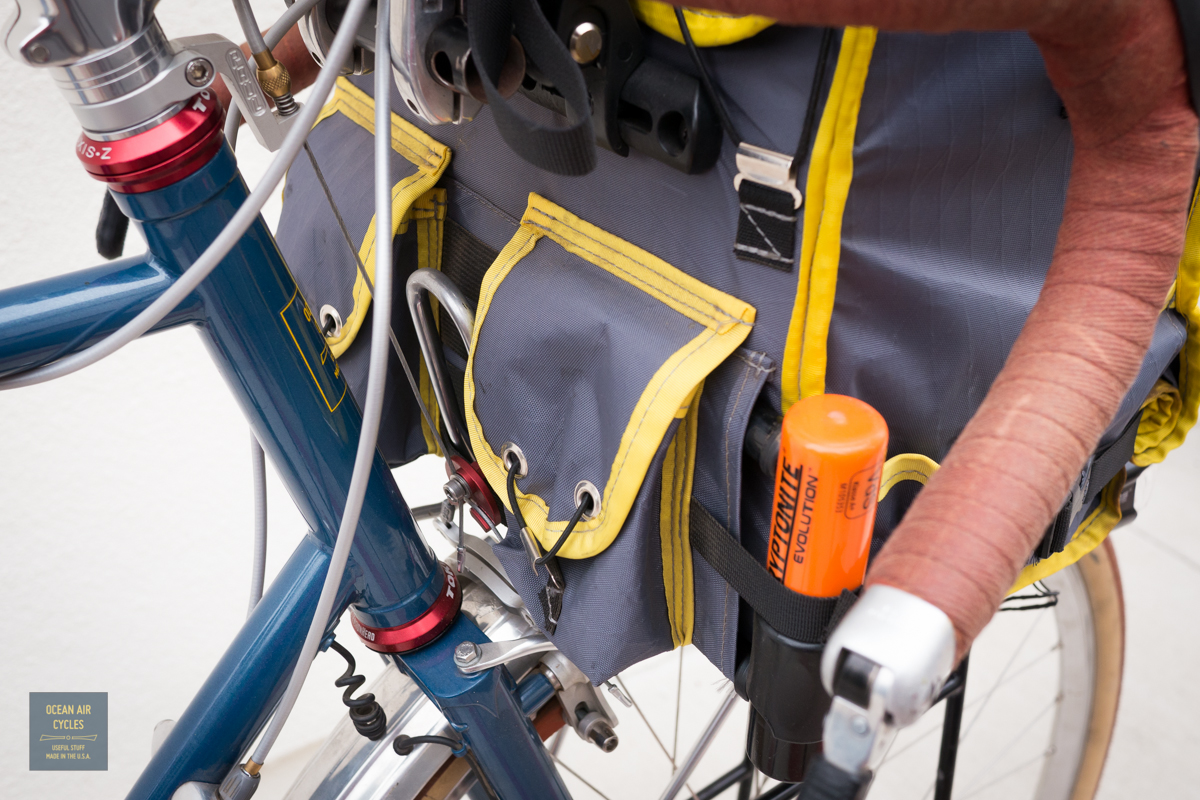
Side pockets are standard rando bag style.
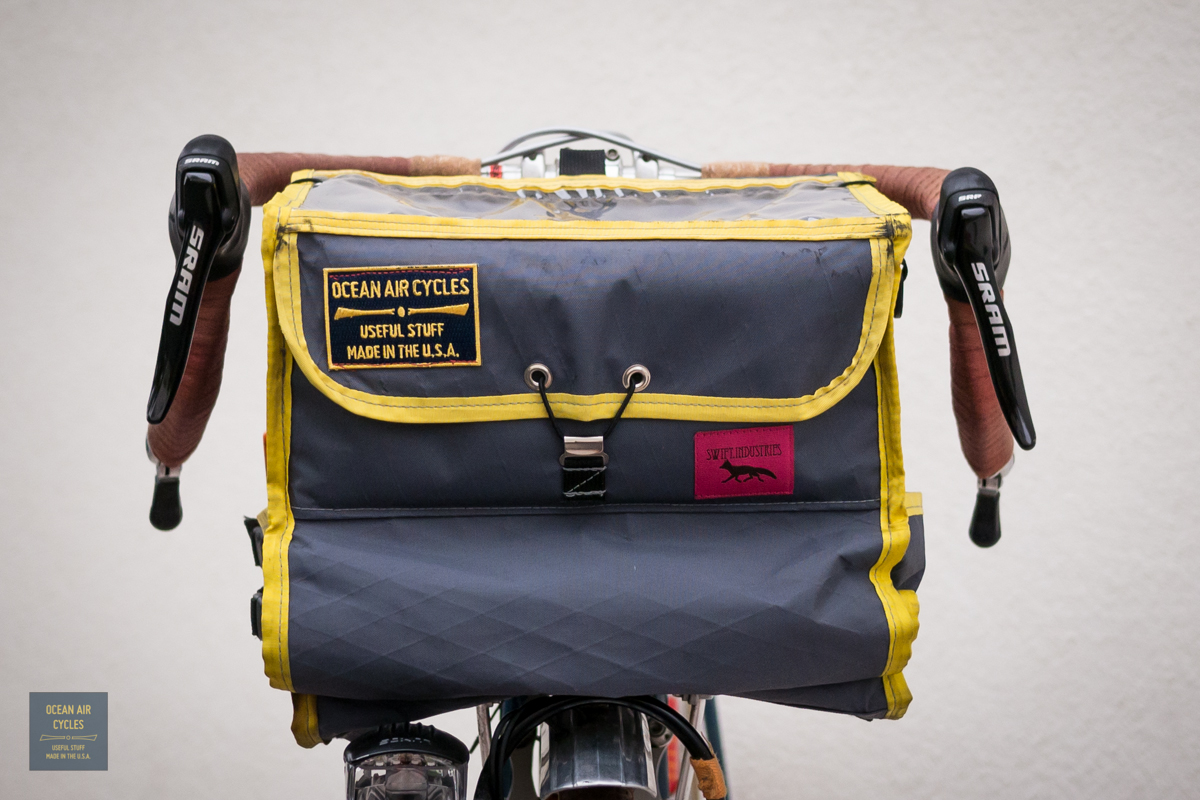
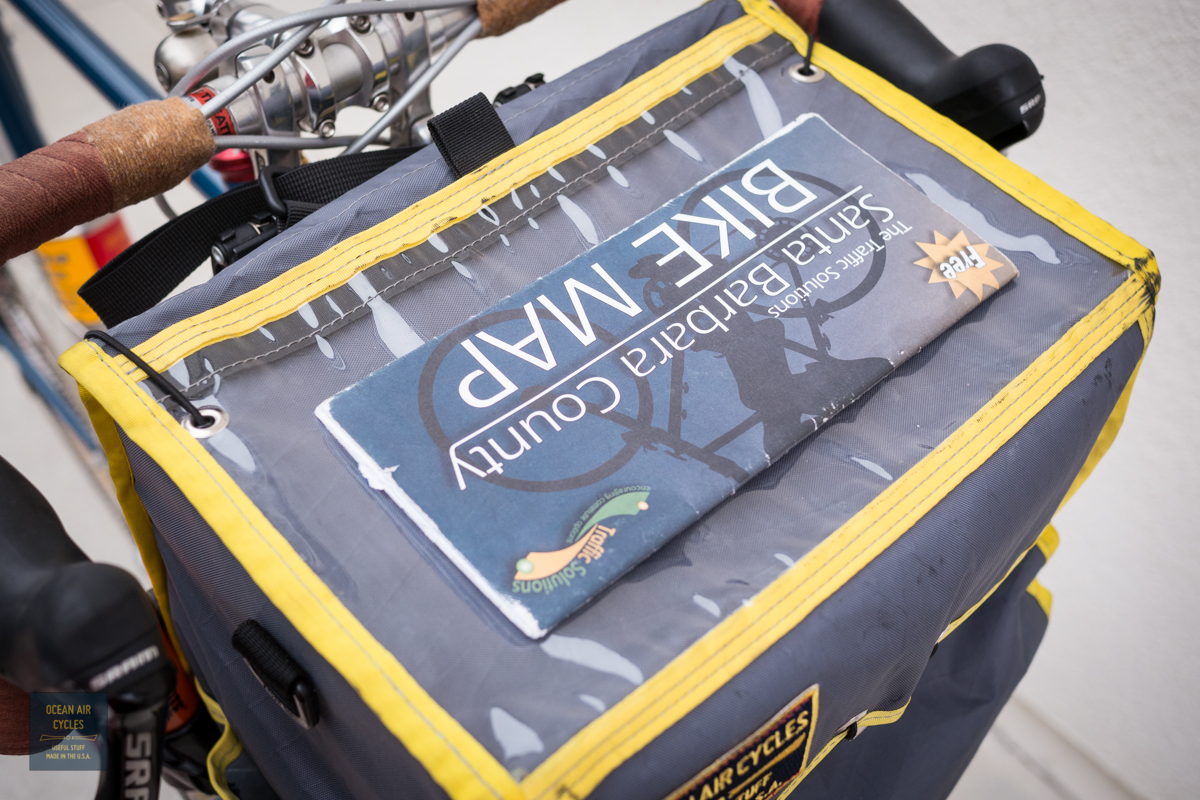
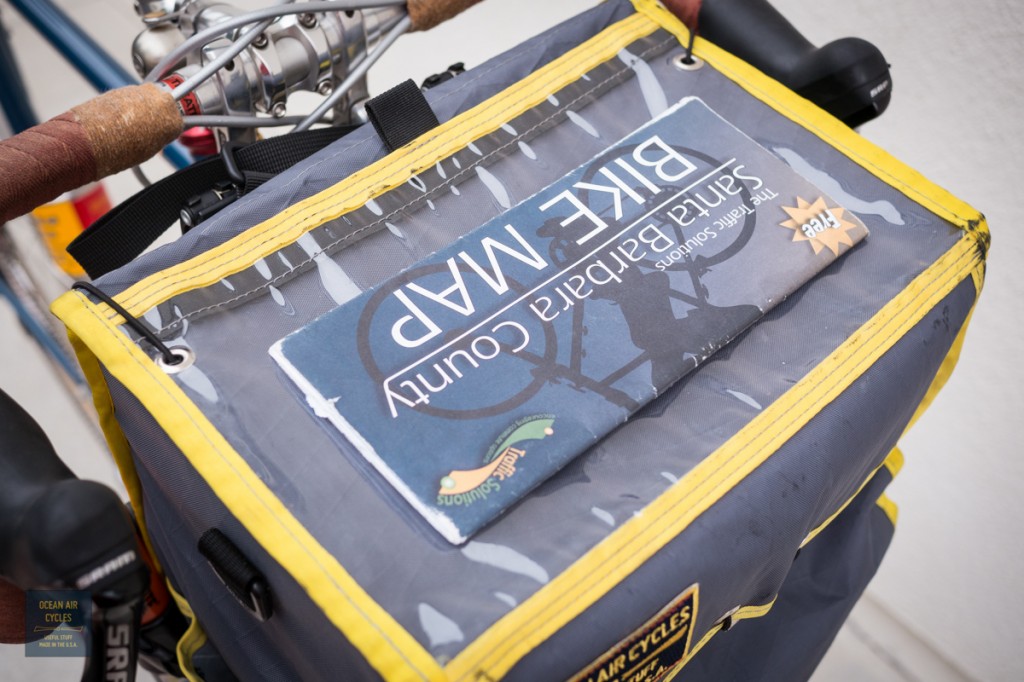
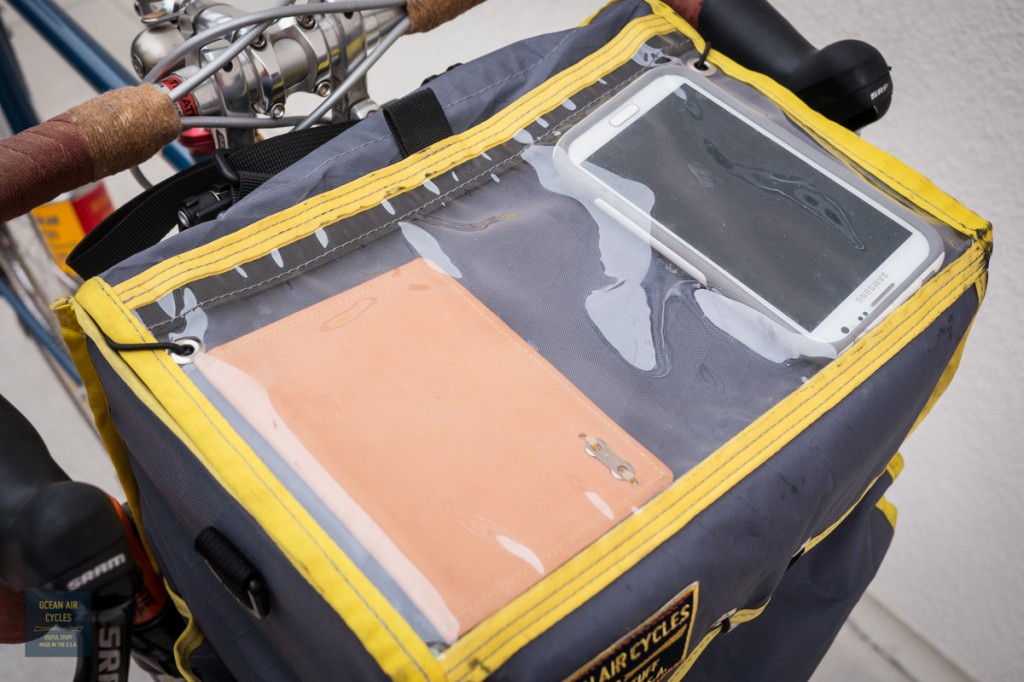
The front pocket is full width to fit all your odds and ends including full size road maps (AAA). The width caries over into the top map pocket, again easily accommodating full size maps and or your electronic device. Samsung Note 2 and meeting wallet shown for scale. the vinyl material on the top will also allow for the use of the device touch screen. The lid has two traditional inner flaps as well as top. The elastic closures have been moved from the center to corners. This allows for easier closure while riding. I generally leave one corner open for quick camera access.
The rear facing part of the bag has two traditional small pockets. In addition there is an external lock pocket. No more opening and unloading the bag to find your lock at the bottom.
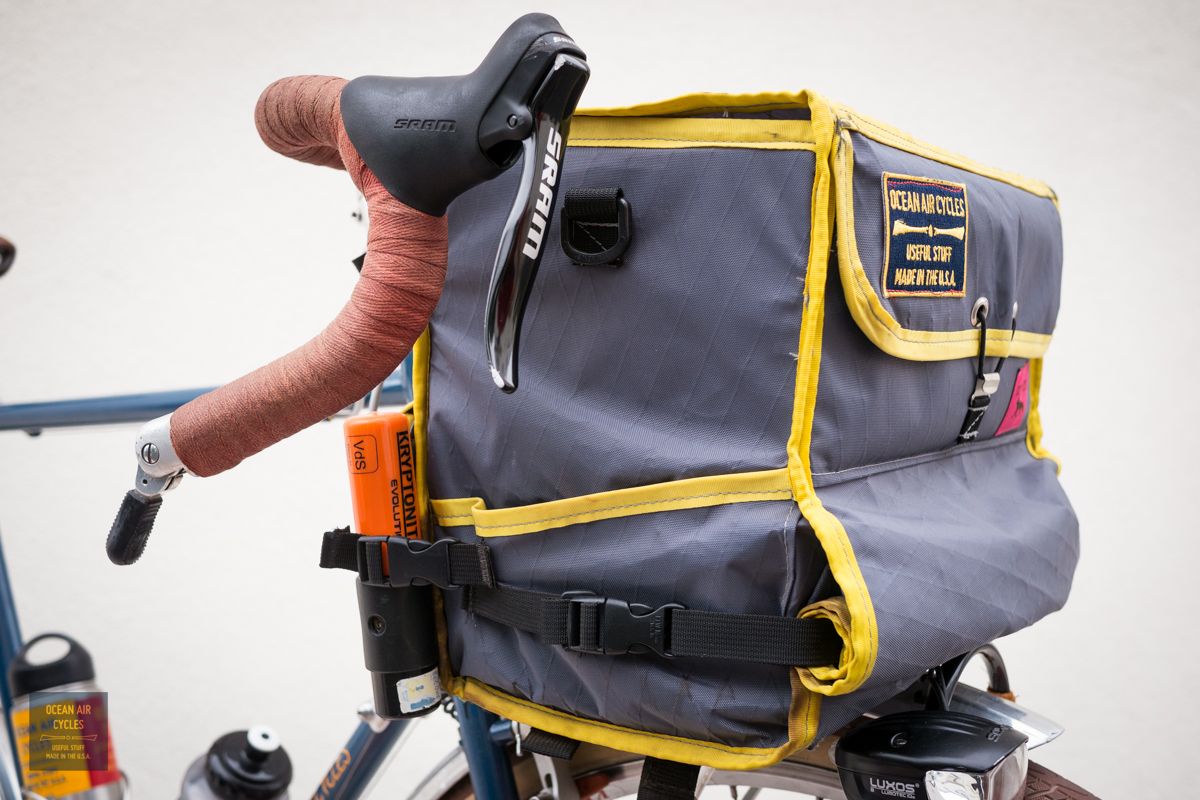
There are internal stiffeners on the three vertical sides. The bottom stiffener pocket is external. In general I have never felt the need for a stiffener there, but use it as a cutting board slot on longer trips. There are also the four traditional straps Swift uses to secure their bags to a min rack. I have only needed these for rougher roads.
The bag can be secured to most traditional rando racks with the back stop strap and a decaleur system. Some type of upper support will be needed for a bag this size. Working out all of the options in this arena will be a separate post. My current system of an Ortlieb pannier hook and hacked Nitto lamp mount has been fantastic. We are refining the design, but it is not yet ready for market.
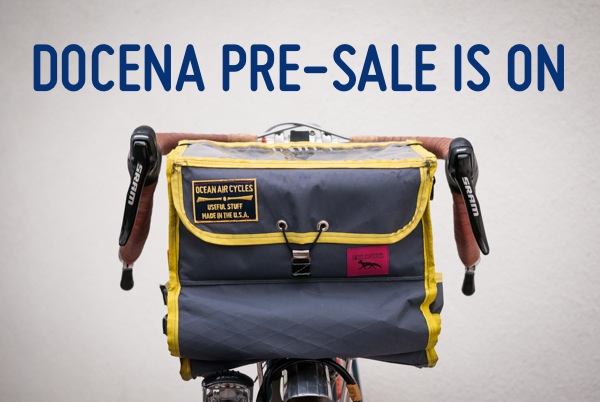
I may have skipped a couple of details, and there will be some subtle refinements as we move into production. That said the bag has exceeded all of my expectations, and is 98% perfect. Delivery time, final cost and total number made are still being worked out over the next week or so. Much of that will depend on initial interest. Stay tuned for a presale announcement, Newsletter subscribers will get fist crack at any discounts .
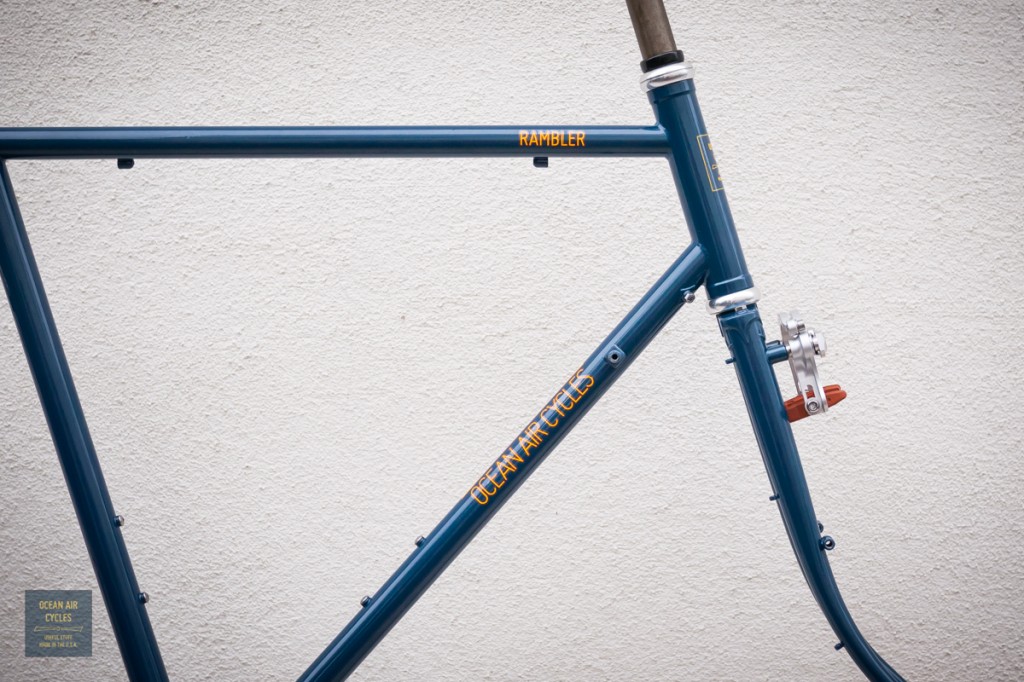
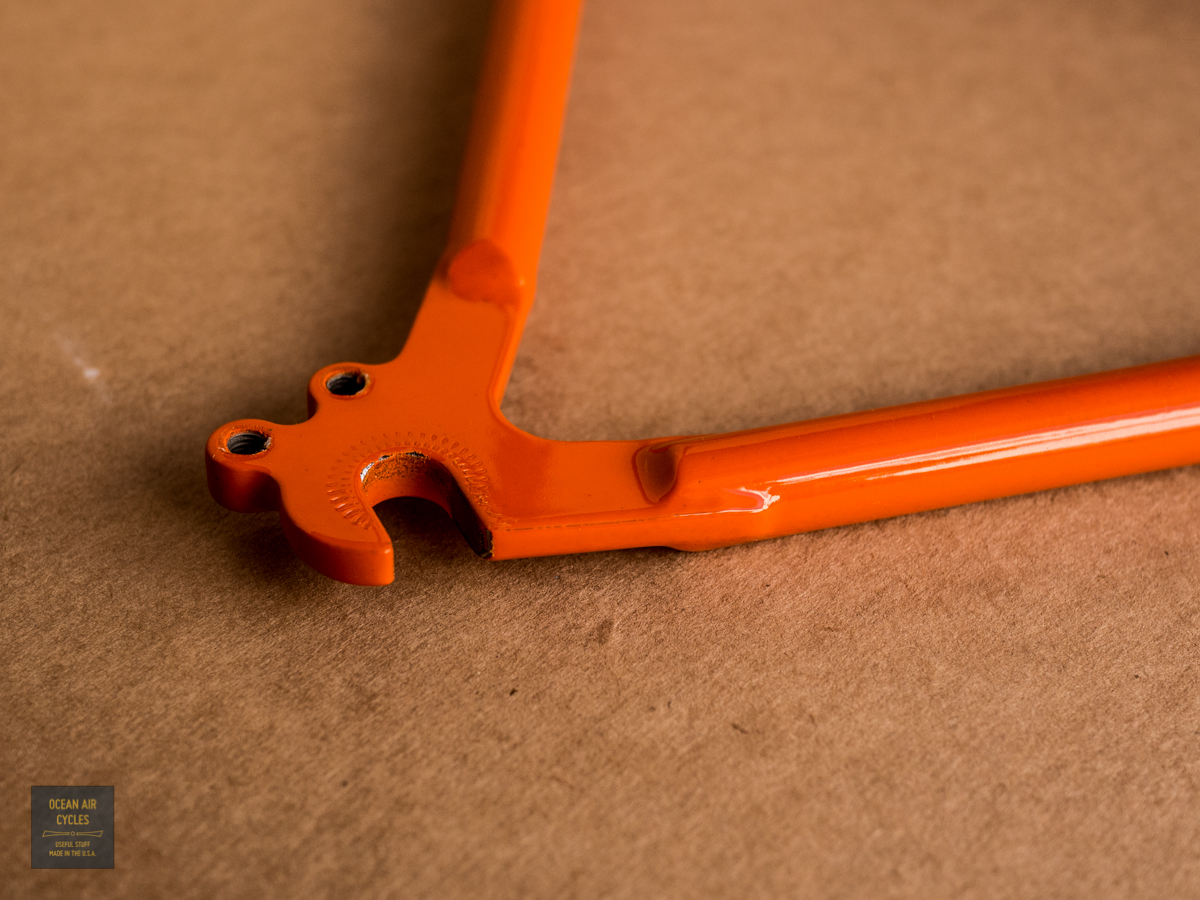
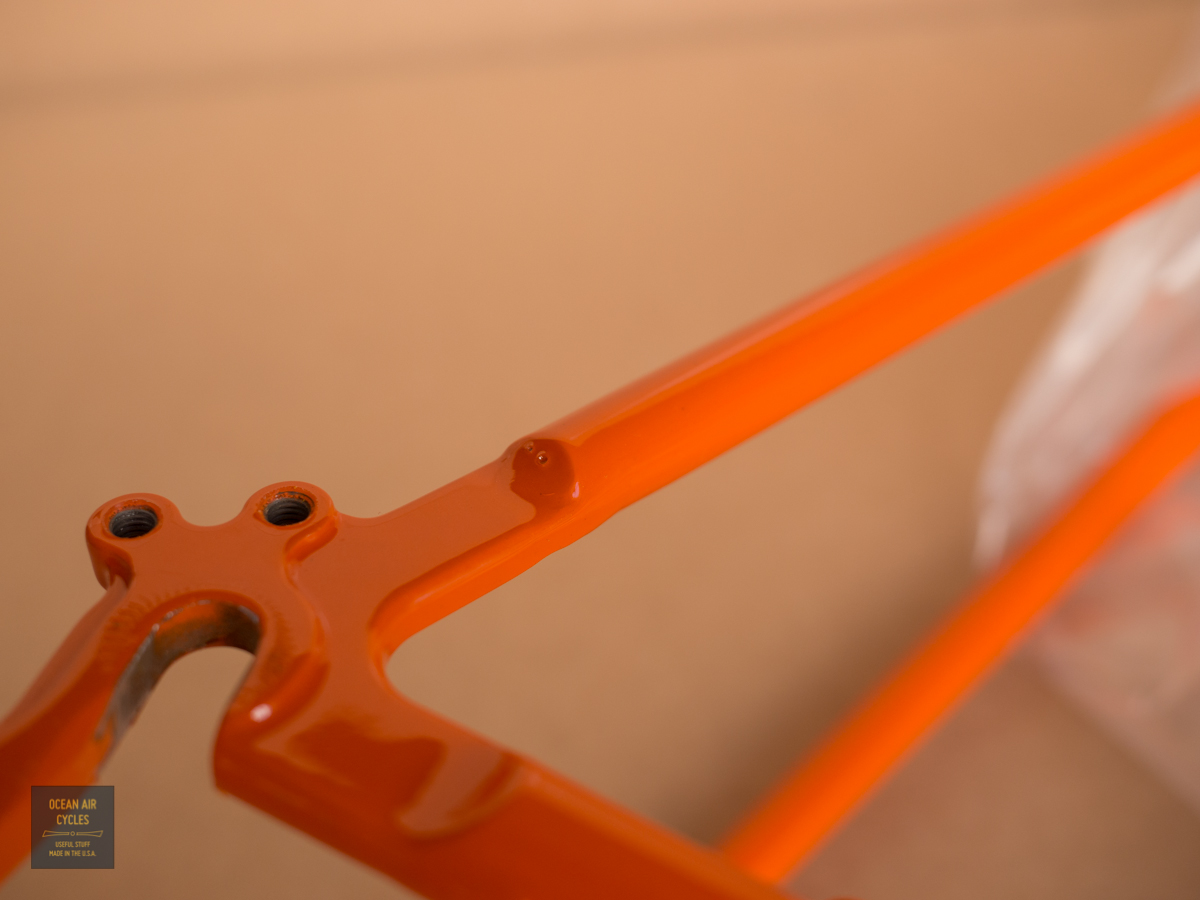
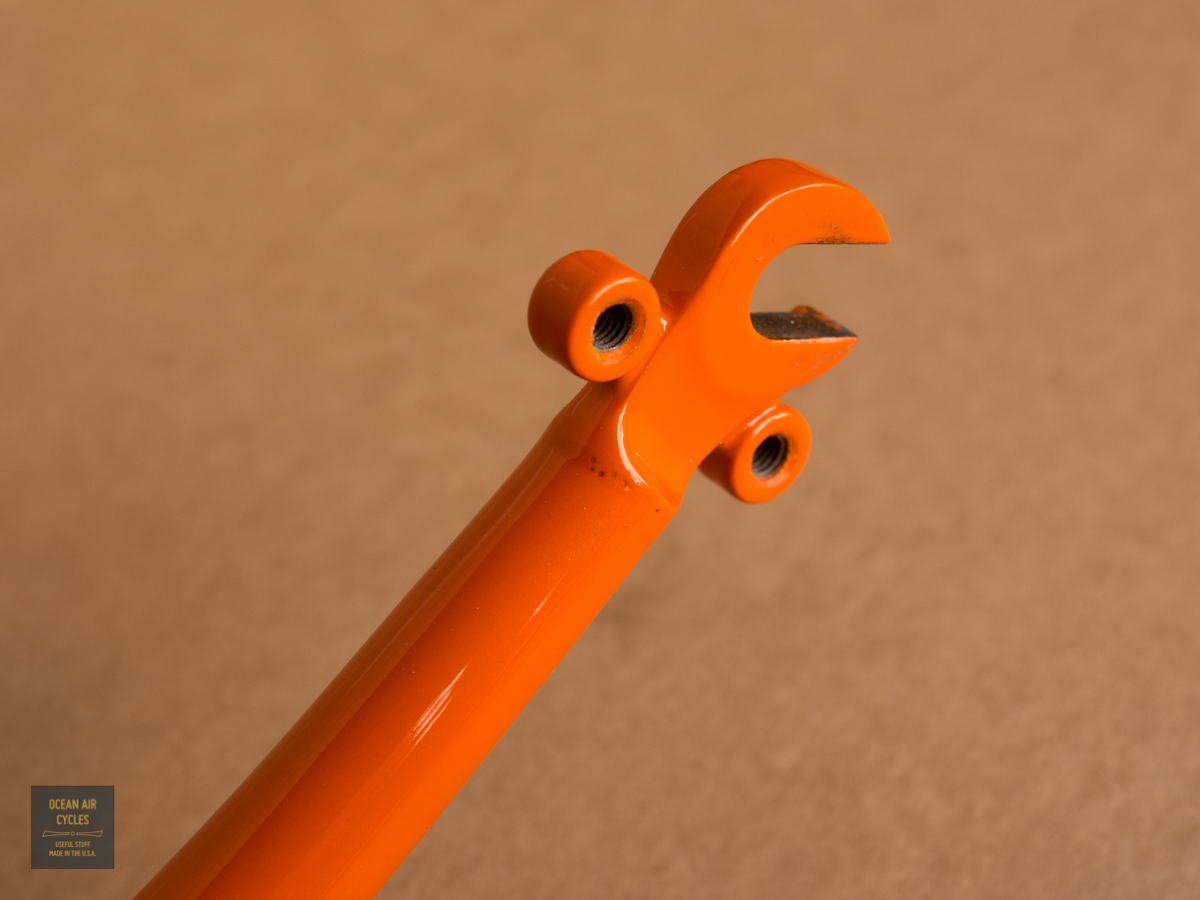
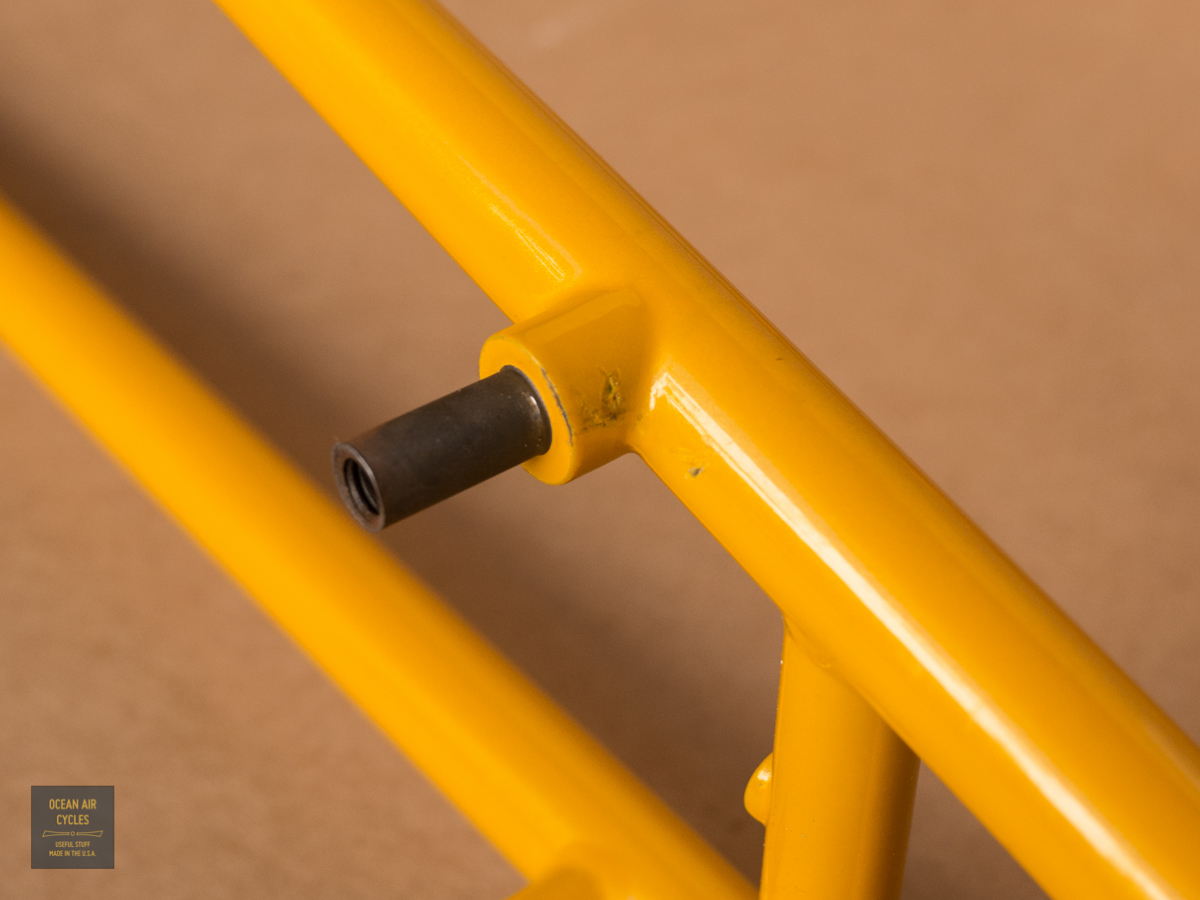
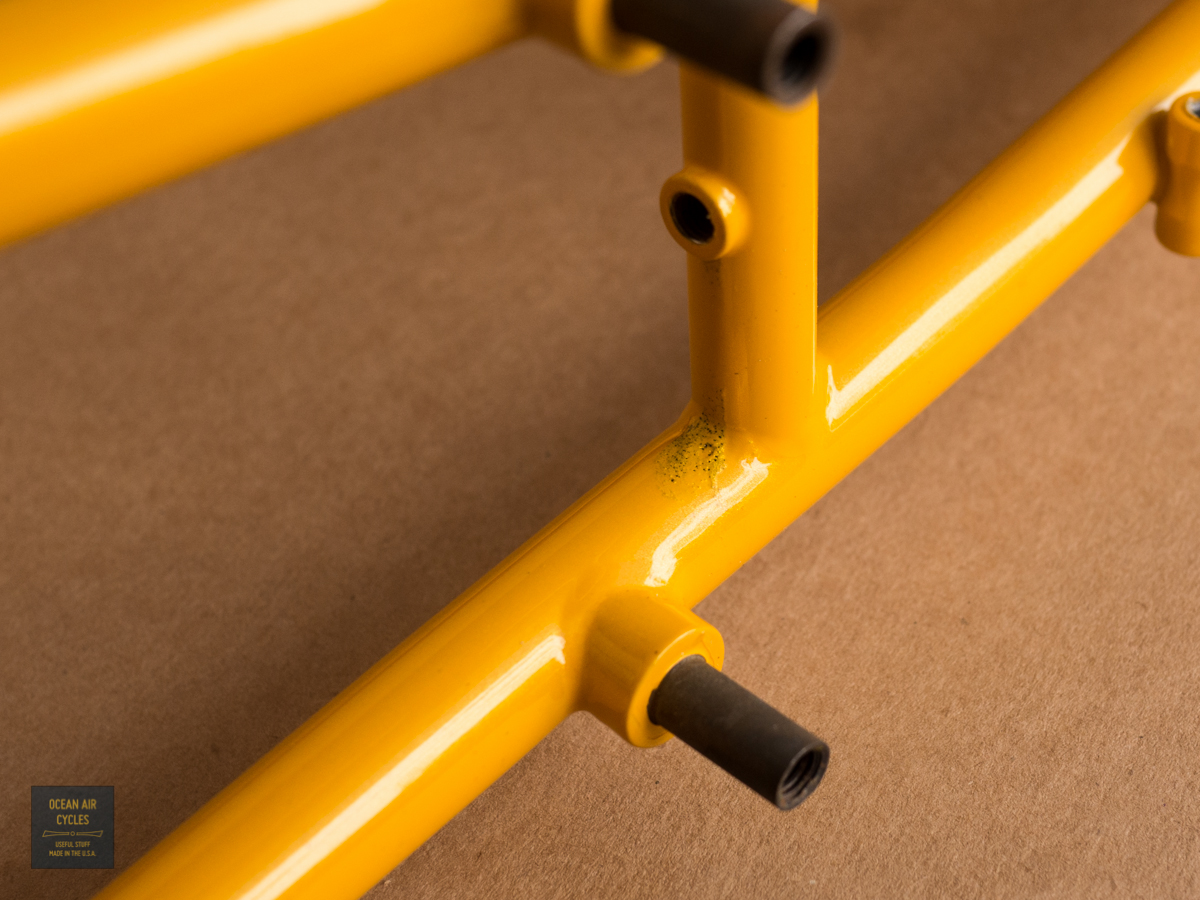
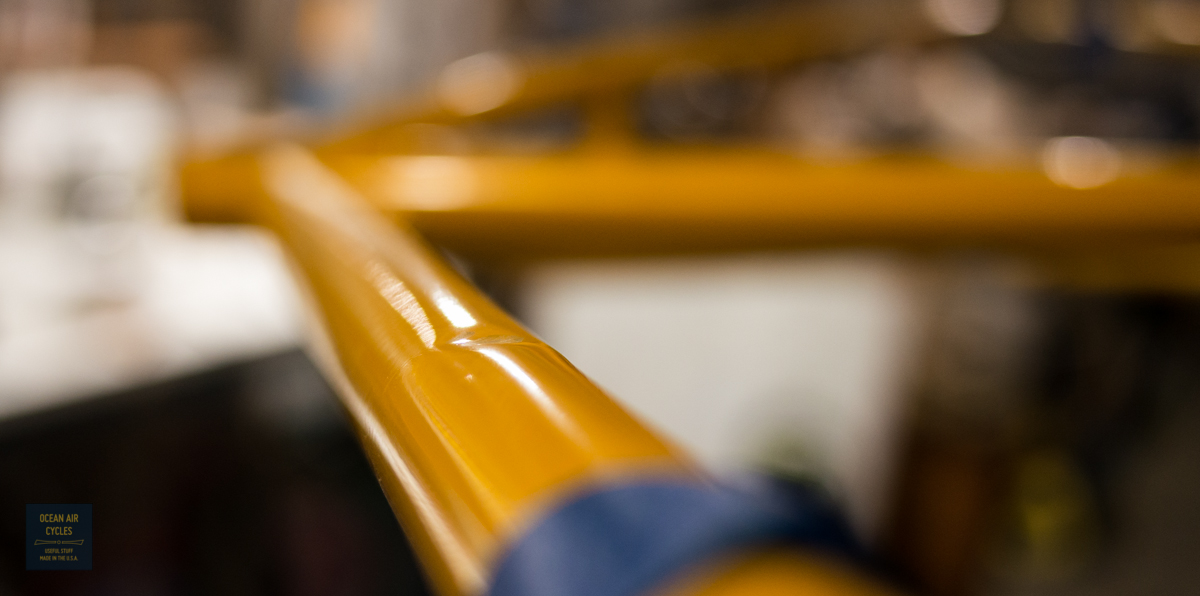
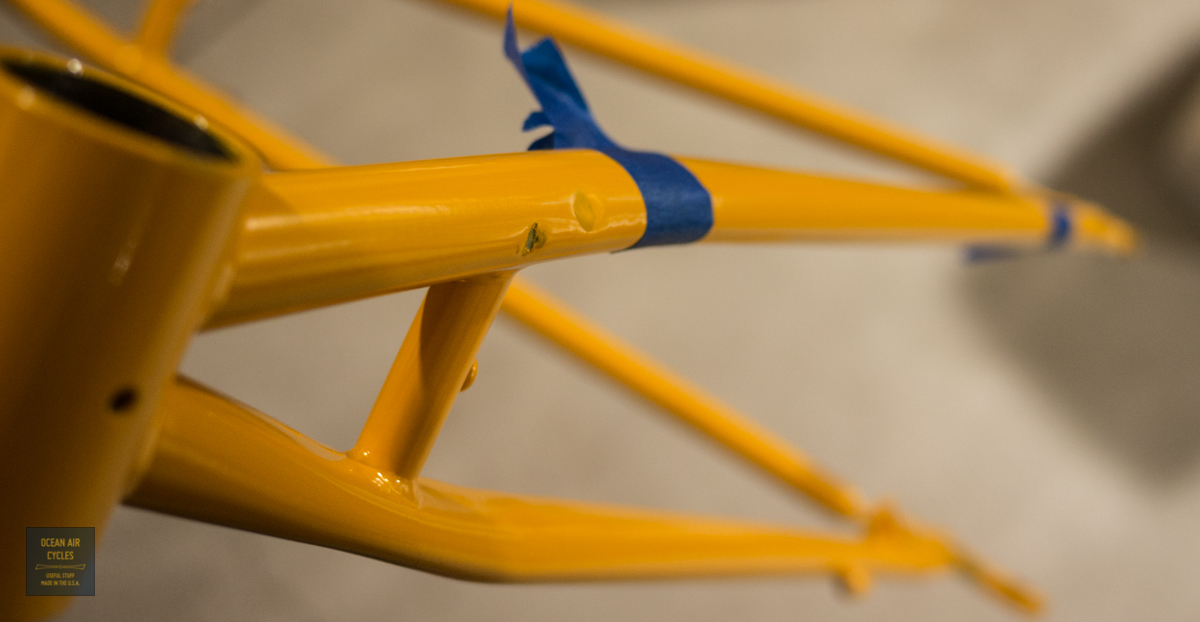
At times it may appear dreamy getting to tinker with bike frames all day, making, designing and testing gear, but it is still work. And then there are the real bummers, lost packages, time delays and cost overruns that are part of the business. The thing I hate to most though is this

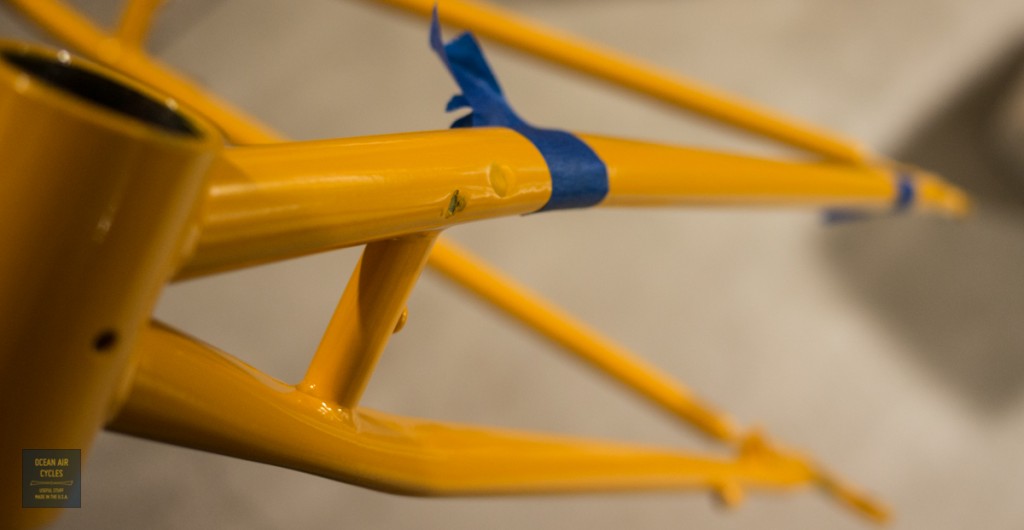 All of the man hours and resources that go into it, from the ore to make the steel all the way to powder coating. Then a moment of inattention renders it unsellable. It will end up an a corner for a while, possibly end up as a store display or fixture to salvage some aspect of it. But as a sellable bike it is a total loss, and that is really a bummer…..
 The next step is prepping your pannier hardware of choice. I went with Ortlieb because the locking mechanism is simple and strong. The mounting rail adds a bit of welcome rigidity to the bag, and there is little weight penalty with the molded plastic structure. I mount the bare hooks on the 10mm “decaleur” rail to get them centered.
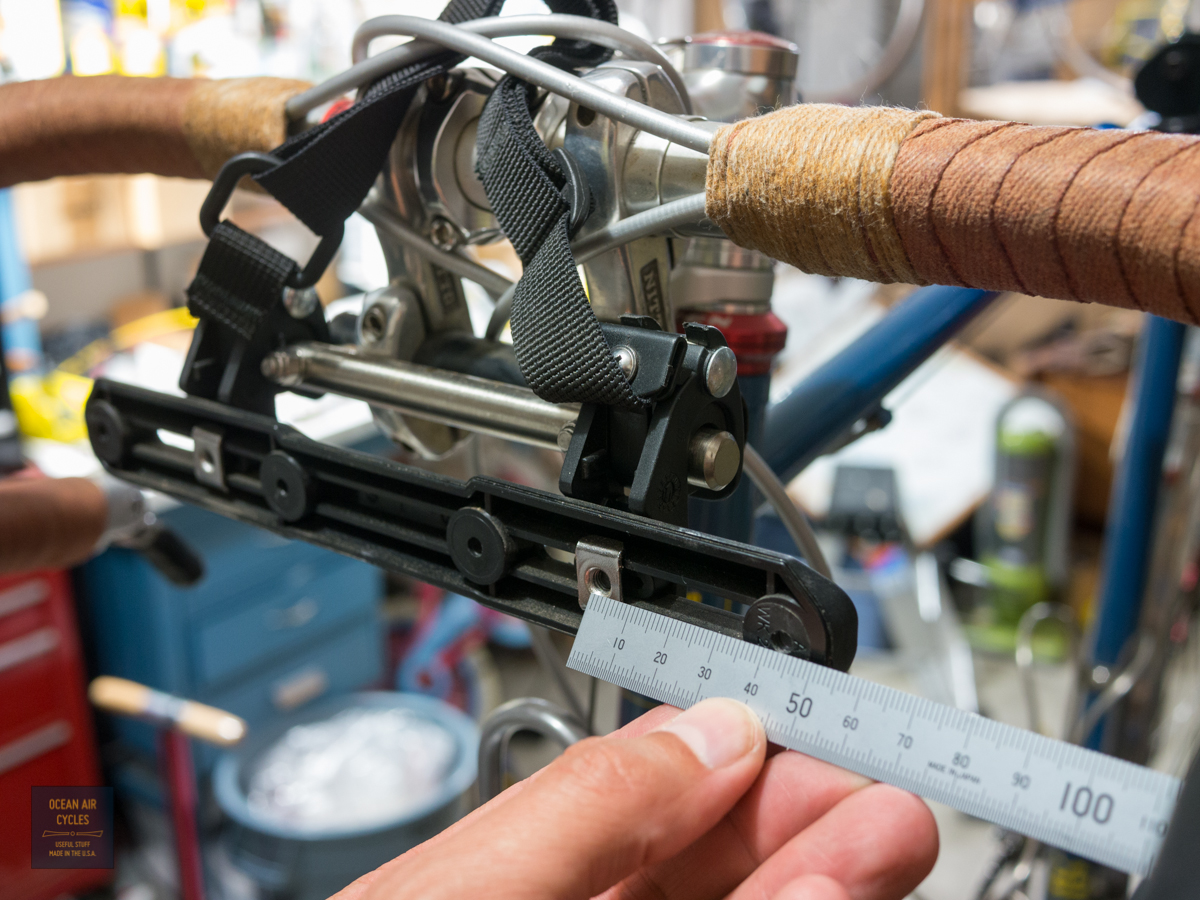 Put the bag on the rack and make sure the height of the mounting rail works out with the space between Docena rear pockets and the top flap.
 This is a place where the adjustability of the Nitto mount hack really shines. there are miltiple degrees of freedom in moving the mounting rail forward, back up and down by simply rotating around the two clamping axis. With two rotating axis you end up wiht a reasonable amount of adjustment. In the last few months the Nitto Lamp holder 2 has also shown up on our shores in a variety of mounting bracket lengths. Once happy with how it all lines up, mark you horizontal line on the bag at the bottom of your bracket
 Taking the bag over to the work bench, use a ruler to locate and align the center of the rail to the center of your bag. This is the start of where you will want to be as careful as possible. Measure twice and be certain of every step.
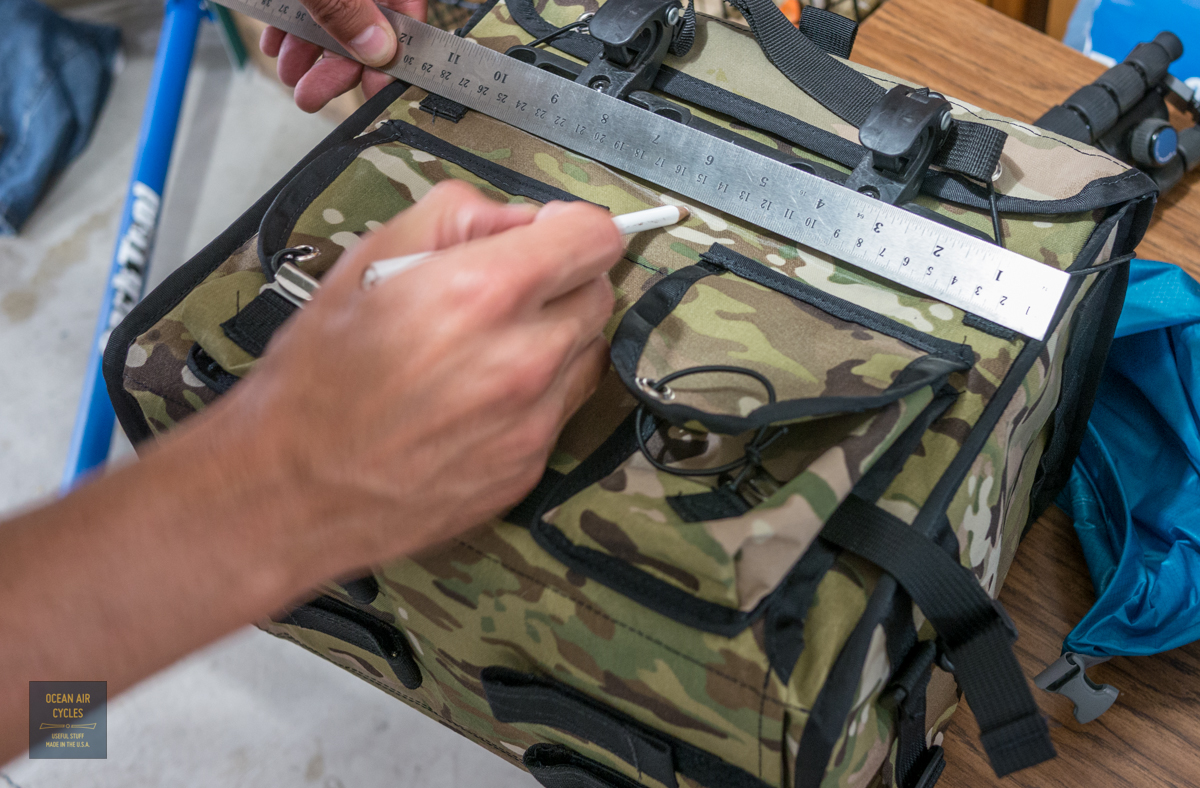 From there I set the rail into position, and mark the mounting holes.
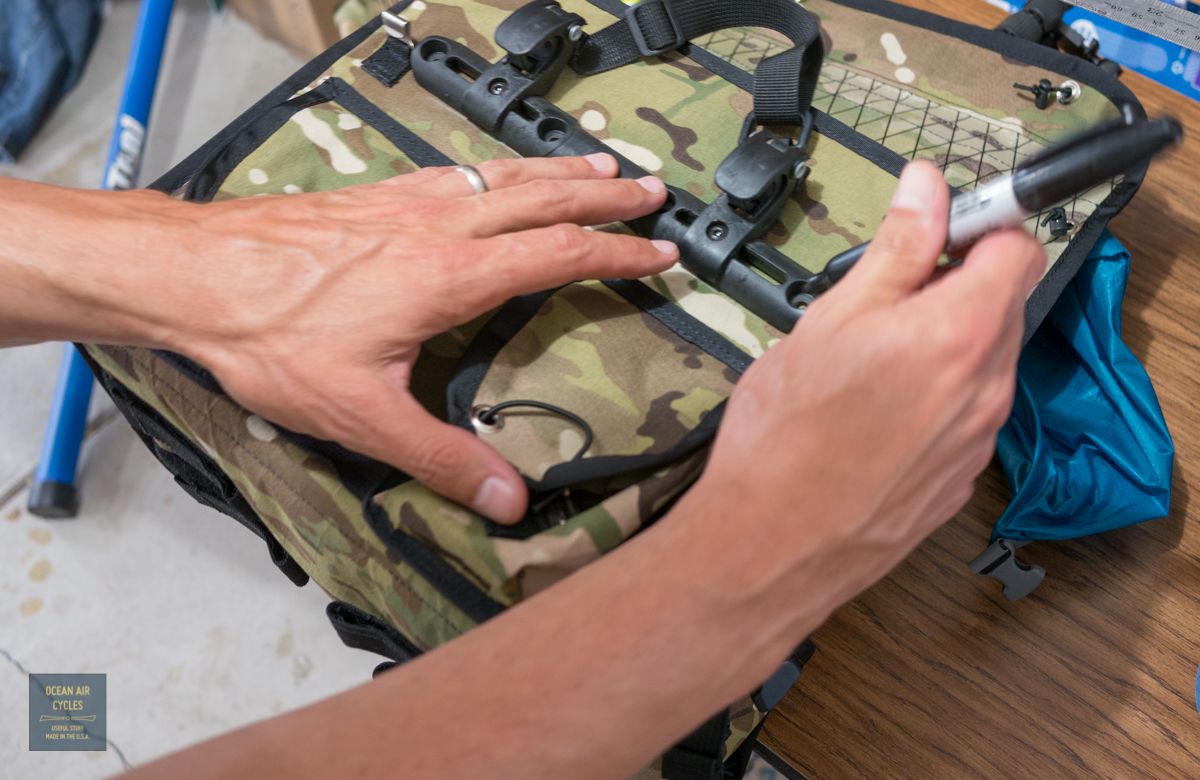 I use a hot soldering iron to make the holes and sear the material from fraying in a single pass. I have also seen this done with a hot nail. Use some common sense, do not burn your fingers being careless about the process. This is best done with the stiffener fully inserted in the final position. You will want the holes to pass all the way through and fully engage the bag and coroplast stiffener.
 My picture of the mounting hardware turned out terrible. I will insert one from the next bag I set up. It really is the most straight forward step, just nuts and bolts. That is it. From there the nylon strap goes over the tombstone on your lower rack, and the pannier hooks grab your hacked decaleur just like the panniers most of us are familiar with. If I know I will be leaving the bag on, or riding for long periods off pavement, I take the time run the bottom velcro straps through the rack. Honestly though, I do not use them for most of my day to day riding.
 Based of feedback from other riders using Swift bags the Berthoud decaleur for threadless stems is also a good solution. There are a variety of off the shelf solutions that will get you where you want to go. My hack above works better than most IMO, shaves a bit of $$ and feeds your inner maker monkey. At some point we will offer a packaged solution, but there are a few other projects ahead of it in line.