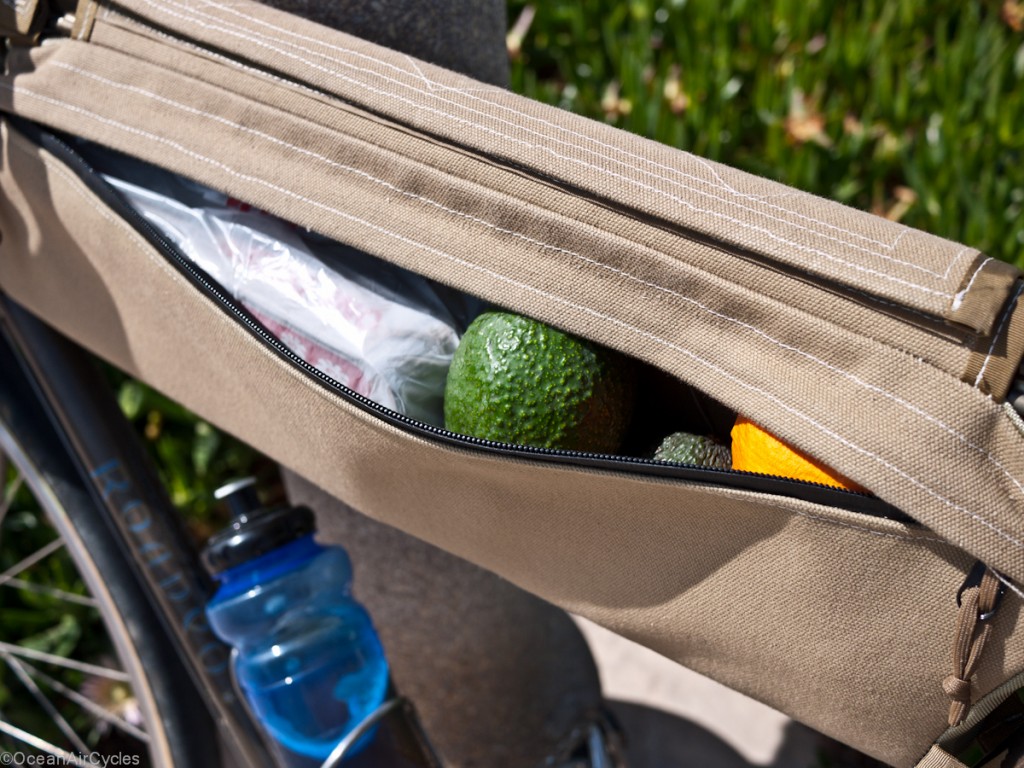
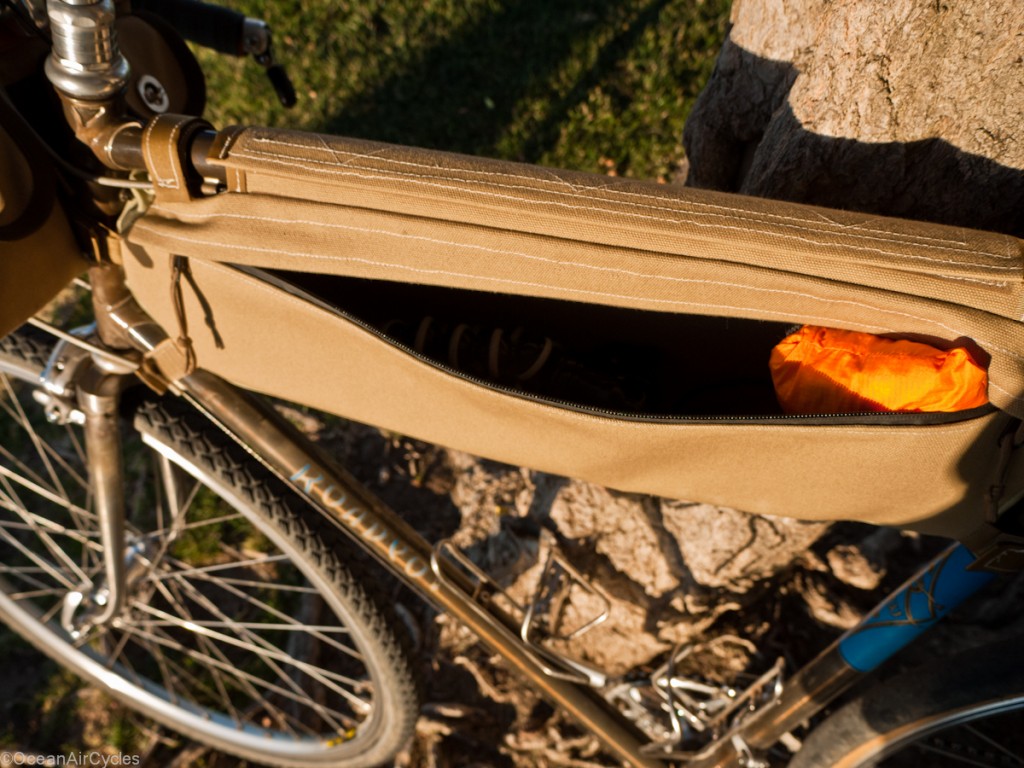
What do you put in a frame bag for daily use? Today it was my Houdini jacket, one dozen eggs and two avocados.
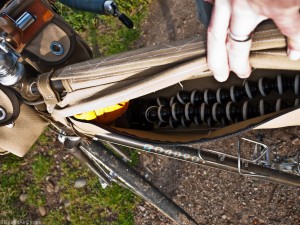
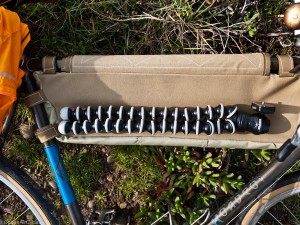
Most days is has my Gorillapod with extended legs as well as the Houdini,
On longer rides can get a 2L Platypus bag of water in there with the jacket and a first aid kit with room to spare (I still need to grab a picture of that). The most asked question by people on the street suprisingly is, "do you keep a fly rod in there"? and if I was going camping it would be the perfect place to keep the tent poles.
When I first made the bag I knew it was going to see more than touring duty, but it turns out to be incredibly useful every day.
Market Ride March 13 2011, 0 Comments
I have had my
Patagonia Men's Houdini® for a little over 6 months now and am confident that it lives up to the claims and great reviews on the web.
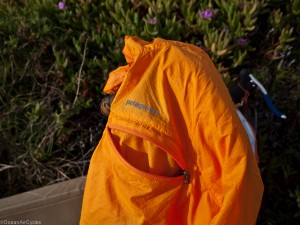
The Houdini is a super light weight, breathable, wind resistant shell with Patagonia's Deluge® DWR (durable water repellent) finish. It will keep you dry in anything less than a solid rain. Here on the southern California coast we commonly get mist and heavy fog. The jacket performed flawlessly in this weather, keeping me from dusting off the heavier rain shells for my morning rides. weighing in on the kitchen scale at 125g confirms that my XL Houdini is indeed a flyweight. Whether on my back or on the bike the load is barely noticeable.
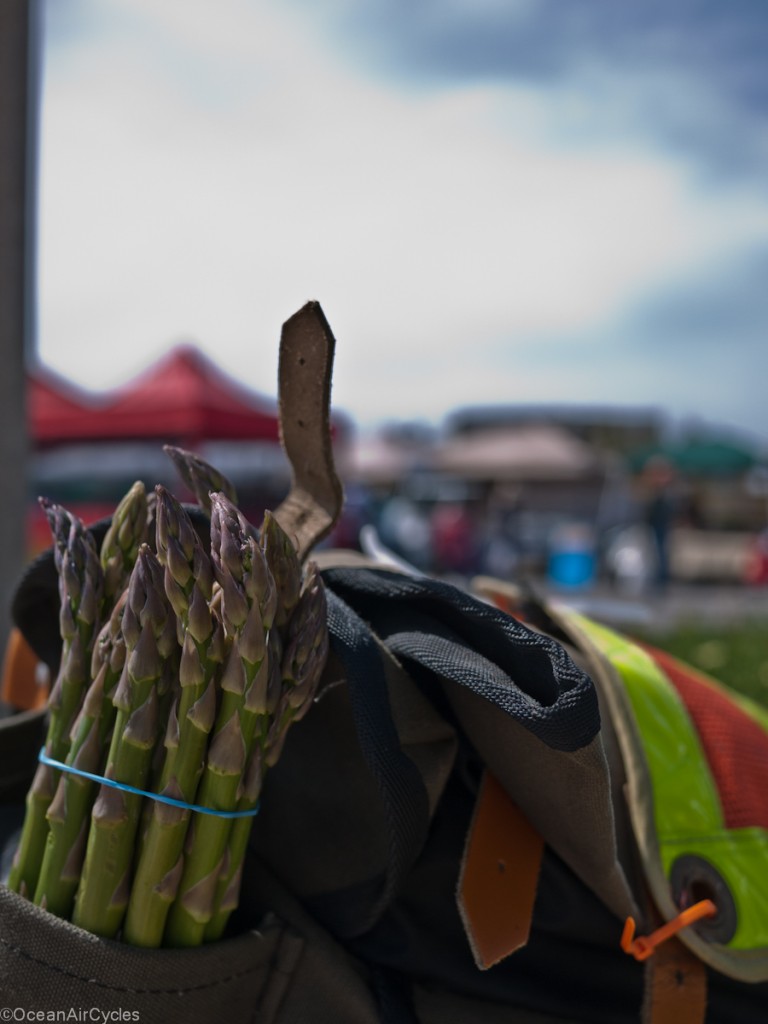
The chest pocket serves double duty as a stuff sack.
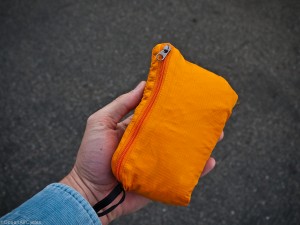
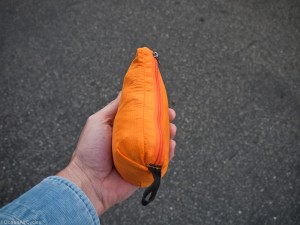
Stuffed size is a little bigger than my fist when fully compressed. The compact and cleanly packed size means that I keep the jacket with me. It literally lives in the frame bag on my Roadeo, and has been my bail out layer more than once this season. Our weather has been a bit unpredictable this year. Many mornings I leave when it is dry, only to have rain and mist set in later in the ride.
The strongest use of the jacket is as a windshell, complementing a solid layering system. I will wear it from the start if the temps ate below 45deg F. It wards off the initial chill why getting warmed up. The full zip is perfect for controlled ventilation if you find yourself getting hot midway up a climb. When the temps are below 40deg I can wear the jacket the whole ride without getting clammy inside. Often the morning temps will be much colder in the canyons, with swings as wide as 15 degrees lower than the higher ground.
There are only two things I would change. The hood is great when really cold, below 30, but is a wind catcher the rest of the time. I ball mine up and tie it off with the adjustment cord. A stuff pocket would be nicer. Also, the XL fits me a little big. While perfect for hiking or walking, it flaps a bit in the wind. This is not bad enough for me to exchange it, but if I buy a second it will be a large.
Added bonuses, online shipping is free since the price tag is over $75, this season offers orange and green for higher visibility and as always the Iron Clad guarantee ensures satisfaction. Mine was a gift from my wife last summer, and has become and integral part of my gear since then, and yes I like it enough that I think about buying a backup.
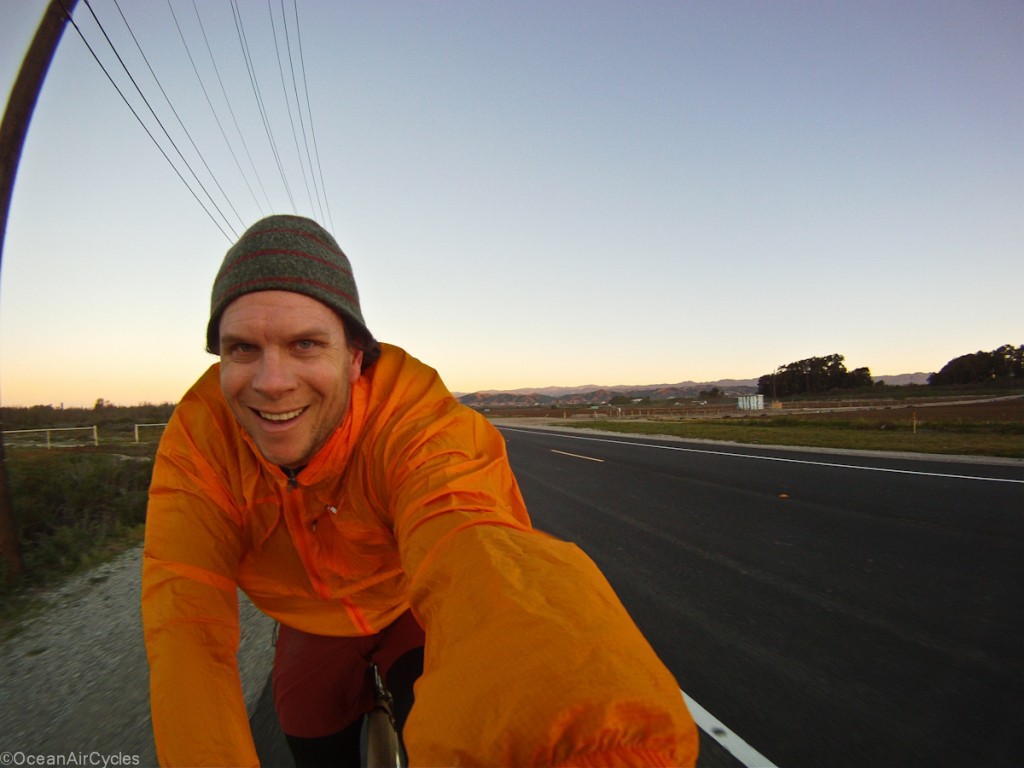
Yesterday morning's schedule left me with the opportunity to do what I wanted for five hours or more. I decided it was time to put on some decent miles and headed out on what turned out to be a perfect day for one of my favorite loops.

This ride takes you through some beautiful views of the farms, canyons, lakes and with no fog today the channel islands were spectacular. The route heads east out of Ventura out to Santa Paula, up the Hwy 150 through Ojai and back down to the coast at Rincon. From there it back along the coast to home.
The ride is just over 100km (70 miles) and 4250 feet of climbing. I was able to get it done in five hours and ten minutes, pretty respectable considering it has been months since I did anything over 20 miles. The weather was spectacular, warmer than I expected, no clouds and there was only strong winds on the leg out to Santa Paula. Spring has definitely sprung, the flowers: lupine, mustard, poppy and all the others, are starting to pop.
This is a popular route with the local cyclists and clubs. Today I seemed to be the only one going counter-clockwise as I crossed paths with plenty of other's going the other way. Clockwise lets you slowly work your way up to the Summit and 10 miles down to Santa Paula, I would rather slog up the climb so I can enjoy the twisty drop from upper to lower Ojai.
After the twisty drop it is small towns and rollers to the coast, with a couple of steep pitches through Casitas Pass and then down through the valley to the beach. Everything went better than you could hope for. No mechanical issues, great weather and plenty of time made for a perfect ride. The Roadeo with Jack Browns made me wonder if I will ever ride a skinny tire again.
[gallery]
It has been a little over a year since I first picked up a Berthoud Touring saddle to add to my rotation of Brooks B17 saddles in the stable. I had been drawn to the Berthoud after going through a couple of the more recently produced brooks B17 saddles that were made with thin and fast deforming leather. Looking at the options, it was either back to plastic, vintage or the Berthoud. The Berthoud was reported to be somewhere between a Brooks B17, team pro and swift in shape. This on came up on eBay, and I was first, impulse struck and it was mine. The cork finish while growing on me would not have been my first choice, but the price was right and I do not have to see it while riding.
Out of the box impression was very high. The engineering and design are sound, everything was tight symmetrical and the leather was far thicker than any of my other Brooks saddles yet was not as hard as the Brooks Pro I had looked into as a possible alternate. The plastic cantle plate and hardware are all top-notch with the precision you would expect to see on a european sports car. I have read concerns about the use of plastic. After having the saddle in my hands any concern is now gone. The molding and assembly is top-notch showing not of the cheapness the work plastic infers, and should likely be relabeled as molded composite. I find the design aesthetic pleasing, with a more modern cut to
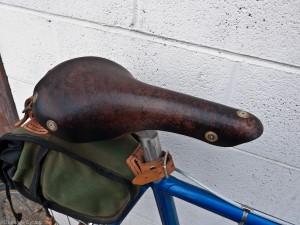
traditional leather saddle.
Initially I mounted the saddle on My Eisentraut for the spring and summer. After a few initial adjustments the position of the saddle was similar to that of my Brooks saddles with thee exception of tilt. The Berthoud is much better set almost level to the ground. Comfort was immediate, no break in required and I put in a couple 40 mile rides in the first week I had the saddle. The shape is a bit flatter in the rear than the Brooks offerings while having steep drop off in the transition to narrow nose. My sit bones are well supported with zero thigh rub. I should note that I previously bought and sold a Selle Anatomica due to the excessive thigh rub I had with the more triangular shape of that saddle.
Over the summer it just kept getting better. While the saddle started to match my shape of my sit bones, the post ride deformation was barely noticeable. The saddle leather is reported to be waterproof, and with the rainy season in the rear view mirror I was relying on sweat to indicate if this was true, but there was never any indication of moisture damage
Around mid summer I was having trouble with getting the B17 on my Roadeo just right. The roadeo was becoming my primary ride and I moved the Berthoud over. Problem solved immediately. Summer into fall, roads paved and dirt, as well as some single track and the saddle was going strong. Only at one point on a long hot dirt climb did I notice the saddle becoming a bit too compliant.
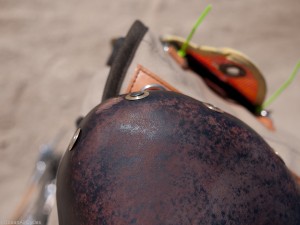
Closer inspection on a water break revealed that a few of the screws had started to loosen up a bit. Tightening up with the allen key on my multi tool was sufficient to complete the ride. That evening I removed each screw one at a time and added a little blue loctite before reinstalling the screws. It has been over 6 months since this incident with no further indication of further loosening.
With the onset of our rainy season I was once again wondering about the water proof claim for the leather. Throwing caution to the wind I have ridden the saddle in multiple storms. The only additional protection came from fenders and my soaked body sitting on it. Once again after weeks of rain there is no indication of moisture damage.
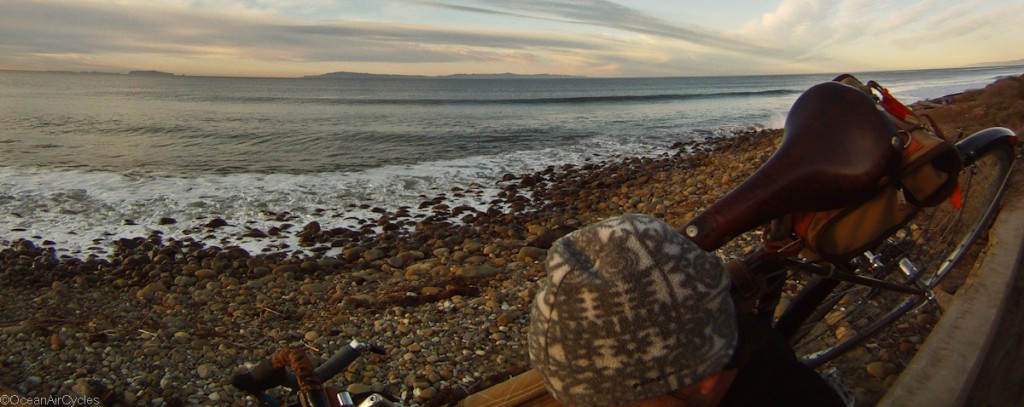
The leather is holding up incredibly well considering the abuse my 220 lbs has thrown at it over the last 14 months. Of the 5 brooks saddles I have owned only 2 have performed this well and three were duds. The leather appears to be waterproof as claimed, it will get a matte finish when damp, but dries back to a shine. The cork color has rubbed off a bit on the nose. I have not yet needed to adjust the tension, although curiosity is getting the better of me and I may start to play with it a bit in the coming weeks. I would whole heartedly recommend these saddles to anyone looking for an alternative to the brooks offerings. While the price is a little higher, I have more faith in these saddle's ability to perform as claimed right out of the box.
I can not belive I waited this long to make one of these. It has exceeded my expectations and taught me what I would do to make some minor tweaks for a final product.
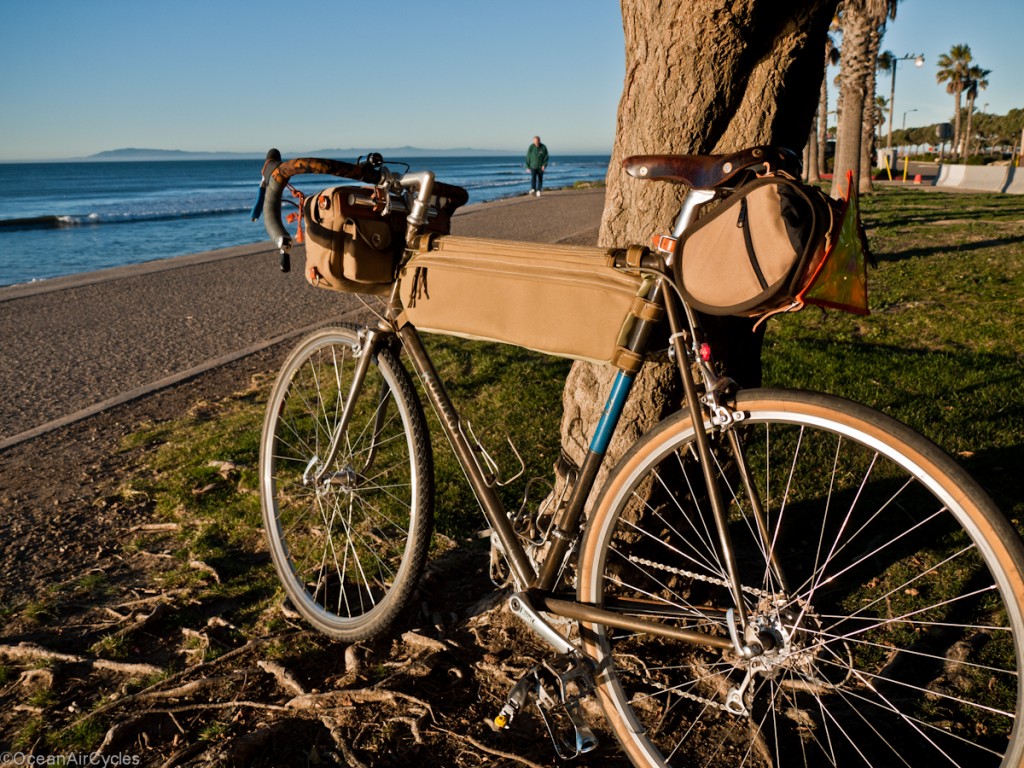 Bag Specifications:
 Frame bag with No.8 Canvas duck side panels, Jr Ballistic perimeter strip for abrasion resistance, multi point reinforced hook and loop connections, waterproof zipper with double pull and storm flap. Port for rear tail light battery wire.
Dimensions: 22" long x 6" high x 2" wide (56cm x 15cm x 5cm)
Volume: 264 in³ (4.333 L)
The inspiration for this bag came from a synergy of the designs used on Swiss Army bikes, the designs coming out of the ultralight bikepacking work, and the traditional designs of the french touring bags. While the volume is not particularly large, the design and placement make use of the previously empty space to carry things that might not fit as easily in traditional bags, e.g. hydration bladders, tripod or tent poles.
On this weekend's mixed terrain ride I carried a 2L Platypus water bag, Gorillapod mini tripod for the camera, wind breaker, knee warmers and a spare hat with room left over in the bag. The centralization of the load had little detrimental affect on handling. Both steep climbs and descents were not different from when riding with similar loads in larger bags at the front and rear, if any thing this was an improvement. The largest gain was in the increased capacity and ability to better arrange gear for access during the ride. The multiple attachment points kept the bag stable with no sway of the bag. The bulk of the load is supported by the canvas reinforced 2" hook and loop closure at the top tube:

The overall carrying capacity has even shocked me, as the water bag measured out at 7" wide and 3" thick when full, but was easily swallowed and zipped into the bag
Detail of the wiring port for my tail light battery pack.
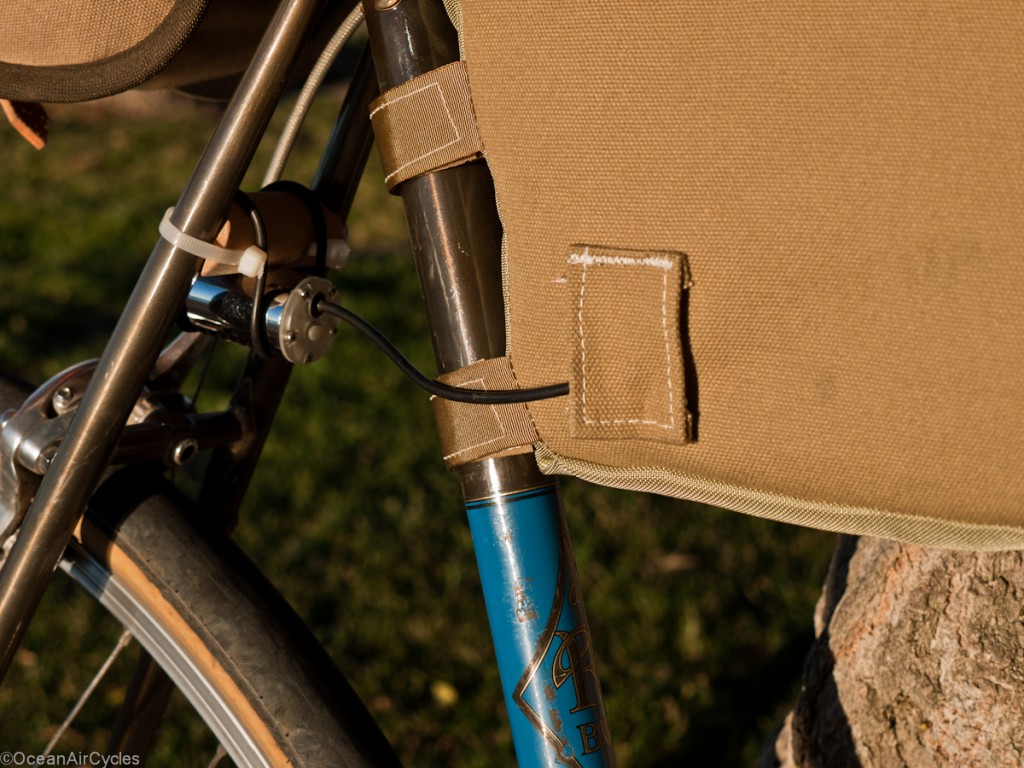
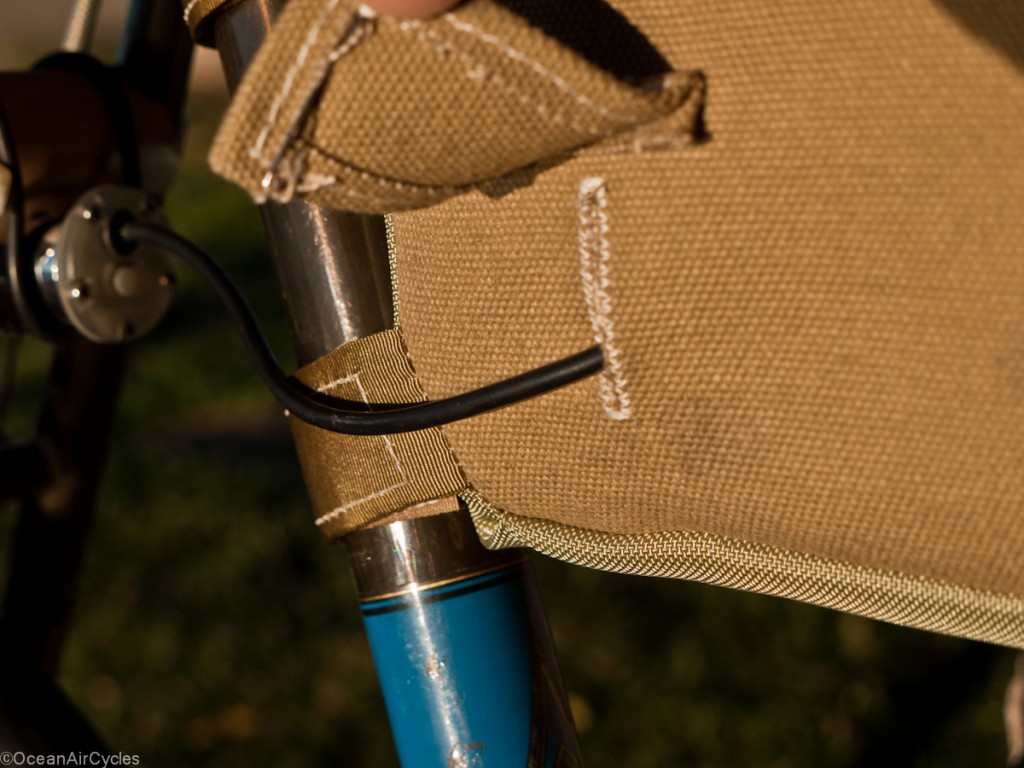
Details like this can be customized to suit different lighting arrangements, ports for hydration hoses, etc. Likewise location and number of zippers or internal pockets and dividers could also be added.
I see these bags filling a niche for the self supported distance road rider, light weight touring, and transportational cyclists looking for that extra bit of space without having to resort to resort to full rack and panniers.
It is my intent to offer frame bags of a similar design for sale by custom order in the near future. If interested please contact me through the
Contact page with the "Custom Frame Bag" in the subject line.
 Most days is has my Gorillapod with extended legs as well as the Houdini,

 On longer rides can get a 2L Platypus bag of water in there with the jacket and a first aid kit with room to spare (I still need to grab a picture of that). The most asked question by people on the street suprisingly is, "do you keep a fly rod in there"? and if I was going camping it would be the perfect place to keep the tent poles.
When I first made the bag I knew it was going to see more than touring duty, but it turns out to be incredibly useful every day.


